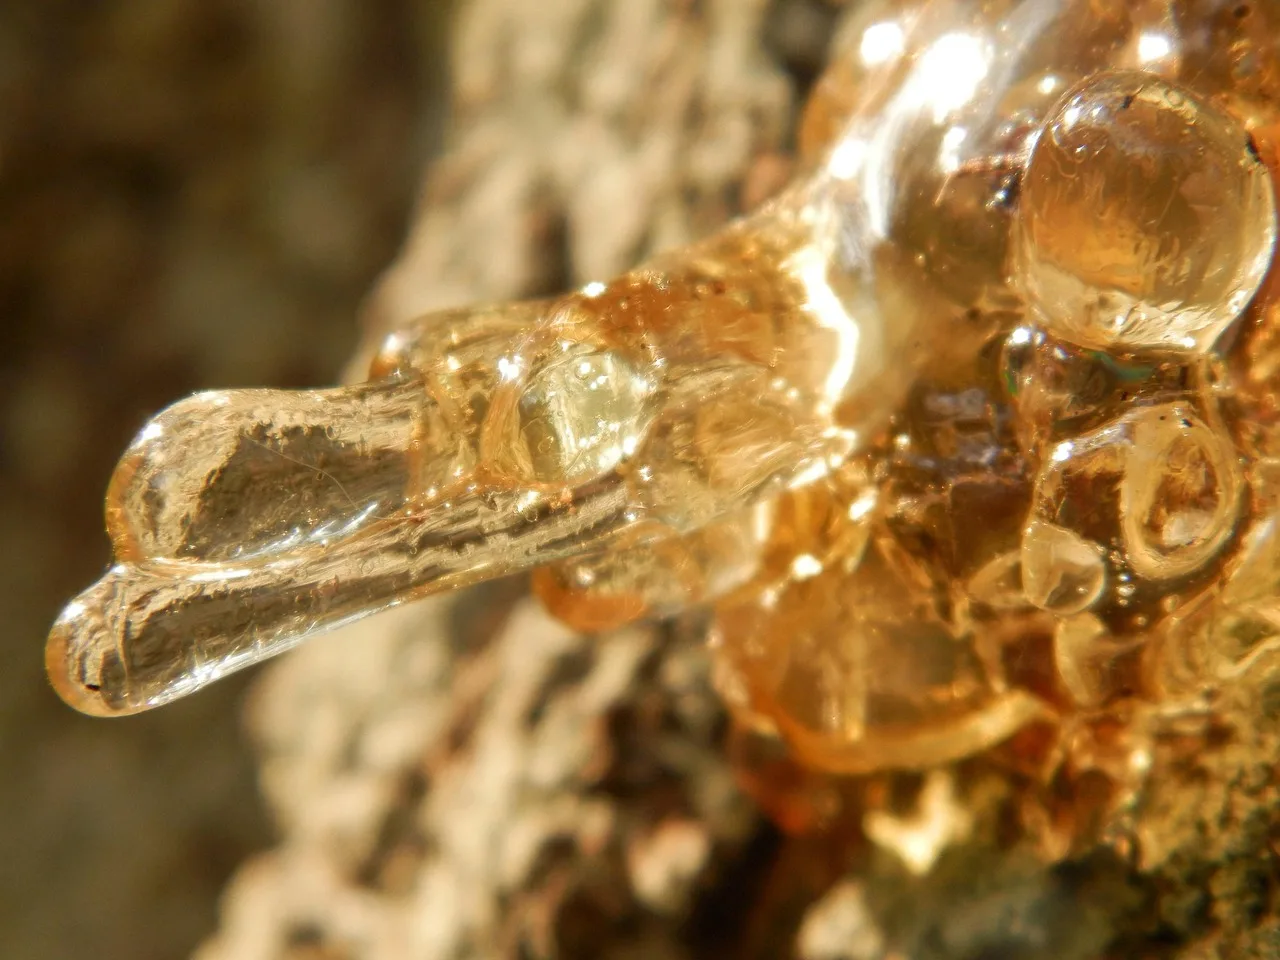
How to Remove Tree Sap From Car Paint Safely at Home
Use warm soapy water and a microfiber towel on fresh sap. For hardened spots, apply isopropyl alcohol or a dedicated sap remover, then wash and wax the panel. Dry scrubbing can mark clear coat or stain trim. This guide gives a surface-by-surface decision flow for paint, glass, plastic, and stubborn sap.
Tree sap decision table
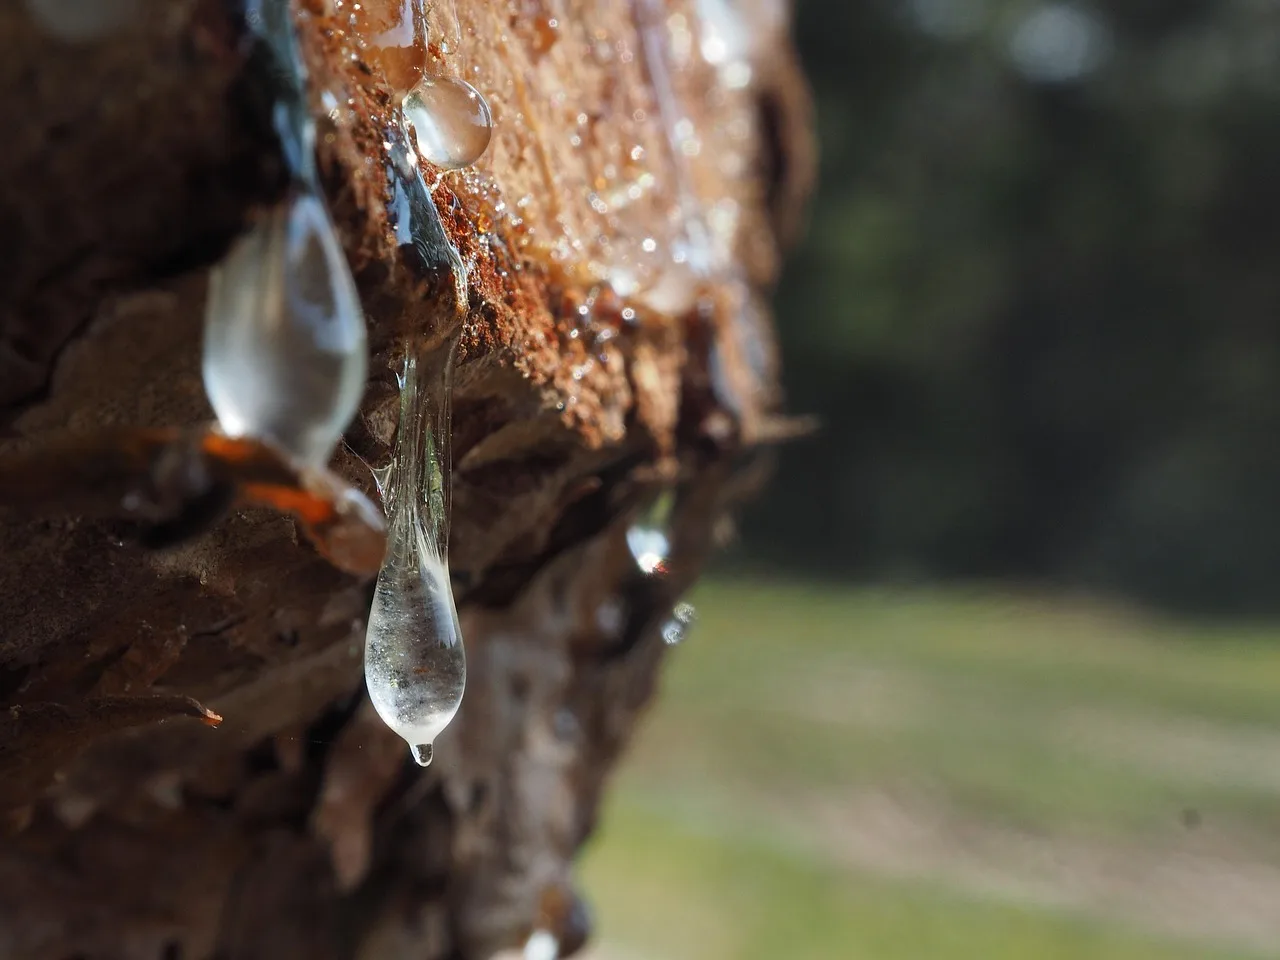


Tree sap can harden into an adhesive film, and if it sits too long it may etch clear coat or discolor trim. The safest method depends on whether the spot is fresh, baked on, or sitting near plastic, decals, or rubber. Stop as soon as the sap releases; repeated rubbing raises the risk.
| Sap condition | Safest DIY method | Dwell time | Follow-up wash | When to stop and escalate |
|---|---|---|---|---|
| Fresh on clear coat | Warm soapy water, then a microfiber cloth to lift | 30 seconds to 1 minute for the wash solution | pH-neutral car shampoo and dry | If it smears or stays bonded after two passes |
| Hardened on clear coat | Isopropyl alcohol at 70%-91% or a commercial sap remover | 30 to 60 seconds; do not exceed two minutes total with alcohol | pH-neutral car shampoo and dry | If the spot softens but will not release cleanly |
| Sap on trim, decals, or rubber | Test a tiny area first; use a damp microfiber cloth or sap remover on the cloth, not the surface | Brief contact only | Wash the area right away | If the surface changes color, turns shiny, or stays tacky |
| Baked-on or stained residue after sap removal | Polishing or professional detailing | Do not keep spot-treating | Wash first | If a dull mark, ring, or etching remains after the sap is gone |
What you’ll need
- Two microfiber cloths or more, one for lifting and one for drying
- Car shampoo that is pH-neutral
- A wash bucket and clean water
- Isopropyl alcohol at 70%-91% strength
- A commercial sap remover made for car surfaces
- Optional WD-40 for stubborn spots, followed by a wash
- Wax or sealant for the final protection step
Is tree sap bad for car paint?
Yes. Tree sap can damage paint if it stays on too long, and it can etch clear coat as it hardens. Fresh sap is easier to remove. Once it turns into a stubborn adhesive film, the risk shifts from simple cleanup to possible staining, dulling, or trim marks.
Clear coat is the top protective layer on automotive paint, so aggressive solvents, heavy rubbing, or long dwell time can dull it. Sap near edges, emblems, decals, plastic, and rubber trim deserves extra caution because those surfaces can react differently than painted panels.
Picture a 2-inch spot on the hood. Suppose the sap is still soft and sits on the hood in cool shade. Soapy water and a microfiber cloth may lift it cleanly. If the same spot has baked in the sun, the same motion may only smear it, which means the next step should be a brief alcohol or sap-remover pass, not harder rubbing.
How to remove fresh sap
Fresh sap usually comes off with warm soapy water and light lifting, not pressure. Soften the film, pick it up with a microfiber cloth, then wash the area again. If the sap drags or strings, stop rubbing and move to a brief solvent step.
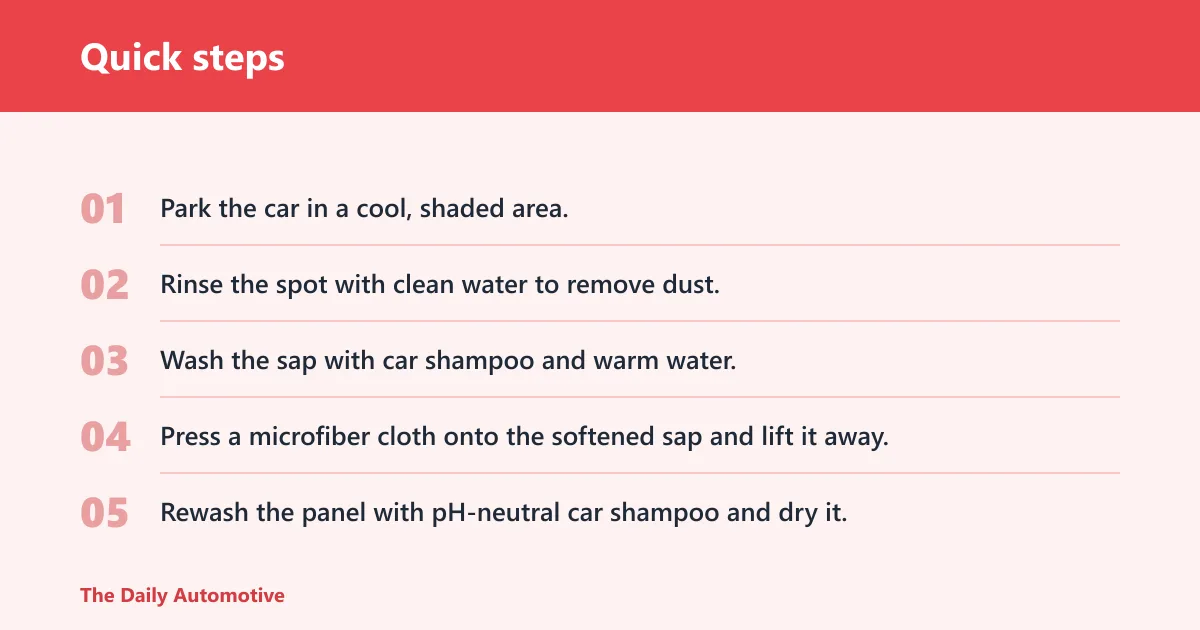
- Park the car in a cool, shaded area.
- Rinse the spot with clean water to remove dust.
- Wash the sap with car shampoo and warm water.
- Press a microfiber cloth onto the softened sap and lift it away.
- Rewash the panel with pH-neutral car shampoo and dry it.
A microfiber cloth matters because it reduces scratching compared with rough towels. Keep the cloth flat and use short presses. If a top-up is needed, add one more wash pass or one more 30-second soak, then recheck the spot before trying again.
Say your door has three pea-sized sap dots near a handle. If they release after the first wash, stop there. If one dot stays sticky after two light passes, do not scrub harder; move to a solvent only on that exact spot.
How to remove hardened sap
Hardened sap needs a brief solvent dwell, then a lift-and-wash cycle. Isopropyl alcohol is a common DIY option, and Cartipsdaily recommends 70%-91% strength with a 30 to 60 second dwell time, not more than two minutes total. Commercial sap remover is the better fallback for baked-on spots.
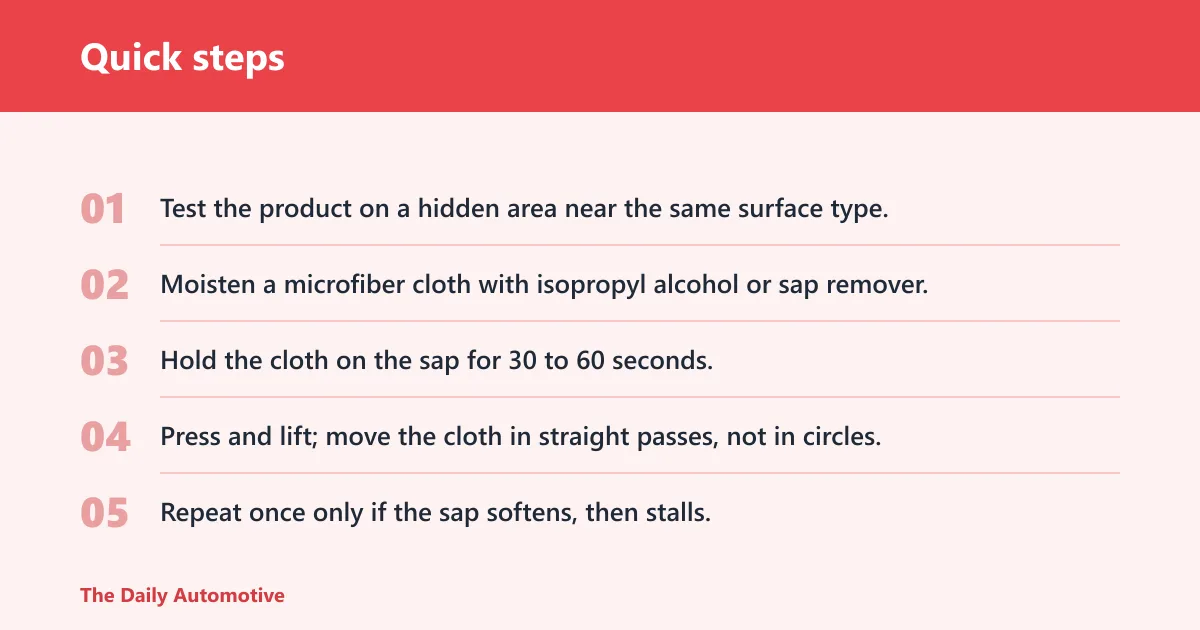
- Test the product on a hidden area near the same surface type.
- Moisten a microfiber cloth with isopropyl alcohol or sap remover.
- Hold the cloth on the sap for 30 to 60 seconds.
- Press and lift; move the cloth in straight passes, not in circles.
- Repeat once only if the sap softens, then stalls.
- Wash the panel with pH-neutral car shampoo and dry it.
Keep alcohol off the paint for long periods. Hot panels raise flash rate and stain risk, so wait for the surface to cool before starting. If the sap softens but refuses to release, stop and switch to polishing or detailing rather than adding more solvent.
When alcohol is enough
Alcohol usually works when the spot still sits on top of the clear coat and has not left a mark behind. If the residue wipes away and the paint looks even after washing, the job is done. If a cloudy ring remains, the sap may have etched the finish.
That leftover mark is not more sap. It may need polishing to level the damaged surface, or professional detailing if the etching is deeper than a light haze.
What to use and what to avoid
Big’s Mobile lists soapy water, isopropyl alcohol, commercial sap removers, olive oil, and WD-40 as sap-removal options. It also warns against nail polish remover and acetone. Do not treat every product as safe for every surface; trim and decals can react differently from clear coat.
- Use: pH-neutral car shampoo for the wash step.
- Use: Isopropyl alcohol for a brief spot treatment.
- Use: Commercial sap remover for stubborn residue.
- Use with caution: WD-40, because it can leave a greasy film.
- Avoid: Acetone, thinner, nail polish remover, and other harsh solvents.
WD-40 can loosen sap, but it is not the final step. It leaves residue that needs a follow-up wash. Olive oil can also loosen sap, but any oily residue still needs removal with shampoo before you judge whether the panel is clean.
Common mistakes
Most damage comes from speed, pressure, or the wrong chemistry. Fresh sap should be softened and lifted, not scrubbed. Hardened sap should get short dwell times, not a soak. After any solvent, wash the panel so residue does not keep working on the finish.
- Do not scrub dry paint. Dust plus pressure can mar clear coat.
- Do not use acetone or lacquer thinner. They are too harsh for paint and trim.
- Do not let alcohol sit past two minutes total.
- Do not ignore trim edges, decals, and rubber seals.
- Do not stop after the sap is gone if a stain remains.
A common first-timer mistake is assuming a sticky spot near the windshield trim is just dried sap when it could be fresh bird residue or road grime. If the adhesive is gone but the spot still looks dull after washing, that is an etching problem, not a cleaning problem.
Do you need to rewax after removal?
Yes, often. Alcohol can strip wax protection, and WD-40 or a sap remover can leave a surface that needs a fresh protection layer. If the panel no longer beads water like the surrounding paint, rewaxing or resealing is the next step after the area is fully clean and dry.
The same source recommends waxing every three to four months, which is a reasonable reset interval after a sap-cleaning session. If the remover touched only a tiny spot, the surrounding wax may still be intact, but the treated area should be checked and reprotected.
Aftercare checklist
- Wash the panel with pH-neutral car shampoo.
- Dry with a clean microfiber cloth.
- Check for dull spots, rings, or staining.
- Apply wax or sealant to the cleaned area.
Frequently asked questions
How do I remove tree sap from paint without scratching it?
Use a cool, shaded panel, wash first, then press a microfiber cloth onto the softened spot and lift. If the sap is hardened, switch to a brief 30 to 60 second alcohol or sap-remover pass, then wash again. Avoid dry rubbing and abrasive towels.
What is the safest way to remove tree sap from a car at home?
The safest home method is soapy water for fresh sap, then isopropyl alcohol at 70%-91% for tougher spots, followed by a pH-neutral wash. Work on one small area at a time and stop if the finish starts to haze, stain, or feel tacky.
Can rubbing alcohol remove tree sap from car paint?
Yes. A common DIY choice is isopropyl alcohol at 70%-91% strength, used briefly rather than soaked. Hold it on the spot for 30 to 60 seconds, and do not exceed two minutes total. Wash the panel afterward because alcohol can strip wax protection.
Is WD-40 safe for removing tree sap from car paint?
WD-40 can loosen sap, but it is not a final answer. Use it only on the sap spot, then wash the panel with pH-neutral car shampoo because WD-40 leaves a greasy residue. Avoid leaving it on plastic, decals, or rubber trim for long.
How do I clean tree sap off my car if it has hardened?
Use a brief solvent pass instead of force. Apply isopropyl alcohol or a commercial sap remover to a microfiber cloth, hold it on the spot for 30 to 60 seconds, then press and lift. Repeat once if needed, then stop and wash the panel.
Do I need to rewax after removing tree sap?
Usually yes. Alcohol can strip wax, and sap removers or WD-40 can leave the cleaned area unprotected. After the panel is washed and dry, apply wax or sealant if the finish no longer beads water evenly or if the treated area looks dull.
Products related to this article
Sponsored / affiliate links. As an Amazon Associate I earn from qualifying purchases. I may earn additional commission from eligible campaigns.