Automotive Photography as a Lifestyle Hobby Starter Guide
You can start automotive photography with a used mirrorless or DSLR body, a 35–50mm equivalent lens, and available light, which may keep a basic kit under roughly $500. Skip a simple workflow and you waste shoots, miss details, and end up with flat car photos that never improve. This guide covers affordable gear, a repeatable shooting process, editing basics, and how to grow from hobby work into a portfolio or paid jobs.
What automotive photography looks like as a hobby
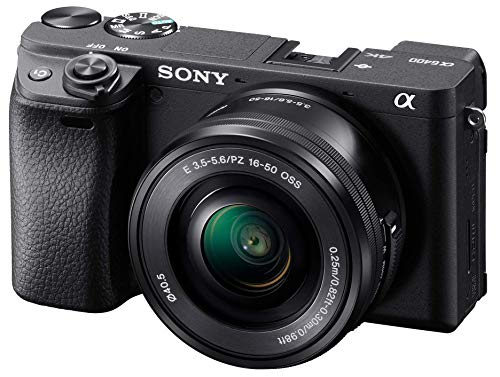


Automotive photography is for people who like cars, composition, and planning around light and location. It is not only a career path. Cars have shape, texture, reflections, and motion cues that reward careful shooting.
Car enthusiasts usually split their work into a few use cases. Static meet coverage, detail shots, rolling photos, track action, and dealer-style inventory images each need a different approach. A parked car at sunset and a car passing at speed are different jobs.
Why car enthusiasts keep coming back to it
Cars give you repeated subjects with constant variation. Paint color, body lines, wheel design, stance, and surroundings all change the frame. That makes the hobby useful whether you want a gallery, social posts, or a portfolio for local clients.
Mood House Media says Max Parkes has photographed cars in Toronto for several years, and that his work included car meets in Toronto. It also says he started capturing car photos in 2018. That kind of progression is common: local meets become practice, and practice becomes a body of work.
The difference between casual shooting and portfolio building
Casual shooting is grab-and-go. Portfolio building is repeatable: consistent framing, clean file naming, and a small set of looks you can recreate on purpose. The goal is not volume alone. It is showing that you can shoot a car clearly in different light, settings, and angles.
Picture a silver coupe at a meet with people and cones around it. A casual frame catches the car. A portfolio frame waits for a cleaner background, uses a lower angle, and includes enough context to show the location without letting clutter take over.
The main shooting styles
- Static: parked cars, detail frames, and stance shots.
- Rolling: moving shots with the car in motion.
- Detail: badges, stitching, wheels, headlights, and texture.
- Event coverage: meets, club gatherings, track days, and museum visits.
📊 The Kansas City Automotive Museum says it has a diverse collection of over 40 vehicles. Source: Celebrating Kansas City’s Automotive Heritage.
How do you start automotive photography on a budget?
Start with a used interchangeable-lens camera body, one normal prime lens, and a memory card. An entry-level automotive photography kit can sometimes stay around $500 if you buy used gear and leave out extras that do not materially affect image quality. The first upgrade should usually be a better lens or a polarizing filter, not a new body.
Three starter budget tiers
| Budget tier | Matching gear | Ideal shoot scenarios | Common mistakes |
|---|---|---|---|
| Under $500 | Used DSLR camera or mirrorless camera, 35mm or 50mm lens, one spare battery, SD card | Meets, parked cars, daylight detail shots, simple portrait-style frames | Shooting too wide, ignoring backgrounds, using auto everything, skipping RAW format |
| $500 to $1,000 | Better used body, 35mm lens, 50mm lens, circular polarizer filter, small tripod | Golden hour sessions, low-light frames, reflective paint, tighter composition work | Chasing every lens, over-editing reflections, standing too far from the car |
| $1,000 and up | Mirrorless body, 35mm lens, telephoto lens, wide-angle lens, macro lens, tripod, polarizer | Track action, rolling shots, inventory work, detail galleries, mixed lighting | Buying pro gear before learning shot planning, file management, and location control |
Best first upgrades after the body
A circular polarizer filter is one of the most useful early buys because it reduces glare and cuts reflections on paint and glass. After that, a tripod helps for stationary shots, low-light work, and detail frames. A second lens usually matters more than a more expensive camera body.
When used gear makes sense
Used gear makes sense when you need an interchangeable-lens body and one dependable lens, not the newest autofocus system. For hobby work, condition and lens sharpness matter more than release date. Buy from sellers who show clear photos of the sensor, mount, glass, and controls.
What camera is best for a beginner?
A beginner should choose a DSLR camera or a mirrorless camera with interchangeable lenses, reliable autofocus, and clean image quality. DSLR bodies remain strong for stills and panning shots. Mirrorless bodies are usually smaller and quicker to handle, which helps at meets, on foot, and during quick location changes.
DSLR camera
A DSLR camera gives you an optical viewfinder, broad used-market availability, and straightforward handling. That makes it a solid beginner path for stills and panning shots, especially if you want value per dollar. Many older DSLR bodies still produce excellent car photos when paired with a good lens.
Mirrorless camera
A mirrorless camera is compact, fast to focus, and flexible for hobby and pro use. Fast autofocus helps with moving cars and crowded events, while the smaller body is easier to carry all evening. If you expect to grow into paid work, mirrorless is often the cleaner upgrade path.
How to choose based on your shooting style
If you mostly shoot parked cars, choose the body that lets you spend more on lens quality and a polarizer. If you want track action, rolling frames, and quick response, prioritize autofocus performance. Either way, interchangeable lenses matter because one body cannot do every car photo job well.
What lens do you need for car photography?
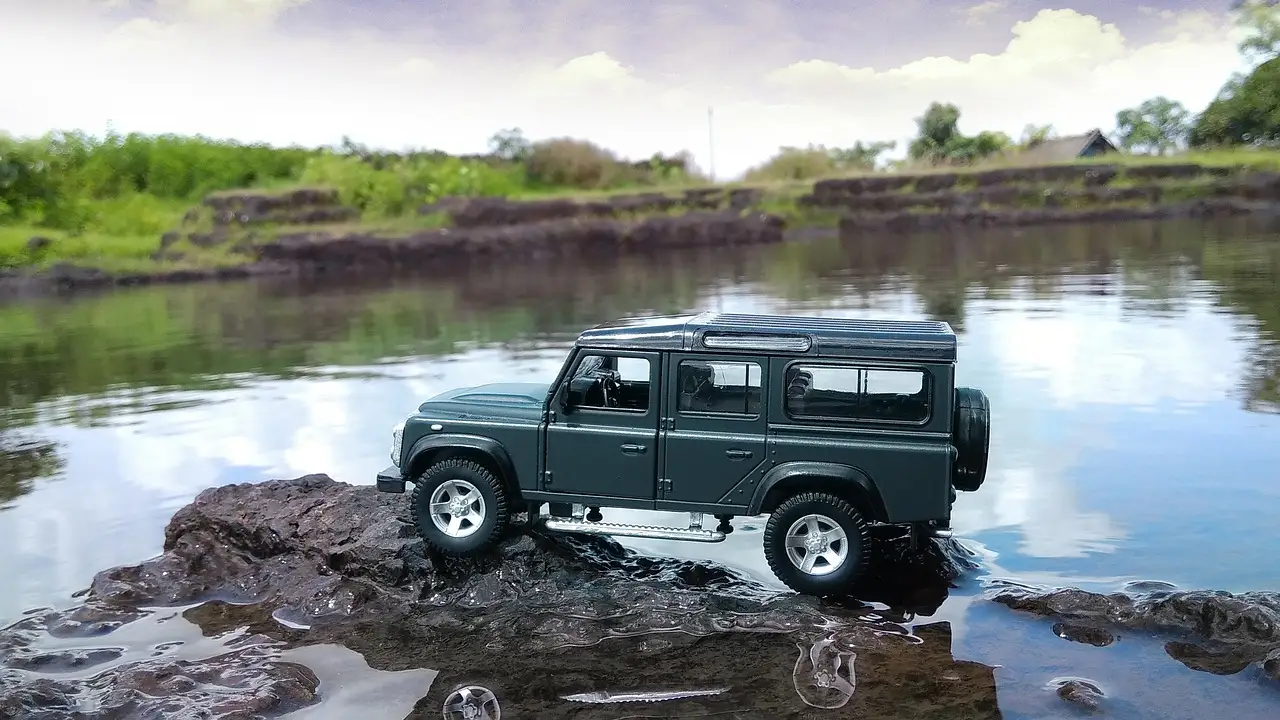
Start with a 35mm lens or 50mm lens. Those focal lengths are common for car photography because they give a natural perspective without forcing extreme distortion. Add a wide-angle lens for full-car context, a telephoto lens for compression, and a macro lens for badges and textures.
35mm lens and 50mm lens
The 35mm lens is wide enough for context shots, so you can show the car and the setting without making the frame feel crowded. The 50mm lens gives a natural perspective and works well for clean side angles, front three-quarter shots, and detail work with less background distraction.
The guide says many car photographers favor 35mm lenses, and many car photographers favor 50mm lenses. Those two are the safest first choices because they are versatile, affordable, and easy to learn.
Wide-angle lens
A wide-angle lens captures the full car and surroundings. Use it when the location matters as much as the vehicle, such as a city street, mountain turnout, or museum lot. Watch the edges of the frame, because wide lenses can bend nearby body panels and make cars look awkward if you stand too close.
Telephoto lens
A telephoto lens compresses the background and isolates details from a distance. It works well for track action, badges, wheel faces, and cleaner meet coverage when you cannot stand near the subject. It also helps when you want to flatten a busy background behind a parked car.
Macro lens
A macro lens is for badges, stitching, textures, and other detail-oriented close-up work. It is the most specialized lens here, so it belongs after your first normal lens. Use it when the story includes craftsmanship inside the cabin or close surface details outside.
How do you plan a better shoot before you leave home?
Plan the shoot by checking light, picking a location, and deciding what the car needs to show. A good plan cuts wasted time and helps you avoid cluttered backgrounds, bad sun angles, and rushed editing later. Strong hobby work usually starts before the camera comes out of the bag.
Scouting locations and checking light
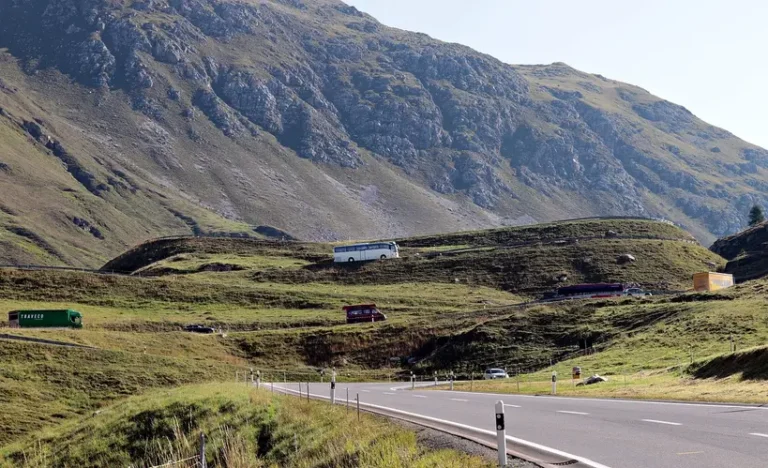
Check where the sun will sit and where the car can be parked safely. Golden hour is often the best window because the light is soft and directional, which helps body lines and surface highlights. If the car is dark, that light is even more useful because it prevents the panels from turning into a flat block.
Building a shot list
Make a simple shot list: full-car front, rear, each side, wheel detail, interior detail, and one environmental frame. For a meet, add crowd-free angles and badges. For inventory work, add every corner and major option. The list keeps you moving and keeps the gallery useful.
Ten-minute pre-shoot checklist
- Charge the battery and format the card.
- Pack the body, lens, polarizer, and tripod if needed.
- Check the weather and the sunset time.
- Scout the background for signs, trash, and parked cars.
- Confirm permission for the lot or property.
- Set RAW format in the camera.
- Clean the front element and rear lens cap.
- Review the shot list for the exact car.
- Choose a low-angle starting position.
- Leave room for safe movement around traffic and other people.
How do you handle light, reflections, and motion?
Use golden hour, a circular polarizer, and the right movement technique for the scene. Strong car photos use a low angle, and a tripod helps when the car is parked or the light is weak. Motion needs a different approach, because moving cars call for panning instead of freezing everything.
Golden hour for body lines and paint
The guide recommends golden-hour light for automotive photography. That softer light wraps across panels and makes curves easier to read than harsh midday sun. It also reduces the harsh contrast that often breaks up black cars and bright paint in unflattering ways.
Polarizer use for reflections
The guide suggests a circular polarizer filter to reduce reflections. Use it on paint and glass when glare hides the shape of the car or creates bright patches across the windshield. It will not remove every reflection, but it gives you more control before editing.
Panning shot basics
A panning shot tracks a moving subject so the background blurs while the car stays clearer. That blur signals speed without making the whole frame soft. Keep your stance smooth, follow the car through the frame, and practice with moderate speeds before trying fast passes.
Tripod use
A tripod stabilizes stationary shots and helps in low-light work. It also slows you down in a useful way, which is good for detail frames, low angles, and interior images. For moving cars, a tripod is usually the wrong tool; use it for parked subjects, not rolling action.
Starter matrix: gear, scenarios, and mistakes to avoid
The best starter kit is the one that matches your main use case. Meet coverage needs speed and flexibility. Static detail work needs control over angle and reflections. Rolling shots and track action need better autofocus, longer lenses, and more attention to safety.
| Tier | Gear | Ideal scenario | Common mistake |
|---|---|---|---|
| Entry hobbyist | Used DSLR or mirrorless body, 35mm lens, RAW format, circular polarizer | Local meets, parked street shots, first portfolio set | Busy backgrounds that compete with the car |
| Growing hobbyist | Mirrorless body, 35mm and 50mm lenses, tripod, spare battery | Golden hour portraits, black cars, interior details | Shooting harsh noon sun without shade control |
| Advanced hobbyist | Body with strong autofocus, telephoto lens, wide-angle lens, macro lens, polarizer, tripod | Rolling shots, track days, inventory work, mixed lighting | Ignoring safety spacing around moving cars |
RAW format matters because it maximizes editing flexibility. It gives more latitude for exposure, white balance, and highlight recovery than a compressed file. File management matters too: use dated folders, label by event or location, and sort rejects quickly so the keepers are easy to find.
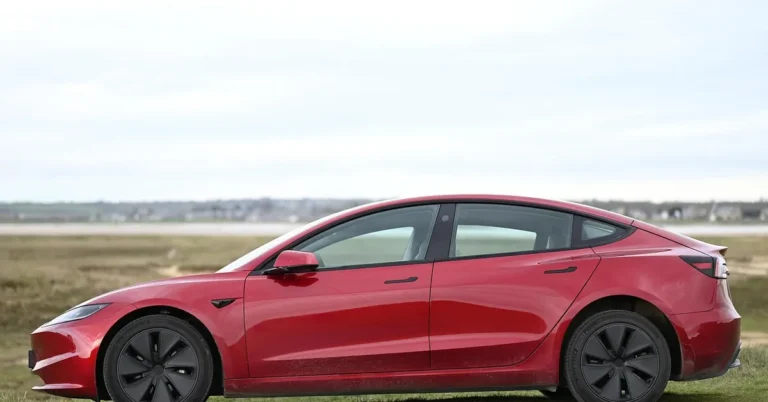
Failure cases are worth planning for. Reflective paint can mirror people and signage. Black cars lose detail in harsh noon sun. Rain adds reflections but also adds cleanup work on glass and body panels. Busy backgrounds can ruin a clean frame faster than bad gear can.
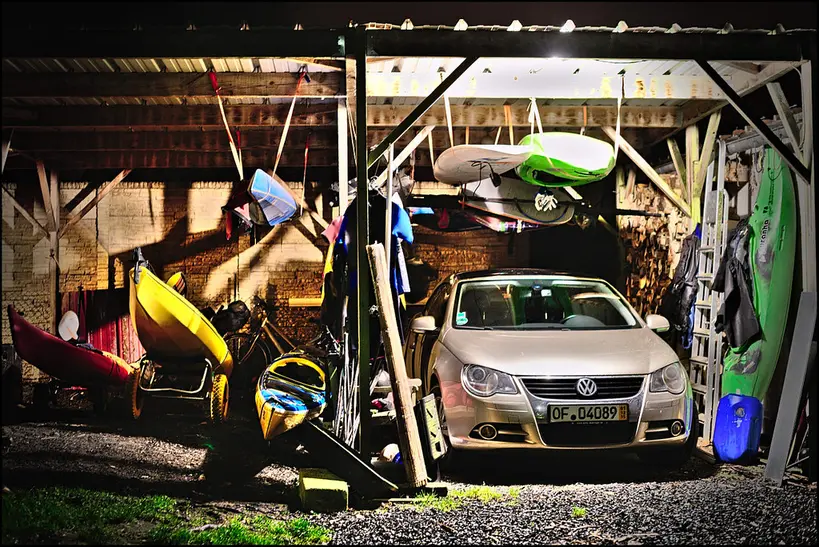
A common first-timer mistake is parking beside a bright sign or a white wall and then wondering why the car looks covered in reflections. Another is shooting a dark coupe at noon with the sun overhead, the hood turns flat, the windshield blows out, and the edit cannot fully fix it.
Frequently asked questions
How do I start automotive photography as a hobby?
Start with a used DSLR or mirrorless body, one 35mm or 50mm lens, and available light. Focus on one car, one location, and one short shot list. Build from there with RAW files, a circular polarizer, and a consistent file-naming system so the hobby becomes repeatable instead of random.
What camera is best for automotive photography as a beginner?
Either a DSLR camera or a mirrorless camera can work well, as long as it has interchangeable lenses and reliable autofocus. A DSLR is often cheaper on the used market. A mirrorless body is usually smaller and quicker to carry, which helps at meets and moving shoots.
What lens do I need for car photography?
Start with a 35mm lens or 50mm lens, because those focal lengths are common for car photography and give a natural perspective. Add a wide-angle lens for full-car environmental shots, a telephoto lens for compression, and a macro lens for badges, stitching, and close-up textures.
How do I take better car photos at golden hour?
Shoot when the light is low and soft, then place the car so the sun skims across the body instead of blasting the hood or windshield. Use a low angle, watch for reflections in the panels, and move a few steps if the background gets too bright or cluttered.
How do I photograph moving cars without blur?
Use a panning shot: follow the car smoothly as it moves, so the background blurs while the subject stays relatively sharp. Start with moderate speeds and a stable stance. For extra consistency, use autofocus that can track motion and choose a safe, legal place away from traffic.
Can automotive photography lead to paid work?
Yes. Hobby work can move into paid work through local meets, club contacts, dealer-style inventory requests, private car selling photos, and automotive lifestyle photography. A clean portfolio matters more than expensive gear at the start, because clients want consistent results, not just a long equipment list.
What are the best locations to take car photos?
Best locations depend on the goal. Quiet parking lots, empty industrial streets, scenic overlooks, club meet venues, and museum grounds all work if you have permission and safe access. The Kansas City Automotive Museum says it has a diverse collection of over 40 vehicles and rotates over 100 vehicles throughout the year, which shows how much location variety can matter for a portfolio.
Products related to this article
Sponsored / affiliate links. As an Amazon Associate I earn from qualifying purchases. I may earn additional commission from eligible campaigns.