How to Detail a Car: Proven Steps
To detail a car, wash and dry it thoroughly, then clean wheels and tires. Inside, remove trash, vacuum carpets and seats, and wipe down surfaces. Finally, protect the exterior with wax and dress the tires for a showroom shine.
Ever look at your car and wish it gleamed like new? Life gets busy, and keeping your car spotless can feel like a chore. But detailing your car at home isn’t as hard as it sounds. It’s a rewarding way to protect your investment and make driving a pleasure again. Forget expensive shops; with a few simple steps, you can achieve that fresh-from-the-showroom look. Ready to make your car shine? Let’s get started.
Why Detailing Your Car Matters

Detailing is more than just a wash; it’s a deep clean that revitalizes your vehicle. A good detail protects your car’s paint from sun damage, dirt, and grime, preventing rust and fading. It also keeps the interior smelling fresh and looking its best, which can even help with resale value. Think of it as a spa day for your car!
Essential Tools and Supplies for Car Detailing
Before you start, gather your supplies. Having everything ready makes the process smooth and efficient. Remember, quality products can make a big difference.
Exterior Cleaning Essentials:
- Two Buckets (one for soapy water, one for rinsing your wash mitt)
- Car Wash Soap (pH-neutral is best for paint)
- Wash Mitt (microfiber or sheepskin is gentle)
- Wheel Cleaner
- Wheel Brush (designed for wheels)
- Tire Cleaner
- Tire Dressing (for protection and shine)
- Hose with a spray nozzle
- Microfiber Drying Towels (highly absorbent)
- Glass Cleaner (ammonia-free is best for tinted windows)
- Quick Detailer Spray (for touch-ups and boosting shine)
- Carnauba Wax or Synthetic Sealant
- Applicator Pads (for wax and sealant)
- Microfiber Buffing Towels
Interior Cleaning Essentials:
- Vacuum Cleaner with attachments (crevice tool, brush attachment)
- All-Purpose Interior Cleaner (safe for most surfaces)
- Upholstery Cleaner (if needed for fabric seats or mats)
- Leather Cleaner and Conditioner (if you have leather seats)
- Interior Detailer Spray (for dashboards, consoles, and trim)
- Glass Cleaner (for interior windows)
- Microfiber Towels (separate ones for interior surfaces)
- Detailing Brushes (for vents, seams, and tight spots)
- Trash Bags

How to Detail a Car Step-by-Step
Follow these proven steps to detail your car like a pro.
Step 1: Prepare Your Car and Workspace
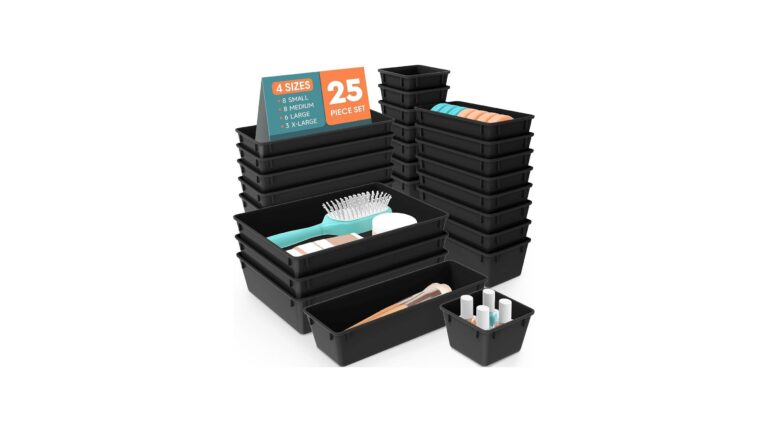
Find a shaded spot to work. Direct sunlight can dry soap and water too quickly, leaving streaks. Make sure you have plenty of space around your car. Remove all personal belongings from the interior and trunk. This makes vacuuming and cleaning much easier.
Step 2: Clean Your Wheels and Tires
Wheels often get the dirtiest. Start here to avoid splashing dirty water on a clean car.
- Rinse the wheels: Spray down the wheels and tires with water.
- Apply wheel cleaner: Spray a dedicated wheel cleaner onto one wheel at a time. Let it sit for the time recommended on the product label. For stubborn brake dust, a specialized pH-balanced wheel cleaner is recommended. You can learn more about choosing the right wheel cleaner from resources like Consumer Reports.
- Agitate with brushes: Use a wheel brush to scrub the face of the wheel, spokes, and the barrel. A smaller detailing brush can help get into tight areas.
- Clean tires: Apply tire cleaner to the tire sidewalls. Scrub with a stiff brush dedicated to tires.
- Rinse thoroughly: Rinse the wheels, tires, and wheel wells completely.
- Repeat for all wheels.
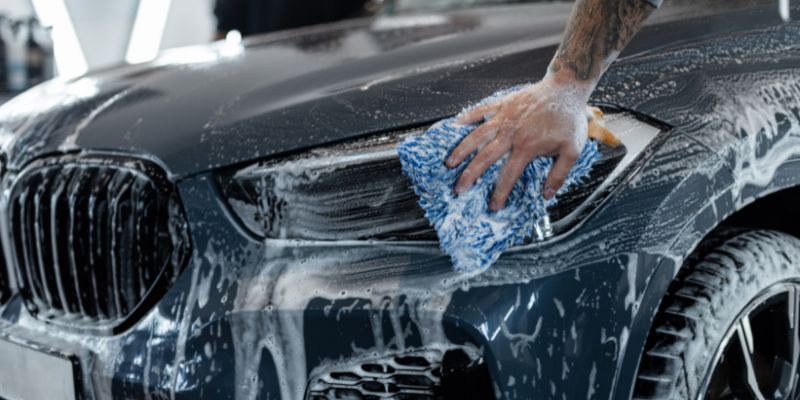
Step 3: Wash the Car Exterior
This is the core of the exterior cleaning. Using the two-bucket method is crucial for preventing scratches.
- Rinse the car: Start by rinsing the entire vehicle from top to bottom with a hose to remove loose dirt and debris.
- Prepare the buckets: Fill one bucket with water and the recommended amount of car wash soap. Fill the second bucket with clean water for rinsing your wash mitt.
- Wash from top to bottom: Dip your wash mitt into the soapy water. Start washing the roof of your car and work your way down, one section at a time. This ensures you wash the dirtiest parts last.
- Rinse the mitt frequently: After washing a section, rinse your wash mitt thoroughly in the clean water bucket before dipping it back into the soap bucket. This keeps contaminants out of your soapy water.
- Rinse the car section by section: As you finish washing a section, rinse it immediately to prevent soap from drying on the surface.
- Final rinse: Once the entire car is washed and rinsed, give it one final thorough rinse from top to bottom.
Step 4: Dry the Car Exterior
Proper drying is key to preventing water spots.
- Use high-quality microfiber towels: Use large, plush microfiber drying towels specifically designed for car drying.
- Pat or gently wipe: Lay the towel flat on a section of the car and gently pat it dry, or carefully wipe across the surface. Avoid harsh rubbing.
- Work from top to bottom: Just like washing, dry from the roof down.
- Hit door jambs and mirrors: Don’t forget to dry the door jambs, the inside of the trunk lid, and around mirrors, as these areas can hold water.
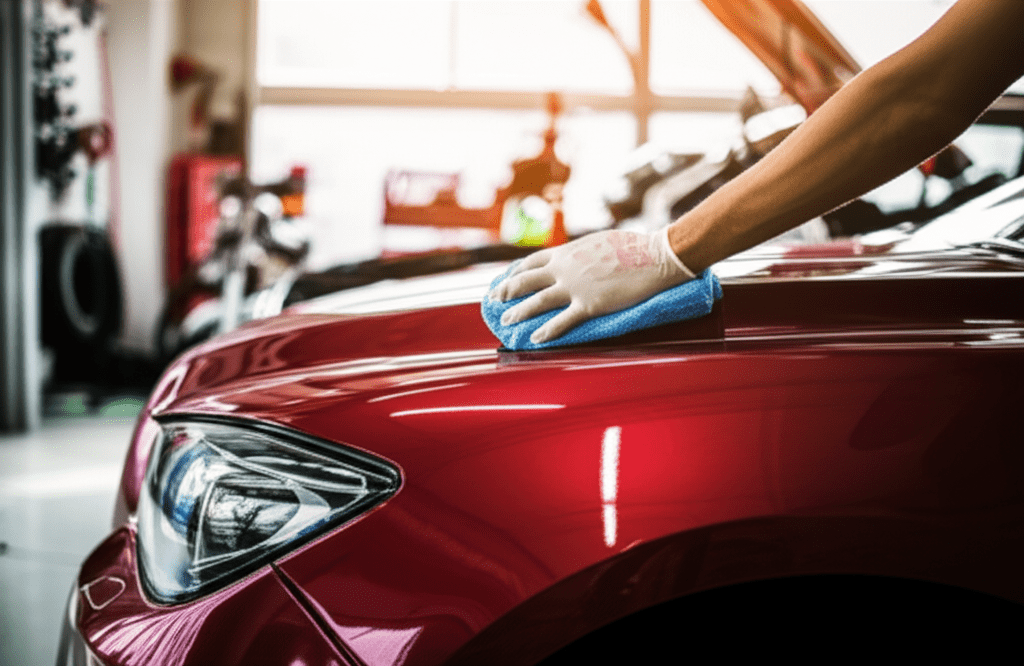
Step 5: Polish and Protect the Paint (Optional but Recommended)
Polishing removes light imperfections like swirl marks and scratches, while protection (wax or sealant) adds a layer of defense and shine.
- Clay Bar (Optional): If your paint feels rough after washing, a clay bar can remove embedded contaminants. Follow the clay bar instructions carefully. You can find detailed guides on using a clay bar from reputable detailing supply stores.
- Polish: Apply a small amount of automotive polish to an applicator pad. Work in small sections, applying light pressure in a back-and-forth or circular motion, depending on the polish type. Buff off any residue with a clean microfiber towel.
- Apply Wax or Sealant: Using a clean applicator pad, apply a thin, even coat of wax or sealant to the paintwork, again working in small sections.
- Buff to a Shine: Allow the wax or sealant to haze over according to the product instructions. Then, use a clean, dry microfiber buffing towel to gently buff away the haze and reveal a brilliant shine.
Step 6: Clean and Dress Tires and Trim
This step makes the wheels and plastics look new again.
- Apply tire dressing: Apply your chosen tire dressing to the sidewalls using an applicator pad. This protects the rubber and gives a clean, matte or glossy finish depending on the product. Avoid getting dressing on the tire tread itself.
- Dress exterior trim: Use an exterior plastic and rubber protectant on unpainted trim pieces, bumpers, and molding. This restores color and protects against UV rays.
Step 7: Clean the Interior Glass
Streak-free glass makes a big difference.
- Use the right cleaner: Spray an ammonia-free glass cleaner onto a clean microfiber towel, not directly onto the glass.
- Wipe in one direction: Wipe the inside of the glass using one direction (e.g., horizontal).
- Use a second towel: Flip the towel or use a second clean, dry microfiber towel to buff the glass dry using the opposite direction (e.g., vertical). This helps you spot and remove any streaks.
- Don’t forget mirrors and screens: Clean your rearview mirror and any interior screens with appropriate cleaners.
Step 8: Vacuum the Interior
A clean interior starts with thorough vacuuming.
- Remove floor mats: Take out all floor mats. Shake them out and vacuum them separately.
- Use attachments: Use the crevice tool to get into tight spaces like between seats, along the edges of carpets, and in door pockets. Use the brush attachment for seats and dashboards to loosen dirt.
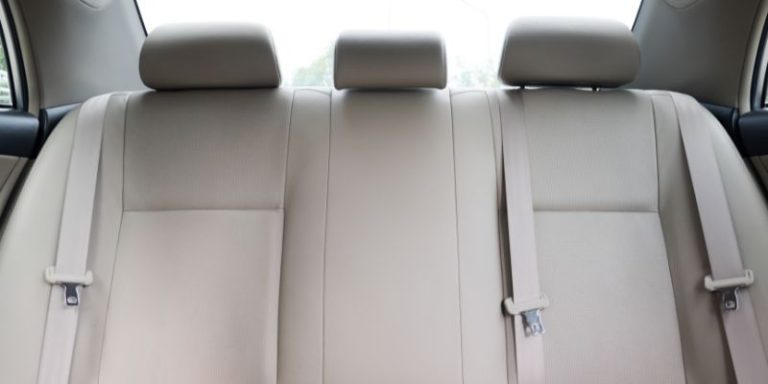
- Vacuum seats, carpets, and trunk: Work systematically, ensuring you cover all areas. Pay attention to seat seams and the area under the pedals.
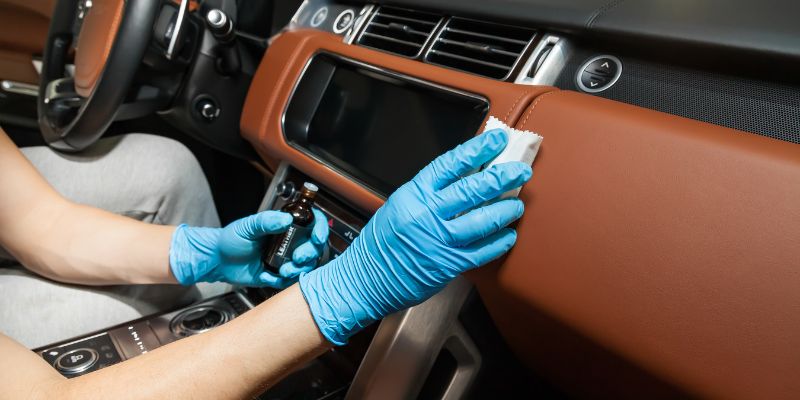
Step 9: Clean Interior Surfaces
Wipe down all hard surfaces.
- Dashboard and Console: Spray an interior cleaner onto a microfiber towel. Wipe down the dashboard, center console, door panels, and steering wheel. Use a detailing brush for air vents and tight crevices.
-
Seats:
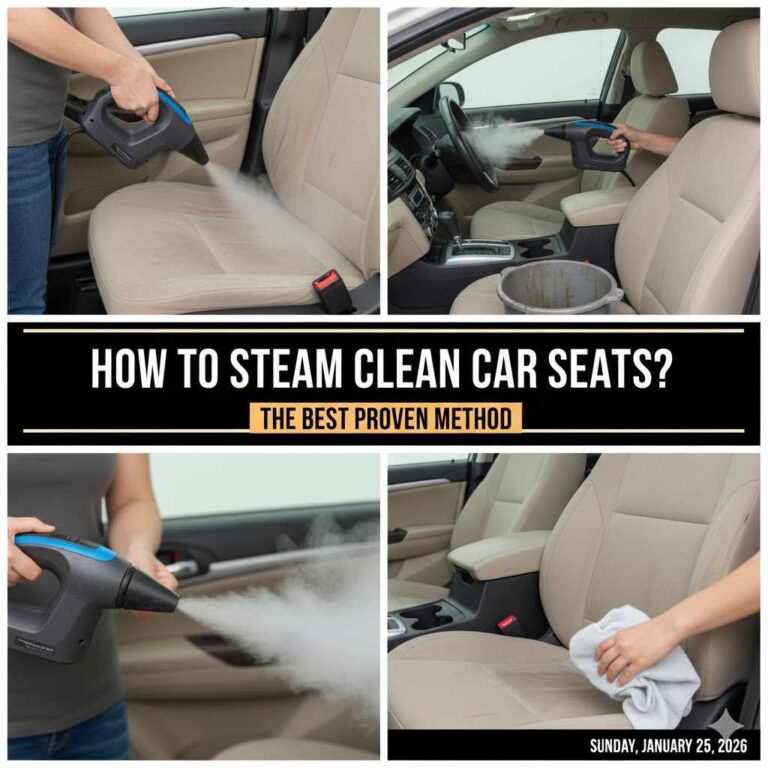
- Fabric: If there are stains, use an upholstery cleaner. Follow the product’s instructions carefully, often involving spraying, gently scrubbing with a brush, and then blotting with a clean towel.
- Leather: Use a dedicated leather cleaner, applying it to a microfiber towel and gently wiping down the seats. Follow up with a leather conditioner to keep the leather supple and protected.
- Door Jambs: Wipe down the door jambs with an interior cleaner or quick detailer and a microfiber towel.
Step 10: Final Touches
Add the finishing touches for that complete, professional look.
- Clean floor mats: If you didn’t wash them earlier, ensure they are completely dry after vacuuming and place them back in the car.
- Air freshener (Optional): Add a subtle air freshener if desired.
- Quick inspection: Do a final walk-around both inside and out to catch any missed spots or streaks.
Creating a Detailed Interior and Exterior Cleaning Schedule
Regular maintenance is key to keeping your car looking its best. Here’s a suggested schedule:
| Task | Frequency | Notes |
|---|---|---|
| Basic Wash & Dry | Every 2-4 weeks | Removes surface dirt and grime. |
| Interior Vacuum & Wipe Down | Every 2-4 weeks | Keeps the cabin fresh. |
| Wheel & Tire Clean | Every 1-2 months or as needed | Especially important after driving in harsh conditions. |
| Wax/Sealant Application | Every 3-6 months | Protects paint and enhances shine. Quality ceramic coatings can last longer. Government resources on vehicle efficiency also note the importance of clean aerodynamics, which a well-maintained exterior contributes to. |
| Deep Interior Clean (Shampooing, Leather Conditioning) | Every 6-12 months | For a thorough refresh. |
Frequently Asked Questions About Car Detailing
Q1: How often should I detail my car?
A: You can perform a basic wash and interior wipe-down every 2-4 weeks. A full detail, including waxing and deep interior cleaning, is recommended every 3-6 months, depending on your car’s exposure to the elements and how often you drive it.
Q2: What’s the difference between washing and detailing?
A: Washing is a basic exterior clean. Detailing is a comprehensive process that includes a thorough cleaning of both the interior and exterior, addressing everything from paint correction and protection to deep cleaning upholstery and surfaces.
Q3: Can I use dish soap to wash my car?
A: It’s best to avoid dish soap. Dish soap is designed to strip grease and can also strip away protective wax or sealant layers from your car’s paint, leaving it exposed.
Q4: What is the two-bucket method and why is it important?
A: The two-bucket method uses one bucket for soapy wash water and another for rinsing your wash mitt. This prevents dirt and grit from being transferred back onto your paint, significantly reducing the risk of scratching your car’s finish during the wash.
Q5: Do I really need special cleaning products for wheels?
A: Yes, it’s highly recommended. Wheels accumulate brake dust, road grime, and tar, which require specific cleaners to break them down effectively without damaging the wheel finish. Using a pH-neutral cleaner is crucial for most wheel types.
Q6: How can I protect my car’s paint after detailing?
A: After washing and polishing, applying a quality car wax or synthetic paint sealant creates a protective barrier. This barrier shields your paint from UV rays, environmental contaminants, and makes future cleaning easier. Regular application is key.
Q7: What’s the best way to clean a microfiber towel used for detailing?
A: Always use a separate wash for your microfiber towels. Use a mild, liquid detergent and avoid fabric softeners, as they can clog the fibers and reduce their absorbency and effectiveness. Air drying or tumble drying on low heat is best.
Conclusion
Detailing your car at home is a rewarding experience that not only makes your vehicle look fantastic but also protects your investment for years to come. By following these proven steps, gathering the right tools, and dedicating a bit of time, you can achieve professional-level results. You’ve learned how to tackle everything from the dirtiest wheels to the most neglected interior surfaces. So, roll up your sleeves, get out there, and give your car the care it deserves. Happy detailing!