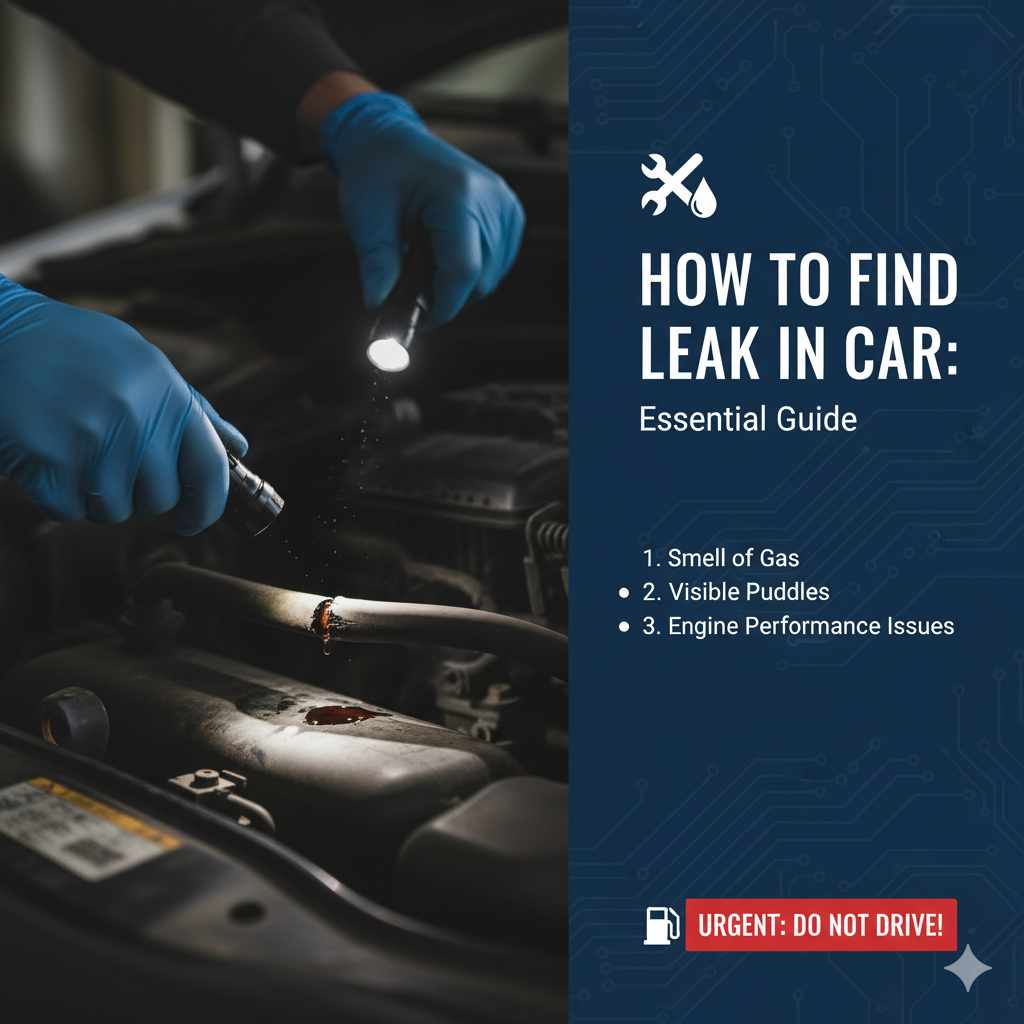
How to Find Fuel Leak in Car: Essential Guide
To find a fuel leak in your car, safely park it in a well-ventilated area, then visually inspect the fuel lines, gas tank, fuel filter, and injectors for wet spots, dripping, or the smell of gasoline. Always prioritize safety by turning off the engine and avoiding open flames.
A fuel leak in your car can be nerve-wracking. That distinct smell of gasoline, or worse, visible drips, means something isn’t right. It’s not just about the wasted fuel; it’s a serious safety hazard. Fuel is highly flammable!
But don’t worry, finding a fuel leak doesn’t always require a trip to the mechanic. With a bit of careful observation and by following some simple steps, you can often pinpoint the problem yourself. I’m here to guide you through it, step-by-step, so you can understand what’s happening and feel confident taking the next action.
We’ll cover where to look, what to look out for, and how to do it safely. Let’s get started on making your car safe and reliable again.
Why Fuel Leaks Are a Big Deal
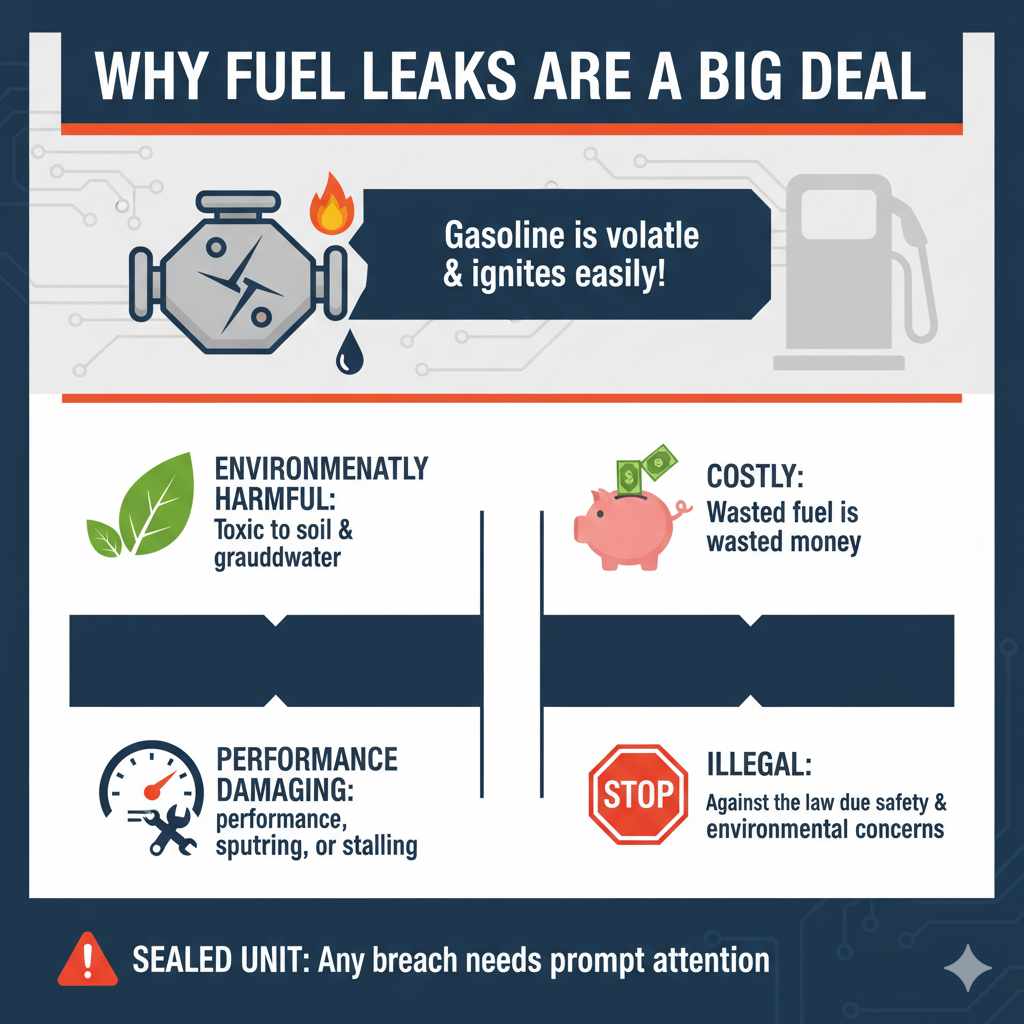
Before we dive into finding the leak, it’s important to understand why this is such a critical issue. Gasoline is a volatile liquid, meaning it ignites very easily. Even a small spark from static electricity, a hot engine part, or an external flame can turn a minor leak into a major fire.
Beyond the fire risk, fuel leaks are also:
- Environmentally Harmful: Gasoline is toxic and can contaminate soil and groundwater.
- Costly: Every drop of fuel that leaks out is money wasted.
- Performance Damaging: A leak can disrupt the fuel system’s pressure, leading to poor engine performance, sputtering, or stalling.
- Illegal: Driving a vehicle with a significant fuel leak is often against the law due to safety and environmental concerns.
Your car’s fuel system is designed to be a sealed unit. Any breach in that seal needs attention promptly.
Safety First! Essential Precautions
Working with gasoline requires extreme caution. Your safety is the absolute top priority. Here’s what you must do before you even think about looking for a leak:
- Park in a Safe Location: Find a spot outdoors with plenty of fresh air. Never work on a fuel leak in a closed garage or near anything that can create a spark or flame (like water heaters, furnaces, or even smoking materials).
- Ensure the Engine is Cool: Let the car sit for at least an hour after it’s been running. Engine components can be very hot and could ignite fuel vapors or cause burns.
- No Open Flames or Sparks: This includes cigarettes, lighters, welders, or even anything that might create static electricity.
- Wear Safety Gear: Eye protection (safety glasses or goggles) is a must. Nitrile gloves are recommended to protect your skin from gasoline.
- Have a Fire Extinguisher Handy: Keep a Class B (flammable liquid) fire extinguisher within easy reach. Know how to use it.
- Ventilation is Key: Work in a well-ventilated area to dissipate fumes.
If you smell fuel strongly, even when the car isn’t running, you likely have a leak that needs immediate attention. Some leaks are subtle, and others are obvious. We’ll help you find both.
Common Signs of a Fuel Leak
Before you get your hands dirty, pay attention to these common indicators that signal a fuel leak:
- The Smell of Gasoline: This is the most obvious sign. If you smell gas inside or outside your car when it’s parked or running, investigate immediately.
- Visible Drips or Puddles: Park your car on a clean, dry surface (like a piece of cardboard or newspaper) and let it sit for a few hours. Check the ground underneath for any fuel stains.
- Engine Misperformance: Leaks can cause loss of fuel pressure, leading to rough idling, hesitation when accelerating, stalling, or a general loss of power.
- Check Engine Light: Sometimes, a fuel system issue, including a leak, can trigger your car’s check engine light.
- Decreased Fuel Efficiency: If your gas mileage suddenly drops significantly, a leak could be the culprit.
Essential Tools for Finding a Fuel Leak
You don’t need a mechanic’s entire toolbox for this task. A few basic items will help you inspect your car safely:
- Owner’s Manual: This contains diagrams of your fuel system components.
- Flashlight: A good, bright flashlight is crucial for seeing into dark corners. A headlamp is even better as it keeps your hands free.
- Safety Glasses: To protect your eyes from fuel splashes or debris.
- Nitrile Gloves: To protect your skin.
- Cardboard or Newspaper: To place under the car to detect drips.
- Mirror (Optional): A small inspection mirror can help you see areas that are hard to reach.
- Shop Rags: For wiping any spilled fuel or dirt.
Step-by-Step Guide: How to Find a Fuel Leak in Your Car
Let’s walk through the process of systematically checking your car’s fuel system. Remember to keep safety at the forefront of every step.
Step 1: Initial Visual Inspection (Engine Off)
Start with the engine off and cool. Pop the hood and begin your visual search.
Fuel Lines: These are typically rubber or metal tubes that run from the fuel tank to the engine. Look for:
- Cracks or cuts in rubber hoses.
- Corrosion or damage to metal lines.
- Loose or damaged hose clamps.
- Wet spots or residue around connections.
Fuel Filter: Usually located along the fuel line. Check its housing and the connections for any signs of leakage.
Engine Bay Components: Pay close attention to areas where fuel lines connect to the fuel rail, the fuel pressure regulator, and injectors. Look for wetness, drips, or a strong fuel smell emanating from these specific points.
Step 2: Inspecting Underneath the Car
This is where many leaks are found. Safely position your car over your prepared cardboard or newspaper.
Fuel Tank: Look for any visible damage, corrosion, or wet spots on the fuel tank itself. Pay attention to the areas where the fuel filler neck connects to the tank and where the fuel lines exit the tank.
Fuel Lines Running to the Tank: Follow the lines from the engine bay all the way to where they enter the fuel tank. Inspect the entire length for any signs of damage, rust, or leaks.
Fuel Pump (if external): Some vehicles have external fuel pumps. Locate yours and check its seals and connections.
Fuel Filter: If your fuel filter is located underneath the car, inspect it thoroughly.
Fuel Filler Neck: This is the pipe you put the gas nozzle into. Check the connection to the gas tank and where the metal pipe might join a rubber hose. Rust is common here, especially on older cars or those in salty environments.
Step 3: Checking Fuel Injectors and Rail
This part requires a bit more focused inspection, as these components are under pressure when the engine is running.
Fuel Rail: This is a pipe that distributes fuel to the injectors. Check for cracks or loose fittings.
Fuel Injectors: These are the nozzles that spray fuel into your engine. Look for:
- O-ring leaks at the base where the injector meets the fuel rail or the engine.
- Cracks in the injector body itself.
Fuel Pressure Regulator: This component maintains the correct fuel pressure. It can leak fuel, especially if its diaphragm fails.
Step 4: The “Engine Running” Test (Use Extreme Caution!)
If you haven’t found a visible leak with the engine off, a very careful test with the engine running might be necessary. This is where the risk increases, so be absolutely sure you’ve followed all safety precautions.
Start the Engine: With the engine running, immediately open the hood and listen for any unusual noises (like hissing) and smell for fuel. Do this for the shortest time possible.
Quick Visual Sweep: Using your flashlight, quickly scan the fuel lines, connections, injectors, and fuel rail. Look for any active dripping or spraying of fuel. You might see a small amount of fuel weeping from a connection under pressure that wasn’t apparent when the engine was off.
If you see any fuel spraying or dripping rapidly, shut off the engine IMMEDIATELY.
This test is best done if you have someone to help. One person can monitor the engine and shut it off instantly if needed, while the other performs a quick visual check.
Step 5: Evaporative Emissions (EVAP) System Leaks
Sometimes, what smells like a fuel leak is actually an issue with the EVAP system. This system captures fuel vapors and recirculates them, preventing them from escaping into the atmosphere. Clues to an EVAP leak include:
- A fuel smell, but no visible liquid fuel leaks.
- A “Check Engine” light that specifically points to leaks in the EVAP system (often codes like P0442, P0455).
Common EVAP leak points include:
- Gas Cap: The simplest and most common EVAP leak! Ensure your gas cap is the correct type for your vehicle and that it’s tightened properly until it clicks. If it’s damaged or the seal is worn, it needs replacement. A loose or faulty gas cap is a very common reason for a P0455 (large EVAP leak) code.
- EVAP Hoses and Canister: These plastic hoses and the charcoal canister can crack or develop leaks over time.
You can often confirm a loose gas cap by driving for a bit after tightening it. If the fuel smell disappears and the “Check Engine” light eventually clears (which can take several drive cycles), that was likely your issue.
Common Places for Fuel Leaks
Certain parts of the fuel system are more prone to leaks due to wear and tear, heat, or vibration. Knowing these common culprit areas can help you focus your search.
| Component | Why it Leaks | Signs to Look For |
|---|---|---|
| Fuel Lines (Rubber Hoses) | Deterioration from age, heat, chemicals, or physical damage. | Cracks, brittleness, wet spots, dripping. |
| Fuel Lines (Metal) | Corrosion, rust, physical damage. | Pinholes, rust through, wetness at seams. |
| Fuel Filter | Faulty seals, housing cracks, loose fittings. | Fuel weeping from connections or housing. |
| Fuel Injectors / O-rings | Degraded O-rings, cracked injector bodies, faulty seals. | Wetness or drips around injector base, fuel smell near engine. |
| Fuel Tank | Corrosion, puncture from road debris, failed seals at filler neck. | Rust holes, visible damage, wetness around filler neck. |
| Fuel Filler Neck | Rust, physical damage, worn seals where it connects to tank. | Rust holes, wetness at connection points. |
| Gas Cap (EVAP) | Damaged seal, improper tightening, wrong cap type. | Fuel smell, “Check Engine” light (EVAP codes). |
When to Call a Professional
While this guide empowers you to find many common fuel leaks, there are times when it’s best to step aside and let an expert handle it. You should call a mechanic if:
- You can’t locate the source of the leak after a thorough inspection.
- The leak appears to be coming from a complex component like the fuel pump inside the tank, or a difficult-to-access fuel line.
- You find a significant leak (e.g., steady dripping to spraying).
- You’re uncomfortable performing any of the inspection steps, especially the engine-running test.
- Your car is still exhibiting problems after you’ve identified and seemingly fixed a leak.
Mechanics have specialized tools, like smoke machines, that can detect minuscule leaks in the EVAP system that are impossible to see. They also have the experience to safely work on high-pressure fuel systems. For more information on fuel system safety, the National Highway Traffic Safety Administration (NHTSA) offers valuable resources.

Frequently Asked Questions (FAQ)
Q1: How dangerous is a fuel leak?
A fuel leak is very dangerous. Gasoline is highly flammable, and fumes can ignite easily from sparks, heat, or open flames, potentially causing a car fire. It’s crucial to address any fuel leak immediately and safely.
Q2: Can I drive my car with a fuel leak?
It is not recommended to drive your car with a confirmed fuel leak, especially if it’s significant. Leaks pose a serious fire hazard, can damage your engine due to fuel pressure loss, and are environmentally harmful. For minor leaks, drive only as much as necessary to get it to a repair shop, and do so in a well-ventilated area.
Q3: What does a fuel leak smell like?
A fuel leak smells strongly of gasoline. The odor is distinct and often more potent than the usual faint smell you might occasionally notice at a gas station. If you smell it persistently inside or around your car, it’s a clear warning sign.
Q4: My car smells like gas but I don’t see any drips. What could it be?
This often points to an issue with the Evaporative Emission Control (EVAP) system. A common cause is a loose or damaged gas cap. Other possibilities include leaks in EVAP hoses, the charcoal canister, or vents. A faulty gas cap is the easiest to check and fix.
Q5: How much does it cost to fix a fuel leak?
The cost varies greatly depending on what’s leaking and how complex the repair is. A simple fix like replacing a gas cap might cost $20-$50. Replacing a fuel line or fuel filter could range from $150-$500. Leaks involving the fuel pump inside the tank are more involved and can cost $500-$1500 or more.