How To Find A Leak In Car Air Conditioner
To find a leak in a car air conditioner, check the system’s pressure first, then use UV dye, soapy water, or an electronic leak detector to spot where refrigerant is escaping. Low pressure on the low-pressure port usually points to a leak, and common problem areas are hoses, seals, fittings, the condenser, and the evaporator.
For bigger leaks, bubbles from a soap solution can show the problem fast. For tiny or hard-to-reach leaks, UV dye and a detector work better, especially around the evaporator inside the dashboard.
What Is a Car Air Conditioner Leak?


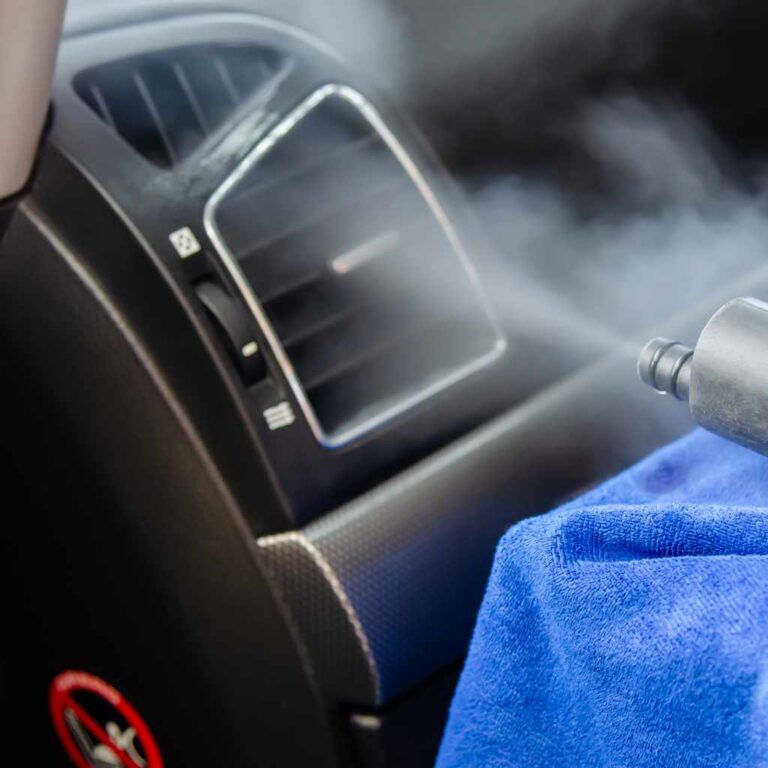
A car air conditioner leak happens when refrigerant, the stuff that cools the air, escapes from the AC system. It’s like a tiny hole in a water balloon letting air out. This can make your AC blow warm air, and it might harm the system if ignored. Leaks often occur in hoses, seals, or the evaporator, especially in older cars. Finding them early saves you from pricey repairs.
Why Finding a Leak Matters
A small leak can empty your AC’s refrigerant, leaving you hot and bothered. It also strains the compressor, which is like the heart of the AC system. Fixing a leak fast keeps your car cool and saves you from repair bills that can hit $500 or more. Plus, refrigerant can harm the environment, so catching leaks is a win for the planet!
Tools You Need to Find a Leak
You don’t need a mechanic’s toolbox to start. Here’s what I use to hunt down AC leaks:
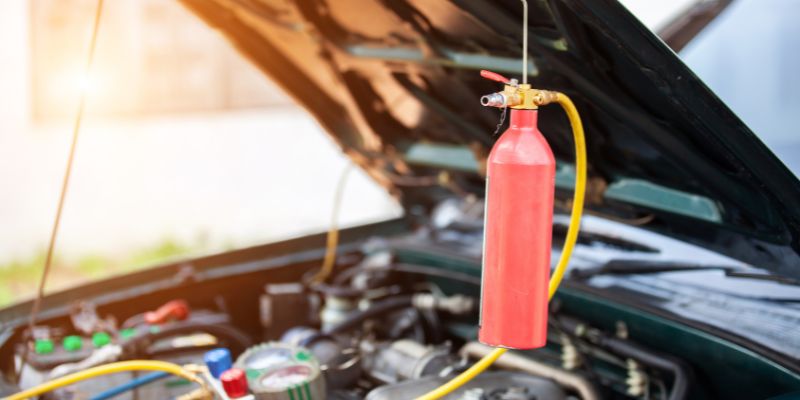
- UV Dye Kit: A dye you add to the AC system that glows under UV light to show leaks.
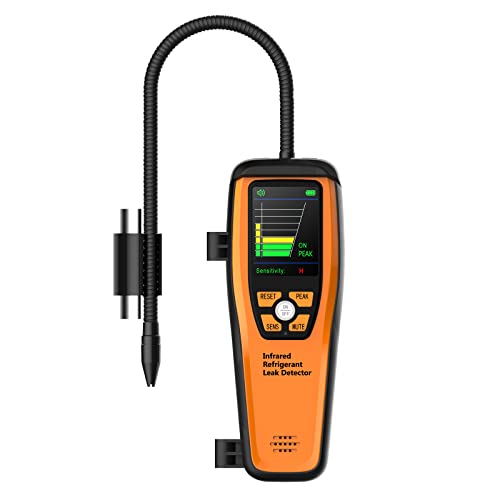
- Electronic Leak Detector: A device that beeps when it senses refrigerant.
- Soapy Water Spray Bottle: A simple mix of dish soap and water to spot bubbles at leak points.
- Safety Gear: Gloves and safety glasses to stay safe around refrigerants.
I got a UV dye kit for about $20 online, and it’s been a game-changer. Check sites like AutoZone for affordable options.
Table 1: Tools for Finding AC Leaks
| Tool | Cost (Approx.) | Ease of Use | Best For |
|---|---|---|---|
| UV Dye Kit | $20–$50 | Easy | Visible leaks |
| Electronic Detector | $50–$150 | Medium | Hard-to-reach spots |
| Soapy Water Solution | $5 | Very Easy | Larger leaks |
Caption: Compare tools to find the best one for your budget and skill level.
Step-by-Step Guide to Find a Car AC Leak
Here’s how I find leaks in my car’s AC system. These steps are simple enough for beginners but work for pros too.
Step 1: Check the AC System’s Pressure
First, I use a pressure gauge to see if the system is low on refrigerant. You can buy a gauge for about $15 at O’Reilly Auto Parts. Attach it to the low-pressure port (usually marked with an “L”). If the pressure is below normal (check your car’s manual), you’ve likely got a leak.
Step 2: Add UV Dye to the System
I add UV dye to the AC system using a dye injector. Follow the kit’s instructions—it’s no sweat! Run the AC for 10–15 minutes to let the dye spread. Then, use a UV flashlight to spot glowing spots on hoses, fittings, or the condenser. My first try found a leak in a hose connection right away!
Step 3: Use Soapy Water for Big Leaks
For quick checks, I mix dish soap with water in a spray bottle. Spray it on AC lines, especially near joints. If bubbles form, you’ve found a leak. This trick is dirt-cheap and works like a charm for bigger holes.
Step 4: Try an Electronic Leak Detector
For tiny leaks, I use an electronic detector. Move it slowly around the AC components, like the evaporator or compressor. It beeps when it smells refrigerant. I found a small leak near my car’s evaporator this way, which saved me a trip to the shop.
Step 5: Inspect Hard-to-Reach Spots
Some leaks hide in the evaporator, which is inside the dashboard. If you suspect this, check the cabin air vents with your detector. It’s tricky, but patience pays off. If you’re unsure, a pro mechanic can help with these spots.
Visual Idea
A simple diagram of a car’s AC system (showing the compressor, condenser, evaporator, and lines) would help beginners see where leaks happen. Another idea is a photo of a UV dye glowing under a flashlight to show what to look for.
Check for Leaks With Soap Solution and UV Dye
Once the system is low on refrigerant, inspect the visible AC parts first. Look closely at hose connections, service ports, the condenser, and other accessible lines for oily residue, dirt stuck to wet spots, or any damaged areas. Small amounts of oil or dye can escape with the refrigerant and leave a clue behind, but visual inspection alone may miss small leaks.
A soap solution is a simple way to confirm a leak in an easy-to-reach spot. Mix soap and water in a spray bottle, then spray it on the AC lines and joints. If bubbles form, refrigerant is escaping there. This method is low-cost and low-risk, but it works best when the leak is fairly accessible and the system still has enough pressure.
UV dye can help find slower or harder-to-see leaks. Add the dye to the AC system using the kit instructions, then run the AC for 20 to 30 minutes so it can circulate. After that, use a black light or UV flashlight to check the hoses, fittings, and condenser for glowing dye. UV light makes small leaks easier to spot, including ones that are not visible to the naked eye.
Use a Leak Detector or Sniffer
An electronic leak detector, also called a sniffer, is one of the best tools for tracking down small refrigerant leaks. After you’ve confirmed the system is low on refrigerant, move the probe slowly around suspected leak points like hose connections, service ports, the compressor, condenser, and evaporator area. This tool gives an audible signal when it detects refrigerant, which makes it useful for leaks that are too small to see with soap bubbles or UV dye.
For the most accurate results, scan carefully around hard-to-reach spots. The evaporator is a common trouble area because it sits inside the dashboard, so a detector can help identify a leak there when visual inspection is not enough. In some cases, a leak tester with forming gas or nitrogen can help confirm a harder-to-find leak. Nitrogen testing fills the emptied AC system with nitrogen and checks whether the pressure stays constant. Forming gas testing uses a mix of nitrogen and hydrogen, then a special electronic leak indicator is moved slowly over suspected areas.
Nitrogen and forming gas testing are especially useful when the leak is small or hidden, and they can help confirm the exact location before repairs begin.
Common Mistakes to Avoid
When I started, I made some rookie errors. Here’s what to watch out for:
- Overfilling Refrigerant: Adding too much can damage the system. Stick to your car’s specs.
- Skipping Safety Gear: Refrigerant can irritate skin or eyes. Wear gloves and glasses.
- Ignoring Small Leaks: Even tiny leaks grow worse over time. Fix them early!
Benefits and Drawbacks of DIY Leak Detection
Benefits
- Saves Money: Finding a leak yourself can cut repair costs by $100 or more.
- Empowering: It’s satisfying to fix your own car!
- Quick: You can start right away without waiting for a mechanic.
Drawbacks
- Time-Consuming: Checking every part takes patience.
- Tricky Spots: Evaporator leaks are hard to reach without pro tools.
- Risk of Error: Beginners might misdiagnose or damage parts.
Table 2: DIY vs. Professional Leak Detection
| Method | Cost (Approx.) | Time Needed | Skill Level Needed |
|---|---|---|---|
| DIY Detection | $20–$150 | 1–3 hours | Beginner–Medium |
| Professional | $100–$500 | 1–2 hours | Expert |
Caption: Decide if DIY or pro help fits your budget and time.
My Personal Tips for Success
After a few sweaty summers, I’ve learned some tricks. First, check your AC system at night with a UV light—it makes dye glow brighter. Second, keep a log of where you check to avoid missing spots. Finally, if you’re stuck, watch a quick video on YouTube for your car model. It’s like having a buddy guide you!
Alternative Approaches
If UV dye or detectors aren’t your thing, try a nitrogen pressure test. Fill the empty system with nitrogen (up to 12 bar) and listen for hissing. This needs special gear, so it’s pricier. Another option is taking your car to a shop with advanced tools, but that can cost $100–$200. I stick to DIY methods to save cash.
Visual Idea
A flowchart showing “Start → Check Pressure → Add Dye → Inspect → Fix Leak” would make the process crystal clear for beginners.
Frequently Asked Questions
How Do I Know If My Car AC Has a Leak?
If your AC blows warm air or you hear hissing, it’s likely a leak. Low pressure on a gauge confirms it.
Can I Drive with an AC Leak?
Yes, but it’s not ideal. Leaks reduce cooling and may harm the compressor over time.
How Much Does It Cost to Fix an AC?
DIY fixes cost $20–$150 for tools and refrigerant. Pro repairs range from $100–$500, depending on the leak.
Is It Safe to Add UV Dye to My AC?
Yes, UV dye is safe if you follow instructions. Wear gloves and avoid overfilling the system.
What If I Can’t Find the Leak?
Try an electronic detector for tiny leaks. If you’re still stuck, a mechanic can check tricky spots like the evaporator.
How Often Should I Check for AC Leaks?
Check yearly or when cooling weakens. Regular checks catch small leaks before they become big problems.
Can I Use Soapy Water for All Leaks?
Soapy water works for bigger leaks but might miss tiny ones. Combine it with UV dye for best results.
Conclusion
Finding a leak in your car’s air conditioner is easier than it sounds. With simple tools like UV dye or a soapy spray bottle, you can track down leaks and stay cool all summer. My first attempt was a bit of a flop, but practice made it a breeze! Try these steps, save some bucks, and share your success with friends. Got a cool tip? Drop it in the comments on CARiD forums and keep the AC love flowing!
Products related to this article
Sponsored / affiliate links. As an Amazon Associate I earn from qualifying purchases. I may earn additional commission from eligible campaigns.