How To Fix A Cigarette Burn In A Car Seat (Like New Again)
It’s a sinking feeling, isn’t it? You notice a small, tell-tale dark mark on your car seat. A cigarette burn.
Maybe it was an accident, maybe it was someone else. Either way, that little hole can be a big annoyance. It stares at you every time you get in the car.
But don’t despair! Fixing a cigarette burn in a car seat is totally doable. You can make it look much, much better — see our related guide, How to Fix Car Leather Seats: Cleaning & Repair Guide.
Sometimes, you can even make it disappear. Let’s get this sorted out.
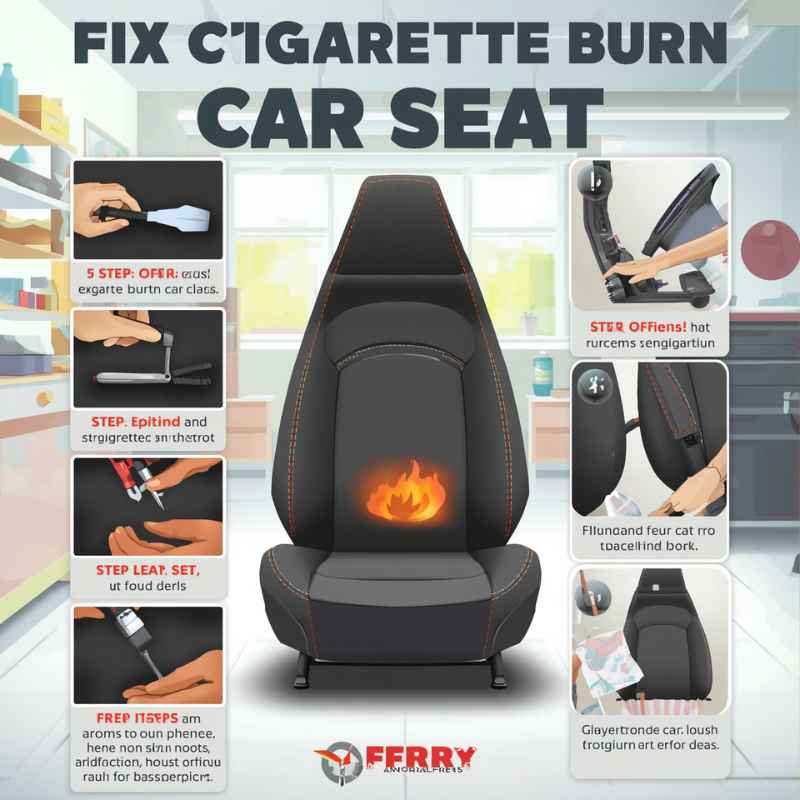
Fixing a cigarette burn in a car seat involves carefully cleaning the area, trimming frayed fibers, and then using a repair kit or a DIY method to fill and color the damaged spot. The goal is to blend the repair seamlessly with the surrounding material for an unnoticeable fix.
Understanding Car Seat Burns
Car seats come in different materials. The most common are fabric (like cloth or velour) and leather or vinyl. Each one needs a slightly different touch.
A burn on fabric might look like a small, blackened hole with charred edges. On leather or vinyl, it might melt the material, leaving a raised or deformed spot. The heat from the cigarette is what causes this damage.
It melts or scorches the material it touches.
The size of the burn matters too. A tiny pinprick burn is much easier to fix than a larger, deeper one. Before you start any repair, it’s good to look closely at the damage.
Know what material your seat is made of. This helps you choose the right tools and methods. We want to make this repair look as natural as possible.
The less noticeable, the better.
My Own Car Seat Burn Scare
I remember one time, a friend was visiting. They accidentally dropped a still-lit cigarette while getting out of my car. I didn’t notice it right away.
It wasn’t until the next morning, in the bright sun, that I saw it. A small, angry-looking brown spot right on the passenger seat. My heart sank.
I love my car, and that burn felt like a stain on its perfection. I immediately started thinking about expensive upholstery shops. I felt a wave of panic.
Could I really fix this myself? I spent hours online, reading everything I could. That’s when I learned there were actual ways to tackle this problem at home.
It gave me hope.
Fabric Burn Basics
What happens: Heat melts and chars the fabric fibers. This creates a dark hole or discoloration.
Key challenge: Matching the fabric texture and color is crucial. You don’t want a patch that stands out.
Best approach: Careful cleaning, trimming, and using a fabric repair kit or filler. Sometimes a bit of dye works wonders.
Fabric burns can look bad. They often leave a rough texture. The fibers around the burn might also be frayed.
This makes the spot look worse than it is. Getting rid of these loose threads is a big first step. It helps prepare the area for repair.
Don’t pull at them. We’ll deal with them carefully.
The color of the fabric is also important. If your car seat is a common color like black, grey, or beige, finding a repair material is easier. For unique colors, you might need to mix colors to get a perfect match.
This can be tricky but is possible with good kits. Or, for an entire panel that is faded rather than just patched, a dedicated upholstery paint spray can recolor the whole surface for a more uniform finish.
Assessing the Damage: Fabric Seats
Before you grab any tools, take a good, hard look at the burn. Is it just a small, dark mark? Or are there actual holes with loose threads?
Does it feel rough to the touch? Gently feel the edges. Are they melted and hard, or soft and frayed?
For fabric seats, you’ll often find little black bits of charred material. These are the burnt fibers. They need to be removed.
Don’t push them in deeper. We want them out of the way. You might also see some discoloration spreading from the burn spot.
This is normal. The heat travels. We’ll address that too.
Think about the type of fabric. Is it a smooth cloth, a textured velour, or something else? The repair method might change slightly.
A smoother fabric needs a smoother finish. A textured fabric needs its texture restored. This initial assessment is super important for picking the right fix.
Leather/Vinyl Burn Basics
What happens: Heat melts or sears the plastic-like material. This can cause bubbling, hardening, or deformation.
Key challenge: Recreating the surface texture and color without leaving a shiny or dull patch.
Best approach: Often involves filling the melted area with a compound and then coloring it. Some kits have texture papers.
Leather and vinyl burns can sometimes look worse than fabric burns. They might melt and pull away from the seat. This can leave an uneven surface.
Sometimes, the material can even bubble up. This makes the repair more about leveling out the area. Then you add the color back in.
The texture of leather is different from vinyl. Leather has a natural grain. Vinyl can be smooth or have an imprinted grain.
Your repair material needs to match this. If you use a repair compound that’s too smooth on a textured seat, it will be very obvious. This is why identification is key.
Tools and Materials You Might Need
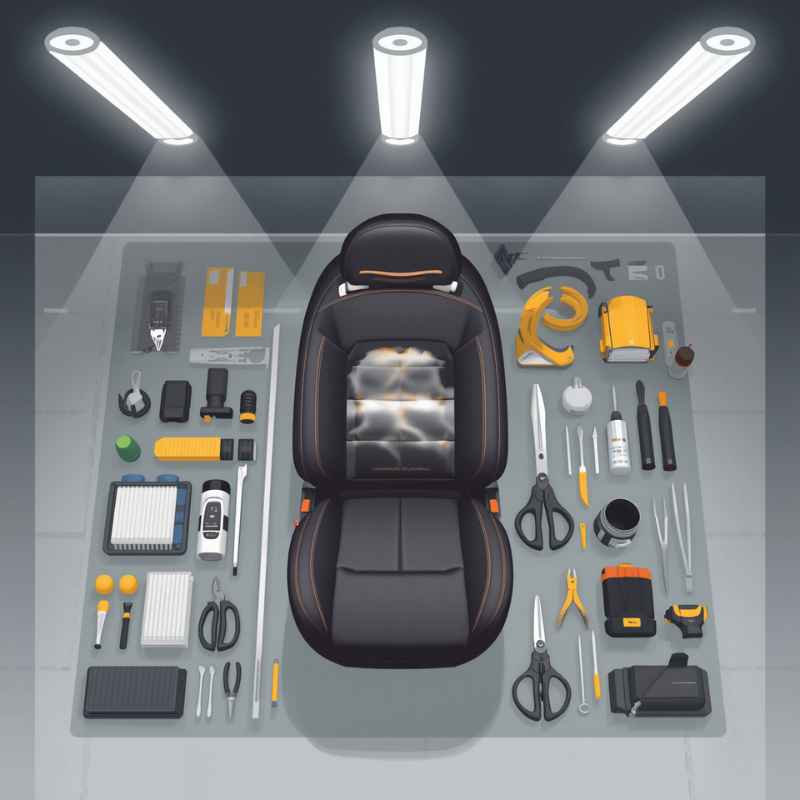
To fix a cigarette burn, you’ll likely need a few things. Don’t worry, most of these are easy to find at an auto parts store, a craft store, or even your local supermarket. Having the right stuff makes the job much smoother.
You don’t want to start and realize you’re missing a key item.
First, you’ll need something to clean the area. A mild soap and water solution or an interior car cleaner is good. You’ll also need a soft cloth or sponge.
For fabric burns, a small pair of sharp scissors or anExacto knife can help trim frayed threads. A stiff brush might also be useful for fabric.
For the actual repair, there are kits specifically for car upholstery. These are often the best bet. They come with filler compounds, colorants, and sometimes even tools to help with application.
If you can’t find a specific car seat kit, a general fabric repair kit or leather/vinyl repair kit might work. You might also need a fine-grit sandpaper for smoothing. And perhaps some tweezers for very small threads.
Make sure to get a repair material that matches your seat color as closely as possible. Many kits offer a range of colors, or you can mix them to get a custom shade. This color matching is vital for a good result.
Step-by-Step Guide: Fixing Fabric Seat Burns
Okay, let’s get down to fixing that fabric burn. It’s a process, but with patience, you can get a great result. Start by gathering all your supplies.
It’s always better to have everything ready. This way, you can focus on the repair itself.
1. Clean the Area: Gently wipe the burned area and the surrounding fabric with a damp cloth. Use a mild soap or upholstery cleaner.
This removes any dirt or grime. Let it dry completely. This is important.
You don’t want to work on a damp surface.
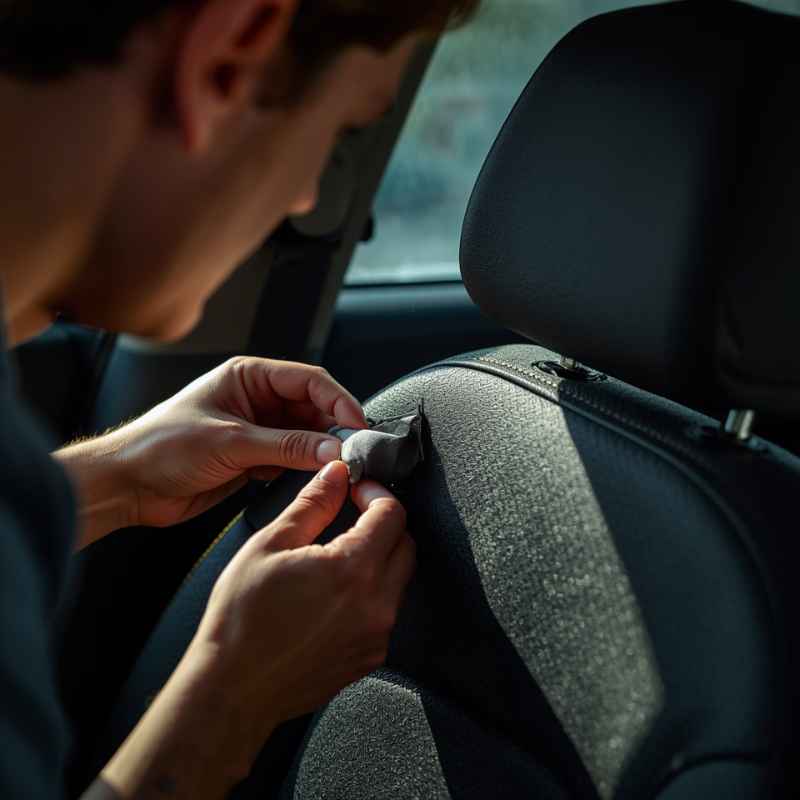
2. Trim Frayed Edges: Use a small, sharp pair of scissors or a craft knife to carefully trim away any loose, burnt fibers. Be precise.
You want to remove the damage without making the hole bigger. Tweezers can help grab individual threads. Don’t pull.
Just snip them off cleanly.
3. Prepare the Repair Material: Follow the instructions on your fabric repair kit. This usually involves mixing a filler compound.
Some kits might require heat to activate the filler. Others are air-dry. If you’re using a colorant, you might need to mix it to match your seat color.
Test the color on a hidden spot first if you can.
4. Apply the Filler: Carefully apply the filler compound into the hole. Use the tool provided with the kit, or a small spatula.
You want to fill the hole level with the surrounding fabric. Don’t overfill. It’s better to add a bit more later if needed.
Smooth it out gently.
5. Add Color (If Needed): Once the filler is dry (check your kit’s instructions for drying times), you can apply the colorant. Use a small brush or sponge.
Dab it on gently. Try to match the surrounding fabric’s color and pattern. Build up the color in thin layers.
This helps it look more natural.
6. Blend and Finish: After the color is dry, you might need to blend it in. Some kits come with a special tool for this.
You can also try gently blotting with a clean cloth. The goal is to make the repaired area look like it’s always been there. Once you’re happy, let it cure fully.
Avoid rubbing or cleaning the spot for a day or two.
Fabric Burn DIY Tip
Challenge: Matching fabric texture.
Solution: After applying filler and color, some people use a stiff brush to gently fluff up the repaired fibers. This can help mimic the natural nap of the fabric. Always test this on a hidden area first.
The key with fabric is patience. Rushing the drying times or applying too much filler at once can make the repair obvious. It’s better to do it in stages.
This allows each layer to set properly. And it gives you time to check your work.
What if your fabric is really textured, like corduroy or a thick weave? You might need to use a specialized tool to recreate that texture after the filler is dry. Some kits include small texture stamps.
Or you might be able to use a stiff brush or even a toothpick to carefully create lines that match the original weave. This detail work makes a big difference.
Step-by-Step Guide: Fixing Leather or Vinyl Seat Burns
Leather and vinyl burns need a slightly different approach. They often involve filling and then coloring. The materials are less forgiving in some ways, but the repair can be very effective.
Let’s walk through it. Again, get all your supplies ready first.
1. Clean the Area: Just like with fabric, start by cleaning. Use a cleaner specifically for leather or vinyl.
Wipe the burn area and the surrounding surface. Let it dry completely. Make sure there’s no residue left.
2. Remove Loose/Melted Material: If the burn has created melted plastic or debris, carefully remove it. A craft knife or a razor blade held at a very low angle can shave off hardened bits.
Be extremely gentle. You don’t want to cut into good material. If it’s bubbly, you might need to gently press it down after applying a special compound.
3. Apply Filler Compound: Use a leather or vinyl repair kit. These kits typically have a flexible filler compound.
Apply it to the damaged area. You want to build it up to be level with the rest of the seat. Use the applicator tool provided.
Smooth it out carefully. Again, avoid overfilling. You can always add more.
4. Let it Dry and Cure: Leather and vinyl fillers need to dry. This can take several hours, depending on the product and the thickness.
Some kits might use a heat gun (on a low setting) to speed up curing, but be very careful not to cause more damage. Follow the kit’s instructions precisely.
5. Recreate Texture (If Needed): If your seat has a grain or texture, you’ll need to replicate it. Many kits include texture papers.
You place these over the wet filler and apply heat (again, carefully, with a low-heat iron or the kit’s tool). This transfers the texture. If your kit doesn’t have this, you might need to gently score the surface after it dries using a sharp tool and a steady hand.
This is the trickiest part.
6. Apply Colorant: Once the filler is dry and textured, it’s time to color. Use the colorant provided in the kit.
This is usually a liquid or a paste. Apply it in thin, even coats. A small sponge or applicator is best.
Build up the color slowly. Aim to match the surrounding leather or vinyl perfectly. You might need multiple coats.
7. Seal and Finish: After the color is dry, you might need to apply a sealant or protectant. This locks in the color and adds a protective layer.
It also helps match the sheen of the surrounding material. Let everything cure fully before using the seat. Again, avoid harsh cleaning for a few days.
Leather/Vinyl Burn Texture Tip
Challenge: Matching the original grain.
Solution: If you can’t find a texture paper that matches, look at high-resolution photos of your car’s interior online. Try to find a repeating pattern. You can then use a very fine tool to lightly etch a similar pattern into the dried filler.
Practice this on scrap material first!
Working with leather and vinyl requires a steady hand. The material can be delicate. If you’re unsure about a step, it’s always better to do less than too much.
You can always add more filler or color. But you can’t easily take it away if you damage the good material around the burn.
Some very deep burns in leather or vinyl might be too much for a DIY kit. In those cases, a professional might be needed. But for most common cigarette burns, these kits work wonders.
They’re designed to handle the unique properties of these materials.
DIY Alternatives and Tricks
What if you don’t have a fancy repair kit handy? Or you want to try something simpler first? There are a few DIY tricks you can try, especially for smaller fabric burns.
These might not be as perfect as a kit, but they can make a big difference.
For Fabric Burns:
One common trick is using a bit of fabric glue mixed with matching thread fibers. First, clean and trim the burn as usual. Then, mix a tiny amount of fabric glue with some fibers you’ve carefully cut from an inconspicuous part of the seat (like underneath the seat).
Use tweezers to dab this mixture into the hole. Try to pack it in and blend it. Let it dry completely.
This can fill small holes and secure loose threads. It’s not perfect, but it can hide the damage.
Another method involves using a bit of colored wax or crayon. For a very small burn, you can try carefully melting a bit of matching colored wax into the hole. You can buy upholstery wax or even colored pencils designed for fabric.
Gently rub the color into the burn. Then, carefully melt a tiny bit of wax over the top. Smooth it out.
This works best on smooth fabrics where texture isn’t a big issue. You have to be very careful with the heat.
Quick Fabric Burn Concealment
Method: Temporary color fill.
Use for: Very small, shallow burns where fibers are mostly intact but discolored.
How-to: Use a fabric marker or colored pencil that closely matches your seat color. Gently dab color into the burnt fibers. This won’t fix the hole, but it can make the discoloration less noticeable.
Clean the area first. Always test in an hidden spot.
For Leather/Vinyl Burns:
For minor melts in vinyl, sometimes a bit of heat from a hairdryer (on a low setting!) can help smooth out minor bubbling. Be extremely cautious with this. You don’t want to melt the vinyl further.
After smoothing, you might be able to use a leather or vinyl conditioner to help blend the surface. This is a very basic fix and only works for the absolute smallest imperfections.
Another option is to use a bit of black shoe polish (for black seats) or a colored leather filler. Apply a very small amount to the burn. Buff it in gently.
This is more of a temporary cover-up. It won’t fill a hole but can darken a light burn mark. Again, test on a hidden spot first.
The DIY methods are often best for minor damage. If the burn is significant, a dedicated repair kit will give you the best results. But for a quick fix to make things look a little better, these tricks can be helpful.
Real-World Context: Where Burns Happen
Let’s be honest, cigarette burns in car seats aren’t super common these days. Most people don’t smoke in their cars. But accidents can happen.
Someone might be a smoker and not realize the cigarette is still lit. Or maybe they’re trying to put it out and accidentally drop it. Young drivers might not be as experienced with handling cigarettes, leading to fumbles.
Also, older cars might have occupants who are still smokers.
Sometimes, it’s not even cigarettes. Other smoldering items, like an ember from a campfire that somehow got tracked in, or even a hot piece of metal, can cause similar damage. The principle is the same: heat causing material damage.
In my experience, these burns often happen on the edge of the seat or near the door. This is where people might be leaning or reaching. It’s also where a dropped cigarette has a good chance of landing.
The center of the seat is less likely unless someone is actively smoking there.
Common Burn Locations
Driver’s Side Bolster: Often where the driver leans. Also, where cigarettes might be dropped when exiting.
Passenger Seat Edge: Near the door, where someone might rest an arm or drop something.
Center Console Area: If ash falls or a cigarette is held carelessly.
Underneath Seat: Less visible, but can happen if a cigarette falls from a pocket.
The material of the seat plays a big role too. Vinyl seats, common in older or more basic cars, can melt very easily. Fabric seats will char but might not melt as readily.
Leather seats can scorch and harden. Understanding the environment where the burn happened can sometimes give clues to the type of damage you’re dealing with.
What This Means For Your Car Seat
So, what’s the takeaway from all this? First, a cigarette burn doesn’t have to be a permanent eyesore. With the right tools and a bit of patience, you can significantly improve its appearance, often making it nearly invisible.
This can save you money compared to professional repair or reupholstering.
For fabric seats, the goal is to rebuild the damaged fibers and match the color. For leather or vinyl, it’s about smoothing the surface, matching the texture, and then recoloring. The key is blending the repair into the existing material.
You want it to look like nothing ever happened.
It’s important to be realistic. A severe, deep burn might be challenging to fix perfectly at home. In some cases, a slight imperfection might remain.
But for most common burns, a good repair kit will deliver fantastic results. It’s about restoration, not necessarily making it factory-new if the damage was severe.
When to Worry About a Burn
When it’s normal: Small, isolated burns that can be cleaned and filled/colored.
When to worry: Burns that have spread significantly, melted large sections of the seat, or weakened the structural integrity of the material. If the material is torn or ripped extensively around the burn.
Simple check: Gently pull on the edges of the burn. If the material feels very weak, brittle, or tears easily, the damage might be too extensive for DIY.
Think of it like a small cut on your skin. If it’s a tiny paper cut, a band-aid works wonders. If it’s a deep gash, you need stitches.
Your car seat is similar. A small burn is like a paper cut. A large, deep burn is like a gash.
Know your limits and the limits of DIY repair.
Preventing Future Burns
The best way to deal with a cigarette burn is to never have one in the first place! If you or your passengers smoke, take extra precautions. Have a proper car ashtray.
Make sure cigarettes are fully extinguished before discarding them. Don’t tap ash into the car. Be mindful of where you’re holding your cigarette.
If you have guests who smoke, politely ask them to be extra careful or to smoke outside the car. Most smokers understand and are happy to comply. It’s a small request that can save your car’s interior from damage.
Educating passengers about the risk can also help.
Smoking Safety in Cars
Use a dedicated car ashtray. It contains ashes and embers.
Fully extinguish cigarettes. Press the end firmly into the ashtray or a solid surface.
Avoid smoking near seat edges. This is where accidents often happen.
Educate passengers. Remind them of the risks to upholstery.
Keep the car clean. Less clutter means fewer places for embers to hide.
For non-smokers, the best prevention is simply to be aware. While less common, other hot objects can cause similar damage. So, general caution with any potentially heat-generating items near your car seats is always a good idea.
Keep your car interior clean and tidy. This reduces the risk of accidental damage.
Frequently Asked Questions
Can I fix a cigarette burn in a car seat myself?
Yes, in most cases, you can fix a cigarette burn in a car seat yourself. Specialized repair kits are available for fabric, leather, and vinyl. These kits contain the necessary materials to fill, color, and blend the damaged area to make it look like new.
What is the best way to fix a fabric car seat burn?
For fabric burns, the best approach is to clean the area, carefully trim any frayed threads, and then use a fabric repair kit. These kits usually involve applying a filler compound and then matching the color. Patience and careful application are key for a seamless repair.
How do I fix a cigarette burn on a leather car seat?
Leather seat burns are typically fixed using a leather repair kit. This involves cleaning the burn, removing any melted material, applying a flexible filler compound, letting it cure, and then coloring the repaired area. Recreating the seat’s texture might also be necessary using specialized tools or papers included in the kit.
What if I can’t find a color match for my car seat repair?
Many repair kits offer a variety of colors that can be mixed to achieve a precise match. If you’re having trouble, try mixing small amounts and testing on a hidden area. Taking a photo of your seat in good lighting can help you match the color better.
Some advanced kits allow for custom color mixing.
How long does a car seat burn repair take?
The repair process itself might take from 30 minutes to a couple of hours, depending on the complexity of the burn and your skill level. However, the drying and curing times for the filler and colorant can add several hours, or even overnight, to the total process. Rushing these steps can lead to a poor result.
Will the repair be completely invisible?
For small to medium burns, a well-done repair can be virtually invisible. However, for very large or deep burns, a slight difference in texture or sheen might be noticeable upon close inspection. The goal is to make it as unnoticeable as possible, and most DIY repairs achieve excellent results.
Conclusion
Dealing with a cigarette burn in your car seat can be stressful. But as we’ve seen, it’s a problem you can absolutely solve. By understanding your seat material and using the right tools, you can restore its appearance.
Whether you opt for a dedicated repair kit or try a DIY trick, the key is careful work and patience. You can make that unsightly burn a distant memory. Enjoy your refreshed car interior!
Products related to this article
Sponsored / affiliate links. As an Amazon Associate I earn from qualifying purchases. I may earn additional commission from eligible campaigns.