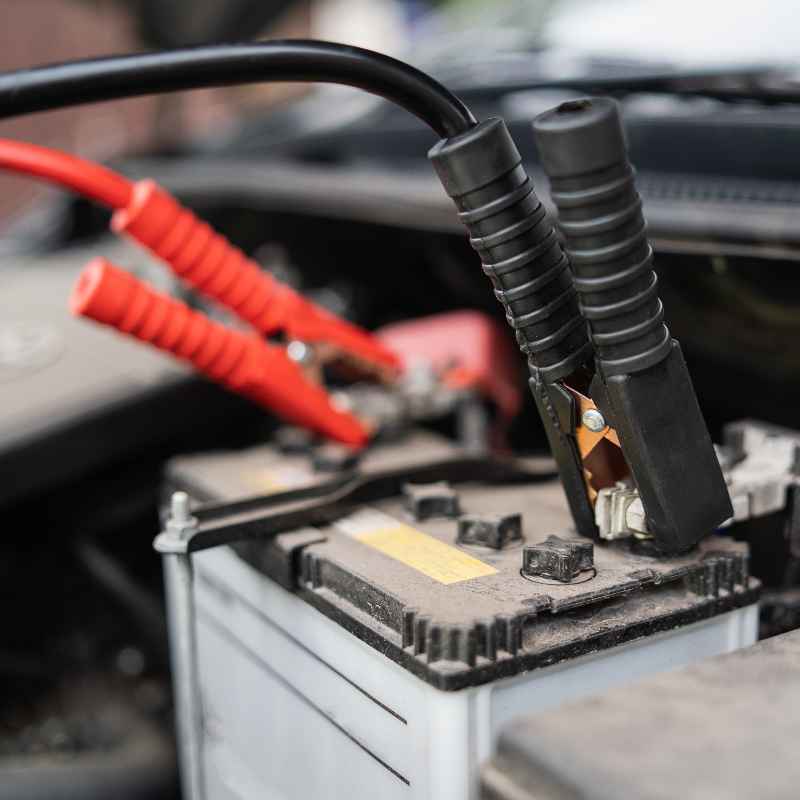
How to Extend Battery Cables in Your Car Safely & Correctly
Extending battery cables can feel intimidating if you have never worked on your car’s electrical system before. With the right wire, connectors, and a few basic tools, you can get the job done cleanly and safely. This guide walks you through every step so your extended cables deliver full power without weak spots or dangerous heat.
Simply put, extending battery cables is about matching the original wire gauge, making solid connections, and protecting every splice from moisture and vibration. If you use the correct gauge and secure each joint properly, your extended cables will perform exactly like a single continuous wire. This is a job most DIYers can complete in under an hour.
Key Takeaways
- Extending battery cables requires the same gauge wire (or one size thicker) to avoid voltage drop and overheating.
- Use crimped copper connectors with heat shrink or quality electrical tape for every splice and terminal joint.
- Disconnect the negative battery cable first and wrap any exposed ends with insulating tape before working.
- Test the circuit with a multimeter after you finish to confirm the resistance stays near zero.
- Corrosion and loose connections cause more battery cable failures than the wire itself in most vehicle electrical systems.
What You Need to Extend Battery Cables
Gather everything you need before you start so you do not leave half-crimped connections sitting in the open. The best setup includes wire of the correct gauge, quality connectors, and a proper crimping tool. Do not use pliers to smash a connector and hope for the best.
- Battery cable wire: Use stranded copper wire with a gauge that matches your original cable (or one step thicker).
- Crimp connectors: Choose butt connectors and ring terminals rated for your wire gauge and temperature range.
- Wire strippers: Look for a model with a gauge-specific notch so you do not cut through the copper strands.
- Crimping tool: A ratcheting crimper gives you a consistent, strong crimp every time.
- Heat shrink tubing: This creates a watertight seal around each splice and keeps out grime.
- Heat gun or lighter: You need a controlled heat source to shrink the tubing evenly.
- Multimeter: Test resistance and confirm solid connections before you close everything up.
- Terminal cleaner and corrosion spray: Clean the battery posts before reconnecting to prevent resistance.
| Tool or Material | Why You Need It | Budget Range |
|---|---|---|
| Ratcheting crimping tool | Produces a consistent, gas-tight connection | $20–$45 |
| Marine-grade heat shrink | Seals out moisture and prevents corrosion | $8–$15 per pack |
| Copper wire by the foot | Avoids splicing with mismatched sizes | $1.50–$3 per foot |
| Multimeter | Confirms good electrical flow once done | $15–$40 |
This list is not optional. A proper ratcheting crimper alone makes the difference between a connection that lasts for years and one that burns out after a month. According to the American Boat & Yacht Council, most electrical failures trace back to poor connections rather than the wire itself.
Tip: If your original cable has a stamped gauge number near the battery terminal, use that as your reference. Replacing any portion heavier than the original is fine, but never go lighter.
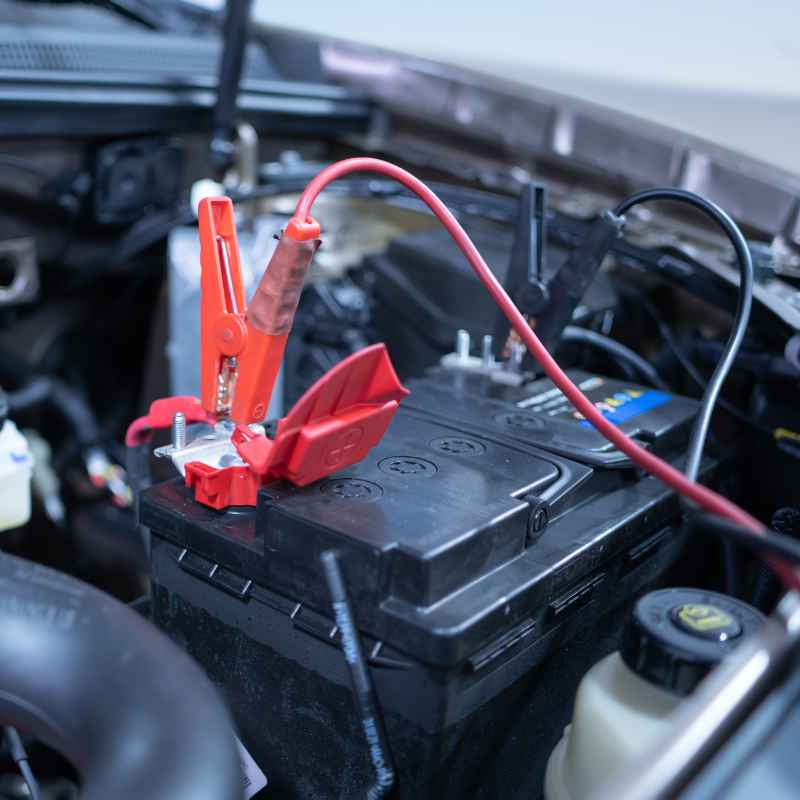
How to Extend Battery Cables Safely: Step-by-Step Guide
Work in a well-ventilated area and keep metal tools away from the battery terminals while you set up. The vehicle should be off, keys out, and the emergency brake engaged. Follow the steps in this exact order to prevent sparks and keep yourself safe.
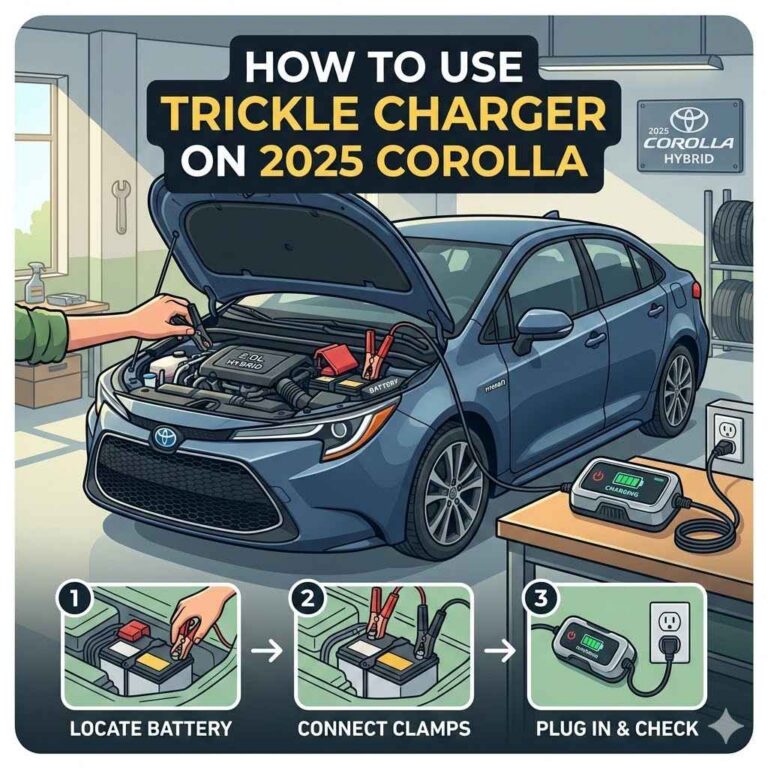
- Disconnect the negative terminal first. Use a wrench to loosen the black cable clamp and lift it clear of the battery post. Tuck it away so it cannot touch metal.
- Disconnect the positive terminal. Remove the red clamp and tape a piece of rubber or cloth over the exposed post to prevent accidental contact.
- Measure the distance from your current cable end to the new location. Add at least six inches of extra wire for routing and a secure bend radius.
- Cut your new wire to length using diagonal cutters. Strip back 1/2 inch of insulation from both ends of the original and new wire.
- Slide heat shrink onto both wires before joining them. You cannot put the tubing on after the connection is made.
- Insert both wires into a butt connector until they touch in the middle. Crimp the connector twice, once over each wire, with your ratcheting tool.
- Heat the shrink tube so it seals fully around the connector. You should see adhesive ooze out of both ends if you are using marine-grade tubing.
- Attach the other end to your battery terminal using a ring connector and crimp it the same way. Tighten the terminal nut or bolt to the factory torque spec.
After all connections are made, reconnect the positive cable first, then the negative side. This order avoids the risk of dropping a grounded tool onto a live positive terminal while you are working.
Warning: Never hold the wire with one hand and the crimping tool with the other while the battery is connected. Even a low-voltage system can produce enough current to weld a ring to metal and cause severe burns.
This step-by-step process works for both positive and negative battery cables. You can use the same method to extend a ground strap for a new amplifier or to relocate the battery to the trunk. Just make sure your wire is the correct length and gauge for the current your starter or accessory draws.
Choosing the Right Cable Gauge and Type
Using the wrong gauge is the most common reason extended battery cables fail. A cable that is too thin creates resistance, which turns into heat, and that heat may eventually melt the insulation and cause a short circuit. The chart below shows common automotive battery cable sizes and their typical current range.
| Wire Gauge | Max Current (ft) | Best For |
|---|---|---|
| 4 AWG | 100–150 amps | Most stock cars, standard battery relocation |
| 2 AWG | 150–200 amps | High-compression engines, large winches |
| 1/0 AWG | 225–350 amps | Heavy-duty trucks, dual battery setups |
| 2/0 AWG | 300+ amps | Inverters, massive audio systems, off-road winches |
Always use stranded copper wire, not solid wire. Stranded wire bends easily around corners and resists fatigue from engine vibration. Also choose wire with a temperature rating of at least 105°C to handle under-hood heat in the summer.
- Oxygen-free copper conducts better than aluminum and resists corrosion at the connection points.
- Fine-strand wire is more flexible and easier to route through tight spaces.
- Cross-linked polyethylene (XLPE) insulation withstands oil, coolant, and UV exposure.
- Color-coded jackets (red and black) keep polarity clear and prevent accidental misconnections.
Important: If you double the length of a battery cable, you also double its resistance. Going up one gauge size when you relocate the battery only a few feet is an easy way to compensate.
According to the National Electrical Code, undersized conductors cause overheating in more than 30% of electrical system failures. While that standard covers buildings, the same physics apply to your car. A simple rule: when in doubt, use a thicker cable.
Proper Connection Methods: Crimping vs. Soldering
You have two solid ways to join battery cable wires together: crimping and soldering. Both work, but they solve different problems. Crimping creates a mechanical bond that resists vibration and pulling.
Soldering fills every void in the strands with metal, but it can make the wire brittle right at the joint.
| Feature | Crimping | Soldering |
|---|---|---|
| Vibration resistance | Excellent | Good, but can crack |
| Skill level | Low with a ratcheting tool | Medium to high |
| Time per connection | 1–2 minutes | 3–5 minutes |
| Risk of overheating the wire | None | High if done poorly |
For battery cables, crimping is the industry standard. Most carmakers use heavy-duty crimped connections on every ground strap and power feed because they last longer under constant vibration. You can also solder the joint and then crimp a sleeve over it for double protection, but that takes extra time.
Pros and Cons of Crimping
- Pros: Fast, clean, easy to inspect, and no heat damage to wire insulation.
- Cons: Needs the right die size and tool, and a poor-quality clamp cannot fix mistakes.
Pros and Cons of Soldering
- Pros: Creates a fully sealed joint and works well in tight spots where a crimp tool cannot fit.
- Cons: Solder wicks up the wire and creates a stiff zone that can break from repeated flexing.
If you choose to solder, keep the joint cool and move the iron quickly. Never hold solder in place and let it melt from a hot iron for more than a few seconds. The goal is to melt solder into the strands, not boil the insulation.
Common Mistakes to Avoid When Extending Battery Cables
Even experienced DIY mechanics make errors when rerouting cables to a new location. The list below covers the problems we see most often, many of which lead to slow cranking, flickering lights, or a no-start condition.
- Using too-small wire. A 10-gauge wire on a starter circuit will get hot, melt, and create a fire risk.
- Skipping the heat shrink. Bare crimp connectors pull in moisture, which starts corrosion and raises resistance.
- Leaving a loose bolt on the battery terminal. A loose connection causes arcing that can melt the lead post and shorten battery life.
- Routing cables near hot exhaust parts. High heat degrades insulation quickly even if you cannot see the damage.
- Mixing copper and aluminum connectors. Dissimilar metals corrode rapidly when exposed to battery acid vapors.
- Forgetting to fuse positive extensions. If your new cable runs to an accessory, a fuse within 18 inches of the battery is mandatory.
Warning: A short circuit in an unfused positive cable can start a fire in under five seconds, especially if the cable rests against a grounded metal panel. Always use a fuse near the battery when you are feeding a new device.
The consequences of these mistakes are more than inconvenient. According to the U.S. Fire Administration, electrical system failures cause roughly 9% of highway vehicle fires.
That is one out of every eleven vehicle fires and a direct reminder to take your time. Double-check every connection, route the cable carefully, and use dielectric grease on exposed terminals.
How to Test and Secure Your Extended Battery Cables
Before you declare the job finished, run a few tests. A 10-minute check now can save you from a stranded car later. Use a digital multimeter set to measure resistance and voltage drop with the key in the off position.
- Set the multimeter to ohms and touch the probes to both ends of the new cable assembly.
- Read the resistance. It should be below 0.5 ohms for a normal 6-foot extension.
- Reconnect the battery and check voltage across the terminals. A healthy resting battery reads around 12.6 volts.
- Start the engine and measure voltage at the alternator output and the battery posts again. Voltage drop should stay below 0.2 volts.
- Feel the cables for warmth after a minute of running. Any heat at the splices means a loose connection.
Securing the cable is just as important as the electrical test. Use plastic P-clips or zip ties with a rubber cushion so the wire does not rub against sharp metal edges. Leave at least two inches of slack between the battery terminal and the first clip so engine flex does not pull the connection.
- Use a terminal protector spray on the finished connection to keep out acid fumes.
- Add adhesive-lined heat shrink over ring terminals at the battery for a watertight seal.
- Write the date and wire gauge on a piece of tape and attach it to the cable for future reference.
- Re-tighten the battery clamps after a week of driving because the soft lead post settles.
| Test | Good Result | Problem Sign |
|---|---|---|
| Cable resistance | Less than 0.5 ohms | High reading, bad crimp, or wrong gauge |
| Voltage at rest | 12.6 to 12.8 volts | Below 12.4 volts means a weak battery |
| Voltage drop under load | Under 0.2 volts | Over 0.3 volts signals a bad joint |
Once everything passes, spray the connections with a battery corrosion inhibitor and close the hood. If you notice any voltage drop later, check the splice joints first because they are the weakest link.
Frequently Asked Questions
Is it safe to extend battery cables?
Yes, when you use the correct gauge wire, quality connectors, and proper crimping techniques. The key is to keep resistance low and protect every splice from moisture and vibration. A poorly done extension is not safe because it can overheat and start a fire.
Can I just twist wires together to extend a battery cable?
No. Twisted wires have high resistance and can loosen from vibration, which causes arcing and heat. You need a crimped connector or a soldered joint covered with heat shrink to keep the connection stable for the life of the vehicle.
What gauge wire should I use to extend battery cables?
Use the same gauge as your original cable for short extensions. For a battery relocated more than three feet away, step up one gauge size to compensate for added resistance. A typical stock car uses 4 AWG, but larger engines may need 2 AWG or thicker.
Should I extend the positive or negative battery cable first?
Build and install the positive cable first, then the negative. When you disconnect, always remove the negative terminal first and reconnect it last. This order prevents a spark if your wrench touches a grounded metal surface while working near the battery.
Can I use a battery cable extension kit instead of custom wire?
Yes, a quality extension kit is fine if it includes the right gauge and has proper copper connectors. Some kits are better than others, so check the wire gauge and that the terminations are crimped, not just glued or twisted. For most cars, a custom cut is easier to route cleanly.
Final Thoughts
Extending battery cables is a practical way to relocate your battery, add a second battery, or install heavy-duty accessories. The job comes down to three things: correct wire gauge, solid crimped connections, and proper routing away from heat and moving parts. Take the time to test your work with a multimeter and you will enjoy years of trouble-free service.
Remember to disconnect the negative terminal first, use heat shrink on every splice, and always choose higher-quality copper connectors. Whether you move the battery five inches or five feet, the same principles apply. Do it right and your electrical system will stay strong in every season.
Sponsored / affiliate links. As an Amazon Associate I earn from qualifying purchases. I may earn additional commission from eligible campaigns.
Products related to this article