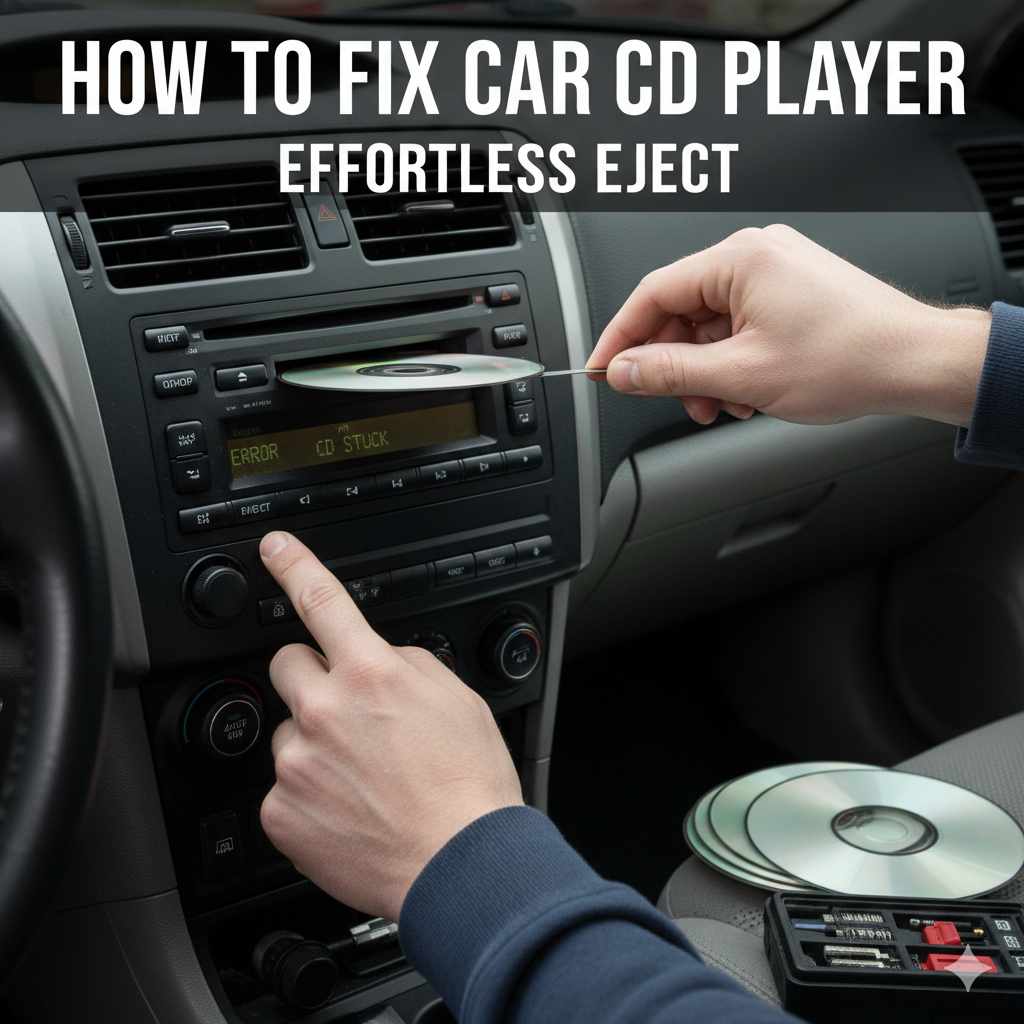
How to Fix a Car CD Player: Skipping, No-Read Errors & Stuck Discs
A jammed CD player often triggers the same instinct: pry the disc out with something sharp, or pull the whole stereo to inspect it. That reaction is usually what turns a simple problem into an expensive one. Whether your car CD player is skipping mid-track, refusing to read discs, or holding one hostage, the fix depends entirely on which symptom you’re dealing with. This guide walks through the specific fix for each issue, plus how to tell when the mechanism itself has actually failed.
Quick Answer
Power-cycle the stereo (turn the car off and back on) for a stuck eject, clean the laser lens with a $10 cleaning disc for skipping or “no read” errors, and check the audio fuse if the unit is completely dead. Clicking, grinding, or multiple jammed discs point to a failed loading mechanism — that’s when professional repair or a replacement head unit is more cost-effective than continued DIY fixes.
Why Won’t My CD Eject? Understanding the Common Causes
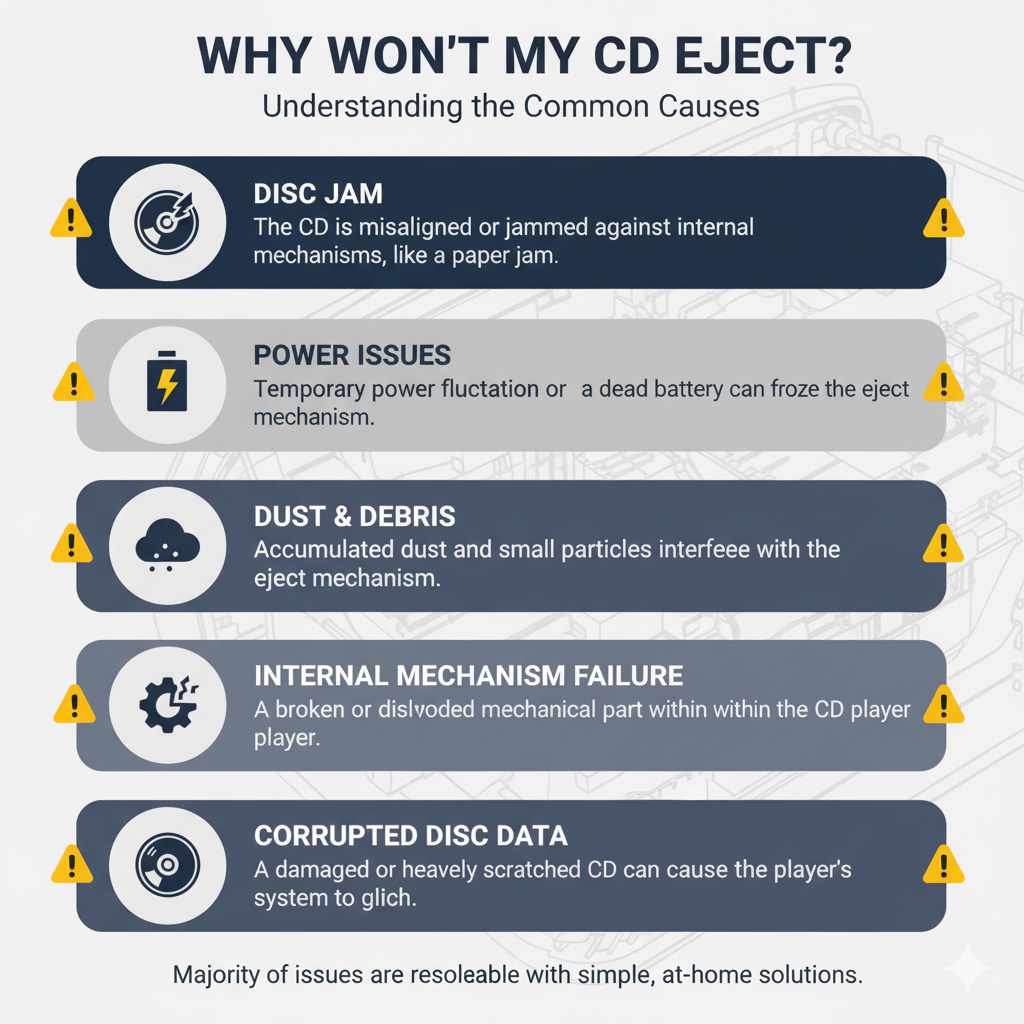
Before we get our hands dirty, let’s understand why this happens. Car CD players, while a classic in-car entertainment system, can sometimes develop little quirks. The most common reasons a CD gets stuck include:
- Disc Jam: The CD might be misaligned or jammed against internal mechanisms. This is like a paper jam in a printer; something isn’t feeding through properly.
- Power Issues: A temporary power fluctuation or a dead battery could cause the player’s eject mechanism to freeze or fail.
- Dust and Debris: Over time, dust and other small particles can accumulate in the player’s slot, interfering with the eject mechanism.
- Internal Mechanism Failure: Less commonly, a mechanical part within the CD player may have broken or become dislodged.
- Corrupted Disc Data: In rare cases, a damaged or heavily scratched CD can cause the player’s system to glitch, preventing ejection.
Understanding these potential causes helps us tackle the problem systematically. The good news is that the majority of these issues can be resolved with simple, at-home solutions.
Preparation: What You’ll Need
Most of these fixes require very little. You likely have these items around your house, making this a cost-effective solution:
- Your car’s owner’s manual (always a good friend to have!)
- A thin, stiff piece of plastic (like a credit card, library card, or loyalty card)
- A can of compressed air (optional, but useful for dust)
- A small, thin screwdriver or paperclip (use with extreme caution!)
- A bit of patience and a steady hand.
It’s always a good idea to check your vehicle’s owner’s manual for specific details about your car’s audio system. Some cars have unique procedures or even reset buttons for their infotainment systems.
Step-by-Step Fixes for a Stuck CD
Here are several methods you can try, starting with the simplest. Always proceed gently to avoid damaging your CD player or the disc.
Method 1: The Power Cycle Reset
This is the easiest and often most effective first step, similar to restarting your computer when it freezes.
- Turn off your car completely. Make sure the ignition is in the off position, and all electronics are powered down.
- Open and close the car door. This can sometimes help reset certain electrical components in the car, including the radio. Wait a few minutes before proceeding.
- Turn the car back on. Once the car is fully powered off, wait for at least 10-15 minutes. This allows any residual power in the system to dissipate, essentially giving the CD player a fresh start.
- Attempt to eject the CD. With the ignition on (but usually the engine off for safety and to avoid distractions), press the eject button again.
If this works, the issue was likely a temporary electronic glitch. For many drivers, this is all that’s needed to get that CD out and working again.
Method 2: The Gentle Nudge with a Credit Card
If the power cycle didn’t do the trick, the CD might be slightly misaligned. This method aims to help it reorient and eject smoothly.
- Get your thin, stiff card ready. A credit card, loyalty card, or even a sturdy gift card works best. Avoid anything too thick or flimsy.
- Locate the CD slot. This is where you insert discs.
- Gently insert the card alongside the CD. Carefully slide the card into the CD slot, aiming to push it in about 1-2 inches, right next to the stuck CD. The goal is to apply light pressure and possibly nudge the CD’s edge so it can move freely within the player.
- Press the eject button while gently wiggling the card. While the card is in place, press the eject button firmly. You might gently try to wiggle the card up or down slightly as you press eject. The idea is to create a tiny bit of space or movement for the CD.
- Be patient. You might need to try this a few times. If you feel significant resistance, stop. You don’t want to force it and cause damage.
Some experts suggest that doing this while the car is on can sometimes provide a slight electrical pulse to the eject mechanism as you press the button, but always be mindful of distractions while driving. It’s safer to have the car in accessory mode (radio on, engine off) or fully off.
Method 3: Using Compressed Air
If dust or a small obstruction is suspected, a blast of compressed air can help clear the path.
- Purchase a can of compressed air. These are readily available at most electronics stores or supermarkets.
- Locate the CD slot.
- Insert the straw nozzle of the compressed air can into the CD slot. Be careful not to push it too far in, as you don’t want to damage internal parts. Aim to get the nozzle just inside the slot.
- Give short, controlled bursts of air. Press the button on the can in short bursts. Aim the air at different angles around the CD slot opening. This can help dislodge any dust bunnies or small debris that might be interfering with the eject mechanism.
- Press the eject button. After using the compressed air, try pressing the eject button again.
When using compressed air, always keep the can upright to avoid spraying propellant liquid, which can cause damage. For more detailed advice on using compressed air safely, you can refer to resources on proper usage from electronics maintenance guides.
Method 4: The Paperclip or Small Screwdriver Trick (Use With Extreme Caution!)
This method involves using a small tool to manually engage a release mechanism. This should be considered a last resort, as forcing it can cause significant damage. If your CD player has a tiny reset or manual eject hole (often labeled with a CD symbol or “EMG”), this is where you’d use it.
- Locate the manual eject hole. Consult your car’s owner’s manual. This is usually a very small hole on the front of the stereo unit. If you don’t see it, this method might not be applicable.
- Straighten a paperclip or find a very small, thin screwdriver. The tool needs to be narrow enough to fit into the hole.
- Carefully insert the tool into the hole.
- Gently push. You should feel a slight resistance. Push firmly but smoothly. This action is designed to mechanically disengage the eject mechanism.
- Press the eject button simultaneously (if possible). Sometimes, you need to push the tool while also pressing the eject button.
- If you feel stuck or excessive resistance, STOP. Do not force it. Forcing the tool can break internal components, leading to a more expensive repair.
It’s vital to understand how your specific stereo unit works before attempting this. Some newer car stereos don’t have a manual eject hole. For instance, brands like Bose often have specific removal procedures that can be found on their support pages.
Method 5: Checking the Car Battery
A weak or dying car battery can cause all sorts of electronic gremlins to appear, including CD players acting up.
- Check your car’s battery age. Car batteries typically last 3-5 years. If yours is older or you’ve noticed slow engine cranking, dimming lights, or other electrical issues, the battery might be the culprit.
- Test the battery. You can use a multimeter to check the voltage or take your car to an auto parts store; most offer free battery testing.
- If the battery is weak, consider replacing it. A healthy battery provides stable power, which is crucial for all your car’s electronic systems, including the CD player.
A stable power supply prevents the kind of electronic hiccups that can lead to a stuck CD.
Fixing a CD Player That Skips, Won’t Read Discs, or Shows an Error
A stuck-eject disc is only one kind of CD player problem. If your player accepts a disc but skips, stutters, refuses to read it at all, or throws an error code on the display, the cause is almost always different from a jam — and the fix is different too. This is the gap most eject-focused guides skip entirely.
Dirty or Scratched Laser Lens (Most Common Cause of Skipping)
The laser lens reads the data etched into a CD. Over years of use, it collects a fine film of dust, smoke residue, and grime that scatters the laser beam — causing skipping, stuttering, or a disc that won’t play past the first track. A $10–$15 wet-cleaning lens disc (a CD-shaped disc with a tiny brush and a few drops of cleaning fluid) run through the player 2–3 times resolves this in most units. If the lens itself is physically scratched (rare, usually from a previous disc jam), cleaning won’t help and the pickup assembly needs replacement.
Worn Drive Belt (Player Won’t Load or Eject Discs Consistently)
Older CD players and changers use a small rubber drive belt to spin the loading gears that pull a disc in and push it out. Over 10–15+ years, this belt stretches or cracks from heat exposure, causing intermittent loading failures, discs that get pulled in only partway, or a player that spins a disc but never registers it. Unlike the laser lens, a worn belt is not a DIY fix on most factory units — the dash has to come out and the mechanism disassembled, which is why this specific failure is often the tipping point toward replacing the head unit instead of repairing it.
Laser Diode Degradation (Older Units That Slowly Get Worse)
The laser diode itself — the component that actually emits the reading beam — loses output power gradually over many years of use. This shows up as a player that used to read discs fine but now needs 2–3 attempts to recognize a CD, or one that reads some discs (typically factory-pressed) but not others (typically home-burned CD-Rs, which reflect less light back to a weakening laser). A lens cleaning can offer a temporary improvement, but true diode degradation is permanent and gets worse over time — it’s a strong signal the unit is nearing the end of its service life.
Disc Read Error Codes on the Display
If your stereo display shows a message like “Disc Error,” “No Disc,” or a numeric fault code instead of playing, start with the cheapest explanation first: try a different, known-good commercial CD (not a burned one) to rule out a bad disc. If a known-good disc still throws the same error, the issue is the player’s ability to read data at all — check the lens first, then the belt if the unit is a multi-disc changer. Persistent error codes across multiple discs, especially paired with clicking or grinding noises, point to a mechanical failure rather than something a cleaning disc will fix.
Looking for how to physically extract a disc that’s completely stuck and won’t come out at all? See our dedicated guide, How to Remove a CD Stuck in Your Car Stereo (6 Safe Methods), which walks through extraction methods step by step. This guide focuses on the broader set of playback problems — skipping, no-read errors, and error codes — that happen even when a disc ejects just fine.
Our Top Pick
Arsvita CD Laser Lens Cleaner Disc Cleaning Set
Best for: Fixing skipping, stuttering, or “no read” errors caused by a dirty laser lens.
Why we picked it: A wet-cleaning brush disc with cleaning fluid included — the cheapest, safest first step before assuming the player is broken.
Main drawback: Won’t help with a physically scratched lens or a mechanical loading failure.
View Our Pick on Amazon
 Maxell DVD-LC Lens Cleaner Best for: A trusted, no-frills dry-cleaning alternative. Why we picked it: Long-standing brand, simple one-pass cleaning cycle. Main drawback: Dry brushes are gentler but less effective on heavy grime than a wet-cleaning kit. Check on Amazon |
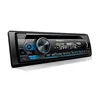 Pioneer DEH-S4220BT CD Receiver Best for: Replacing a unit with a worn belt or dead laser diode. Why we picked it: Still plays CDs but adds Bluetooth calling/audio — a genuine upgrade, not just a repair. Main drawback: Requires a basic single-DIN install; may need a dash kit for some vehicles. Check on Amazon |
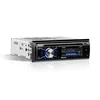 BOSS Audio 508UAB CD Stereo Best for: A budget-friendly full head-unit replacement. Why we picked it: Keeps CD playback alongside Bluetooth and USB at a lower price point than the Pioneer. Main drawback: Fewer advanced features and a shorter warranty than name-brand competitors. Check on Amazon |
When to Seek Professional Help
If you’ve tried all the gentle methods above and your CD is still stubbornly stuck, it’s time to call in the experts. Continuing to force things can cause more damage, leading to a more expensive repair or the need to replace the entire stereo system.
Consider seeking professional help if:
- None of the above methods work.
- You feel any significant resistance or hear grinding noises when trying to eject.
- You suspect a broken internal component.
- You’re uncomfortable performing any of the steps, especially the manual eject hole method.
A car audio specialist or a reputable mechanic can diagnose the issue and repair or replace the CD player safely.
Preventing Future CD Player Issues
Once you’ve successfully freed your CD, you might want to take steps to prevent future problems:
- Use music and other media sources less prone to error. Bluetooth, USB drives, or auxiliary inputs are often more reliable than CDs in modern vehicles.
- Avoid force. Never force a CD into the player. If it doesn’t go in smoothly, check for obstructions.
- Keep the player clean. Occasionally use compressed air on the CD slot to prevent dust buildup.
- Use high-quality CDs. Avoid improperly burned CDs or discs that are heavily scratched, as these can sometimes cause player malfunctions.
- Handle CDs with care. Keep them free from dust, fingerprints, and scratches.
Taking these small precautions can help ensure your car’s CD player, if you choose to use it, continues to function smoothly for years to come.
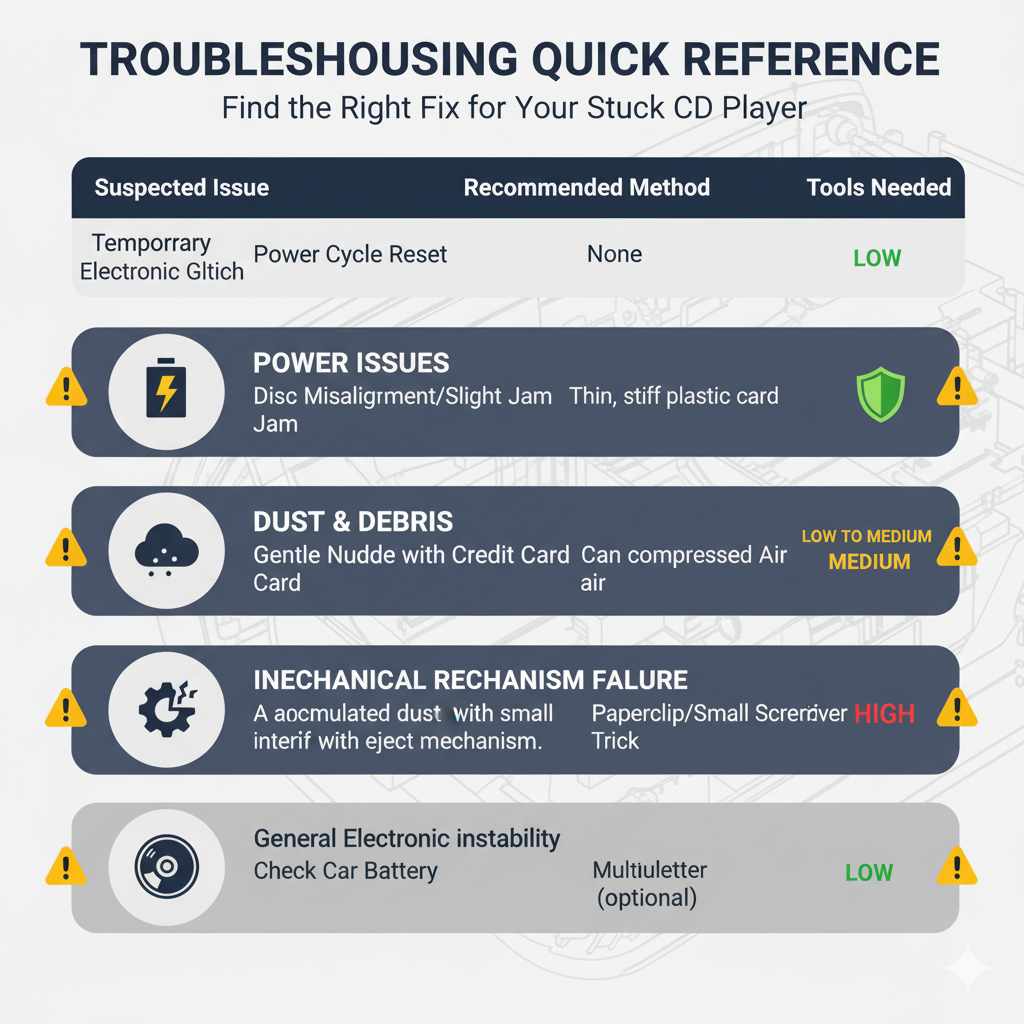
Troubleshooting Quick Reference
Here’s a quick table to help you decide which method to try based on the suspected issue.
| Suspected Issue | Recommended Method | Tools Needed | Caution Level |
|---|---|---|---|
| Temporary Electronic Glitch | Power Cycle Reset | None | Low |
| Disc Misalignment/Slight Jam | Gentle Nudge with Credit Card | Thin, stiff plastic card | Low to Medium |
| Dust or Small Debris | Compressed Air | Can of compressed air | Low |
| Mechanical Release Needed (if hole available) | Paperclip/Small Screwdriver Trick | Paperclip or small screwdriver | High (use extreme caution) |
| General Electronic Instability | Check Car Battery | Multimeter (optional) | Low |
| Skipping or Stuttering Playback | Wet Laser Lens Cleaning Disc | Lens cleaning disc kit | Low |
| Won’t Load or Eject Consistently (older unit) | Professional Belt Replacement | None (repair shop) | Medium (not DIY) |
| Error Code or “No Disc” Message | Try Known-Good Disc, Then Lens Cleaning | A different commercial CD | Low |
Frequently Asked Questions
What if I hear clicking or grinding noises?
If you hear unusual noises when trying to eject the CD, it strongly suggests a mechanical issue within the player. Stop immediately to avoid further damage and consider professional assistance. These sounds often indicate gears or motors are struggling or broken.
Can I open up the CD player myself to get the CD out?
For most beginners, opening up a car CD player is not recommended. It’s a complex piece of electronics, and you risk damaging delicate components, voiding warranties, or not being able to reassemble it correctly. Stick to the external, gentle methods first.
Is it safe to leave a CD in the player all the time?
Generally, yes, it’s safe. However, extreme temperatures (like a car left in direct sun on a hot day or freezing cold) can potentially warp discs or affect the player’s mechanisms over time. It’s usually best practice to remove discs when not in use, especially for extended periods or during extreme weather conditions.
My car is older, can I still fix a stuck CD?
Absolutely! Older cars often have simpler CD players, which can make them easier to troubleshoot. You might even find a manual eject hole (Method 4) on older units. The basic principles of electrical resets and gentle nudging still apply.
What if multiple CDs are stuck?
If multiple CDs are stuck, it’s a stronger indicator of a significant mechanical failure within the CD changer or player mechanism. In this case, professional help is almost certainly required, as it’s unlikely to be a simple jam.
How do I know if my CD player is broken beyond repair?
If you’ve tried all the troubleshooting steps and the CD still won’t eject, or if the player makes concerning noises, it’s likely broken. Other signs include the player not responding to any button presses, displaying error messages, or if the CD simply spins endlessly without attempting to eject. At this point, replacement might be the most cost-effective solution.
Why does my car CD player skip or stutter?
Skipping and stuttering are almost always caused by a dirty laser lens, not a mechanical jam. Run a wet-cleaning lens disc through the player 2–3 times before assuming anything is broken. If skipping continues on every disc after cleaning, the lens may be scratched or the laser diode may be degrading with age.
Why won’t my CD player read any discs at all?
First, test with a different, known-good commercial CD rather than a burned CD-R — home-burned discs reflect less light and are the first to fail on an aging laser. If a known-good disc still won’t read, clean the lens next. If the problem persists across every disc and the unit is old, the laser diode has likely degraded beyond what cleaning can fix, and a replacement head unit is usually cheaper than a laser assembly repair.
Conclusion
Whether your CD is stuck, skipping, or your player refuses to read discs at all, most car CD player problems come down to one of three fixes: a power cycle reset, a laser lens cleaning, or a fuse check — not a full teardown. Try the simplest, cheapest fix first, and only move to a paperclip or screwdriver as a last resort. If the unit is making grinding noises, has a worn drive belt, or a laser diode that’s clearly degraded with age, a $60–$150 replacement head unit is usually a better investment than a repair bill.
Products related to this article
Sponsored / affiliate links. As an Amazon Associate I earn from qualifying purchases. I may earn additional commission from eligible campaigns.