How to Fix Rock Chips on Car Paint: Chip Depth Guide + Step-by-Step Repair
Rock chips are more than cosmetic — once a chip reaches bare metal, rust starts forming within days in humid climates. The fix is straightforward if you know the chip’s depth, use the right sequence, and resist the urge to glob on too much paint at once.
This guide covers how to assess chip depth, which products actually work (and which don’t), and the complete 6-step repair process including the clear coat layer that most DIY guides skip.
Step 1: Assess the Chip Depth
Rock Chip Repair Supplies
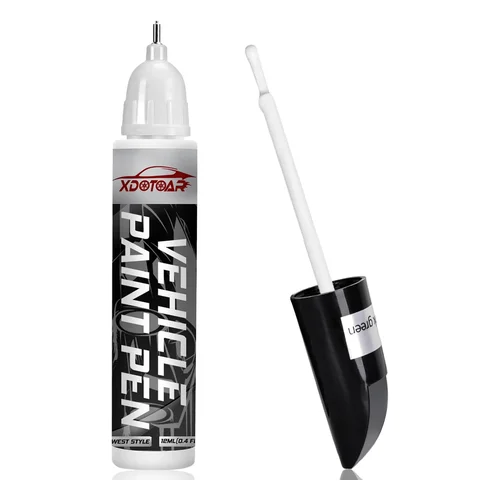
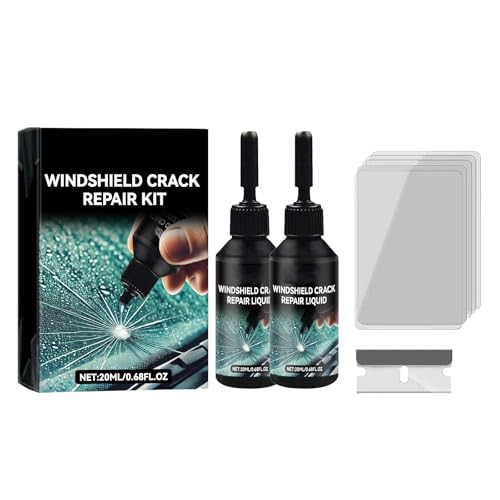
Touch-Up Paint Kit (Color-Matched)
Includes base coat + clear coat + application brush — enter your paint code for exact match
View on Amazon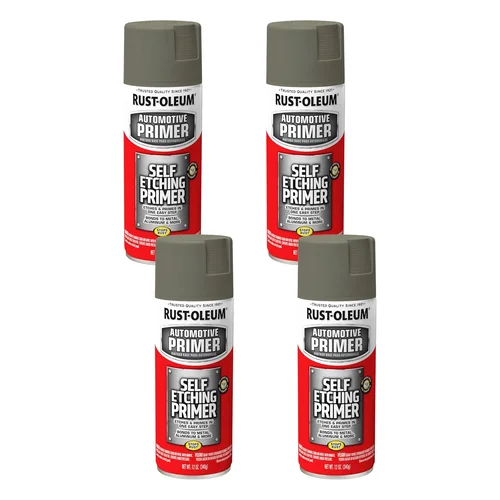
Self-Etching Automotive Primer
For bare metal chips — bonds to metal and provides a base for touch-up paint
View on Amazon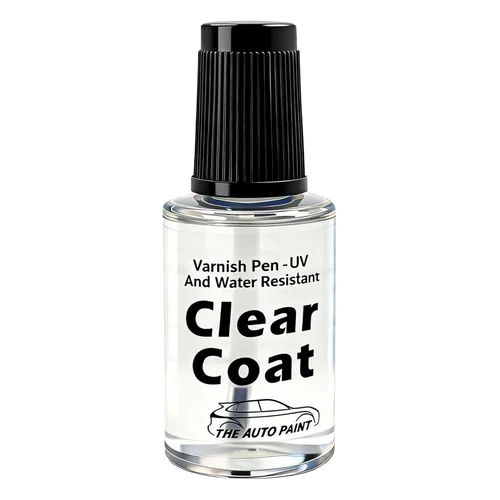
Automotive Clear Coat Spray
Apply 2–3 thin coats over touch-up paint — critical for UV protection and gloss matching
View on Amazon
Wet/Dry Sandpaper Assortment (2000–3000 Grit)
For leveling the cured repair — use wet with minimal pressure to avoid cutting through clear coat
View on AmazonNot all rock chips are the same — the depth determines which steps you need. Running your fingernail across the chip tells you a lot: if it catches, the chip goes at least through the paint layer.
| Chip Depth | What You See | Steps Required | Urgency |
|---|---|---|---|
| Clear coat only | Dull spot, paint color intact | Clear coat pen only; no primer or paint needed | Low — cosmetic only |
| Paint chip (primer exposed) | White/gray primer visible under paint | Touch-up paint + clear coat | Medium — fix within a few weeks |
| Bare metal chip | Shiny metal or rust spot visible | Rust converter (if rusted) + primer + paint + clear coat | High — rust starts in days |
What You’ll Need
Find your car’s paint code on the sticker inside the driver’s door jamb — it’s usually labeled “Paint” or “Color” followed by a 3–6 character code. For Japanese vehicles, it may also be on the firewall sticker under the hood. Match this code when ordering touch-up paint from your dealership, Automatchics, or PaintScratch — generic color names like “Silver” or “Blue” won’t give you an accurate match.
| Tool/Product | DIY Cost | Notes |
|---|---|---|
| Touch-up paint (exact code) | $10–$20 | Dealership or PaintScratch.com; avoid generic pens |
| Clear coat (spray or pen) | $8–$15 | Critical step — most DIY guides skip this |
| Primer | $6–$12 | Only needed for bare metal chips |
| Isopropyl alcohol (91%+) | $3–$5 | Removes wax/silicone so paint can bond |
| Toothpicks or micro brushes | $2–$5 | Much better than the stock brush for precision application |
| 2000–3000 grit wet/dry sandpaper | $5–$10 | For leveling the repair after curing |
| Polishing compound | $5–$15 | Blends the repair into surrounding paint |
Step-by-Step: How to Fix a Rock Chip
Step 1: Clean the Area
Wash the panel with soap and water, then wipe the chip itself with isopropyl alcohol (91% or higher) on a cotton swab. This removes wax, silicone, and oils that prevent paint adhesion. Don’t skip this — even clean-looking paint has wax residue that causes touch-up paint to bead up and peel.
Step 2: Apply Primer (Bare Metal Chips Only)
If bare metal is visible, apply rust converter first if any surface rust is present, let dry per label directions, then apply a single thin dot of self-etching primer using a toothpick. Fill just to the edge of the chip — don’t overfill. Let cure for 30–60 minutes. For clear-coat-only or primer-exposed chips, skip to Step 3.
Step 3: Apply Touch-Up Paint in Thin Layers
This is where most people ruin the repair — they apply too much paint at once, creating a raised blob that’s more visible than the original chip. Instead: put a small drop of touch-up paint on a piece of tape and pick it up with a toothpick. Dab it into the chip with the very tip of the toothpick. Build up 2–3 thin layers, letting each dry for 1–2 hours. You want to fill the chip slightly below flush with the surrounding paint — the clear coat fills the rest.
Step 4: Let Paint Cure Fully
Wait 3–4 days at room temperature before proceeding. Touch-up paint feels dry to the touch within hours, but it’s still chemically soft underneath. Wet-sanding or applying clear coat too soon will smear the paint and ruin the repair. Work in temperatures between 60–90°F and out of direct sunlight.
Step 5: Apply Clear Coat
This step is what seals the repair and blends it visually with the surrounding panel. Apply 2–3 thin coats of clear coat, letting each flash-dry for 10–15 minutes between coats. A clear coat pen (for small chips), spray clear coat, or a properly set-up air brush for car paint all work. Feather the last coat slightly outward — 1/4 inch beyond the chip — to blend the edge. Let cure 3–5 days.
Step 6: Wet-Sand and Polish
After the clear coat has cured, lightly wet-sand the repair with 2000-grit sandpaper and water using circular strokes. Use minimal pressure — you’re leveling the surface, not removing material. Finish with 3000-grit for a smoother transition, then buff with polishing compound on a microfiber cloth. Apply car wax to protect the repair and blend the sheen.
Touch-Up Paint Pen vs. Kit: Which Is Better?
Paint pens are convenient but have a significant drawback: the built-in brush deposits too much paint in one pass, almost always creating a raised blob that’s more visible than the original chip. According to carpaintchiprepair.com, stock touch-up paint pens “make the damage look worse 95% of the time.”
A better approach: buy touch-up paint in a bottle (from your dealer or PaintScratch.com), then apply it with a toothpick or micro brush for precise control. For multiple chips or large chips, kit solutions like Dr. ColorChip and Chipex include a blending solution that removes the excess paint automatically, producing consistently better results than a brush application. Expect to spend $30–$60 for a kit.
DIY vs. Professional Repair
| Method | Cost | Result Quality | Best For |
|---|---|---|---|
| DIY (toothpick method) | $20–$50 | Good (visible up close) | Small chips, daily drivers |
| DIY kit (Dr. ColorChip/Chipex) | $30–$60 | Very good | Multiple chips, neater finish |
| Professional touch-up | $50–$200 | Excellent | Visible areas, leased vehicles |
| Professional respray (blended panel) | $300–$600+ | Perfect | High-value cars, show cars, deep damage |
Frequently Asked Questions
How long does touch-up paint take to dry?
Touch-up paint is dry to the touch in 1–2 hours per layer. However, it needs 3–4 days to cure fully before wet-sanding or applying clear coat. Rushing this step is the single most common mistake — the repair looks fine but the uncured paint smears under sandpaper and has to be redone.
Where do I find my car’s paint code?
Check the sticker inside the driver’s door jamb — it lists the paint code alongside VIN, tire pressure, and GVWR information. For some vehicles (especially Japanese makes), a second sticker on the firewall or under the hood also lists it. The code is typically 3–6 characters, e.g., “040” for Toyota Super White or “WA8555” for GM Summit White. Bring the code to an auto parts store or enter it on PaintScratch.com to order an exact-match touch-up bottle.
Can I fix a rusty rock chip myself?
Yes, if the rust is surface-level (orange dusting with no pitting). Apply a rust converter like Permatex Rust Treatment, let dry per label directions (usually 24 hours), then prime and paint over it. If the metal is pitted or the rust extends under surrounding paint, a body shop repair is needed — rust spreads under paint and a DIY patch will only delay a larger repair.
Do I need clear coat for a rock chip repair?
Yes — most modern car paints are base coat/clear coat systems. If you don’t apply clear coat over your touch-up paint, the repaired spot will oxidize at a different rate from the surrounding panel, becoming visibly dull within 6–12 months. Clear coat is also what gives modern paint its gloss and UV protection.
How do I prevent future rock chips?
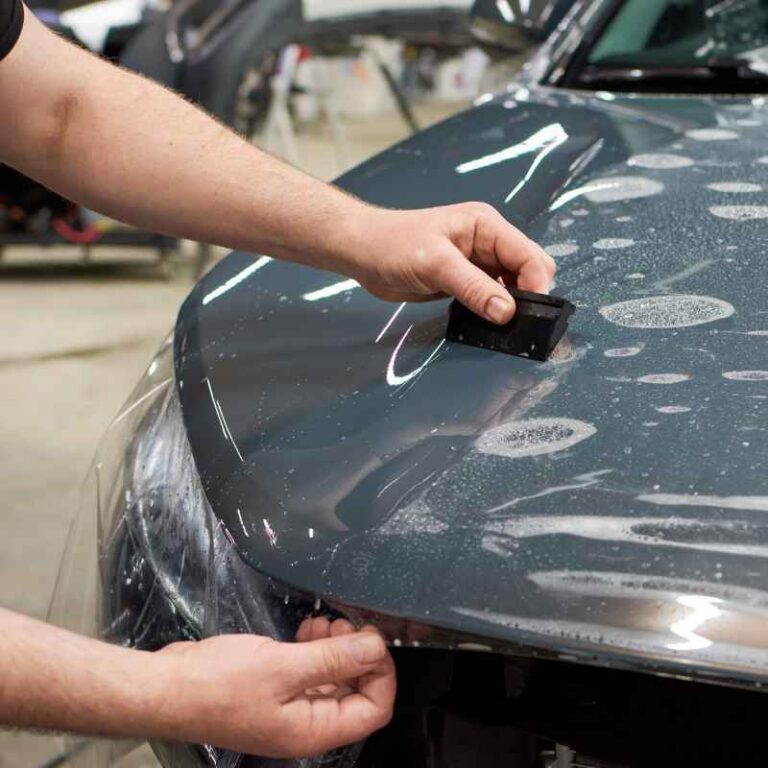
Paint Protection Film (PPF) applied to the hood, front bumper, and side mirrors provides the most durable defense — it physically absorbs impacts. Budget option: clear bra on the front end costs $300–$600. Alternatively, maintain a 3-car following distance on highways where gravel trucks travel, and avoid driving closely behind pickups with exposed beds.
For related paint care topics, see our guides on fixing rust on a car, removing oxidation on car paint, and how to sand and prime a car for full resprays.
Products related to this article
Sponsored / affiliate links. As an Amazon Associate I earn from qualifying purchases. I may earn additional commission from eligible campaigns.