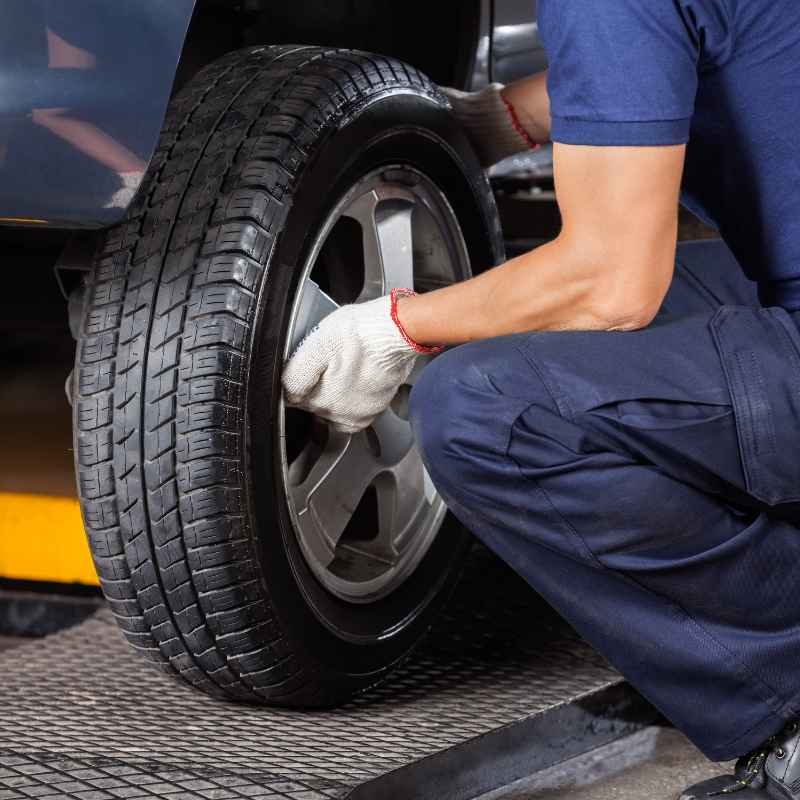
How To Jack Up A Car To Change A Tire Safely & Quickly
Jacking up a car to change a tire involves using the correct jack and support points, following a specific sequence of steps for stability and safety, and understanding common pitfalls to avoid. It’s about being prepared and knowing the right way to handle your vehicle.
What is Safely Jacking Up a Car?
Jacking up a car means using a device called a jack. This tool lifts one part of the vehicle. We do this to get the wheel off the ground.
This is needed for things like changing a flat tire. It can also be for other repairs. Safety is the most important part.
We must make sure the car is stable. It should not move or fall while it is lifted. Quick means doing it without wasting time.
But never at the expense of safety.
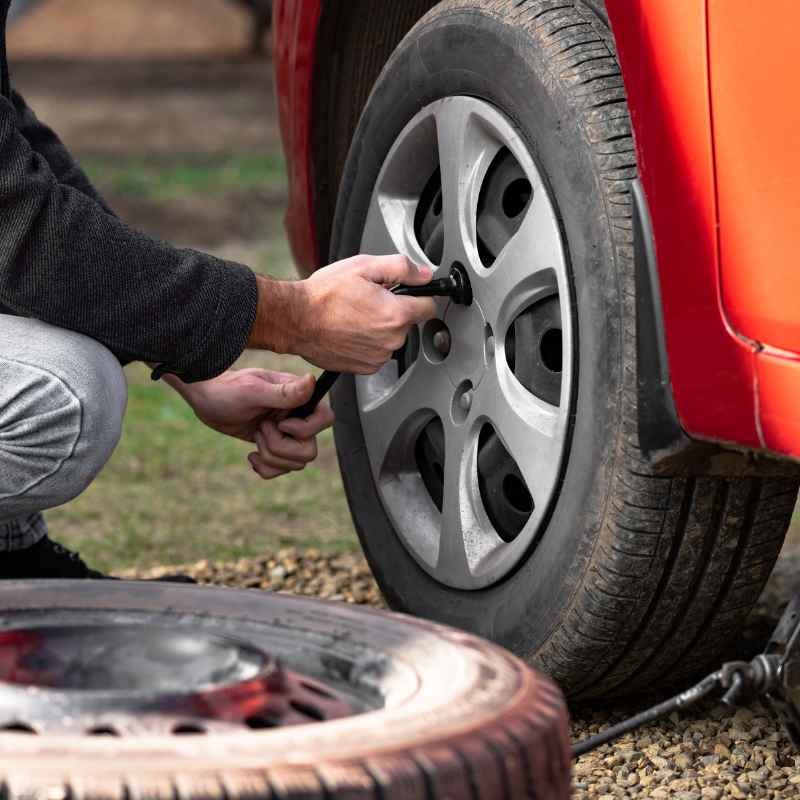
My First Flat Tire Scare
I remember it vividly. It was a sweltering summer afternoon. I was driving back from visiting my folks, windows down, singing along to the radio.
Then, a loud thump-thump-thump broke the happy tune. The car pulled hard to one side. My heart sank.
A flat tire. Right there on the side of a busy highway. Panic started to set in.
I pulled over, my hands shaking a little. Looking at the car, I felt a wave of helplessness. I had a spare tire, a lug wrench, and a jack.
But how exactly did I use that jack? I’d never really done it myself before. The thought of the car tipping over while I worked under it was terrifying.
The heat felt even worse now. Cars whizzed by, and I just felt so exposed and alone. That day taught me the immense value of knowing these basics.
Understanding Your Car’s Jack Points
What are Jack Points? These are special, reinforced spots on your car’s frame. They are built to hold the weight of the car safely. Using the wrong spot can damage your car.
It can also be very dangerous.
Where to Find Them? Your car’s owner’s manual is the best guide. It will show you exact locations. Usually, they are on the frame rails.
They are often near the wheels.
Visual Cues: Look for small notches or reinforced metal areas. They might be slightly indented or have a specific shape.
The Right Tools for the Job
Before you even think about lifting your car, you need the right tools. This is crucial for your safety. You wouldn’t build a shelf without a hammer, right?
It’s the same here. Having the right tools makes the job easier and much safer. Most cars come with a basic kit.
But sometimes, those basic tools aren’t the best. Let’s break down what you’ll likely need.
Essential Gear Checklist
- Car Jack: Most cars have a scissor jack or a bottle jack in their trunk. Scissor jacks are common. They twist up to lift. Bottle jacks are stronger but heavier.
- Lug Wrench: This tool removes the lug nuts holding your wheel on. Most cars have a cross-shaped one. This gives good leverage.
- Owner’s Manual: This is your best friend! It shows you where to place the jack. It also has other vital info about your car.
- Wheel Chocks: These are wedges. You place them under the wheels that stay on the ground. They stop the car from rolling. You can buy these. You can even use sturdy blocks of wood if you have them.
- Gloves: Keep your hands clean and protected.
- Flashlight: If it’s dark or you’re in a dim spot, this is a must.
- Warning Triangles/Flares: To alert other drivers. Especially if you’re on the roadside.
- Sturdy Block of Wood: To place under the jack on soft ground. This stops the jack from sinking.
Step-by-Step: Lifting Your Car Safely
Now, let’s get to the actual lifting part. This is where we need to be super careful. Every step matters.
Think of it like a recipe for safety. Follow it closely. We’re not rushing.
We are being deliberate and safe.
The Safe Lifting Sequence
1. Find a Safe Spot: Pull over as far as possible from traffic. Choose a flat, hard surface.
Avoid soft dirt or grass if you can. If you must use a soft spot, get that block of wood for the jack base.
2. Engage Parking Brake & Chock Wheels: Put your car in “Park” (for automatics) or in gear (for manuals). Then, engage the parking brake firmly.
Place wheel chocks. Put them on the wheel diagonally opposite to the one you’ll be lifting. So, if you’re lifting the front right, chock the rear left.
3. Locate the Jack Point: Consult your owner’s manual. Find the correct jack point near the flat tire.
It’s usually on the metal frame rail.
4. Position the Jack: Place the jack firmly under the jack point. Ensure it’s on a stable base.
If using a block of wood, place it under the jack now.
5. Begin Lifting: Slowly start operating the jack. Use the handle.
Lift the car just enough. You need enough space to remove the flat tire. And to put the spare tire on.
Watch the car as it rises. Make sure the jack stays straight. It shouldn’t lean or shift.
6. Confirm Stability: Once the tire is off the ground, give the car a gentle push. It should feel solid.
If it wobbles, lower it and reposition the jack.
Common Mistakes People Make
Even with good intentions, people sometimes make small errors. These errors can lead to big problems. I’ve seen them.
I’ve almost made some myself. Knowing these common pitfalls can help you avoid them. It’s all about learning from others’ experiences.
Pitfalls to Avoid
Soft Ground: Jacking on dirt or grass is risky. The jack can sink. This makes the car unstable.
Always use a hard, flat surface. Or use that block of wood!
Wrong Jack Point: This is a big one. Using the wrong spot can bend metal. It can damage your car’s body or frame.
Always double-check the manual.
Not Chocking Wheels: This is a safety essential. If the car rolls, it’s dangerous. Wheel chocks prevent this.
Make sure they are secure.
Jerky Movements: Operate the jack slowly and smoothly. Quick, jerky movements can unsettle the car. They can make the jack slip.
Standing Underneath: Never, ever put any part of your body under a car that is only supported by a jack. Jacks can fail. They can lose pressure.
Always use jack stands if you need to work under a car for an extended period. For just changing a tire, this isn’t usually needed, but it’s good to know.
Rushing: Safety takes time. Don’t try to do this too fast. Take your time with each step.
Real-World Scenarios and Considerations
Where you are matters a lot. The situation can change how you approach jacking up your car. Let’s look at some real places and what to think about.
Context Matters
On the Side of the Road: This is the most common place. Safety is paramount. Make yourself visible.
Use your hazard lights. Set up warning triangles. Be aware of passing traffic.
Pull over as far as possible. Find the best spot for stability.
In a Parking Lot: Usually easier. Parking lots are typically paved and level. However, watch out for uneven spots or slopes.
Still, chock those wheels. Someone might park too close.
In Your Driveway: This is often the easiest and safest. Driveways are usually level and hard. You have more space.
You can bring out other tools if needed. Still, follow all safety steps.
Weather Conditions: Rain makes surfaces slippery. Wind can buffet the car. Extreme heat makes working outside tough.
Adjust your pace. Wear appropriate clothing. Stay hydrated.
Be extra cautious on wet or windy days.
What Does This Mean For You?
Understanding how to jack up your car is more than just a skill. It’s about being prepared. It’s about feeling confident.
It’s about staying safe. When is it okay? When should you think twice?
Let’s break it down.
Normal vs. Concerning Signs
Normal: The car lifts smoothly. The jack stays stable. The tire lifts off the ground evenly.
You have enough clearance to remove the tire.
Concerning: The jack wobbles or leans. The car shakes as it lifts. The jack makes creaking noises.
The jack point looks like it’s bending. The tire doesn’t lift straight up. Any of these mean stop.
Lower the car. Reassess. Consult your manual or a professional.
When to Call for Help: If you are on a busy road and feel unsafe. If your jack seems damaged. If you can’t find the correct jack points.
If the ground is too unstable. It’s always better to be safe and call a roadside assistance service. They have the right equipment and experience.
Quick Tips for a Smoother Tire Change
While the main focus is on safe jacking, a few extra tips can make the whole tire-changing process go more smoothly. These aren’t complex procedures. They are just smart little things to keep in mind.
Helpful Hints
Loosen Lug Nuts First: Before you even lift the car, use the lug wrench to loosen the lug nuts on the flat tire. Just loosen them about half a turn. Don’t remove them yet.
It’s much harder to loosen them when the wheel is spinning freely in the air.
Keep Track of Lug Nuts: Put the lug nuts in a safe place. A pocket, a hubcap, or a small container. You don’t want them rolling away.
Don’t Overtighten: When putting the spare on, tighten the lug nuts by hand as much as you can. Then use the wrench. Tighten them in a star pattern.
This ensures the wheel goes on evenly. You’ll need to fully tighten them later. Do this once the car is back on the ground.
Check Tire Pressure: Make sure your spare tire is properly inflated. Check the sidewall for the correct pressure. A flat spare won’t help much!
Frequently Asked Questions About Jacking Cars
Can I use a brick to support my car instead of a jack stand?
Absolutely not. Bricks are not designed to support the weight of a car. They can crumble or shift easily, leading to a dangerous collapse.
Always use proper jack stands if you need to support a car for an extended period. For a quick tire change, the jack itself is usually sufficient, but never put yourself under the car while it’s only on a jack.
How high do I need to lift the car?
You only need to lift the car high enough so that the flat tire is completely off the ground. You need enough clearance to slide the flat tire out and the spare tire in. Lifting it too high can make the car less stable.
What if the jack won’t lift the car?
Check if the jack is properly positioned on the jack point. Ensure the surface beneath the jack is firm and level. If it’s a scissor jack, make sure you are turning the handle in the correct direction.
If it still won’t lift, there might be an issue with the jack itself, or the car might be too heavy for that particular jack.
How do I know if I’m using the right jack point?
Your car’s owner’s manual is the best resource. Look for diagrams showing the specific reinforced areas on the frame near each wheel. They often have small notches or specific shapes to indicate where the jack head should sit.
Is it safe to jack up my car on an incline?
It is strongly advised against jacking up a car on an incline. The chances of the jack slipping or the car rolling are much higher. Always try to find a level surface.
If you absolutely must jack on a slight slope, take extreme precautions with wheel chocks and ensure the jack is as stable as possible.
How long can I drive on a spare tire?
Most spare tires, especially the smaller “donut” spares, are for temporary use only. They usually have a speed and distance limit (e.g., 50 mph, 50 miles). Check the tire’s sidewall or your owner’s manual.
Get your full-size tire repaired or replaced as soon as possible.
Final Thoughts on Car Safety
Knowing how to safely jack up your car is a fundamental skill. It empowers you. It gives you peace of mind.
Remember to always prioritize safety. Take your time. Use the right tools.
And when in doubt, call for help. Being prepared means you can handle unexpected situations calmly and effectively. You’ve got this.
Products related to this article
Sponsored / affiliate links. As an Amazon Associate I earn from qualifying purchases. I may earn additional commission from eligible campaigns.