How to Remove Scratches on Plastic Car Interior
Hey there! If you’ve ever noticed those pesky scratches on your car’s plastic interior, you know how frustrating they can be. They make your car look worn out, even if it’s still running great. I’ve been there, staring at scuff marks on my dashboard, wondering how to fix them. The good news? You can remove scratches on plastic car interior with some simple techniques. In this guide, I’ll share everything I’ve learned from my own experiments, so you can make your car’s interior look fresh again.
Why Plastic Scratches Happen in Cars
Let’s start with why these scratches show up. Plastic interiors are tough, but they’re not invincible. Everyday things like keys, coins, or even your phone can leave marks. Kids or pets in the car? They can add to the chaos. I once found a deep scratch on my center console after my dog’s leash scraped against it. Sunlight and heat can also weaken plastic over time, making it easier to scratch. Knowing the cause helps you prevent future damage, but let’s focus on fixing what’s already there.
Assessing the Scratch: Light, Medium, or Deep?
Before you grab any tools, check how bad the scratch is. I’ve learned this the hard way—different scratches need different fixes. Light scratches are surface-level, like faint white marks. Medium scratches go a bit deeper, maybe with some texture you can feel. Deep scratches are the worst, cutting into the plastic and sometimes exposing the base material.
Here’s a quick way to assess:
- Run your fingernail over the scratch. If it doesn’t catch, it’s light.
- If it catches slightly, it’s medium.
- If it’s deep and rough, you’ve got a deep scratch.
This step is key because it decides your approach. I once tried a heavy-duty method on a light scratch and ended up with a cloudy patch—lesson learned!
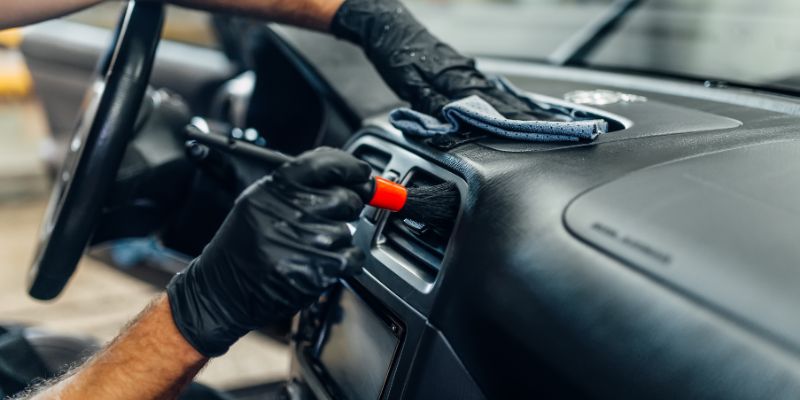
Tools and Materials You’ll Need
You don’t need a fancy garage to fix plastic car interior scratches. Most of the stuff is probably in your home already. Here’s what I use, based on my own trial and error:
| Item | Purpose | Where to Find It |
|---|---|---|
| Microfiber cloth | Cleaning and polishing | Auto stores, supermarkets |
| Mild dish soap | Cleaning the surface | Kitchen cupboard |
| Plastic polish | Smoothing out light scratches | Auto parts store |
| Sandpaper (2000-3000 grit) | Smoothing deeper scratches | Hardware store |
| Heat gun | Melting plastic for deep scratches | Hardware store |
| Interior plastic cleaner | Prepping the surface | Auto parts store |
| Rubbing alcohol | Removing residue | Pharmacy |
| Spray paint (optional) | Restoring color for deep scratches | Auto or hardware store |
I keep these in a small toolbox for quick fixes. Pro tip: Always test products on a hidden spot first. I once used a polish that was too harsh and dulled my dashboard!
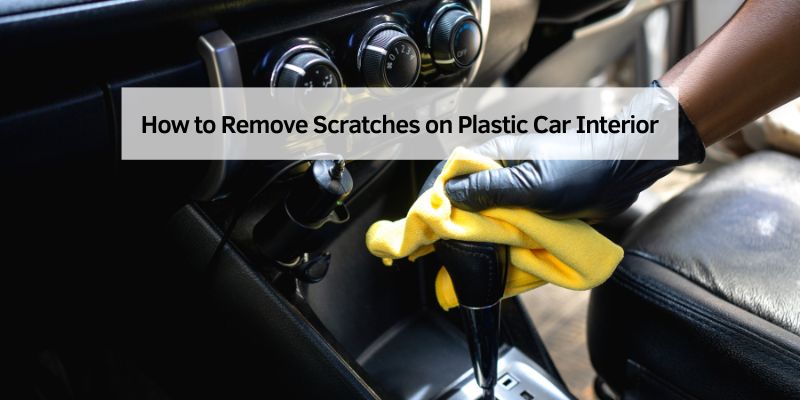
Step-by-Step Guide to Removing Light Scratches
Light scratches are the easiest to tackle. They’re usually just surface scuffs that mess with the shine. Here’s how I handle them:
- Clean the Area: Mix a drop of dish soap with water. Dip a microfiber cloth in the solution and wipe the scratched area. This removes dirt and oils. Dry it with a clean cloth.
- Apply Plastic Polish: Put a small amount of plastic polish on a microfiber cloth. Rub it in small circles over the scratch. I press lightly to avoid overdoing it. Keep going for about 30 seconds.
- Wipe Off Excess: Use a clean microfiber cloth to wipe away the polish. Check if the scratch is gone. If not, repeat the polishing step.
- Buff the Surface: Buff the area with a dry microfiber cloth to restore the shine. I love this part—it’s like watching the scratch disappear!
This method worked wonders on my car’s door panel when my keys left a faint mark. It’s quick and satisfying.
Tackling Medium Scratches with Sanding
Medium scratches need a bit more effort. Sanding sounds scary, but it’s doable if you’re careful. Here’s my go-to process:
- Clean Thoroughly: Like with light scratches, start by cleaning the area with soapy water. Dry it well.
- Sand the Scratch: Take 2000-grit sandpaper and lightly sand the scratch. I use small, circular motions and check every few seconds. You’re just smoothing the edges, not digging in.
- Clean Again: Wipe away sanding dust with a damp microfiber cloth. I sometimes use rubbing alcohol for a spotless finish.
- Polish the Area: Apply plastic polish with a microfiber cloth, just like for light scratches. This restores the smoothness.
- Buff to Shine: Buff with a dry cloth to bring back the gloss.
I used this on my center console after a coin left a noticeable scratch. It took about 15 minutes, but the result was worth it.
Fixing Deep Scratches with a Heat Gun
Deep scratches are tricky, but I’ve had success with a heat gun. This method melts the plastic slightly to fill in the scratch. Be cautious—it’s easy to overdo it. Here’s what I do:
- Prep the Surface: Clean the area with soapy water and dry it. Use rubbing alcohol to remove any leftover residue.
- Set Up the Heat Gun: Set your heat gun to a low setting (around 200°F). I hold it about 6 inches away to avoid burning the plastic.
- Apply Heat: Move the heat gun in small circles over the scratch for a few seconds. The plastic will start to look glossy as it melts slightly. Stop as soon as the scratch begins to fade.
- Let It Cool: Let the area cool naturally for a few minutes. Don’t touch it—it’s hot!
- Sand Lightly: Use 3000-grit sandpaper to smooth any uneven spots. Wipe away dust with a damp cloth.
- Polish and Buff: Apply plastic polish and buff to restore the shine.
I fixed a deep scratch on my dashboard this way. It was nerve-wracking at first, but the scratch practically vanished. If the color is off, you can use spray paint matched to your car’s interior. Just tape off the surrounding area and apply thin coats.
Preventing Future Scratches
Once you’ve fixed those scratches, you’ll want to keep them from coming back. I’ve picked up a few habits that help:
- Use Organizers: Keep keys, coins, and other sharp objects in a console tray. I got a cheap one online, and it’s a game-changer.
- Avoid Overloading Surfaces: Don’t pile heavy stuff on plastic surfaces. I once scratched my door panel by tossing a heavy bag on it.
- Apply a Protective Coating: Some plastic protectants add a layer that resists scratches. I use one every few months, and it keeps my interior looking new.
- Clean Regularly: Dust and grit can make scratches worse. I wipe down my interior weekly with a microfiber cloth.
These small steps make a big difference. My car’s interior stays cleaner and scratch-free longer now.
When to Call a Professional
Sometimes, a scratch is too deep or in a tricky spot. I’ve had moments where I knew I was out of my depth—like a scratch near a delicate vent. If the damage is near electronics or the scratch is massive, consider a pro. Auto detailers have specialized tools and can match your interior’s texture perfectly. It costs more, but it’s worth it for a flawless finish. I paid about $100 to fix a stubborn scratch near my radio, and it was money well spent.
Common Mistakes to Avoid
I’ve made plenty of mistakes fixing plastic car interior scratches. Here’s what to watch out for:
- Using Too Much Heat: A heat gun can melt plastic too much, leaving a mess. Always start low and work slowly.
- Skipping Cleaning: Polishing a dirty surface grinds dirt into the plastic. I learned this after making a scratch worse!
- Using Wrong Products: Household cleaners like bleach can ruin plastic. Stick to plastic-safe products.
- Over-Sanding: Sand too much, and you’ll dull the surface. I did this once and had to polish for ages to fix it.
Take your time, and you’ll avoid these headaches.
Benefits of Fixing Scratches Yourself
Fixing scratches yourself is rewarding. First, it saves money—professional detailing can cost hundreds. Second, it’s satisfying to see your car look better because of your effort. I felt like a pro after fixing my dashboard. Plus, a clean interior boosts your car’s resale value. Buyers notice details, and a scratch-free interior makes a great impression.
Conclusion
Dealing with scratches on plastic car interior doesn’t have to stress you out. With a little patience and the right tools, you can make your car look as good as new. I’ve shared my own journey—complete with a few mistakes—so you can avoid pitfalls and get great results. Whether it’s a light scuff or a deep gouge, you’ve got options. Try these methods, take your time, and enjoy the process. Your car deserves to shine, and so do you! Got more scratches to fix? Grab those supplies and let’s keep that interior looking sharp.
FAQs
Can I use toothpaste to remove scratches on my car’s plastic interior?
Toothpaste can work for very light scratches. I’ve tried it on faint scuffs, and it acts like a mild abrasive. Dab a bit of non-gel toothpaste on a microfiber cloth and rub gently in circles. Wipe it off and check the result. It’s not as effective as plastic polish, but it’s a quick fix if you’re in a pinch.
Will a heat gun damage my car’s plastic interior?
If you’re not careful, yes. I’ve used a heat gun successfully, but too much heat can melt or discolor plastic. Keep it on a low setting and move it constantly. Test on a small, hidden area first. If you’re nervous, stick to sanding and polishing for lighter scratches.
How often should I polish my car’s plastic interior?
I polish my car’s interior every few months, especially high-touch areas like the console. Over-polishing can wear down the plastic, so don’t go overboard. A quick buff with plastic polish after cleaning keeps things shiny and protects against minor scratches.
Can I paint over scratches to hide them?
Yes, but it’s a last resort for deep scratches. I’ve used spray paint matched to my car’s interior color. Clean and sand the area first, then apply thin layers. Tape off surrounding areas to avoid overspray. It’s tricky, so practice on something else first.
Are there products to prevent scratches on plastic car interiors?
Absolutely. I swear by plastic protectants like Armor All or 303 UV Protectant. They add a protective layer and reduce scratching. Apply every couple of months after cleaning. Also, using organizers for keys and coins helps a ton.