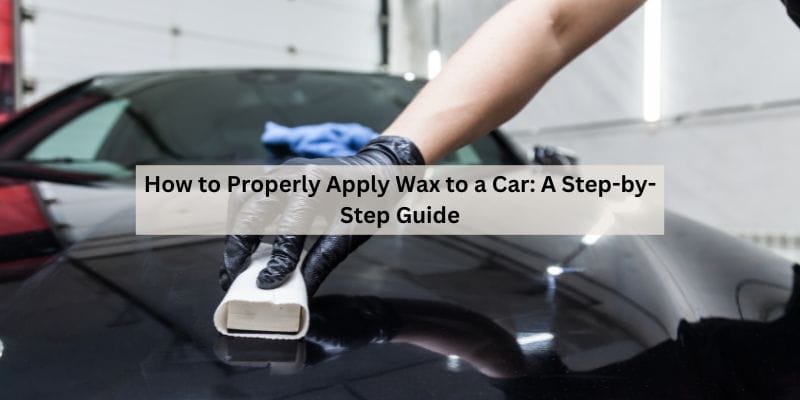
How to Apply Car Wax Correctly: Technique, Timing & Mistakes
Car wax bonds best in thin, overlapping coats applied to a cool, shaded panel — a thick layer only takes longer to haze and buffs off unevenly, not more protection. Waxing in direct sunlight or skipping the correct haze time can leave streaks that are harder to fix than the wax job was worth. This guide covers the exact haze time for each wax type, the truth about the circular-vs-straight-line debate, and the specific mistakes that ruin an otherwise correct wax job.
Quick Answer
Apply a thin coat of wax with a foam or microfiber applicator pad, working one panel at a time, then let it haze before buffing off with a clean microfiber towel. Haze time depends on the product: liquid carnauba needs about 3–5 minutes, synthetic sealant 5–15 minutes, carnauba paste 10–30 minutes, and a ceramic spray topper only 1–2 minutes. Whether you move in circles or straight lines doesn’t matter for wax itself — it’s non-abrasive — but it does matter for the polish or compound step before it.
Essential Materials For Car Waxing
Before you touch a panel, gather everything so you’re not hunting for a towel with wax already hazing on the paint. You’ll need: a wax product (carnauba paste, liquid carnauba, synthetic sealant, or a ceramic spray topper — see the comparison table below for how they differ), a clean foam or microfiber applicator pad, two microfiber towels (one for buffing, one kept dry as backup), a pH-neutral car shampoo for the pre-wax wash, and a clay bar if the paint has any bonded contaminants you can feel when you run a hand over it.
If you want the broader wash-polish-wax overview first — picking a wax, prepping the car, and the full maintenance routine — see our companion guide on how to wax a car. This guide goes deeper on one thing that overview doesn’t: the application technique itself — exact haze times by product type, the circular-vs-straight-line motion question, and the specific mistakes that ruin an otherwise correct wax job.
Preparing Your Car For Wax
To properly apply wax to a car, start with thorough cleaning and preparation. Proper cleaning technique means washing with a pH-neutral shampoo and water to remove dirt particles, then drying the car completely with a clean microfiber towel. If the surface still feels gritty after washing, run a clay bar with a lubricant spray over the panel first — this lifts bonded contaminants (tar specks, rail dust, overspray) that a wash alone won’t remove, and it’s what lets the wax bond to the actual paint instead of a layer of grime. This is also usually one step in a full car detailing package if you’d rather have it done professionally.
Best Carnauba Paste Wax Pick
Meguiar’s Gold Class Carnauba Plus Premium Paste Wax
A blended carnauba paste that’s forgiving for hand application — it hazes evenly and doesn’t demand perfect timing to buff off clean.
- Best for: Hand-applied protection with a warm, deep carnauba glow rather than a synthetic-looking shine
- Why we picked it: A thin coat from this jar hazes predictably in the 10–30 minute window most carnauba pastes need, so it matches the timing table below exactly
- Main drawback: Shorter-lived than a synthetic sealant — expect to reapply every 4–8 weeks on a daily driver, not months
Compare more wax application tools
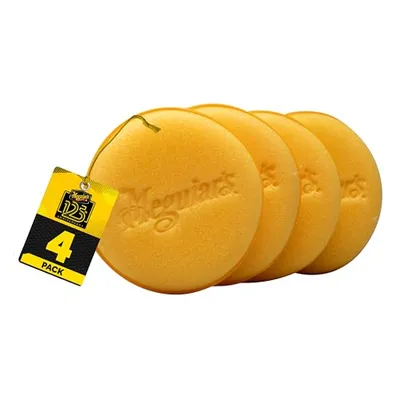 Option 1 Meguiar’s 4″ Foam Applicator Pads, 4 Pack
|
 Option 2 CARCAREZ Premium Microfiber Detailing Towels
|
 Option 3 AOBEN 6-Inch Dual Action Polisher
|
As an Amazon Associate we earn from qualifying purchases.
Polishing Before Waxing
Before applying wax to your car, polish the surface to remove dull paint or light scratches. This gives the wax a smooth, clean surface to adhere to, resulting in a better and longer-lasting shine.
| When to Polish | If your car’s paint is dull, oxidized, or has minor scratches, polish first — see our guide on removing oxidation from car paint if that’s the issue — to remove them and restore the shine before wax goes on. |
| Polishing Tools | A dual-action polisher, foam pads matched to the level of correction needed, and a polishing compound suited to your paint type and condition. |
| Motion Matters Here | Unlike wax, polish and rubbing compound contain mild abrasives — apply them in straight, overlapping lines rather than circles. A circular motion with an abrasive product can leave directional marks that are visible under direct light. |
How to Apply Wax to a Car: The Thin-Coat Technique
Why a Thin Coat Beats a Thick One
Only a thin layer of wax actually bonds to the clear coat — everything past that gets wiped away during buffing anyway, so a heavier application doesn’t add protection, it only adds haze time and a harder buff-off. A thick coat also cures unevenly, which is what causes the streaky, hazy patches that won’t wipe clean no matter how long you work at them.
Detailing guidance from Chemical Guys notes that a thin, even layer is all that’s going to adhere to the paint — you end up wiping off the rest anyway, so thin layering is more effective than a thick application, not less.
— Based on Chemical Guys’ carnauba and synthetic wax application guidance
- Work in the shade, one panel at a time: Park out of direct sun and only uncap the section of car you’re about to wax — a hood-sized area at a time, not the whole car at once.
- Load the applicator lightly: Dip a foam or microfiber pad into the wax and scrape off the excess against the container’s edge; you want a thin, barely-visible film on the pad, not a glob.
- Apply in overlapping passes: Spread the wax in slightly overlapping straight lines or gentle circles — both work equally well for wax itself since it’s non-abrasive and won’t scratch the paint either way.
- Stop once the panel is covered, not saturated: If you can still see a wet, streaky sheen after your pass, you’ve used too much — go back over it with a clean, dry section of the applicator to thin it out.
- Let it haze fully before buffing: Check the haze time for your specific wax type in the table below, then run the swipe test — if a finger swipe smudges the surface, it needs more time.
- Buff off in the same overlapping pattern: Use a clean, dry microfiber towel and work in straight, overlapping passes so you can see exactly which sections are still hazy.
Circular Motion or Straight Lines? What Actually Matters
For wax itself, it genuinely doesn’t matter — wax contains no abrasives, so it cannot scratch paint in either a circular or straight-line motion, and detailing-community testing has found no measurable difference in swirl-mark visibility between the two when applying pure wax. The motion debate only matters one step earlier, during polishing: polish and rubbing compound do contain mild abrasives, and those should always be worked in straight, overlapping lines, because a circular motion with an abrasive product can leave faint directional marks visible under bright, low-angle light — especially on dark paint. Keep your applicator clean and your coverage even, and either motion will give you the same result with wax.
Wax Type Cure and Haze Time: How Long Before You Buff It Off
How long you wait before buffing depends entirely on the wax type — using a paste wax’s timing on a spray sealant will leave you buffing a coat that hasn’t finished flashing off, and rushing a paste wax’s longer solvent evaporation leaves smears. Here’s how the four common types compare.
| Wax Type | Haze Time Before Buffing | Reapplication Interval |
|---|---|---|
| Carnauba Paste Wax | 10–30 minutes (longer, solvent-based carrier) | Every 4–8 weeks on a daily driver |
| Liquid Carnauba Wax | 3–5 minutes | Every 6–8 weeks |
| Synthetic Polymer Sealant | 5–15 minutes | Every 3–6 months |
| Ceramic Spray Topper | 1–2 minutes flash time, 4-hour no-touch cure | Every 4–8 weeks as a topper over a base coating |
📊 High humidity roughly doubles haze time — a wax that normally hazes in 10 minutes can take 25 minutes or longer on a humid day, so always confirm with the swipe test instead of a clock.
Buffing For A Brilliant Shine
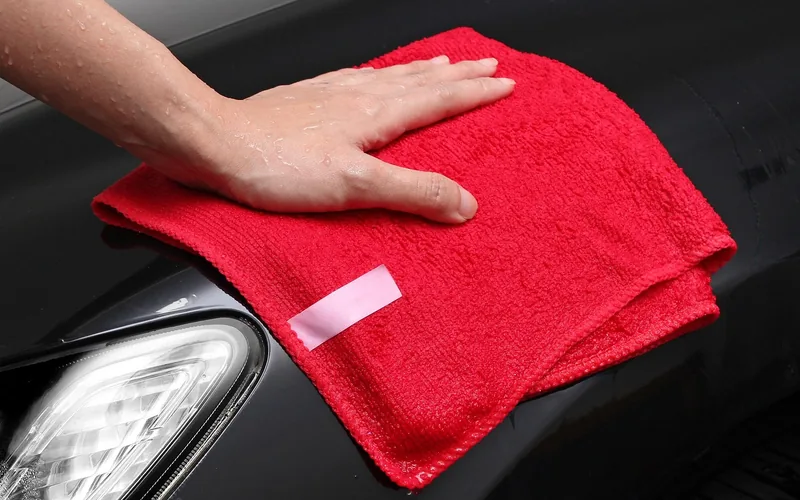
| Choosing the Right Cloth | Microfiber towels are gentle on the paint and won’t leave scratches or swirl marks. Skip old t-shirts or terry towels — they leave lint and can scratch a hazed finish. If you’re machine-buffing instead of hand-buffing, see our guide on how to cut and buff a car for pad and speed settings. |
| Fold It for More Clean Sides | Fold a clean microfiber towel in half, then in half again, giving you eight distinct wiping faces on one towel before you need a fresh one. |
| Buffing Technique | Use light pressure in small, overlapping sections, working in the direction of the panel’s contours. Switch to a clean face on the towel as soon as one starts dragging instead of gliding. |
Applying Multiple Layers Of Wax
A second thin coat can deepen the shine and add a small margin of extra protection, but it only helps if you let the first coat fully cure first — not just haze and buff, but the longer full-cure window listed in the table above (up to a few hours for paste and liquid carnauba, longer for sealants). Applying a second coat before the first has cured just smears the first layer instead of adding a second one. Always check the specific wax manufacturer’s instructions, since cure time between coats varies by product even within the same wax type.
Maintenance, Touch-ups, and Reapplication By Wax Type
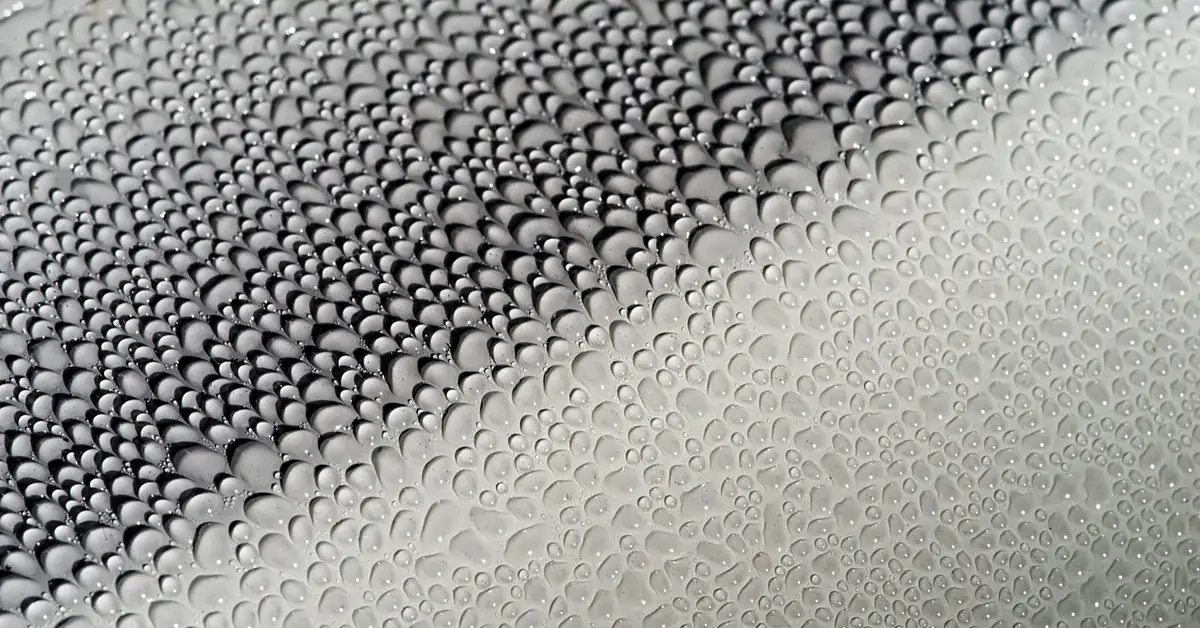
Use the reapplication interval from the table above as your baseline — carnauba paste and liquid wax need refreshing every 4–8 weeks on a daily driver, synthetic sealant stretches to 3–6 months, and a ceramic spray topper gets reapplied every 4–8 weeks on top of whatever base coating is already there. Reapply sooner after any heavy rain, a trip through an automatic wash with harsh detergent, or as soon as water stops beading tightly on the paint.
One touch-up mistake that’s easy to make with any wax type: letting product dry onto black plastic trim or emblems. Textured trim is porous and the wax sinks into those micro-pores, drying to a visible gray or white haze that plain buffing won’t remove. If you catch it while still wet, wipe it immediately with a damp microfiber towel. If it’s already dried on, a soft detailing brush with a wax-removing spray lifts it out of tight spots around emblems and grilles without damaging the trim.
Common Waxing Mistakes That Ruin An Otherwise Correct Wax Job
- Waxing in direct sunlight or on a hot panel: Heat speeds up haze time dramatically, and a wax that hazes before you finish spreading it becomes nearly impossible to buff off evenly. Keep the ideal working temperature between 60–80°F and work in the shade.
- Applying a thick coat “for extra protection”: As covered above, only a thin layer bonds — a thick coat just means a longer haze time and a harder, streakier buff-off with zero added durability.
- Waxing a wet or even slightly damp car: Any moisture on the paint stops the wax from bonding evenly to the finish, leaving weak spots that wash away in the next rain.
- Not cleaning the applicator between panels: A dirty pad reapplies old, partially cured wax and picked-up grit, which is what actually causes fine marring — not the circular-vs-straight-line motion.
- Letting wax dry onto trim or emblems: Covered in the maintenance section above — mask or wipe immediately rather than scraping dried residue later.
Final Inspection And Care Tips
Before calling the job done, inspect the car’s surface under different lighting — direct sun, shade, and an angled garage light all reveal different missed spots and streaks. Check trim edges, mirror housings, and emblem grooves specifically, since these are the areas wax residue hides most easily.
For long-term paint health between wax jobs, stick to a pH-neutral shampoo for regular washes so you’re not stripping the wax you just applied, and use a clay bar periodically to keep contaminants from building back up before your next application.
Frequently Asked Questions
What Is The Proper Way To Wax A Car?
Wash the car with water and mild pH-neutral soap, polish if the paint is dull or scratched, then apply a thin coat of wax with a clean applicator pad one panel at a time. Let it haze for the time your specific wax type needs, then buff it off with a clean microfiber towel.
What Is The Correct Way To Apply Wax?
Load a foam or microfiber applicator lightly, then spread the wax in overlapping straight lines or gentle circles — both work equally well since wax itself is non-abrasive and won’t scratch the paint either way. Stop once the panel is covered, not soaked, then let it haze before buffing off.
Is It Better To Wax A Wet Or Dry Car?
It is always better to wax a completely dry car. Applying wax to a wet or even slightly damp surface prevents it from bonding evenly with the finish, leaving weak spots that wash away in the next rain.
What Not To Do When Waxing A Car?
Avoid waxing a wet car, using a low-quality or expired wax, applying a thick coat, waxing in direct sunlight on a hot panel, and reusing a dirty applicator pad across multiple sections. Each of these causes uneven bonding, streaking, or fine marring that’s harder to fix than the original wax job was worth.
Does It Matter If You Wax In Circular Motions Or Straight Lines?
No, not for wax itself — it contains no abrasives, so neither motion can scratch the paint or create swirl marks. The motion only matters for the polishing step before waxing, since polish and rubbing compound are mildly abrasive and should always be worked in straight, overlapping lines to avoid faint directional marks on dark paint.
How Long Should You Wait Before Buffing Off Car Wax?
It depends on the wax type: liquid carnauba wax hazes in about 3–5 minutes, synthetic polymer sealant in 5–15 minutes, carnauba paste wax in 10–30 minutes, and a ceramic spray topper in just 1–2 minutes. High humidity can roughly double these times, so always confirm with a finger swipe test rather than a clock.
How Often Should You Reapply Car Wax?
Carnauba paste and liquid wax need reapplying every 4–8 weeks on a daily driver, synthetic polymer sealant lasts 3–6 months, and a ceramic spray topper is refreshed every 4–8 weeks over a base coating. Reapply sooner after heavy rain or a harsh automatic car wash, or as soon as water stops beading tightly on the paint.
Conclusion
Getting a wax job right comes down to technique, not the amount of product you use: a thin, overlapping coat applied to a cool, dry panel, given the correct haze time for that specific wax type, then buffed off with a clean microfiber towel. If you’re still choosing which wax to buy or want the full wash-to-maintenance walkthrough, our companion guide on how to wax a car covers that side in more depth — this guide is the one to come back to for the application technique itself.
Products related to this article
Sponsored / affiliate links. As an Amazon Associate I earn from qualifying purchases. I may earn additional commission from eligible campaigns.