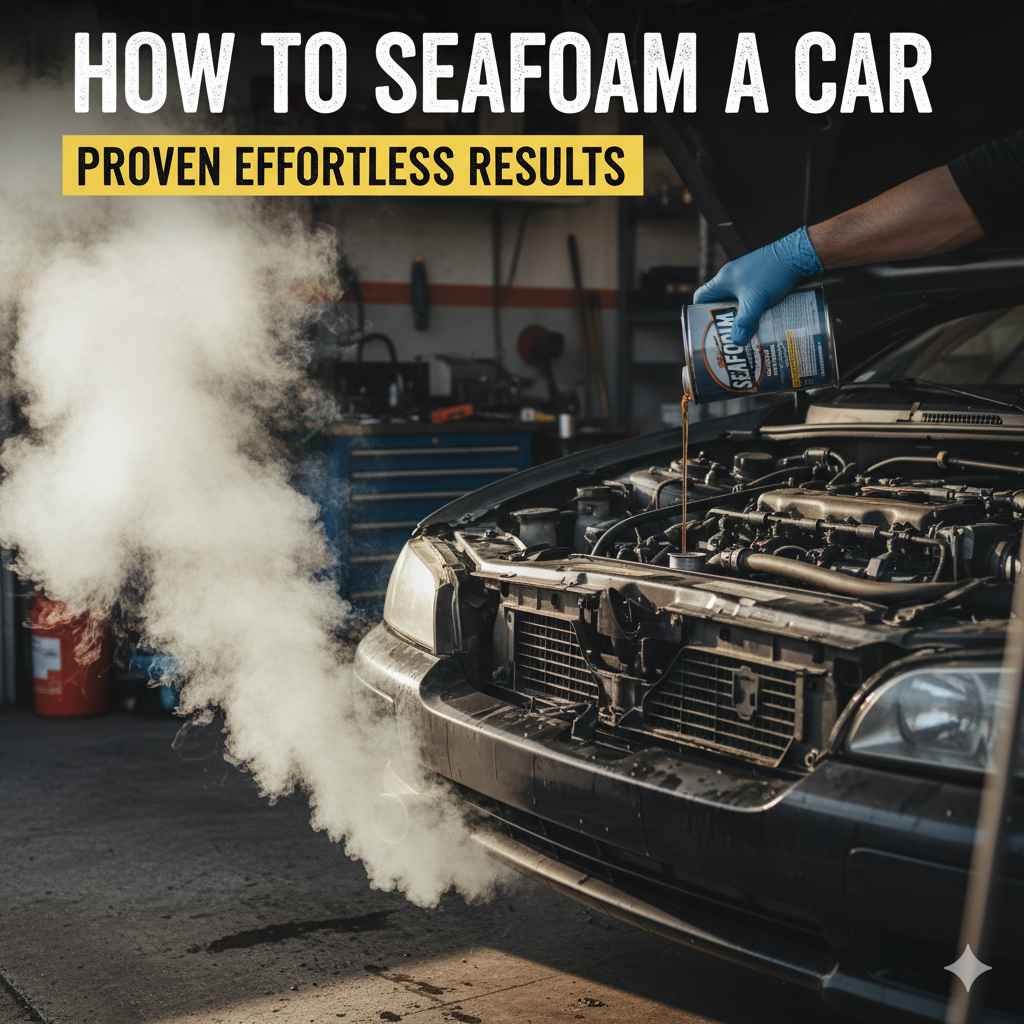
How to Seafoam a Car: Proven Effortless Results
Want to make your car run smoother and cleaner? Seafoam treatment is a simple DIY way to clean your engine’s interior parts like valves and pistons. It helps improve fuel economy and restores lost power. This guide will show you how to do it easily and safely at home.
Is your car feeling sluggish? Maybe it’s not accelerating like it used to, or your gas mileage seems to have taken a nosedive. These could be signs that the inside of your engine needs a good cleaning. Over time, carbon deposits can build up on critical engine parts, affecting performance and efficiency. It sounds complicated, but there’s a straightforward way to tackle this: using Seafoam. You don’t need to be a master mechanic to do it. This guide will walk you through exactly how to use Seafoam to give your engine a refreshing clean, leading to noticeably better performance. Let’s get your car feeling like new again!
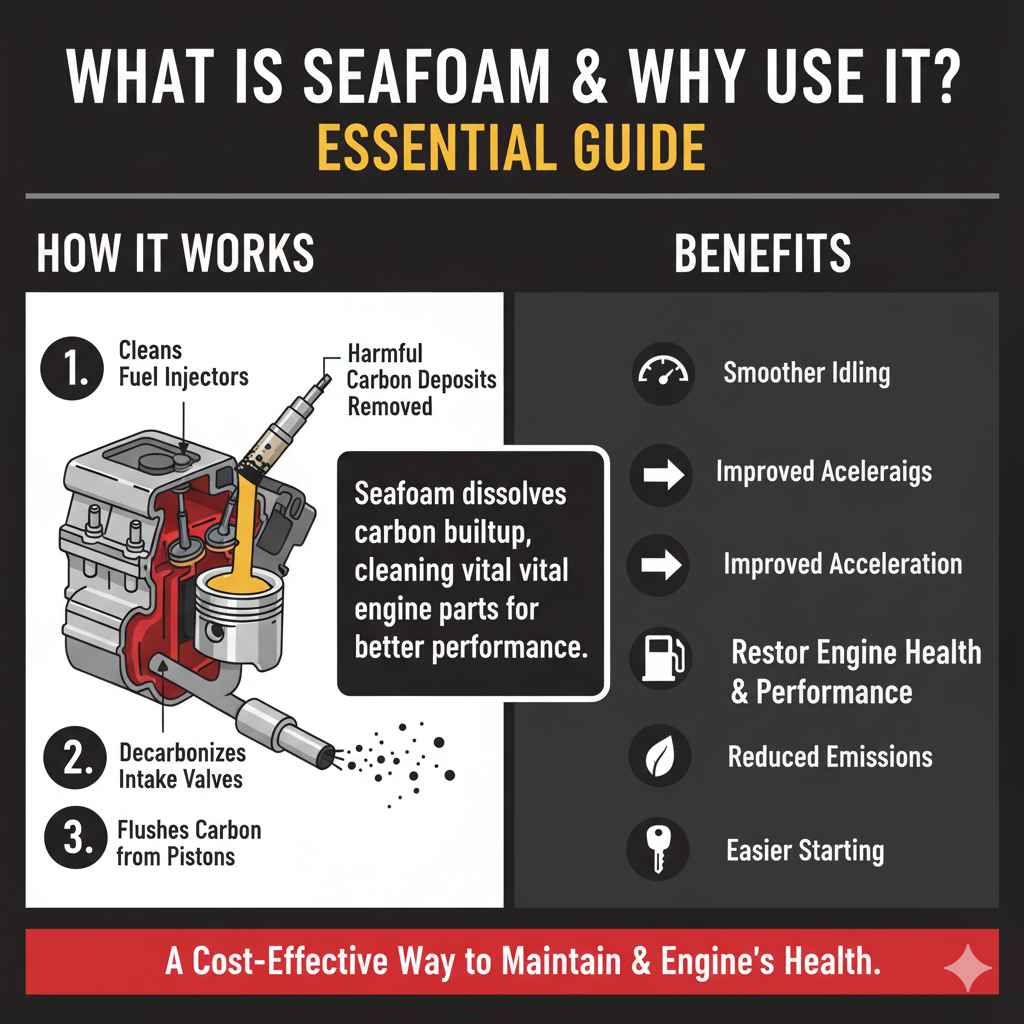
What is Seafoam and Why Should You Use It?
Seafoam Motor Treatment is a popular and effective product used by car owners to clean out harmful carbon deposits from various parts of your car’s engine. Think of it like a deep clean for your engine’s insides. Over the miles, fuel and oil don’t always burn perfectly. This leaves behind sticky, black gunk (we call it carbon buildup) on important parts like your fuel injectors, intake valves, and piston tops. This buildup can choke your engine, making it less efficient and powerful.
Using Seafoam helps dissolve and remove these deposits. When your engine parts are clean, fuel can flow more freely, and the engine can breathe better. This often translates to:
- Smoother idling
- Improved acceleration
- Better gas mileage
- Reduced emissions
- Easier starting
It’s a cost-effective way to maintain your engine’s health without a trip to the mechanic. Many drivers consider it a preventative maintenance step, much like changing your oil.
Understanding the Seafoam Treatment Process
There are three main ways to use Seafoam to clean your engine, and each targets different areas. We’ll cover each one in detail, so you can choose the best method for your car and your comfort level:
- Through the Fuel Tank: This is the easiest method and cleans your fuel system from the tank to the injectors.
- Through the Crankcase (Oil System): This method cleans internal engine components by adding Seafoam to your engine oil before an oil change.
- Through the Intake System (Manual Induction): This is the most aggressive method and cleans intake valves and combustion chambers.
You can use one method, or combine them for a comprehensive engine clean. Let’s dive into each step-by-step.
Method 1: Seafoam Through the Fuel Tank (Easiest!)
This is the most straightforward way to use Seafoam. It directly cleans your fuel injectors and helps remove water or contaminants from your fuel system. It’s a great starting point for beginners.
When to Use This Method:
- Regularly, as part of your maintenance schedule (e.g., every oil change).
- If you notice rough idling or hesitate acceleration.
- If your fuel economy has decreased.
What You’ll Need:
- One can of Seafoam Motor Treatment
- Your vehicle’s fuel tank
- A safe place to drive your vehicle
Step-by-Step: Fuel Tank Treatment
-
Check Your Fuel Level: It’s best to do this when your fuel tank is about half full. This ensures proper mixing with the gasoline.
-
Add Seafoam to the Tank: Simply open your gas cap and pour the entire can of Seafoam Motor Treatment directly into your fuel tank. It’s completely safe for all gasoline engines and their fuel system components.
-
Drive Your Vehicle: After adding the Seafoam, drive your car normally for at least 15-30 minutes. The longer you drive, the more the Seafoam will circulate and clean. We recommend driving until the Seafoam is mostly consumed or at least for half a tank of fuel. This allows the product to work its way through the entire fuel system, including your fuel pump, fuel lines, and especially the fuel injectors.
-
Refuel as Normal: Once you’ve driven for a sufficient amount of time, you can refuel your vehicle as you usually would. Continuing to drive after refueling will further help the Seafoam do its job.
You might notice a slight improvement in performance right away, but for best results, drive until you refill your tank at least once.
Method 2: Seafoam Through the Crankcase (Engine Oil)
This method cleans the inside of your engine, specifically the sludge and carbon deposits that can build up in the crankcase and on engine parts lubricated by oil. This is generally done just before an oil change.
When to Use This Method:
- Part of a regular maintenance schedule (e.g., every 3,000 miles or with every oil change).
- If your engine seems sluggish or has accumulated sludge.
- To prepare for an oil change and get a cleaner engine.
What You’ll Need:
- One can of Seafoam Motor Treatment
- Your vehicle’s engine oil fill cap
- A timer or clock
- Your next oil change supplies (oil, filter)
Step-by-Step: Crankcase Treatment
-
Warm Up Your Engine: Start your car and let it run until it reaches normal operating temperature. This ensures the oil is warm and flowing, which helps the Seafoam properly mix and circulate.
-
Add Seafoam to the Crankcase: Locate your engine’s oil fill cap. Remove it and pour about half of the can of Seafoam Motor Treatment into the crankcase. For most cars, half a can is sufficient. You can use the whole can, but half is often recommended to avoid over-diluting the oil too much. Close the oil fill cap securely.
-
Idle Your Engine: Let your engine idle for about 15-20 minutes. Do NOT drive the vehicle during this process. Idling allows the Seafoam to work its way through the internal engine components, dissolving deposits. You might notice some smoke from your exhaust; this is normal as the Seafoam vaporizes and burns off deposits.
-
Change Your Oil and Filter: Immediately after the 15-20 minute idling period, turn off your engine. Drain out the old engine oil and replace your oil filter. Then, refill your engine with the correct type and amount of fresh engine oil as specified in your owner’s manual. This step is crucial to remove the dissolved sludge and carbon that the Seafoam has loosened.
Important Note: Never drive your car with Seafoam or any other flushing agent in the crankcase. This can cause damage due to reduced lubrication.
Method 3: Seafoam Through the Intake System (Manual Induction)
This method is more intensive and directly cleans the intake valves and combustion chambers. It’s often called “manual induction” or “vacuum cleaning.” This is where you’ll likely see the most dramatic, albeit temporary, smoke show.
When to Use This Method:
- For a more thorough cleaning of intake valves and pistons.
- If you’re experiencing significant performance issues, misfires, or rough idling.
- As an occasional deep-clean treatment.
What You’ll Need:
- One can of Seafoam Motor Treatment
- A clean, empty can or container (to pour Seafoam into)
- A length of clear tubing (about 3 feet long)
- Vacuum hose pliers or a clamp
- Your vehicle’s engine owner’s manual
- A safe place to drive your vehicle
- Gloves and eye protection
Step-by-Step: Intake System Treatment
-
Locate a Vacuum Source: You need to find a vacuum line that is under continuous vacuum while the engine is running. Common locations include the PCV (Positive Crankcase Ventilation) valve hose, the brake booster hose, or other vacuum ports. Consult your owner’s manual if you’re unsure. It’s best to use a vacuum line that goes directly into the intake manifold.
-
Prepare for Induction: With the engine running, carefully disconnect the chosen vacuum hose. Be ready to quickly pinch it off or plug it if the engine starts to stall. Have your empty can with Seafoam ready.
-
Start the Seafoam Induction: Insert one end of your clear tubing into the Seafoam in the empty can. Place the other end of the tubing into the vacuum port you just disconnected. You can also attach the tubing to the vacuum hose itself if that’s easier, securing it with a clamp.
-
Control the Flow: Slowly let the engine vacuum draw the Seafoam into the intake system. The goal is to feed the Seafoam steadily but not too fast. If the engine RPMs drop too low or the engine starts to sputter, you may be sucking Seafoam in too quickly. Use a clamp to slightly restrict the flow if needed. You are aiming to get about half a can of Seafoam into the engine this way. The engine may run roughly during this process.
-
Allow Dwell Time: Once you’ve introduced about half a can of Seafoam, disconnect your tubing and reattach your original vacuum hose. Shut off the engine immediately. Now, let the engine sit for about 15-30 minutes. This “soaking” time allows the Seafoam to break down carbon deposits inside the combustion chambers and on the intake valves.
-
Start Engine & Drive: Start your engine. It will likely smoke excessively for a few minutes as the remaining Seafoam and dissolved carbon are burned off and expelled through the exhaust. This is normal, but ensure you are in a well-ventilated area. Once the smoke clears, drive your car for at least 15-20 minutes, pushing it a little harder than usual (without exceeding safe limits) to help ensure all the loosened deposits are burned away.
-
Follow Up: For optimal results after performing the intake cleaning, it’s a good idea to also perform the fuel tank method (Method 1) shortly after and consider the crankcase method (Method 2) at your next oil change.
Safety First for Intake Cleaning:
- Always wear gloves and eye protection.
- Ensure good ventilation; exhaust and Seafoam fumes can be strong.
- Never let the engine suck in the entire can of Seafoam at once, as it can cause hydro-locking.
- If you’re not comfortable with working around engine vacuum lines, stick to the fuel tank or crankcase methods.
Comparing the Seafoam Methods
To help you decide which method is best for you, take a look at this comparison:
| Method | Ease of Use | Areas Cleaned | Frequency | Pros | Cons |
|---|---|---|---|---|---|
| Fuel Tank | Very Easy | Fuel Tank, Lines, Pump, Injectors | Every 3,000 miles/oil change | Simple, No tools needed, Cleans fuel system | Least aggressive cleaning |
| Crankcase | Easy | Internal engine components (sludge, pistons) | Every 3,000 miles/oil change (before draining oil) | Cleans engine internals, Prepares for oil change | Requires oil change immediately after, NEVER drive with it in the crankcase |
| Intake System | Moderate | Intake Valves, Combustion Chambers, Pistons | Occasionally (every 15,000-30,000 miles) | Most aggressive cleaning, Can restore significant power | Requires some mechanical comfort, Significant smoke, Temporary results without follow-up |
Many people find success by performing the fuel tank method regularly and using the intake cleaning method only when they feel their car really needs it. The crankcase method is a great addition to your routine oil changes.
How Often Should You Seafoam Your Car?
The frequency with which you should use Seafoam depends on the method you choose and your car’s condition.
- Fuel Tank Method: This is the most gentle and can be performed regularly. Many drivers do it every time they get an oil change, or every 3,000 miles. If you frequently drive short distances where your engine doesn’t get fully warm, or if you suspect fuel system issues, you might do it more often.
- Crankcase Method: This should ideally be done just before an oil change, so you can immediately drain the old oil with the dissolved gunk. Doing it every 3,000 miles or with every oil change is a common practice.
- Intake System Method: This is the most aggressive cleaning. It’s generally recommended to do this less frequently, perhaps every 15,000 to 30,000 miles, or when you notice a significant performance drop that other methods haven’t resolved. Doing it too often could potentially be harsh on seals.
For new cars with low mileage, Seafoam might not be necessary for a while. For older cars with higher mileage, or those with a history of infrequent maintenance, more frequent treatments might be beneficial.
Tips for a Successful Seafoam Treatment
Here are some tips to ensure your Seafoam treatment goes smoothly and yields the best results:
- Read the Can: Always read the specific instructions on the Seafoam can you purchase, as formulations can vary slightly.
- Use Quality Tools: For the intake method, having clear tubing and proper clamps can make the job much easier and safer.
- Ventilation is Key: Especially for the intake cleaning and initial start-up afterward, ensure you’re in a well-ventilated area.
- Don’t Overdo It: Stick to the recommended amounts. Using more Seafoam than suggested doesn’t necessarily mean better results and could potentially cause issues.
- Follow Up is Important: Especially after the crankcase or intake methods, ensure you complete the necessary follow-up (oil change, driving).
- Know Your Engine: If you’re unsure about vacuum lines or engine components, consult your owner’s manual or a trusted automotive resource like Haynes manuals or official service guides. You can find reputable automotive repair information from sources like AutoMD or even government resources on vehicle maintenance.
- Be Prepared for Smoke: The intake method will produce plumes of smoke. This is normal, but be aware of it and ensure you’re not in a public area where it could cause alarm.

What if My Car Doesn’t Seem to Improve?
While Seafoam is effective for many issues related to carbon buildup, it’s not a magic cure-all. If you’ve followed the instructions and don’t notice any improvement, the problem might be something else entirely.
Common issues that Seafoam won’t fix include:
- Mechanical engine failures (worn parts, blown gaskets)
- Electronic problems (bad sensors, faulty wiring)
- Transmission issues
- Fuel pump failures (though it can help clean it if it’s just starting to get clogged)
- Ignition system problems (spark plugs, coils)
If performance issues persist after a Seafoam treatment, it’s best to consult a qualified mechanic. They can perform diagnostics to pinpoint the root cause of the problem. Sometimes, a thorough professional cleaning or repair might be necessary.
Frequently Asked Questions (FAQ)
Q1: Can Seafoam damage my engine?
A: When used according to the instructions on the can, Seafoam is generally considered safe for all gasoline and diesel engines. However, never drive your car with Seafoam in the crankcase (oil system), as this can lead to severe engine damage.
Q2: When is the best time to Seafoam my car?
A: For the fuel tank method, you can do it anytime. For the crankcase method, it’s best to do it just before you plan to change your oil. The intake method is typically done as a less frequent, more intensive cleaning service.