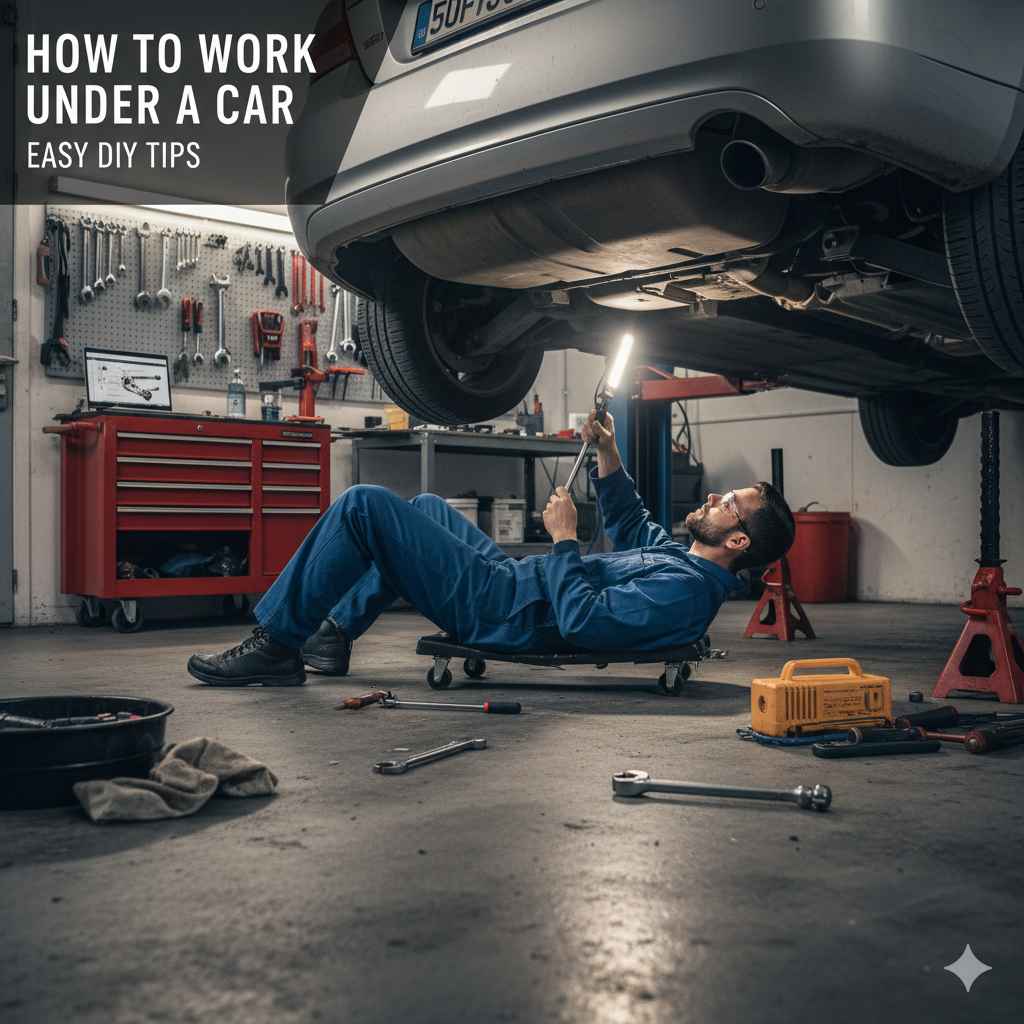
How to Work Under a Car: Easy DIY Tips
Working under your car is achievable with the right preparation and safety gear. This guide provides easy DIY tips for safely getting under your vehicle, covering essential tools, setup, and how to stay secure, empowering you to handle basic maintenance and repairs confidently from home.
Ever stare at your car and think, “There’s something going on down there,” but the idea of crawling underneath feels… daunting? You’re not alone! Many of us shy away from working under our vehicles because it seems complicated or unsafe. But what if I told you that with a few simple steps and the right precautions, you can confidently access the underside of your car for routine checks and even some basic repairs? This guide is designed to break down the process, making it easy and safe for anyone to get up close and personal with their car’s undercarriage. We’ll cover everything from what you’ll need to how to stay as safe as possible. Get ready to gain some hands-on car wisdom!
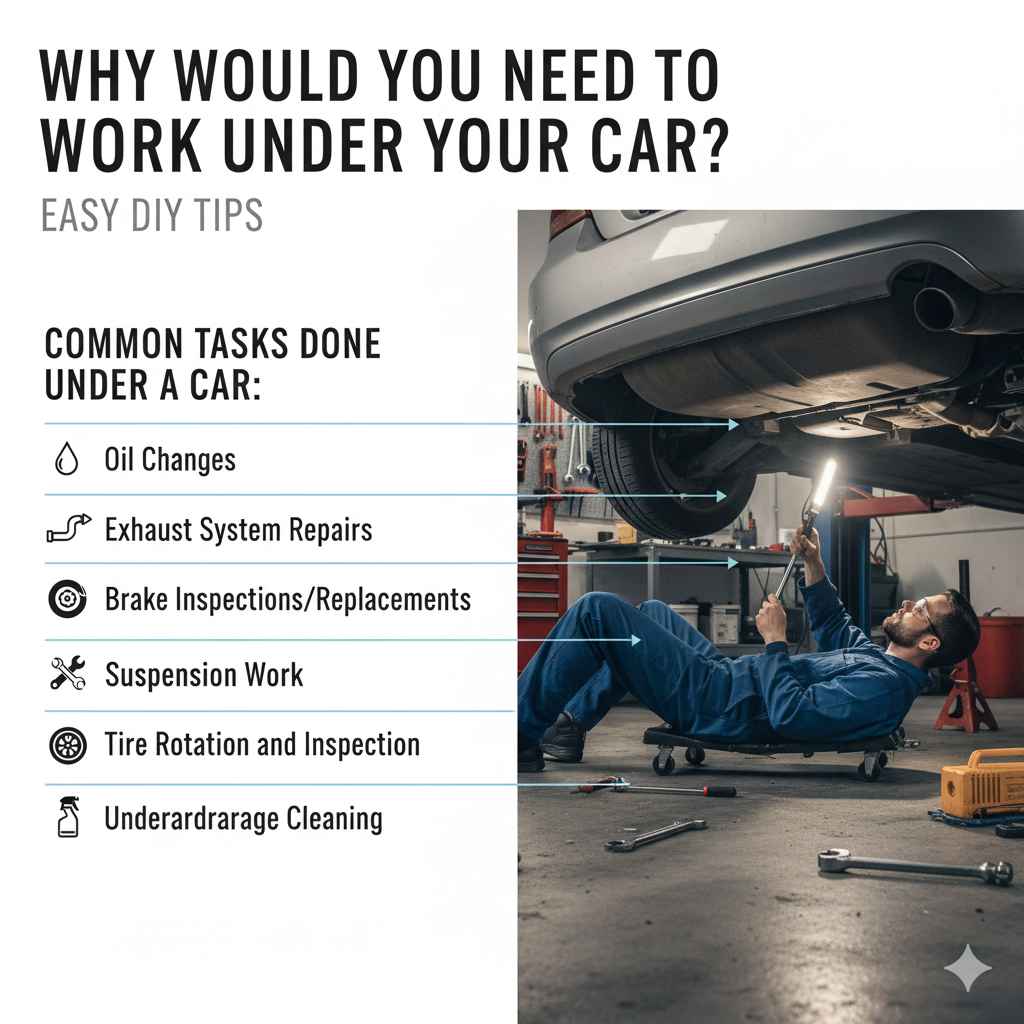
Why Would You Need to Work Under Your Car?
There are many reasons why you might find yourself needing to get under your vehicle. It’s often the best or only way to diagnose and fix a variety of common car issues. Think about it: leaks, strange noises from critical components, or even just doing routine maintenance like oil changes or exhaust system checks. Many parts of your car are located on its underside, making direct access essential for proper inspection and repair. While a mechanic might make it look effortless, understanding the process yourself can save you money and give you peace of mind.
Common Tasks Done Under a Car:
- Oil Changes: Draining old oil and replacing the filter.
- Exhaust System Repairs: Checking for leaks or replacing mufflers and pipes.
- Brake Inspections/Replacements: Accessing brake lines, rotors, and calipers.
- Suspension Work: Inspecting or replacing shocks, struts, and control arms.
- Fluid Leaks: Identifying the source of oil, coolant, or transmission fluid leaks.
- Tire Rotation and Inspection: While often accessible from the side, a full inspection can involve looking at undercarriage components attached to the wheel assembly.
- Undercarriage Cleaning: Removing road grime and salt build-up.
Safety First: The Absolute Non-Negotiables
Before we even think about getting under the car, let’s talk about safety. This is the MOST important part. Working under a car can be dangerous if you don’t take the proper precautions. A car falling on you can cause severe injury or worse. My goal is to make sure you feel confident and, above all, safe. So, we’re going to cover the essential safety measures right upfront.
1. Find a Level, Solid Surface
This is your first line of defense. Never, ever work on your car on a slope or on soft ground like grass or dirt. A slight incline can cause your vehicle to roll, and soft ground means your jack could sink. You want a flat, hard surface like a concrete garage floor or a paved driveway. This ensures your car is stable and your lifting equipment is secure.
2. Use a Reliable Jack and Jack Stands (Never Rely on the Jack Alone!)
A hydraulic jack is what most people use to lift their car. Position it correctly under the designated frame lifting points (check your car’s owner’s manual for these!). Once lifted high enough, you absolutely MUST place jack stands under the frame rails or other strong structural points. These stands are designed to hold the vehicle’s weight. Gently lower the car onto the jack stands. A jolt, a bump, or a slow leak can cause a car on a jack alone to come crashing down. Jack stands are your foolproof safety net.
For more information on vehicle lifting points and safety, the National Highway Traffic Safety Administration (NHTSA) offers valuable resources on vehicle safety, including towing and lifting.
3. Wheel Chocks Are Your Friends
Even with the parking brake on and the car in gear (if manual), wheel chocks add an extra layer of security to prevent rolling. Place them against the wheels that will remain on the ground, on the opposite end from where you’re lifting. If you don’t have dedicated chocks, a sturdy block of wood or large rocks can work in a pinch, but proper wheel chocks are inexpensive and highly recommended.
4. Clear the Area and Inform Others
Make sure there are no children or pets playing around your work area. If you have family or roommates, let them know you’ll be working on the car so they don’t accidentally drive it or disturb your setup. Keep your workspace tidy; a cluttered area is a tripping hazard.
5. Wear Appropriate Safety Gear
- Safety Glasses: Absolutely essential. You don’t want anything falling into your eyes.
- Gloves: Protect your hands from grease, grime, and sharp edges. Mechanic gloves offer good grip and protection.
- Sturdy Footwear: Closed-toe shoes are a must. Steel-toe boots are even better if you have them.
- Old Clothes: You’ll get dirty. Wear clothes you don’t mind ruining.
Gathering Your Essential Tools and Supplies
Having the right tools makes any job easier and safer. For working under a car, you don’t necessarily need a professional mechanic’s arsenal, but a few key items will be incredibly helpful. Here’s a basic rundown of what you might need, depending on the task at hand:
Must-Have Tools and Gear:
- Jack: A hydraulic floor jack is typically preferred over a scissor jack for stability and ease of use.
- Jack Stands: A pair (or two pairs for more complex jobs) that can safely support your vehicle’s weight is non-negotiable.
- Wheel Chocks: To prevent rolling.
- Socket Set and Wrenches: A good range of metric and/or imperial sizes, depending on your car.
- Gloves: Nitrile or mechanic gloves.
- Safety Glasses: Always.
- Work Light or Headlamp: Crucial for seeing in dark undercarriage areas. LED headlamps are excellent as they leave your hands free.
- Drain Pan: If you’re changing fluids.
- Rags or Paper Towels: For cleaning up spills.
- Owner’s Manual: This is your best friend for identifying jack points, fluid types, and torque specifications.
Helpful Additions:
- Creepers: A mechanic’s creeper (a padded board with wheels) can save your back and knees if you need to slide back and forth frequently.
- Wheel Ramps: For some jobs, like oil changes, sturdy automotive ramps can provide sufficient clearance without needing a jack and stands, though jack stands are still recommended for added safety. Make sure they are rated for your vehicle’s weight and are used on a level surface.
- Torque Wrench: For ensuring bolts are tightened to the manufacturer’s specifications, which is critical for safety-critical components.
- Shop Air/Compressed Air: For cleaning parts or blowing away dust.
How to Safely Get Your Car Up: Step-by-Step
Let’s walk through the process of safely lifting your car. Remember, patience and double-checking at each step are your allies here.
- Park on a Suitable Surface: As mentioned, find a flat, level, hard surface. Engage your parking brake firmly. If it’s an automatic transmission, put it in “Park.” If it’s a manual, put it in “First” or “Reverse” gear.
- Place Wheel Chocks: Position wheel chocks securely against the rear wheels if you’re lifting the front, or against the front wheels if you’re lifting the rear. This prevents the car from rolling.
- Locate Jacking Points: Consult your car’s owner’s manual! This is critical. Your car has specific reinforced areas designed for jacking. Using the wrong spot can damage your car’s body or frame, or even cause the jack to slip.
- Position the Jack: Place the jack under the designated jacking point. Ensure the jack head is centered and making firm contact.
- Lift the Vehicle Slowly: Begin pumping the jack handle. Slowly raise the car until the tire you need to work on is off the ground, or until you have enough clearance to place your jack stands. Watch the jack and the car to ensure everything is stable.
- Place the Jack Stands: This is the crucial safety step. Carefully position one jack stand under a strong, designated support point on the frame or chassis, close to where you lifted. Gently lower the jack until the car’s weight rests securely on the jack stand. Repeat for the other side (or the rear, if you’re working on the front).
- Lower onto Jack Stands: Once both jack stands are in place and supporting the car’s weight, slowly and carefully lower the hydraulic jack completely. The vehicle should now be resting solely on the jack stands.
- Double-Check and Secure: Gently try to rock the car. It should feel stable and secure on the stands. Never get under the car until you are absolutely certain it is stable and properly supported by the jack stands. Remove the jack from underneath the car, or position it loosely nearby as a secondary (but not primary) support, just in case.
What You Can Reasonably Do Under Your Car (Beginner Level)
Once you’re safely under your car, a world of basic maintenance opens up. Here are some tasks that are generally manageable for a beginner, assuming you have the right tools and have followed the safety steps meticulously.
1. Changing Your Engine Oil and Filter
This is perhaps the most common DIY under-car task. You’ll need a drain pan, a wrench for the drain plug, and an oil filter wrench. Locate the oil pan (a metal pan under the engine) and its drain plug. Loosen and remove the plug (be ready for hot oil!), letting it drain into your pan. Replace the plug. Then, locate the oil filter, unscrew it (again, expect some mess), and screw on the new filter. Top up with the correct type and amount of oil via the engine bay.
Using the correct oil type is vital for your engine’s health. Your owner’s manual will specify the viscosity (e.g., 5W-30) and specification. You can also check resources like FuelEconomy.gov for general vehicle maintenance tips.
2. Inspecting for Leaks
With a good flashlight, you can often spot the source of common leaks. Look for wet spots or drips on engine components, hoses, and the transmission. Different colored fluids can indicate different issues: black or brown is usually engine oil, green/orange/red is coolant or transmission fluid, and clear can be water (normal condensation) or power steering fluid.
3. Visual Inspection of the Exhaust System
The exhaust system runs from the engine to the rear of the car. Look for any signs of rust, holes, or disconnected pipes. Gently tap on it (when cold!) to see if any parts sound loose or hollow, which might indicate rust-through. Small holes or loose connections can cause noise and reduce efficiency.
4. Checking the Drive Shaft and U-Joints (Rear-Wheel Drive/AWD)
For vehicles with a drive shaft running from the transmission to the rear differential, you can visually inspect it for any obvious damage. You can also try to gently wiggle the universal joints (U-joints) at each end. Excessive play might indicate wear and require replacement.
5. Inspecting Suspension Components
Look at your shocks, struts, control arms, and ball joints. Are any leaking oil? Are there any signs of cracks or damage? This is often more of a diagnostic step to identify potential problems for a mechanic to fix, but it’s great to know what to look for.
Tools That Make the Job Easier (and Safer)
While we covered the essentials, having a few specialized tools can significantly improve your experience working under a car, especially for beginners.
Specialized Tools for Under-Car Work:
- Oil Filter Wrench: While you can sometimes get by with pliers or your hand, an oil filter wrench (cap-style, strap-style, or plier-style) is often necessary to get a stubborn filter off.
- Torque Wrench: For critical fasteners like drain plugs or suspension components, tightening to the exact manufacturer specification is important for safety and preventing damage.
- Mechanic’s Creeper: If you plan to do much under-car work, a creeper is a game-changer for comfort and mobility.
- Inspection Camera (Borescope): For hard-to-see areas, a small camera you can snake into tight spots can be invaluable for diagnosis.
- Fluid Pump: If you need to empty a transmission or differential, a pump with hoses can make the job cleaner than trying to drain from a fill plug.
Working Under Your Car Without a Lift: A Comparison
Most DIYers don’t have a professional car lift in their garage. So, how do we manage without one? Jacking and jack stands are the most common method for getting significant clearance. However, there are other options, each with pros and cons.
Method Comparison:
| Method | Pros | Cons | Best For |
|---|---|---|---|
| Jack and Jack Stands | Provides excellent clearance, versatile, relatively inexpensive. The standard for DIY. | Requires careful setup, can be time-consuming, requires physical effort. | Most common repairs, oil changes, exhaust work, brake jobs. |
| Wheel Ramps | Quick to use, provides good clearance for basic tasks, no jacking required. | Limited clearance for complex work, can be unstable if not placed perfectly on a level surface. | Oil changes, undercarriage cleaning, visual inspections. |
| Scissor Jack (Car’s Original) | Comes with the car, portable. | Difficult to use, less stable, provides minimal clearance, not recommended for extended work or safety. | Emergency tire changes only. |
For most tasks where you need to get under the car beyond just seeing the underside, the jack and jack stand method is the most recommended for safety and clearance. Automotive ramps can be a good alternative for simpler jobs like oil changes if you’re certain of their stability and your vehicle’s weight rating.
Troubleshooting Common Under-Car Issues
Even with careful planning, you might encounter small challenges. Here are a few and how to handle them.
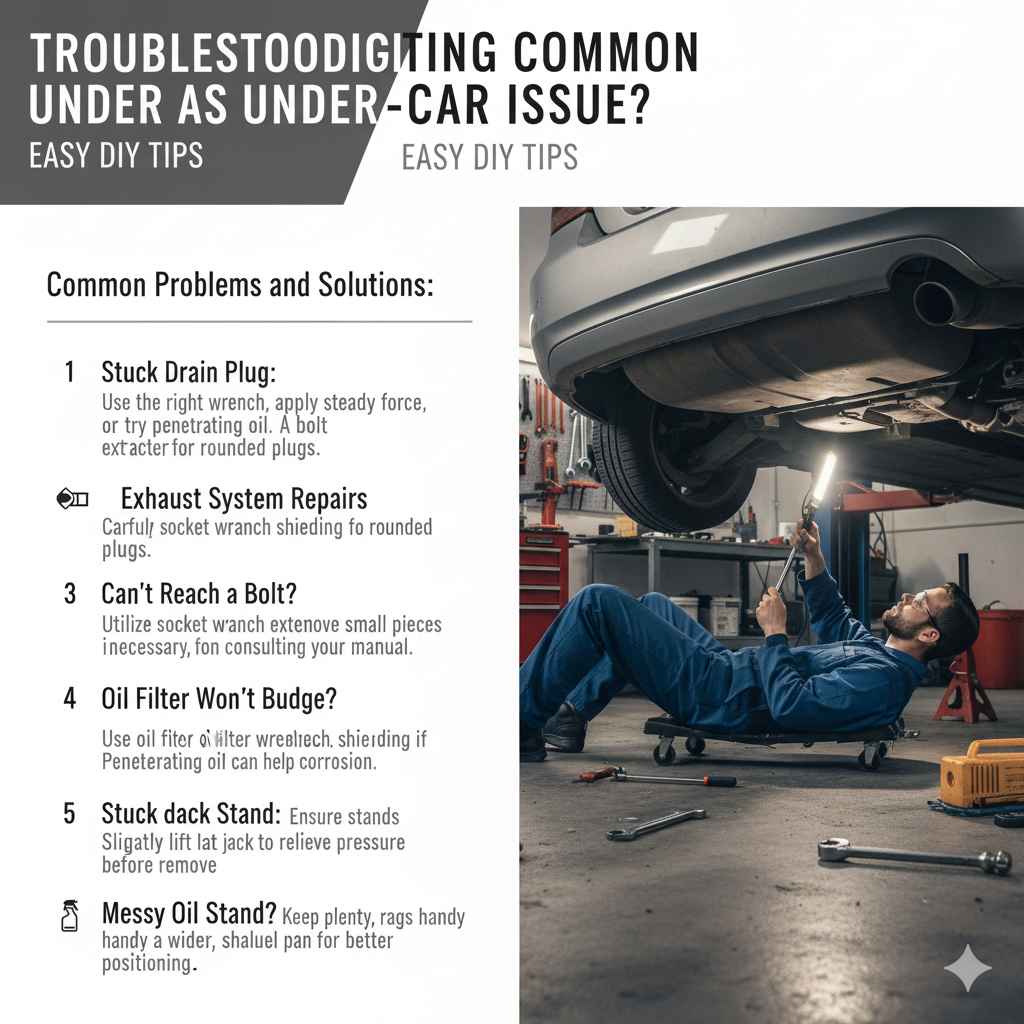
Common Problems and Solutions:
- Stuck Drain Plug: If the drain plug is seized, ensure you’re using the right size wrench and applying steady force. You can try a penetrating oil like WD-40 and let it sit for a while. Sometimes a sharp, quick turn is more effective than slow pressure. If it’s badly rounded, you might need a special bolt extractor socket.
- Can’t Reach a Bolt: Sometimes, a piece of trim or another component might be in the way. A combination of extensions for your socket wrench can help. In some cases, you might need to remove a small piece of shielding or trim – always check your manual and proceed with caution.
- Oil Filter Won’t Budge: This is very common. A good oil filter wrench is key. Again, penetrating oil can help if it’s due to corrosion.
- Stuck Jack Stand: Ensure the jack stands are on firm, level ground. If they seem stuck due to weight, you may need to slightly lift the car again with the jack to take the pressure off before attempting to disengage the locking mechanism.
- Messy Oil Drain: Some oil always seems to miss the pan. Keep plenty of rags handy. A wider, shallower drain pan can sometimes be easier to position.
FAQ: Your Under-Car Questions Answered
Q1: How high do I need to get my car off the ground?
A1: For most basic maintenance like oil changes, 12-18 inches of clearance is usually sufficient. If you’re doing more involved work on parts further up, you might need more. Your comfort level and the size of your tools will dictate this. Always ensure you have enough room to work comfortably and safely without hitting your head or tools.
Q2: Can I use my car’s manual jack to get under the car?
A2: It is strongly discouraged. Manual or scissor jacks are designed for emergency tire changes and are often less stable. They have a tendency to slip or lose pressure over time, making them unsafe for supporting a vehicle while you are underneath it. Always use a rated hydraulic jack and proper-rated jack stands.