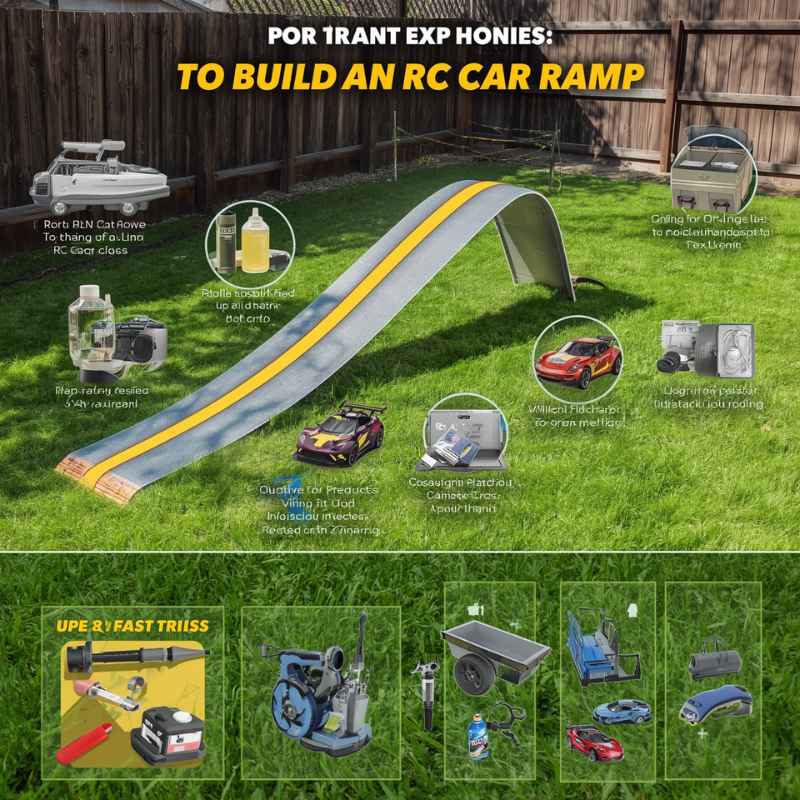
How To Build An Rc Car Ramp At Home (Easy Diy Guide)
Building a simple RC car ramp at home is an achievable DIY project that greatly enhances backyard play. This guide covers easy steps to create a fun ramp for your remote-control vehicles.
What Is an RC Car Ramp and Why Build One?
An RC car ramp is a structure. It helps your remote-control car jump. People build them for fun.
They also build them to practice driving skills. A ramp lets your car do cool tricks. It can get air time.
This makes RC car play more exciting. It’s a great way to use your car outside.
Why build one? It’s mostly for the joy of it. You get to design and make something.
Then, you get to use it! It’s rewarding. Plus, it’s cheaper than buying one.
You can make it exactly how you want. You can make it for big jumps or small bumps. It’s all up to you.
Think about the last time you saw an RC car jump. It looked awesome, right? You can do that.
You don’t need a big budget. You just need a few materials and some basic tools. This guide makes it easy.
We break down each step. You’ll be jumping in no time.
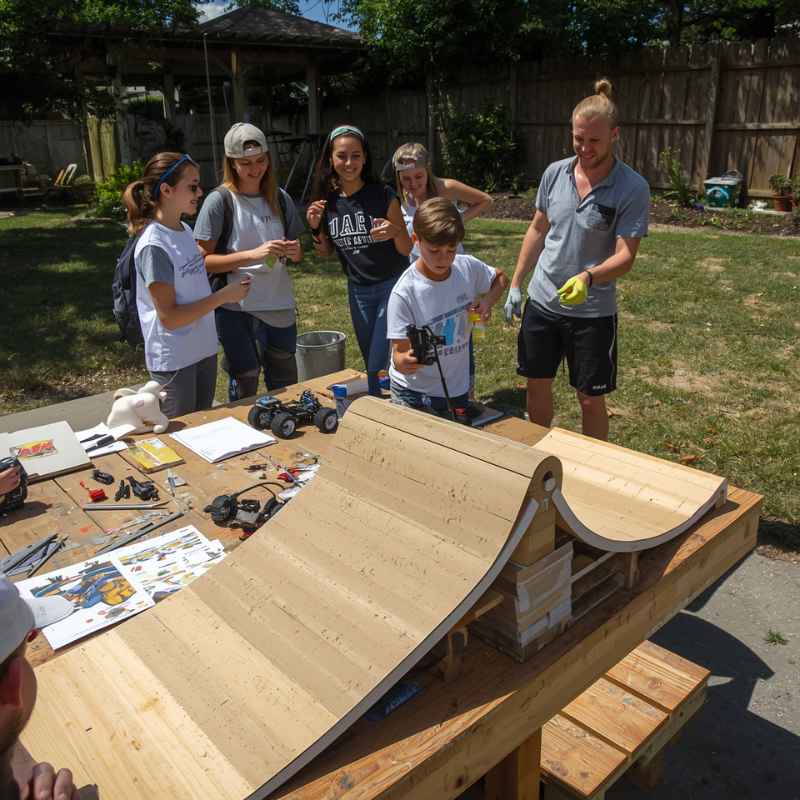
My First RC Ramp Adventure
I remember my first RC car. It was a bright red buggy. I took it outside.
It was fast on the sidewalk. But it felt like something was missing. It just drove in straight lines.
I wanted more action. I saw videos online of RC cars flying. That looked like so much fun.
I decided I needed a ramp. I didn’t know where to start. I looked at professional ramps.
They seemed complicated. I worried about buying the wrong wood. I thought it would cost a lot.
I almost gave up. Then, I saw a simple ramp made from scrap wood. It looked doable.
I gathered some old planks from my garage. They were just sitting there, unused.
I had some nails and a hammer. I didn’t have fancy tools. I put the wood together.
It wasn’t perfect. It was a bit wobbly. But when I put my RC car on it, it worked!
The car went up and did a small jump. It was the best feeling. The wobbly ramp was my treasure.
It showed me that I could build something cool myself.
RC Ramp Essentials: What You Need
Materials:
- Wood (plywood, scrap lumber)
- Screws or nails
- Hinges (optional, for adjustable ramps)
Tools:
- Saw (hand saw or power saw)
- Drill or hammer
- Measuring tape
- Pencil
Designing Your Simple RC Car Ramp
Let’s think about the design. For a first ramp, keep it simple. You don’t need fancy curves.
A straight ramp is perfect. You need a flat surface at the bottom. This is where the car starts.
Then, you need an angled surface. This is the part the car drives up.
The length of the ramp matters. A longer ramp gives a gentler slope. This means the car won’t go as high.
A shorter, steeper ramp will make the car jump higher. For backyard fun, start with something medium. Maybe 3 to 4 feet long.
The width should be a bit wider than your RC car. About 8 to 12 inches is usually good. This gives you some room for error.
Consider the height of the jump. How high do you want the car to go? A few inches off the ground is a good start.
You can always make it taller later. For a simple ramp, a height of 6 to 12 inches at the end is plenty. This will give your RC car a nice hop.
Choosing the Right Materials
Wood is your best friend here. Plywood is great for the surface. It’s flat and strong.
You can get a sheet of plywood from a hardware store. Look for something like 1/2 inch or 3/4 inch thick. This is sturdy enough.
You can also use scrap lumber. Old fence boards or pallet wood can work. Just make sure they are not rotten.
You’ll need something to hold the wood together. Wood screws are best. They are strong and easy to use.
Nails work too. Just be careful not to bend them. If you want a ramp that folds, you’ll need hinges.
They let you store the ramp easily.
Think about the base of your ramp. You need it to be stable. You might need some thicker wood for the supports.
Or, you can attach the ramp to a sturdy box. This makes it stand up on its own. We’ll talk more about support structures later.
Quick Ramp Design Tips
Shape: Simple triangle or rectangle is fine.
Size: Length 3-4 ft, Width 8-12 inches.
Height: Aim for 6-12 inches at the end.
Surface: Smooth wood (plywood) is ideal.
Step-by-Step: Building a Basic Wooden Ramp
Let’s get building. First, measure and cut your wood. You’ll need a base piece.
This is the flat part at the bottom. Make it about 18 inches long. Then, you need the ramp surface.
This piece will be about 3 to 4 feet long. Make it the width you decided on, maybe 10 inches.
Next, you need a triangle support. This is what holds the ramp up. Cut two identical triangles from plywood.
The base of each triangle should match the length of your base piece (18 inches). The height of the triangle will be the desired height of your jump. Let’s say 8 inches for now.
So, you’ll have two triangles with an 18-inch base and an 8-inch height.
Now, attach the ramp surface to the triangle supports. Place the ramp surface on top of the angled part of the triangles. Make sure it’s even.
Screw or nail the ramp surface to the triangles. Do this on both sides. Then, attach the triangles to the base piece.
This makes your ramp stand up. Make sure it’s secure.
You can add a back support. Cut a piece of wood to fit between the two triangles at the top. This stops the ramp from bending.
It adds extra strength. This basic structure is your first ramp. It’s simple but effective.
You can test it out. See how your RC car handles it.
Adding Stability and Support
A ramp needs to be stable. If it wobbles, your car can flip. Or worse, the ramp could break.
The triangle supports help a lot. But we can make it even stronger. You can add a piece of wood along the bottom edge of the ramp surface.
This is called a kicker board. It helps the car get a good launch.
For more support, consider the base. If your ramp is tall, it might tip over. You can add wider feet to the triangle supports.
Or, you can make a rectangular base that extends out. This wider base provides more stability. Think of it like the base of a lamp.
A wider base means it’s less likely to fall.
Another way to add support is by connecting the two triangle sides at the bottom. Use a long piece of wood to bridge the gap between the bases of the triangles. This creates a solid frame.
It prevents the sides from spreading apart. Always check for wobbles. If it moves, add more support.
Safety first!
Ramp Stability Checklist
1. Solid Base: Is the ramp base wider than the ramp itself?
2. Sturdy Supports: Are the side supports strong and well-attached?
3. Secure Connections: Are all screws and nails driven in fully?
4. No Wobbles: Does the ramp feel solid when you push it?
Making Your Ramp Adjustable (Optional)
Want to change the jump height? You can add hinges. This makes your ramp adjustable.
It’s a bit more work but very useful. You’ll need two strong hinges. First, build your ramp as a single piece.
Then, you’ll build a separate base or support structure.
The base could be a simple wooden box. The top of the box will be where you attach the ramp. You’ll attach the ramp to the box using the hinges.
This lets you lift the ramp up or lay it flatter. You’ll need something to hold the ramp at different angles. Small wooden blocks or adjustable legs can work for this.
For example, you could have a block that slides into slots. As you slide it out, the ramp goes higher. As you slide it in, the ramp gets flatter.
This lets you control the air time. It’s great for practicing different jumps. It adds versatility to your RC play.
Finishing Touches and Safety
Once your ramp is built, look it over. Are there any sharp edges? Sand them down.
You don’t want to snag your RC car. Or hurt yourself. Smooth surfaces are best for the car.
Make sure all screws or nails are flush with the wood. You don’t want anything poking out.
Consider painting your ramp. Bright colors make it easy to see. It also protects the wood from weather.
Use outdoor paint if it will stay outside. You can even add lines to the ramp. This is like a runway.
It helps you guide your RC car onto the ramp.
Safety is important for RC cars. Always make sure the area around the ramp is clear. No people, pets, or obstacles.
Drive your RC car at a safe speed. Don’t aim the ramp towards windows or busy areas. Supervise younger drivers.
Have fun, but be careful.
Safety First!
Clear Area: Ensure the landing zone is free of obstacles.
Supervision: Always have an adult present, especially for younger drivers.
Ramp Check: Regularly inspect the ramp for damage or loose parts.
Speed Control: Drive at a speed appropriate for the ramp’s size and your skill.
Real-World Context: What Kind of RC Cars Use Ramps?
Most RC cars can use a ramp. But some are better suited than others. Cars with good suspension are great.
They can handle landings better. Off-road RC cars, often called buggies or trucks, are ideal. They have durable parts and higher ground clearance.
This helps them absorb impacts.
Street cars, or on-road cars, can also use ramps. But they are more sensitive to landings. A softer landing is important for them.
They might not handle big jumps as well. For on-road cars, a smoother, longer ramp is better. It helps them glide through the air and land softly.
The size of your RC car also matters. A small toy RC car will need a smaller ramp. A larger, more powerful hobby-grade RC car can handle a bigger ramp.
Always match the ramp size to your car. A ramp that’s too big can overwhelm a small car. A ramp that’s too small might not give a big car enough lift.
What This Means for Your Backyard Fun
Building your own ramp means endless fun. You can customize it. Want a super steep jump?
Make it steep. Want a long, gentle ramp for practice? Make it long.
You can change the size. You can change the shape. It’s your creation.
This ramp can turn your backyard into an RC playground. You can race friends. You can practice stunts.
You can improve your driving skills. It adds a new dimension to RC car play. It’s more than just driving in circles.
It’s about action and excitement.
The best part is the sense of accomplishment. You built this! You can show it off.
And then, you get to enjoy the fruits of your labor. Watching your RC car soar is incredibly satisfying. It’s a simple project that brings big smiles.
Quick Fixes and Tips for Your Ramp
Smooth Surface: If the wood is rough, sand it down. Or, glue a piece of smooth laminate to the ramp surface.
Weather Protection: Paint or seal your ramp to protect it from rain and sun. This makes it last longer.
Portability: Add handles to the sides if you plan to move your ramp often. This makes it easier to carry.
Landing Zone: Soften the landing area with sand or grass. This reduces the impact on your RC car.
Add a Kicker: Screw a small strip of wood (about 1/2 inch thick) to the end of the ramp surface. This helps the car launch off.
Modular Design: Build sections that connect. This lets you create longer or more complex ramps.
Frequently Asked Questions About RC Car Ramps
What is the best type of wood for an RC car ramp?
Plywood is a great choice for the ramp surface because it is flat and strong. For the supports and frame, you can use common lumber like pine or fir. Just make sure the wood is not rotten or too weak.
How wide should my RC car ramp be?
The width of your ramp should be a bit wider than your RC car. For most standard RC cars, a width of 8 to 12 inches is usually sufficient. This gives your car some room and makes it easier to stay on the ramp.
Do I need to paint my RC car ramp?
Painting or sealing your ramp is a good idea, especially if it will be exposed to the weather. It protects the wood from moisture and sun damage, making your ramp last longer. It also makes it look nicer!
Can I use cardboard to build an RC car ramp?
For very small and light RC cars, a sturdy cardboard ramp might work for a short time. However, it won’t be very durable. Wood is a much better material for building a lasting and safe RC car ramp.
How high should I make my first RC car ramp?
For your first ramp, start with a moderate height, around 6 to 12 inches at the highest point. This will give your RC car enough air time for fun jumps without being too challenging or risky for the car.
What if my RC car ramp is wobbly?
If your ramp is wobbly, it needs more support. Check if the base is wide enough. Add diagonal braces between the supports and the base.
Ensure all screws and nails are tight. Sometimes, adding a longer base piece can significantly improve stability.
Conclusion
Building your own RC car ramp is a fun and rewarding project. It doesn’t require advanced skills or expensive materials. With some basic wood and tools, you can create hours of entertainment.
Start simple, prioritize stability, and enjoy the thrill of watching your RC car catch air. Happy building and happy jumping!
Products related to this article
Sponsored / affiliate links. As an Amazon Associate I earn from qualifying purchases. I may earn additional commission from eligible campaigns.