How to Clean Car Headlights: Quick Clean, Kit or Wet-Sand
To clean car headlights, wash the lens first, then match the fix to the damage: a quick clean for light dullness, or a restoration with a UV coat for yellowing. The coat matters more than the polish, because sanding and polishing remove the old factory coating and leave bare plastic that re-yellows without a new one.
A lab test by AAA found yellowed lenses put out only 22 percent of the low-beam light of new ones, so this is a safety job as much as a looks job. Below: three methods, the grits makers specify, a cost and durability table, and when to replace instead. See also headlight restoration vs replacement.
Light haze: wash, mask the paint, rub the lens with toothpaste or a no-sand kit. Heavy yellowing: wet-sand 400, 1000, 2000 grit, polish, then apply a UV clear coat and let it cure. Toothpaste and baking soda fade in weeks because they add no UV protection; a coated restoration is claimed to last about a year.
How to Clean Car Headlights: 3 Methods
Pick the method by what you see. Dull but mostly clear: Method 1. Visibly hazy or beginning to yellow: Method 2. Deep yellow, brown, or rough to the touch: Method 3. Whichever you choose, start the same way: wash the lens with car soap, rinse, and dry it, then mask the paint around it with painter’s tape.
Best Restoration Kit With UV Clear Coat
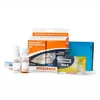 |
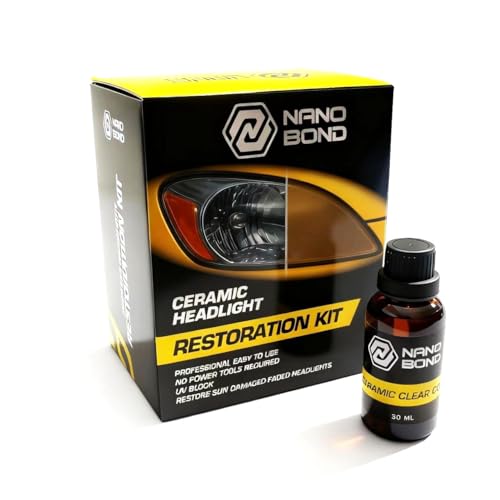
SYLVANIA Headlight Restoration Kit (price when checked: $22.75) The one-box version of Method 3 below: Sylvania’s installation guide lists a surface activator, 400, 1000 and 2000 grit waterproof sandpaper, a clarifying compound and a UV Block Clear Coat, enough for two lenses.
|
As an Amazon Associate we earn from qualifying purchases. We picked this kit from maker documents and listing details; we did not test it.
Method 1: Toothpaste or Baking Soda Paste (Light Haze)
Non-gel toothpaste has mild abrasives (Chemical Guys lists calcium carbonate, hydrated silica and aluminum hydroxide) that remove a thin layer of oxidation. A baking soda and water paste works the same way. Both are a short-term fix.
- Wash, rinse, dry and tape off the surrounding paint.
- Put a dime-sized amount of non-gel toothpaste on a damp microfiber cloth.
- Rub in firm circles for four to five minutes. Keep the pressure moderate; you are polishing, not scrubbing.
- Rinse every trace of paste off and dry the lens.
- Treat wax as only a thin topcoat. For anything lasting, follow with a real UV coat (see Method 3).
We found no maker source saying vinegar helps, so we left it out. If you try baking soda, rinse while the paste is still wet.
Method 2: No-Sand Restoration Kit (Moderate Cloudiness)
These kits replace sandpaper with an abrasive pad and a liquid cleaner, then finish with a protective coating. Meguiar’s Two Step is a representative example. Per its how-to, you work the cleaner into the lens with the pad until it looks uniformly frosted, and wipe it off while still wet. The coating goes on in two medium coats three to five minutes apart, is fully cured after 24 hours, and is claimed to protect for about a year.
Choose it over toothpaste for the coating, and over sanding if you want less work. It will not rescue deep brown yellowing.
Method 3: Wet-Sand Kit With UV Clear Coat (Severe Yellowing)
For deep yellowing, you have to cut through the failed coating and oxidized plastic. Sylvania’s guide says its 400 grit paper removes all haze, oxidation and failed UV coating, and the 1000 and 2000 grit papers plus the compound polish the lens ready for the new coat. The full sequence is in the next section.
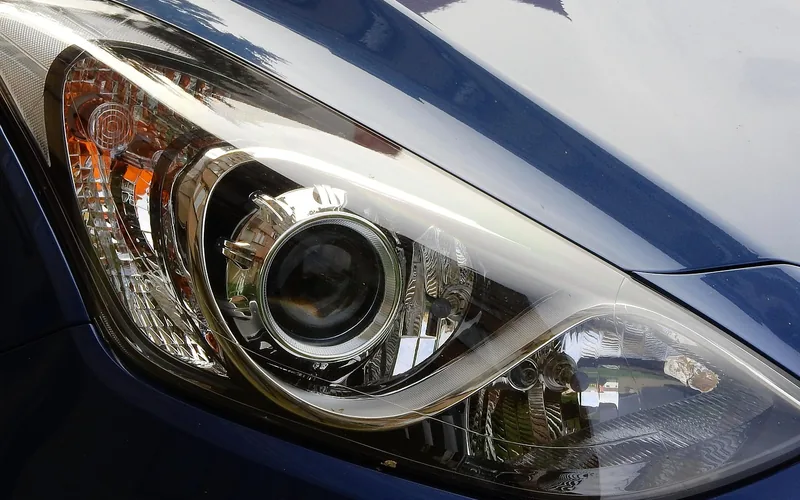
How to Fix Cloudy or Yellowed Car Headlights (Wet-Sand, Polish, Seal)
This follows the steps in Sylvania’s Headlight Restoration Kit installation guide, which we read for this update. If you use a different kit, follow its sheet over ours, because chemicals and cure times differ.
- Set up: work on a clean, dry lens, out of direct sunlight, and above freezing (32 F). Tape off the paint. The guide warns tape can damage chipped, weathered or non-factory paint, and to check tape adhesion during sanding.
- Surface activator: spray it on, leave it about 30 seconds, then wash it off. It removes yellow staining and softens leftover factory coating. Save some for later.
- 400 grit: keep the lens and paper wet, use even circular motions and medium pressure. Stop when the dry lens shows a uniform, light white haze with no yellow or clear spots.
- 1000 grit, then 2000 grit: about five minutes each per the guide, wet, covering the whole lens several times. The 2000 grit step calls for firm pressure.
- Clarifying compound: rub it on wet for about five minutes, rinse, and dry. A light white haze is normal at this point.
- Activator again, rinse, and dry completely: remove the tape and dry the lens and surrounding surfaces fully so the coating bonds.
- UV Block Clear Coat: finish both lenses through the polishing step first, then coat. Soak the applicator edge, wipe side to side with slight overlap, top to bottom, once. The guide says the thicker the coat the better and not to go back over treated areas.
- Cure: at least one hour before touching and four to six hours for a full cure, with no driving or water exposure until then.
Other makers differ. AAA’s professional process used 320 grit, then 600, 1200 and 2000 grit discs, and one 3M kit listing on Amazon names 500, 800 and 3000 grit discs. The pattern is the same: break through the failed coating, then step through finer grits.
Safety and masking
- Protect your eyes and skin. Wear safety glasses while wet-sanding and gloves with any chemical. Sylvania supplies a vinyl glove for the coat; we found no kit guide that mentions eye protection, so this is our general advice, not a maker instruction.
- Read the label and SDS for your kit and follow its ventilation and disposal directions. Do not mix products.
- Mask generously, then re-check the tape while you sand, as Sylvania advises.
- Do not drive on a half-cured coat. Rain or condensation on an uncured coat can spoil it, per the guide.
Cleaning vs Restoring: Cost and How Long Each Lasts
Prices come from the sources named, so they differ by date.
| Method | Typical cost | How long it lasts (source) | What it does not do |
|---|---|---|---|
| Toothpaste or baking soda | A few dollars in pantry items (our estimate) | Weeks: Chemical Guys says two to four weeks, with no UV blockers in toothpaste | Adds no UV protection, will not fix deep yellowing |
| No-sand kit with coating (Meguiar’s Two Step) | $23.99 on Amazon when checked | Up to about 12 months per Meguiar’s | Not for deep yellowing or pitting |
| Wet-sand kit with UV clear coat (Sylvania) | $22.75 on Amazon when checked | Maker says long-lasting; the DIY kit AAA tested claimed one year | Hand-sanding takes time; cure needed before driving |
| Professional restoration | About $77 for both lamps (AAA 2018 estimate) | Claimed five years, UV-cured film (AAA) | Still not new: AAA measured 73.4% of OEM output |
| New aftermarket pair, DIY install | About $121 to $138 (AAA 2018 test vehicles) | Resets the clock on a new lens | Cutoff and glare compliance varied (AAA) |
| New OEM pair, DIY install | About $331 to $371 (AAA 2018 test vehicles) | New lens and coating | Highest cost |
Read the durability column as maker claims: the only independent number we found for DIY kits is AAA’s one-time light-output test, not a long-term wear test.
Why Car Headlights Get Foggy or Cloudy
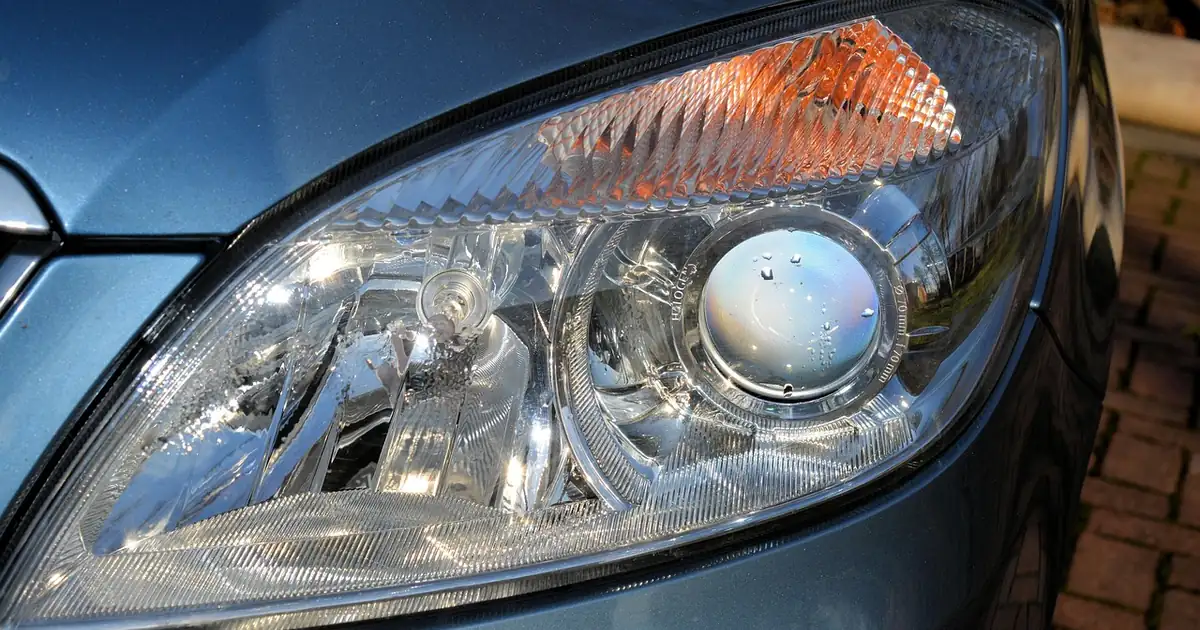
Modern headlight lenses are polycarbonate plastic with a thin factory protective coating, and sunlight breaks that coating down. AAA’s 2018 report says plastic lenses begin to yellow and show other deterioration at about five years of age (plus or minus two), mainly from extended ultraviolet exposure and abrasion by road grit. Once the coating is gone, the exposed plastic oxidizes and scatters light instead of focusing it.
Wash the lens and look again before you sand anything: road film can pass for haze. Fog or droplets on the inside of the lens are a different problem, a failed seal, and no exterior cleaning will fix them.
How Much Light You Lose, and Why Aim Matters
AAA tested used lamps from two vehicles (a Chevrolet Malibu and a Nissan Altima, both 2007) and measured the deteriorated lenses at 22.43 percent of new OEM low-beam output on average. After restoration, average output rose to 70.40 percent of the OEM value. The report calls a 78 percent loss in forward lighting a safety hazard. It is a small sample of halogen lamps, so treat the numbers as an example.
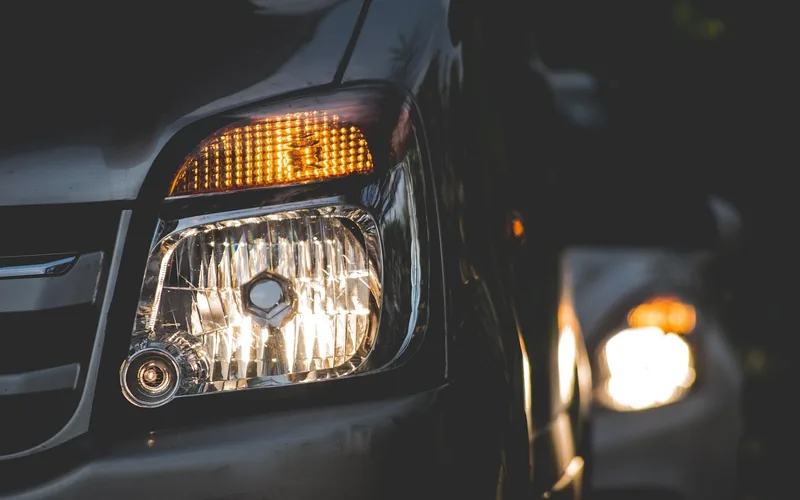
Restoration helps a lot but does not make a lamp new: AAA found none of the restored lamps fully met the federal FMVSS 108 criteria, with failures mostly in glare-related regions. Separately, a 2021 IIHS study found good-rated headlights had about 19 percent lower nighttime single-vehicle crash rates than poor-rated ones, and IIHS notes the federal standard does not consider how a headlight is aimed once installed. IIHS does not rate lens haze, so that figure is not a claim about restoration.
After any restoration or lamp change, have the aim checked: AAA recommends it and prices a shop aim at about half an hour of labor (about $48 in 2018).
When to Replace the Headlight Instead
- The lens is cracked, or you see deep pitting that sanding would have to remove entirely.
- Fog or water droplets appear inside the lens, which means the seal has failed.
- The restored lens re-clouds within a few months even with a UV coat, which suggests the coating did not bond.
Comparing kits? See best headlight restoration kits. Upgrading bulbs is a different job: how to install LED lights in your car.
Myths and Common Mistakes to Avoid
| Myth or mistake | What the sources say | Do this instead |
|---|---|---|
| Toothpaste keeps headlights clear for months | Chemical Guys puts it at two to four weeks, and toothpaste has no UV blockers | Treat it as a stopgap and add a UV coat |
| Polishing alone fixes it | Sylvania says sanding removes the failed UV coating, and the new UV coat is what restores clarity and protection | Always finish with a UV clear coat |
| Restored headlights are like new | AAA measured about 70 percent of new output, with some federal test points still failed | Re-aim after restoring; consider replacement for the best output |
| Skipping the tape | Sylvania advises masking nearby paint and checking adhesion while sanding | Mask 2 inches or more beyond the lens |
Related: car wax vs paint sealant, how to remove oxidation on car paint and how to cut and buff a car.
Frequently Asked Questions
Why do car headlights get foggy or cloudy?
UV damage. The factory protective coating on the polycarbonate lens breaks down, and AAA’s 2018 research says lenses begin to yellow at about five years of age (plus or minus two). The exposed plastic then oxidizes and scatters light.
Can I use glass cleaner on headlights?
Glass cleaner removes dirt and road film, but it will not fix haze or yellowing, because that damage is in the plastic itself. For real cloudiness you need to abrade the damaged layer and then reseal the lens.
Is toothpaste safe for cleaning car headlights?
One application will not damage the lens and can give a short-lived improvement. Chemical Guys, a restoration-product maker, says results typically last two to four weeks and repeated use can leave fine scratches. Toothpaste has no UV blockers, so the plastic oxidizes again quickly.
How long does headlight cleaning last?
It depends on whether a UV coat goes on afterwards. Toothpaste fades in weeks, per Chemical Guys. Meguiar’s says its Two Step coating protects for up to a year, and the kit AAA tested also claimed one year. Treat those as maker claims.
Can glass headlights be cleaned the same way?
No. Glass lenses do not oxidize like polycarbonate, so sanding kits are the wrong tool. Clean them with ordinary glass cleaner. If the haze is inside the lens, the seal has failed.
How often should I clean car headlights?
Wash them with the car, and restore only when they look hazy or yellow. After restoring, check for early haze around the end of the coating’s claimed protection period, usually a year.
Should I replace or restore a cloudy headlight?
Restore if the lens is only hazy or yellow outside. Replace if it is cracked, pitted, or fogged inside, or if you want the best output: AAA found restored lamps reached about 70 percent of new OEM output.
Conclusion
Cleaning a headlight is easy; keeping it clear is the hard part. Wash first, polish for light haze, and for real yellowing sand wet, polish and apply a UV clear coat, then let it cure before driving. Have the aim checked, and replace the lamp if the lens is cracked or fogged inside.
Products related to this article
Sponsored / affiliate links. As an Amazon Associate I earn from qualifying purchases. I may earn additional commission from eligible campaigns.