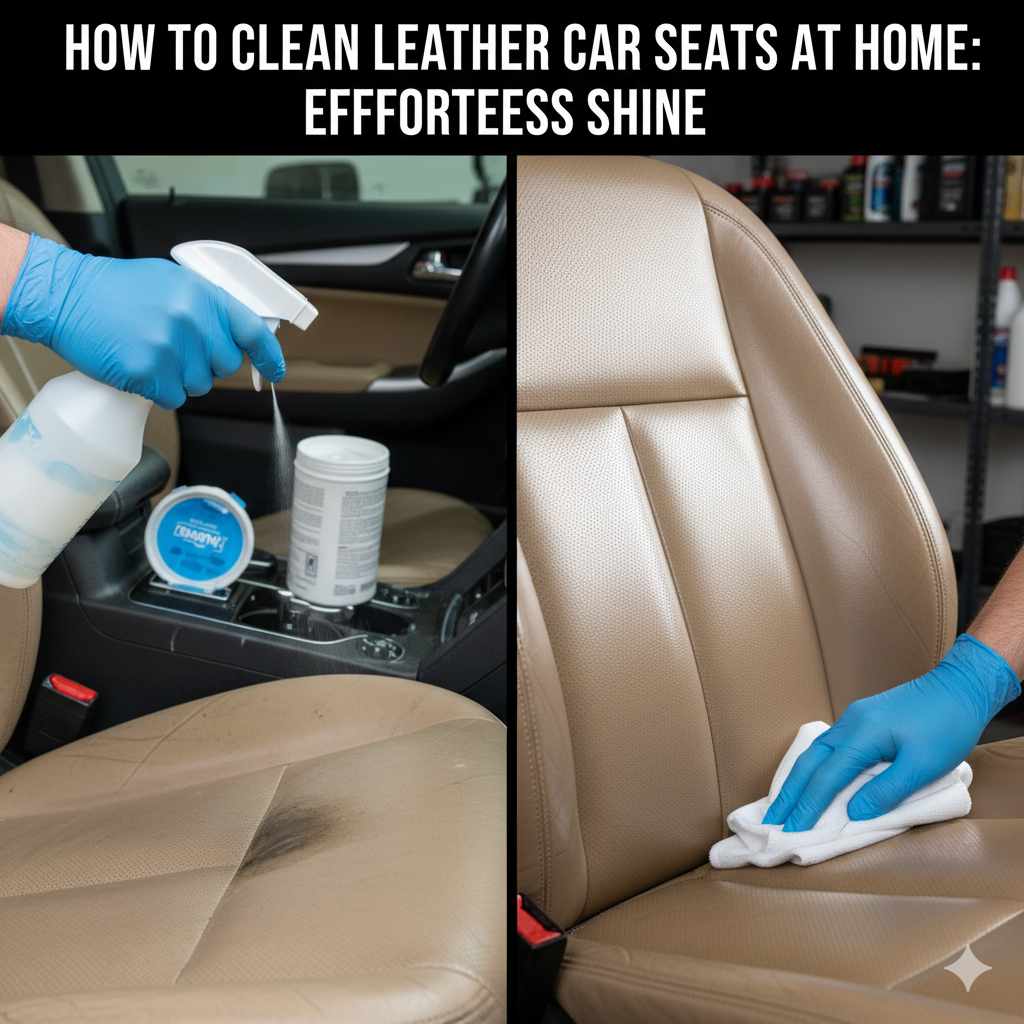
How To Clean Leather Car Seats At Home: Effortless Shine
To restore the pristine look of your car’s leather seats at home, use a pH-neutral leather cleaner, a microfiber cloth, and a gentle brush for grime. Condition the leather afterwards to keep it supple. This simple process will remove dirt and protect your seats, ensuring they look and feel like new with minimal effort.
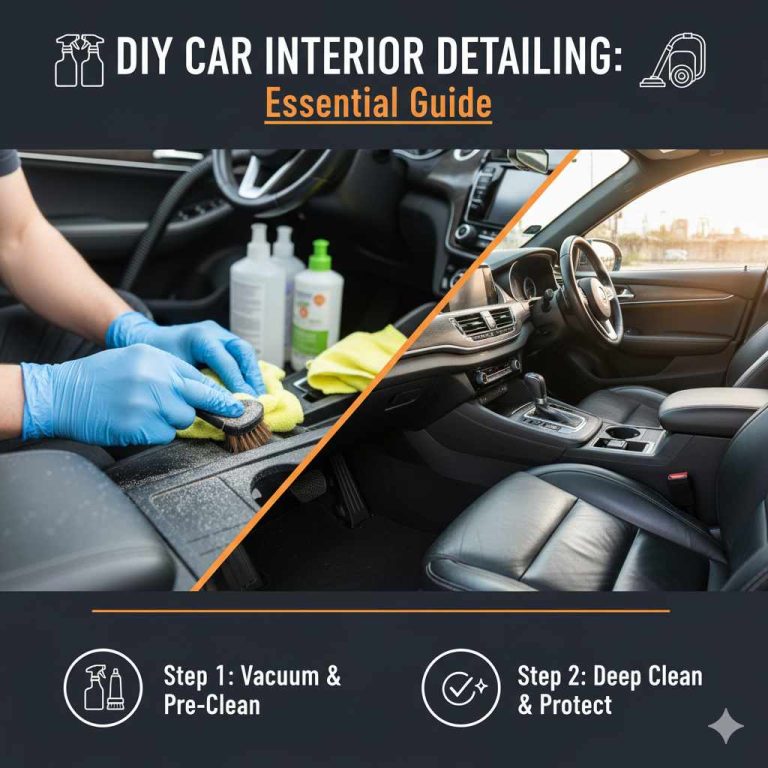
Hey there, fellow car enthusiasts! Md Meraj here. Ever looked at your car’s leather seats and wished they still had that showroom gleam? Life happens, right? Coffee spills, crumbs, and everyday dust can leave your beautiful leather looking dull and tired. It’s a common frustration for many drivers, but the good news is, bringing back that effortless shine is totally achievable right in your own garage. You don’t need to be a car care expert or spend a fortune at a detailer. We’re going to walk through a super simple, step-by-step guide that anyone can follow. Get ready to transform your car’s interior and feel proud of your ride again. Let’s dive in!
Why Cleaning Your Leather Car Seats Matters
Leather car seats not only look luxurious, but they also add to the comfort and value of your vehicle. However, they are exposed to a lot of wear and tear. Think about it: direct sunlight, temperature fluctuations, body oils, food spills, and even the denim you wear can all take a toll. Without proper care, leather can dry out, crack, fade, and become permanently stained. Regular cleaning isn’t just about aesthetics; it’s about preserving the material’s integrity and longevity. Keeping your leather seats clean and conditioned is one of the easiest ways to maintain your car’s interior, prevent costly damage, and ensure it remains a comfortable and stylish place to be.
Gathering Your Essential Cleaning Supplies
Before we start the cleaning process, let’s make sure you have everything you need. Using the right tools and products is key to getting the best results without damaging the leather. Think of it as setting yourself up for success!
What You’ll Need:
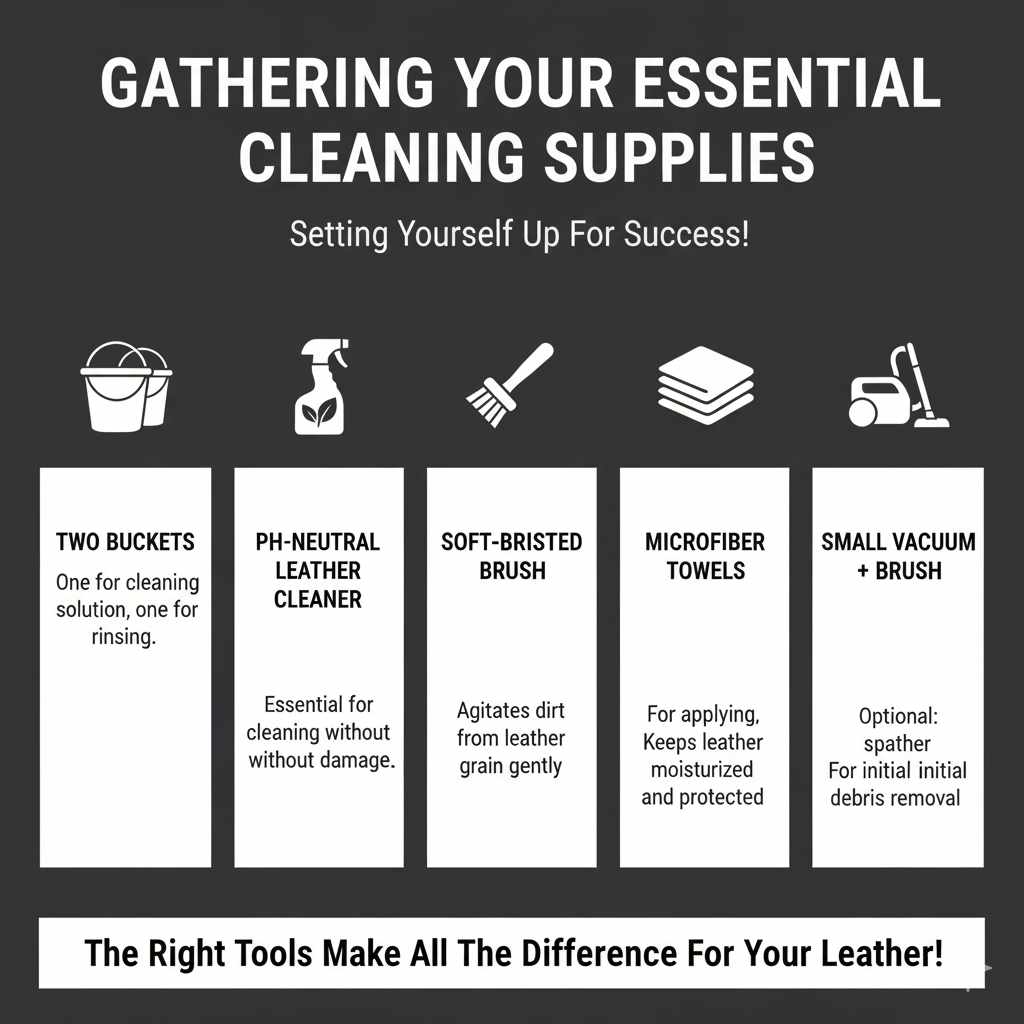
- Two Buckets: One for your cleaning solution, one for rinsing your cloths/brushes. This prevents spreading dirt back onto the seats.
- pH-Neutral Leather Cleaner: This is crucial! Harsh chemicals can strip the leather of its natural oils. Look for cleaners specifically designed for automotive leather. A quick search for reputable brands will give you great options. For a deeper dive into understanding car cleaning product types, checking out resources from organizations like the U.S. Environmental Protection Agency on understanding chemical safety can be helpful, even though it’s not automotive-specific, it highlights the importance of safe product selection.
- Soft-Bristled Brush: A dedicated leather brush or a soft detailing brush will help agitate dirt from the grain without scratching.
- Microfiber Towels (Several): These are essential for applying cleaner, wiping away dirt, and buffing the leather dry. They are soft and highly absorbent, making them perfect for delicate surfaces.
- Leather Conditioner: After cleaning, conditioning keeps the leather moisturized, supple, and protected from UV damage and cracking.
- Optional: All-Purpose Cleaner (Diluted for non-leather areas): If you have plastic trims or vinyl parts on your seats, a very diluted all-purpose cleaner can be used, but be extremely careful not to get it on the leather.
- Optional: Small Vacuum Cleaner with Soft Brush Attachment: For initial debris removal.
Step-by-Step Guide: How to Clean Leather Car Seats
Now, let’s get your seats looking amazing! Follow these simple steps, and you’ll be enjoying that clean leather smell in no time.
Step 1: Prepare Your Workspace and Seats
First things first, let’s get the environment ready and remove any loose debris. This prevents you from rubbing dirt and grit back into the leather.
- Park in a Shaded Area: Direct sunlight can cause cleaning solutions to dry too quickly, leaving streaks. A garage or a shady spot is ideal.
- Remove Floor Mats and Debris: Take out any items from the seats and floor.
- Initial Vacuum: Use your vacuum cleaner with a soft brush attachment to gently remove crumbs, dust, and dirt from the seats, between seams, and in crevices. This ‘dry’ clean is a crucial first step.
Step 2: Test Your Cleaner
Before we go all-in, it’s always wise to test your chosen leather cleaner. This ensures it won’t cause any discoloration or damage to your specific type of leather.
- Choose an Inconspicuous Area: Pick a spot on the seat that’s usually hidden, like underneath the seat base or on the side of the seat bolsters.
- Apply a Small Amount: Lightly spray a small amount of the pH-neutral leather cleaner onto a clean microfiber cloth.
- Gently Wipe: Dab and gently wipe the test area.
- Inspect: Let it dry for a few minutes and then check for any adverse reactions like darkening, discoloration, or texture changes. If everything looks good, you’re ready to proceed!
Step 3: Apply the Leather Cleaner
With your cleaner tested and approved, it’s time to start tackling the dirt. Remember, gentle is the key!
- Work in Sections: Don’t try to clean the entire seat at once. Focus on one small area, like a seat base or a backrest panel.
- Spray Cleaner onto Cloth: Lightly spray the pH-neutral leather cleaner directly onto a clean microfiber towel. Avoid oversaturating the cloth.
- Gently Wipe the Surface: Start wiping the section of the seat in gentle, overlapping strokes.
- Agitate Stubborn Grime (If Necessary): For areas with more ingrained dirt or stain marks, lightly use your soft-bristled brush in a circular motion. Be very gentle, especially on perforated or delicate leather.
Step 4: Wipe Away Dirt and Solution
This is where you lift the loosened dirt from the leather. Consistency is important here to avoid streaks.
- Use a Clean Section of Cloth: As you lift dirt, switch to a clean section of your microfiber towel.
- Wipe the Area Clean: Gently wipe the section you just agitated to remove the cleaner and the released dirt.
- Rinse Your Cloth/Brush: If your cloth becomes too soiled or your brush has accumulated a lot of dirt, rinse them out in your rinse bucket (the one with clean water) and wring them out before continuing or grabbing a fresh cloth.
- Repeat: Continue this process, working section by section, until the entire part of the seat you are cleaning is done.
Step 5: Dry the Seats Thoroughly
Moisture is the enemy of leather if left unchecked. Ensuring the seats are dry prevents water spots and potential damage.
- Use a Dry Microfiber Towel: With a clean, dry microfiber towel, gently buff the cleaned section of the seat.
- Ensure Dryness: Make sure the leather is completely dry to the touch before moving on to the next section or applying conditioner.
- Repeat for All Sections: Continue drying each section as you finish cleaning it.
Step 6: Apply Leather Conditioner
Cleaning can strip away some of the leather’s natural oils. Conditioning replenishes these oils, keeping the leather soft, preventing cracks, and adding a protective layer. For more insights on leather care and types, resources from textile and material science information sites can be enlightening, though often geared towards furniture, the principles of leather preservation are transferable. The Minerals, Metals & Materials Society (TMS) occasionally has resources touching on material properties that can indirectly inform about leather longevity.
- Apply Conditioner to a New Cloth: Put a small amount of leather conditioner onto a clean, separate microfiber towel. You don’t need a lot – a little goes a long way.
- Work in Small Sections: Apply the conditioner in a thin, even layer to one section of the seat at a time. Use gentle, circular motions.
- Allow to Penetrate: Let the conditioner soak into the leather for a few minutes (check the product instructions for specific times).
- Buff Off Excess: After it has penetrated, use another clean, dry microfiber towel to gently buff the surface. This removes any excess product and restores a soft sheen.
- Repeat for All Seats: Apply conditioner to all leather surfaces in your car, following the same steps.
Step 7: Final Inspection and Touch-Up
You’re almost there! A quick once-over ensures everything looks perfect.
- Check for Streaks or Unevenness: Look over all the cleaned and conditioned areas. If you notice any slightly missed spots or minor streaks, gently buff them out with a clean microfiber towel.
- Allow to Cure: Let the leather seats air out for a bit before placing items back on them or allowing passengers to sit on them. This allows the conditioner to fully set.
Dealing With Specific Leather Seat Issues
While the general cleaning process is effective for routine maintenance, you might encounter some tougher challenges. Here’s how to handle them:
Tackling Stains
For fresh spills, act fast! Blot them immediately with a clean microfiber cloth. For dried-in stains, you might need slightly more targeted care:
- Ink Stains: Use a dedicated ink remover stick for leather or a very slightly dampened cotton swab with isopropyl alcohol (use with extreme caution and test in an inconspicuous area first). Blot, don’t rub.
- Grease/Oil Stains: Sprinkle a bit of cornstarch or baking soda on the fresh stain to absorb the oil. Let it sit for a few hours, then gently vacuum it off. For older stains, use a specialized leather degreaser.
- Dye Transfer (from jeans): This is one of the toughest. A good quality leather cleaner might lift light transfer. For severe cases, a specialized dye transfer remover or professional help might be needed.
Always remember to test any stain remover in a hidden spot first. The goal is to lift the stain without damaging the leather’s finish.
Removing Odors
Lingering smells can be frustrating. After cleaning, try:
- Baking Soda: Sprinkle baking soda generously over the seats (ensure they are completely dry). Let it sit overnight, then vacuum thoroughly.
- Activated Charcoal Bags: Place these in your car overnight. They are excellent natural odor absorbers.
- Vinegar Solution (Very Diluted): A highly diluted white vinegar and water solution (1:10 ratio) can help neutralize odors when lightly misted and then wiped off with a clean, damp cloth on non-leather surfaces that might be smelling. Be extremely cautious not to get this on the leather.
Leather Seat Maintenance Schedule
Consistency is key to long-term leather health. Establish a routine based on your car’s usage and environment.
Routine Cleaning vs. Deep Cleaning
A good rule of thumb is to perform a light clean and conditioning every 1-3 months, depending on how much your car is used and exposed to the elements. A more thorough deep clean, with extra attention to crevices and tougher grime, can be done every 6-12 months or as needed.
Factors Affecting Frequency
- Climate: Cars in very hot, sunny climates need more frequent conditioning to prevent drying and cracking.
- Usage: If your car is a daily driver with frequent passengers, it will need more frequent cleaning than a weekend car.
- Location: Living in a dusty area or where there’s a lot of pollen might require more frequent vacuuming and wiping.
Understanding Different Types of Leather
Not all car leather is the same, which can affect how you clean it. Most modern cars use protected or coated leather, which is more resistant to stains and easier to clean. This guide is primarily for that type. However, some luxury vehicles might have aniline or semi-aniline leather, which is more natural-looking but also more delicate. These types often require specialized, very mild cleaners and conditioners, and might be best left to professionals if you’re unsure.
Protected/Coated Leather
This is the most common type found in cars. It has a protective topcoat that makes it durable and easier to maintain. The methods described in this article are ideal for this type.
Aniline and Semi-Aniline Leather
These leathers have minimal or no protective coating, offering a very natural feel and appearance. They are more prone to staining and damage from harsh cleaners. If you suspect your car has this type, opt for cleaners and conditioners specifically labeled for aniline or pure aniline leather, and always perform extensive testing.
A Quick Comparison Table
| Leather Type | Appearance | Durability | Cleaning Method |
|---|---|---|---|
| Protected/Coated | Uniform color, slight sheen | High | pH-neutral cleaner, gentle brush, conditioner |
| Aniline | Natural, varied color, soft feel | Low | Specialized aniline cleaners/conditioners, extreme caution |
| Semi-Aniline | Natural look with a thin protective layer | Medium | Mild leather cleaners, specific conditioners |
When in doubt, check your car’s owner’s manual or consult the manufacturer’s website. They often provide specific recommendations for interior care.
Tips for Maintaining a Fresh Interior
Beyond cleaning, a few simple habits can keep your car’s interior looking and smelling fantastic:
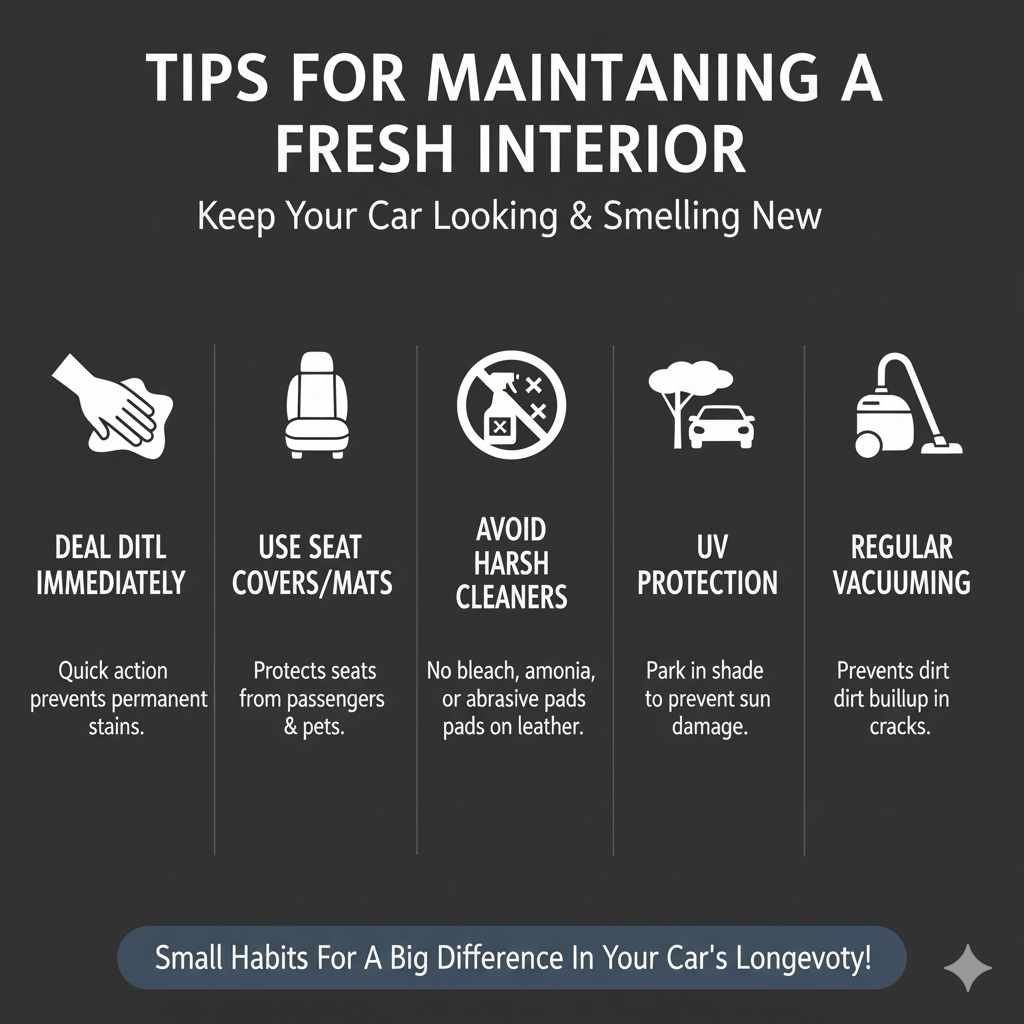
- Deal with Spills Immediately: The quicker you blot up a spill, the less likely it is to leave a permanent stain.
- Use Seat Covers or Mats: Especially for younger passengers or pets, consider using protective covers during travel.
- Avoid Harsh Cleaners: Never use household cleaners, ammonia, bleach, or abrasive pads on leather.
- UV Protection: While conditioning helps, parking in shaded areas when possible can further protect leather from sun damage.
- Regular Vacuuming: A quick vacuum every week or two prevents dirt from getting worked into the leather grain.
Frequently Asked Questions (FAQs)
Q1: How often should I clean my leather car seats?
For most daily drivers, a light clean and conditioning every 1-3 months is sufficient. If your car is exposed to harsh conditions or heavy use, you might need to do it more often.
Q2: Can I use baby wipes or household cleaners on my leather seats?
No, it’s best to avoid baby wipes and household cleaners. They often contain chemicals that can dry out, discolor, or damage the protective coating on automotive leather.
Q3: What is a pH-neutral leather cleaner, and why is it important?
A pH-neutral cleaner has a balanced pH level (around 5.5-7), similar to human skin. This means it’s gentle and won’t strip the natural oils from the leather, which are essential for keeping it soft and preventing cracks. Harsh cleaners can have a highly acidic or alkaline pH, causing damage.
Q4: My leather seats have tiny holes (perforated). How do I clean them?
For perforated leather, be very gentle. Spray the cleaner onto your microfiber cloth, not directly onto the seat. Use a very soft brush and very light pressure. Avoid oversaturating the perforations, as moisture can get trapped inside and cause damage.
Q5: How can I tell if my car has real leather or a leatherette (vinyl) interior?
Real leather typically has a natural grain pattern, a distinct smell, and can feel softer. Leatherette (vinyl) often has a more uniform, artificial grain, may have a plastic-like smell, and can feel stiffer or smoother. Checking your car’s manual is the most reliable way to know.
Q6: Is it okay to use a steam cleaner on my leather car seats?
Generally, it’s not recommended to use a steam cleaner on leather, especially high-quality or delicate types. The high heat and moisture can potentially damage the leather’s structure, dry it out, or cause discoloration. Stick to dedicated leather cleaning products for safety.
Q7: My car seats are quite dirty. Can I use soap and water?
While a very mild soap (like a specialized leather soap) diluted in water can be used in a pinch, it’s not ideal for routine cleaning. Dedicated pH-neutral leather cleaners are formulated to work with the specific chemistry of car leather. Regular household soaps can strip oils and dry out the material over time.
Conclusion
There you have it! You’ve learned how to effectively clean and condition your leather car seats right at home. By gathering the right supplies – especially a pH-neutral cleaner and good microfiber towels – and following these simple, step-by-step instructions, you can banish dirt, grime, and those unsightly marks. Remember, a little bit of regular care goes a long way in preserving the beauty, comfort, and value of your car’s interior. Don’t be afraid to get hands-on; with these easy techniques, you’re well-equipped to achieve that effortless shine and keep your car looking its best for years to come. Happy cleaning!