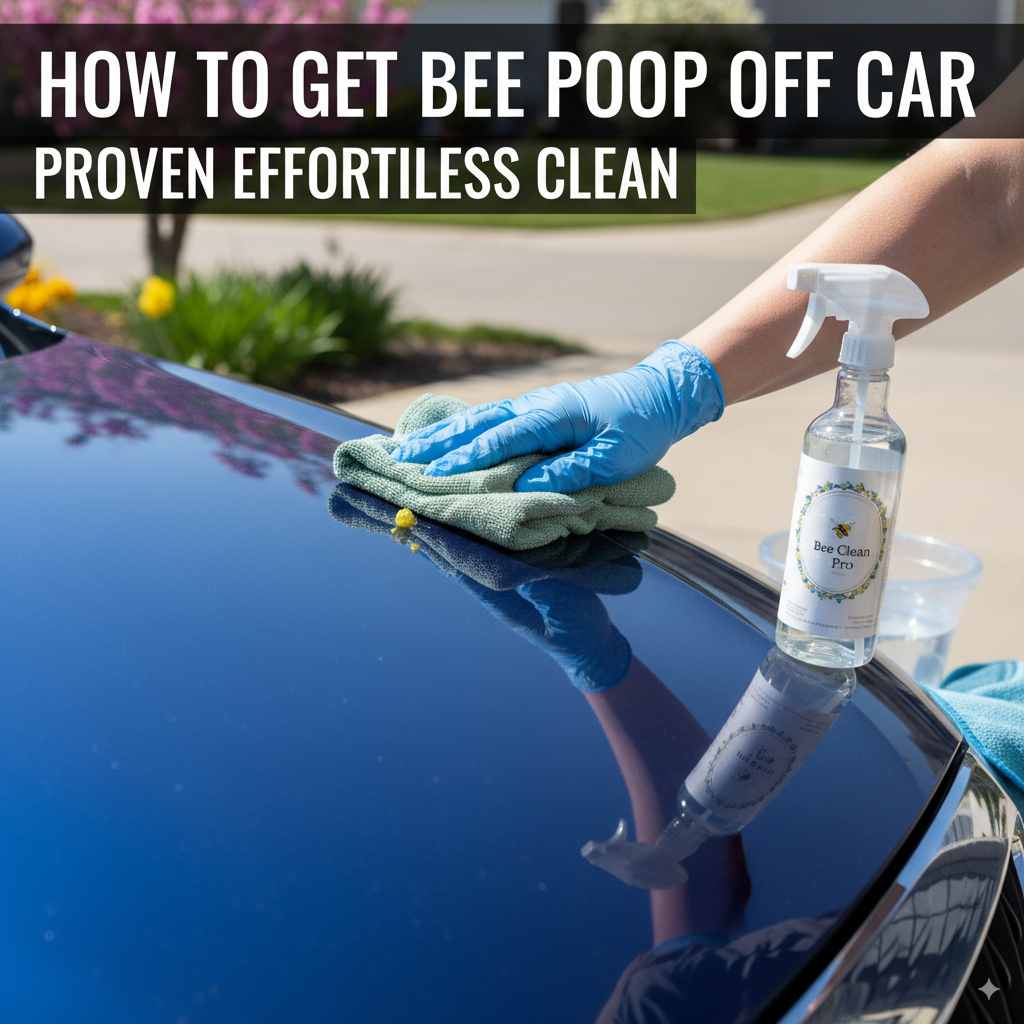
How to Get Bee Poop Off Car: Proven Effortless Clean
Get bee poop off your car effortlessly with simple, proven methods. A quick wash and specialized cleaners will have your vehicle looking spotless without any fuss, protecting its paint. This guide provides easy steps for beginners.
Ever find those tiny, white, and sometimes greenish splatters on your car that you’d rather not identify? That’s bee poop, often called “bird droppings” by mistake, and it’s a common sight, especially during warmer months. While it might seem like a minor annoyance, bee droppings can actually etch into your car’s paint if left too long, causing permanent damage. Don’t worry, though! Cleaning it off is much simpler than you might think, and you don’t need to be a car expert to do it. This guide will walk you through easy, effective ways to get bee poop off your car and keep it looking its best, all without scratching or damaging your precious paint job.
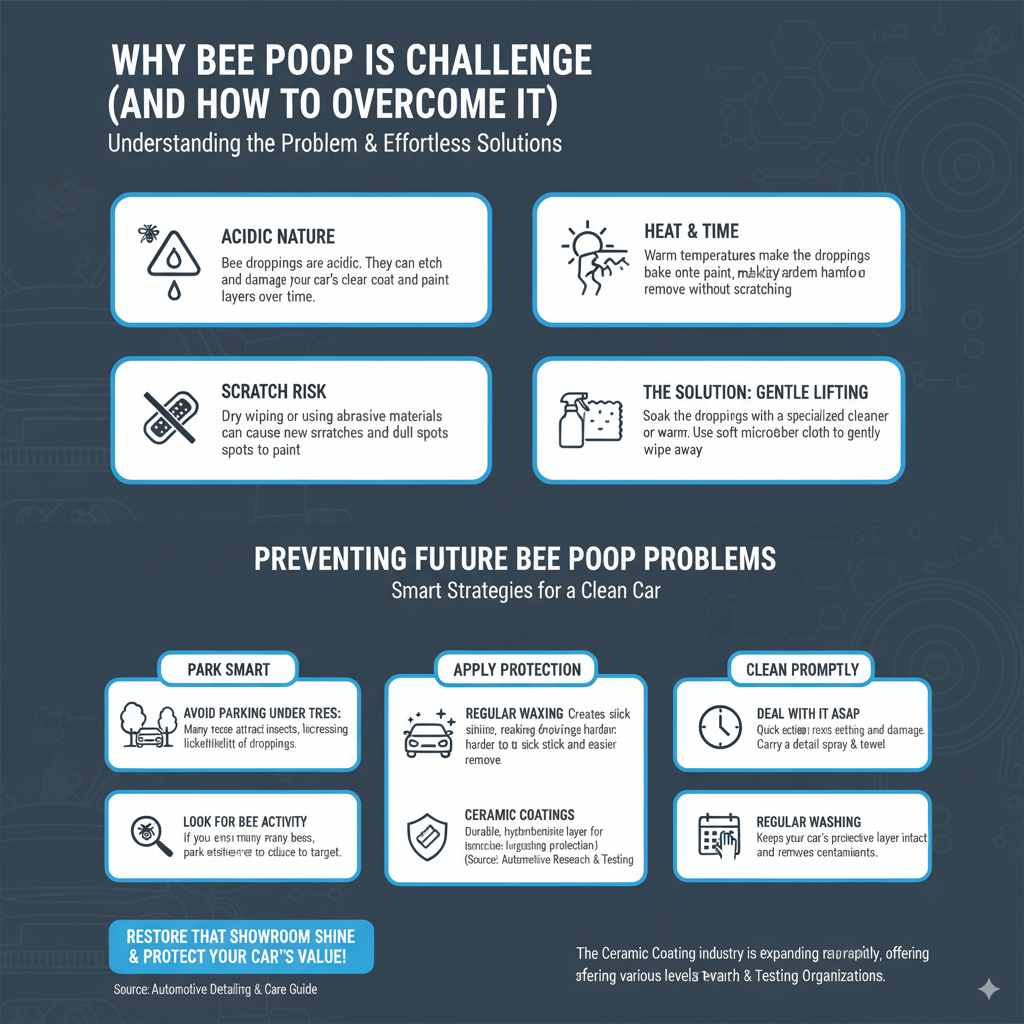
Why Bee Poop is a Challenge (and How to Overcome It)
Bee poop, like other organic droppings from insects and birds, is acidic. When these tiny droppings sit on your car’s warm paintwork, they can start to break down the clear coat and paint layers underneath. The longer it stays, the harder it is to remove without leaving a mark. The main challenge is removing it effectively without causing new scratches or dull spots on the paint. This often happens when people try to wipe it off with dry cloths or abrasive materials.
The good news is that with the right approach, you can gently lift away this sticky mess. We’ll cover the essential tools you’ll need and a step-by-step process that’s safe for all car finishes. You’ll be surprised at how easy it is to restore that showroom shine and protect your car’s value.
Essential Tools for a Bee Poop-Free Car
Before you start, gathering the right supplies will make the cleaning process much smoother and more effective. You don’t need a lot of fancy equipment; most items are readily available at your local auto parts store or even a supermarket.
What You’ll Need:
- Microfiber Cleaning Cloths: These are crucial. Microfiber is soft, absorbent, and won’t scratch your car’s paint. Have at least 2-3 clean cloths handy.
- Bucket(s): For soapy water if a full wash is needed, or plain water if you’re just spot-cleaning.
- Car Wash Soap: If the bee poop is part of a larger dirty job. Use a pH-neutral soap designed for cars.
- Water Source: A hose with a spray nozzle is ideal.
- Bug and Tar Remover or Specialized Dropping Remover: These products are formulated to break down stubborn organic matter without harming paint.
- Quick Detailer Spray: A helpful lubricant for spot cleaning and a final wipe-down.
- Optional: Clay Bar and Clay Lubricant: For very stubborn, baked-on droppings that spot removers can’t quite tackle.
Having these items ready means you can tackle fresh splatters as soon as you notice them, which is the absolute best way to prevent damage.
Step-by-Step Guide: How to Get Bee Poop Off Your Car
Dealing with bee poop doesn’t have to be a chore. Follow these simple steps for a spotless finish:
Step 1: Assess the Situation
First, take a look at the bee poop. Is it fresh and still wet? Or is it dry and caked on? Fresh droppings are easier to remove. Dry droppings might require a product to soften them. Inspect the area around the droppings too. If the rest of your car is dirty, you might want to prepare for a full wash. If it’s just a few spots on an otherwise clean car, spot cleaning is the way to go.
Step 2: Lubricate, Lubricate, Lubricate!
This is a G.O.L.D. rule in car care: Lubricate, Unscrew, Bind, And Tighten. Wait, that’s not right! The actual rule is simply to use plenty of lubrication, especially when dealing with dried-on gunk. Never, ever try to wipe dry bee poop off your car with a dry towel. That’s a fast track to introducing scratches. Instead, use a good amount of car wash soap solution, a dedicated bug and tar remover, or a quick detailer spray to wet the area thoroughly. This helps to lift the debris away from the paint surface.
Step 3: Gentle Removal (The Safe Way)
Once the area is well-lubricated, use a clean, soft microfiber cloth. Start by gently dabbing at the softened droppings. The goal is to pick them up, not to scrub them. Fold the microfiber cloth into quarters. As you gather some poop on one section of the cloth, switch to a clean section. This prevents you from dragging the debris back across your paint.
For fresh droppings, this might be all you need. If the droppings are more stubborn:
- Apply a Bug & Tar Remover: Spray a dedicated bug and tar remover directly onto the spot. Let it dwell for a minute or two as per the product’s instructions. These products contain solvents that break down organic matter and tar.
- Gently Wipe: Use your lubricated microfiber cloth to gently wipe the area clean. You may need to apply a bit more product and repeat the gentle wiping action.
- Quick Detailer as a Buffer: If you don’t have a specific remover, a good quality quick detailer spray can also act as a lubricant. Spray generously, let it soak for a moment, and then gently wipe with a clean microfiber cloth.
Step 4: Rinse the Area
After you’ve successfully removed the bee poop, rinse the area with plain water. This removes any residue from the cleaning product and ensures no gritty particles remain that could cause scratches during the next step. A gentle spray from your hose is perfect.
Step 5: Dry and Inspect
Using a separate, clean, and dry microfiber cloth, gently dry the washed area. Pat it dry rather than rubbing. Inspect the spot. Is it completely gone? Does the paint look clear? If there’s any faint discoloration or a shadow left behind, it might mean the droppings had started to etch the clear coat. In most cases, this will disappear once the car is waxed or polished.
Step 6: Follow Up (Optional but Recommended)
If your car was generally dirty, now is a great time for a full car wash. This ensures no other spots are missed and your paint is thoroughly clean.
Full Car Wash Method:
- Rinse the Car: Start by rinsing the entire vehicle to remove loose dirt and debris.
- Wash the Car: Use the two-bucket wash method. One bucket with car wash soap and water, the other with clean rinse water. Wash from top to bottom. Dip your wash mitt in the soap bucket, wash a section, then rinse the mitt thoroughly in the clean water bucket before returning to the soap bucket. This prevents dirt from being transferred back onto the car.
- Rinse Again: Thoroughly rinse all soap off the vehicle.
- Dry the Car: Use clean microfiber drying towels to gently pat or carefully wipe the car dry.
- Wax or Sealant: Applying a coat of wax or paint sealant after washing will protect your paint and make future cleaning easier.
For more information on safe car washing practices, the U.S. Environmental Protection Agency (EPA) offers valuable tips on environmentally friendly and effective vehicle care.
When Simple Methods Aren’t Enough: Tackling Stubborn Stains
Sometimes, despite our best efforts, a bee dropping might have set in for a while, leaving a more stubborn stain or even minor etching. Don’t panic! There are slightly more advanced, yet still beginner-friendly, techniques to handle these tough spots.
Using a Clay Bar for Deep Cleaning
A clay bar is a detailing tool that physically lifts embedded contaminants from your car’s paint surface. It’s incredibly effective but requires careful use to avoid marring the paint.
How to Use a Clay Bar for Bee Droppings:
- Prepare the Surface: Wash and dry the area around the stubborn bee dropping.
- Use Plenty of Lubricant: Spray a generous amount of clay lubricant or a quick detailer onto the affected area. You need the surface to be very slick.
- Knead the Clay: Take a small piece of clay bar and flatten it into a pad.
- Glide the Clay: Gently glide the clay pad over the lubricated surface in straight-line motions. Do not apply pressure. Let the clay do the work.
- Check the Clay: As you pick up contaminants, the clay will get dirty. Periodically fold and knead the clay to expose a clean surface. If you drop the clay, discard it immediately as it will pick up grit and scratch your paint.
- Wipe and Inspect: After working the area, spray more lubricant and gently wipe away any residue with a clean microfiber cloth. Inspect for improvement.
- Final Wash and Protection: You may need to wash and wax the area afterward to restore its shine and protection.
For a comprehensive guide on using clay bars, you can refer to resources from reputable auto detailing supply companies, many of whom offer detailed tutorials. For instance, detailed guides can often be found on the product pages or blogs of well-known detailing brands.
The Role of Polish and Wax
If you notice a faint mark or dullness after removing the bee poop, it might indicate the clear coat was slightly compromised. A mild automotive polish can help to remove very superficial imperfections and restore gloss. Follow up with a good quality car wax or paint sealant to protect the paint and prevent future damage.
Polish vs. Wax:
While similar, they have different functions:
| Feature | Polish | Wax/Sealant |
|---|---|---|
| Primary Function | Removes imperfections (swirls, light scratches, etching) by abrading the clear coat | Protects the paint surface and adds shine |
| Durability | Less durable; works on the paint itself. | More durable; forms a protective layer on top of the paint. |
| Application | Can be applied by hand or machine, requires some skill. | Easier to apply by hand or with a buffer. |
| When to Use | When paint needs refinement, has minor damage, or to remove stains. | Regularly, after washing/polishing, for protection and shine. |
For a simple clean-up of bee poop residue, a quick detailer and thorough waxing are usually sufficient. If you’re unsure about polishing, stick to the washing and waxing steps to ensure you don’t accidentally damage your paint.
Preventing Future Bee Poop Problems
Prevention is always better than cure. While you can’t control where bees go, you can take steps to make your car less of a target or to make cleaning easier.
Park Smart
- Avoid Parking Under Trees: Many trees attract insects, including bees, and provide shady spots where insects are more likely to rest and… relieve themselves.
- Look for Bee Activity: If you notice a lot of bees buzzing around a particular area, it’s probably best to park elsewhere if possible.
Apply Protection to Your Paint
- Regular Waxing: A good coat of car wax or synthetic sealant creates a slick barrier on your paint. This makes it harder for droppings to stick and easier to wipe off later. Think of it like a non-stick coating for your car.
- Ceramic Coatings: For longer-lasting protection, consider a ceramic coating. These are more involved applications but provide an extremely durable, hydrophobic (water-repelling) layer that makes cleaning significantly easier.
Clean Promptly
- Deal with it ASAP: The most effective “prevention” for damage is quick action. If you see bee poop, clean it off as soon as you can. Keeping a small detail spray and microfiber towel in your car can be a lifesaver for on-the-go cleanups.
The Ceramic Coating industry is expanding rapidly, offering various levels of protection. You can find more detailed information on how ceramic coatings work and their benefits from automotive research and testing organizations, which often publish independent reviews and scientific breakdowns.
Frequently Asked Questions (FAQ)
Q1: Can I just wipe the bee poop off with a paper towel?
A: No, please don’t! Paper towels are abrasive and can easily scratch your car’s paint. Always use a soft microfiber cloth and plenty of lubrication to safely remove bee droppings.
Q2: How long does it take for bee poop to damage my car?
A: It depends on the weather and how acidic the dropping is, but damage can start to occur within hours, especially on a hot, sunny day. The longer it sits, the more it can etch into the clear coat.
Q3: What if the bee poop has already dried and is stuck on hard?
A: Don’t force it! You’ll need to soften it first. You can use a dedicated bug and tar remover, a strong quick detailer, or even a warm, damp cloth (applied gently after a soak) to loosen it up before attempting to wipe it off with a microfiber cloth.
Q4: Will washing my car remove bee poop?
A: A regular car wash will likely remove fresh or only slightly dried bee poop, especially if you use a good car wash soap and a wash mitt. However, for dried-on or stubborn spots, a direct application of a remover or a clay bar might be necessary.
Q5: What’s the difference between bee poop and bird droppings?
A: While both are acidic organic matter that can damage paint, bird droppings are typically larger and more noticeable. Bee poop is much smaller and can be harder to spot until it dries and leaves a mark. The cleaning method is essentially the same for both.
Q6: Can I use household cleaners like Windex on bee poop?
A: It’s best to avoid household cleaners like Windex on your car’s paint. They can contain harsh chemicals that strip away wax and even damage the clear coat over time. Stick to automotive-specific cleaning products.
Q7: Is it safe to use a pressure washer on bee poop?
A: A pressure washer can help rinse away loosened debris but should be used with caution. Keep the nozzle at a safe distance from the paint (at least 12-18 inches) and avoid directing a high-pressure stream directly at the droppings, as this could potentially damage the paint or push debris into seals.
Conclusion
Keeping your car free from bee poop and the potential damage it can cause is a straightforward process once you know the right techniques. By using the correct tools like soft microfiber cloths and employing the power of lubrication, you can gently lift away these unsightly spots without harming your car’s paint. Remember, acting quickly is key, and for those more stubborn stains, specialized automotive cleaners or a clay bar can work wonders.
Regularly washing and waxing your car not only keeps it looking great but also provides a protective barrier against future contaminants. With these simple, proven methods, you can confidently tackle bee poop and other minor car messes, ensuring your vehicle stays in top condition for years to come. You’ve got this!