How to Get Dealership Decal Off Car: Proven Easy
Effortlessly remove dealership decals from your car with simple, proven methods. This guide provides easy-to-follow steps and tips for a clean, residue-free finish, restoring your vehicle’s appearance without damage.
It’s a common sight: that shiny new (or new-to-you) car from the dealership, proudly displaying their logo or name decal. While it might be a symbol of your recent purchase, many car owners prefer a cleaner, unbranded look for their vehicle. Removing these decals can sometimes feel daunting, with worries about scratching paint or leaving stubborn adhesive behind. But don’t worry!
Getting that dealership decal off your car is actually a straightforward DIY task that anyone can master with the right approach. We’ll walk you through proven, easy methods to ensure a smooth, residue-free finish, giving your car a pristine look and boosting your confidence in tackling simple car care jobs.
Why Remove Dealership Decals?
There are several compelling reasons why car owners opt to remove dealership decals. Primarily, it’s about personal preference and achieving a cleaner, more customized aesthetic for their vehicle. Many find the dealership’s branding detracts from the car’s design or the owner’s personal style. Besides aesthetics, removing these decals can also prevent potential issues down the line. Over time, direct sunlight and weather exposure can cause the adhesive to weaken, and the decal itself to fade or crack. When this happens, removing it can be much harder, potentially leaving behind unsightly marks or uneven paint. Acting sooner rather than later makes the removal process significantly easier and ensures a uniform finish.
Tools You’ll Need
Gathering the right tools is the first step to a successful decal removal. Fortunately, you likely already have many of these items at home or can acquire them very affordably. Having the correct supplies will make the process smoother and prevent damage to your car’s paintwork.
Here’s a handy list of what you’ll need:
- Heat Source: A hairdryer on a medium setting or a heat gun (used carefully on a low setting).
- Plastic Trim Tool or Old Credit Card: For gently prying and scraping without scratching.
- Rubbing Alcohol (Isopropyl Alcohol): Effective for dissolving adhesive residue.
- Microfiber Towels: Soft cloths for cleaning and drying, preventing scratches.
- Car Wash Soap and Water: For a final clean-up.
- Optional: Adhesive Remover: Products like Goo Gone or 3M Adhesive Remover can be helpful for stubborn residue.
- Optional: Clay Bar: For removing any lingering contaminants after decal removal.
Proven Easy Methods to Remove Dealership Decals
Let’s get to the core of it: how to actually get these decals off. We’ll cover the most effective and beginner-friendly techniques, ensuring you can tackle this with confidence.
Method 1: The Heat and Scrape Technique
This is by far the most popular and effective method for removing most vinyl decals, including dealership stickers. The heat softens the adhesive, making the decal much easier to peel off cleanly.
- Clean the Area: Start by washing the area around the decal with car wash soap and water. This removes any dirt or grit that could scratch the paint during the removal process. Dry the area thoroughly with a microfiber towel.
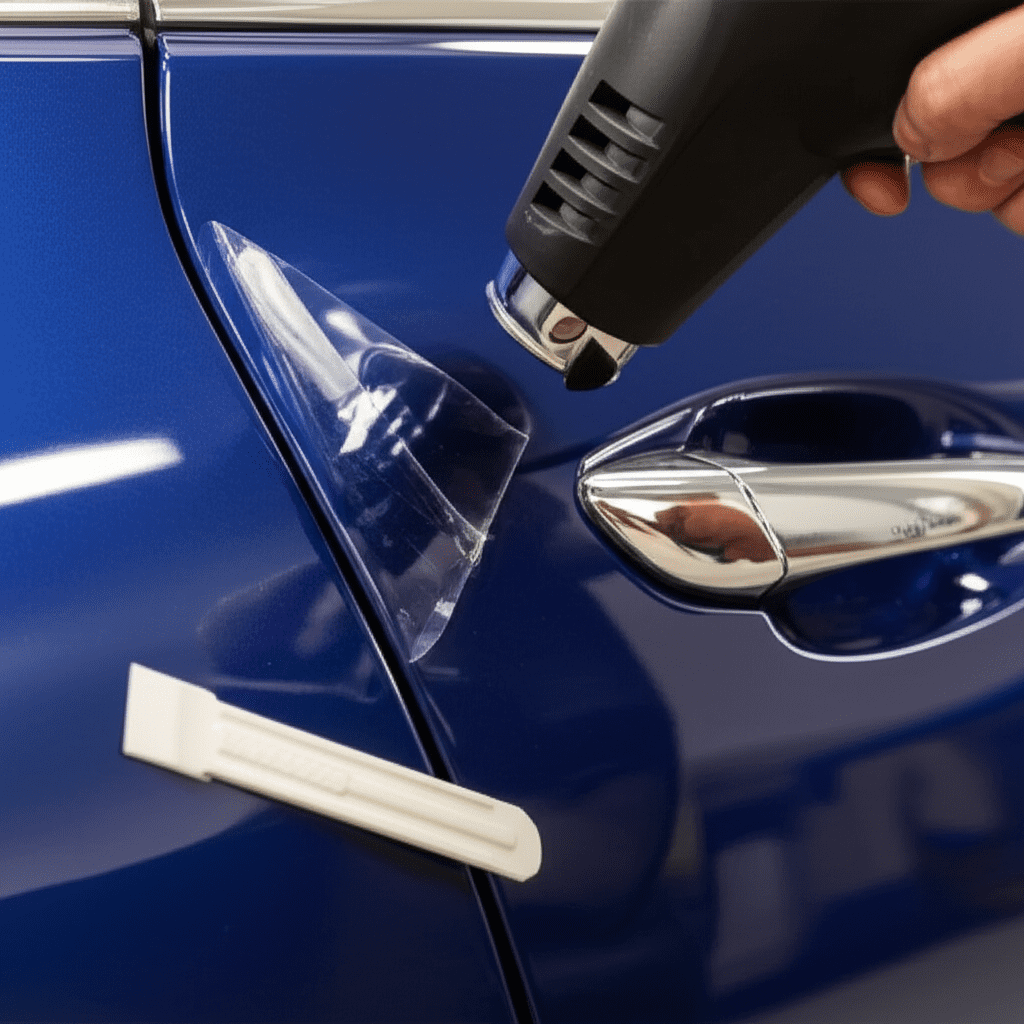
- Apply Heat: Using a hairdryer on a medium or high heat setting, or a heat gun on its lowest setting, hold it a few inches away from the decal. Move it back and forth across the surface of the decal for about 30-60 seconds. The goal is to warm the decal and the adhesive underneath, not to make it scorching hot. You should feel that the decal is warm to the touch.
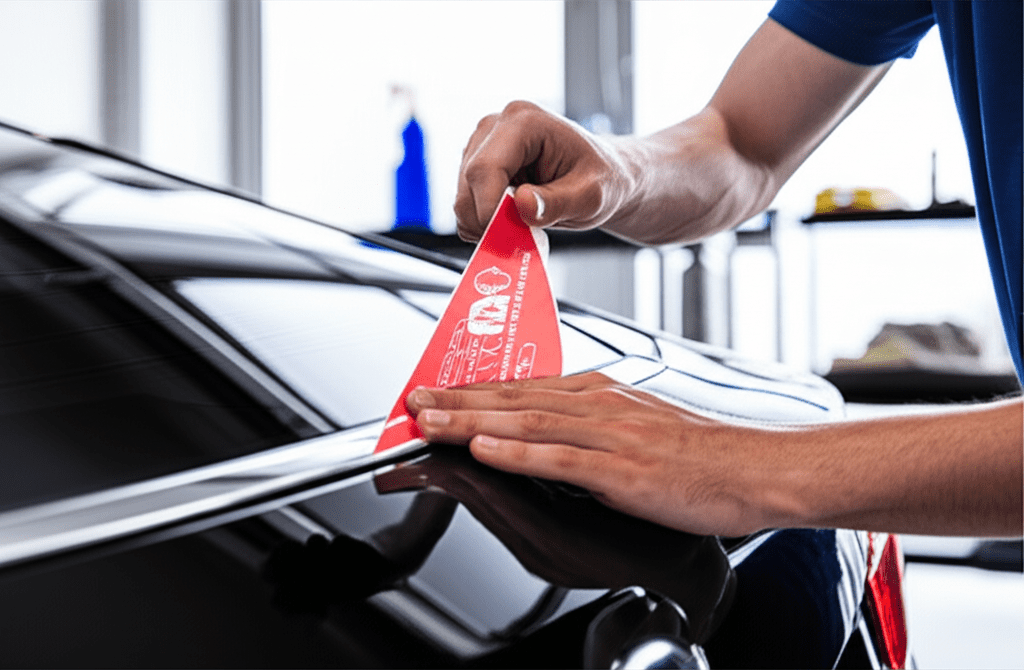
- Start Peeling: Once the decal is sufficiently heated, try to lift a corner using your fingernail or the edge of a plastic trim tool or credit card. Once you have a small section lifted, begin to peel the decal away slowly and steadily.
- Peel at a Low Angle: Try to peel the decal at a very low angle, almost parallel to the car’s surface. This helps prevent the decal from tearing and ensures the adhesive comes off with the vinyl. If it starts to tear, apply a little more heat to that section.
- Remove Stubborn Bits: If small pieces of the decal or adhesive remain, don’t panic. Apply a little more heat to those specific spots and gently scrape them off with your plastic tool or credit card.
Method 2: Using Rubbing Alcohol or Adhesive Remover
After the bulk of the decal is removed, you’ll likely be left with some sticky residue. This is where rubbing alcohol or a dedicated adhesive remover comes in handy.
- Apply the Solution: Apply a small amount of rubbing alcohol or your chosen adhesive remover to a clean microfiber towel.
- Let it Sit: Gently dab and rub the residue with the solution-soaked towel. For tougher adhesive, let the solution sit on the residue for a minute or two (check product instructions for specific times). This allows it to break down the sticky stuff.
- Wipe Away Residue: Use the towel to gently rub the residue away. You may need to apply a little pressure, but avoid harsh scrubbing. You can use your plastic trim tool to carefully lift any particularly stubborn bits once they’ve been softened.
- Repeat if Necessary: For very stubborn residue, you might need to repeat the application and gentle rubbing process.
For a more in-depth understanding of how various solvents interact with automotive surfaces, resources from organizations like the U.S. Environmental Protection Agency offer insights into safe and effective cleaning practices, though always prioritize automotive-specific products for your car’s finish.
Method 3: The Hot Water and Soap Soak (For Older or More Fragile Decals)
If your decal is older, brittle, or you’re concerned about using heat directly, a hot water soak can be a gentler alternative.
- Prepare Hot Water: Mix car wash soap with very hot (but not boiling) water.
- Soak a Towel: Dunk a clean microfiber towel into the hot, soapy water, wring it out slightly so it’s damp but not dripping excessively.
- Apply the Towel: Place the hot towel directly over the dealership decal. Let it sit for several minutes (5-10 minutes). The warmth and moisture will help soften the adhesive.
- Peel and Scrape: Carefully peel the decal from a corner. Use your plastic trim tool or credit card to gently scrape away any remaining vinyl and adhesive, reapplying the hot towel as needed if it cools.
- Clean Residue: Follow up with rubbing alcohol or an adhesive remover as described in Method 2 to remove any lingering stickiness.
Table: Decal Removal Tool Comparison
Choosing the right tools can make a big difference. Here’s a quick comparison of common tools used for decal removal:
| Tool | Pros | Cons | Best For |
|---|---|---|---|
| Hair Dryer | Readily available, good heat control | May take longer than a heat gun | Most vinyl decals, beginners |
| Heat Gun | Faster, more intense heat | Risk of paint damage if misused (too hot, too close) | Stubborn decals, experienced users |
| Plastic Trim Tool/Credit Card | Safe for paint, flexible | Can bend or break if too much force is used | Gently lifting decals and scraping residue |
| Rubbing Alcohol | Inexpensive, dissolves adhesive | Can dry out certain surfaces if used excessively | Removing adhesive residue |
| Goo Gone/Adhesive Remover | Specifically formulated for adhesive, often effective | Can be more expensive, always test in an inconspicuous area | Tough, sticky residue that alcohol can’t remove easily |
Tips for a Perfect Finish
Once the decal is off and the residue is gone, you’ll want to ensure the area looks flawless. A few final steps can make all the difference.
- Final Wash: Wash the entire area again with car wash soap and water to remove any remaining alcohol or adhesive remover. Rinse thoroughly.
- Inspection: Dry the area completely with a clean microfiber towel and inspect it in good light. Look for any faint outlines or missed adhesive spots.
- Clay Bar Treatment (Optional but Recommended): If you notice any slight imperfection or feel any grittiness on the paint surface, a clay bar can be excellent. You can use a detail spray as a lubricant and gently glide the clay bar over the paint. This lifts embedded contaminants and leaves the surface feeling incredibly smooth, like new paint. Reputable automotive detailing guides often highlight the benefits of clay bars for this exact purpose.
- Polish and Wax: To protect the now-clean paint and restore shine, apply a paint polish if there are any light scuff marks. Follow up with a coat of car wax or a paint sealant. This will protect the paint and give it a brilliant shine, making the area look as good as, if not better than, before the decal was ever applied.
Dealing with Different Types of Decals
While the heat method is versatile, some decals might present unique challenges.
Vinyl Decals
Most dealership ‘decals’ are actually vinyl stickers adhered with a strong adhesive. The heat and scrape method is almost always the best approach for these. The key is patience and consistent, moderate heat.
Paper-Based Stickers
Less common for exterior dealership branding, but sometimes interior small stickers might be paper-based. These tend to disintegrate when wet. The hot water and soap method is ideal here. You might find they break apart easily, and the adhesive will still require a solvent like rubbing alcohol to remove.
Stickers with Clear Coat Protection
Some decals might have a protective clear coat over them. These are usually more durable. The heat method will still work, but you might need slightly more heat or take a bit more time to work through the layers. Be extra careful not to overheat the paintwork.
Frequently Asked Questions (FAQ)
Q1: Can removing a dealership decal damage my car’s paint?
A1: If done correctly with the right tools and techniques, it’s highly unlikely to damage your car’s paint. The main risks come from using sharp metal objects or applying excessive heat, which can scratch or melt the paint. Always use plastic tools and moderate heat, and test in an inconspicuous area if you’re unsure.
Q2: How long does it typically take to remove a dealership decal?
A2: For most decals, the entire process – from heating to removing residue – usually takes between 15 to 45 minutes, depending on the size of the decal, the strength of the adhesive, and your experience. Rushing the process can lead to mistakes.
Q3: What should I do if the decal tears during removal?
A3: If the decal tears, don’t worry! Simply reapply heat to the remaining section you want to remove and continue peeling slowly. It’s common for larger decals to tear, especially if the adhesive is very strong. You can also use your plastic scraper more actively on small, torn pieces.
Q4: Are there professional products better than household items like rubbing alcohol?
A4: While rubbing alcohol is effective, dedicated automotive adhesive removers (like Goo Gone Automotive or 3M Adhesive Remover) are often formulated to be stronger on stubborn residue and safer for car finishes. However, always follow the product instructions carefully and test in a small spot first.
Q5: Can I use a razor blade to remove the decal?
A5: It is strongly advised NOT to use a razor blade or any sharp metal object on your car’s paintwork for decal removal. Razor blades can easily scratch or gouge the paint, causing permanent damage that is much more costly to repair than a stubborn sticker. Stick to plastic scrapers or old credit cards.
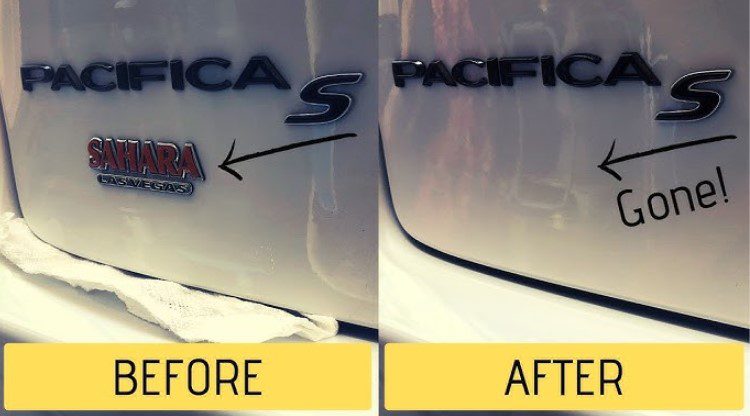
Q6: What if there’s a faint outline left after removing the decal?
A6: A faint outline is usually caused by the area around the decal being slightly more faded or cleaner than the decal itself. After cleaning off all residue, this can often be corrected with a clay bar treatment followed by polishing and waxing the area. For more significant outlines, professional paint correction might be needed.
Conclusion
Removing dealership decals from your car is a satisfying and achievable DIY project that can significantly enhance your vehicle’s appearance. By using simple tools like a hairdryer and common household or automotive cleaning agents, you can confidently tackle this task without fear of damaging your car’s paint. Remember to work patiently, apply moderate heat, and utilize plastic scraping tools to avoid scratches. The final steps of cleaning, using a clay bar if necessary, and applying wax will ensure a pristine, factory-fresh finish. With these proven, easy methods, you can personalize your vehicle and take pride in maintaining its look yourself. Enjoy your beautifully clean, unbranded ride!