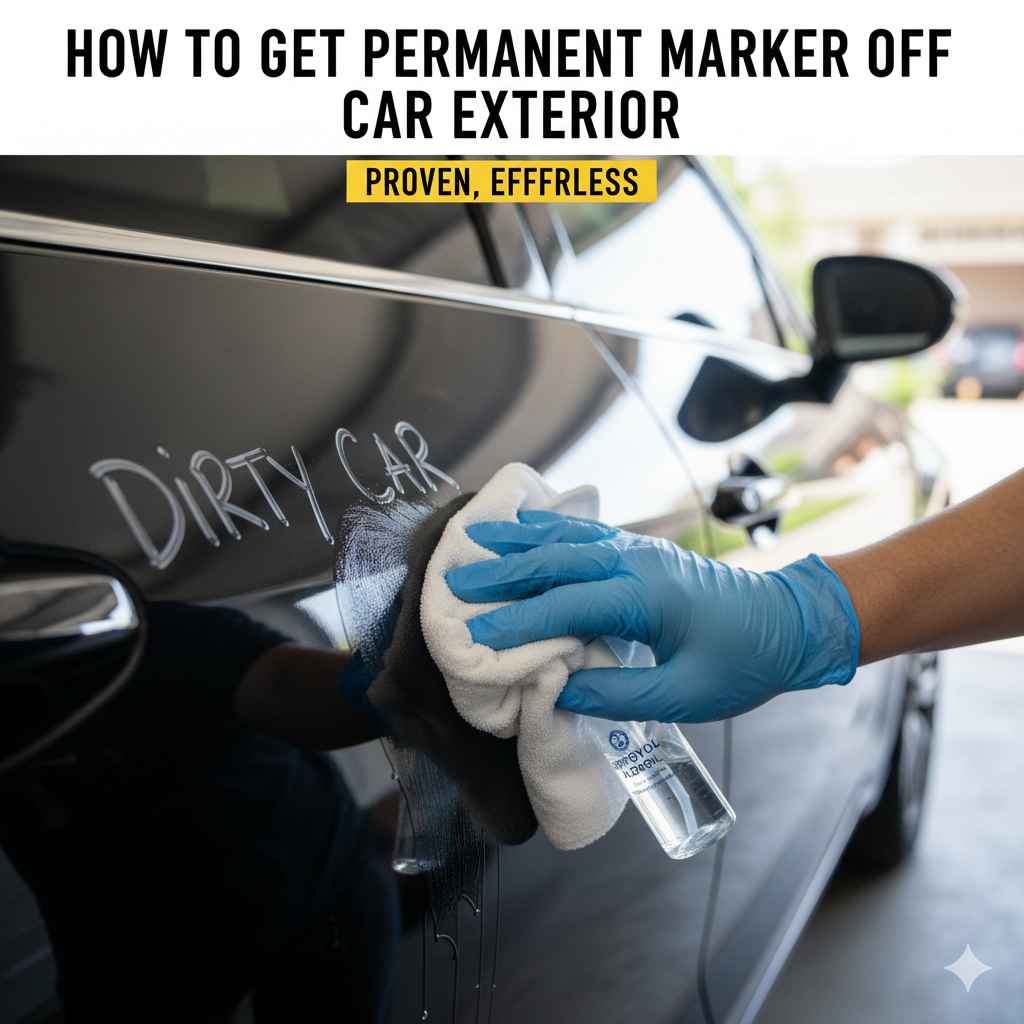
How to Get Permanent Marker Off Car Exterior: Proven, Effortless
Permanent marker on your car exterior? Don’t panic! You can easily remove it using common household items like rubbing alcohol or car detailing spray. Follow these simple, proven steps for a spotless finish without damaging your paint. Get ready for a clean, marker-free car!
Accidents happen! Sometimes, a stray mark from a permanent marker can end up on your car’s gleaming paint. It’s a common frustration for car owners, and it can feel like a permanent blemish. But the good news is, you don’t need to be a professional detailer or spend a fortune to fix it. With a few readily available items and a little patience, you can effortlessly restore your car’s exterior to its former glory. We’ll walk you through the most effective and safest methods, so you can tackle this problem with confidence and say goodbye to those unwanted marks for good.
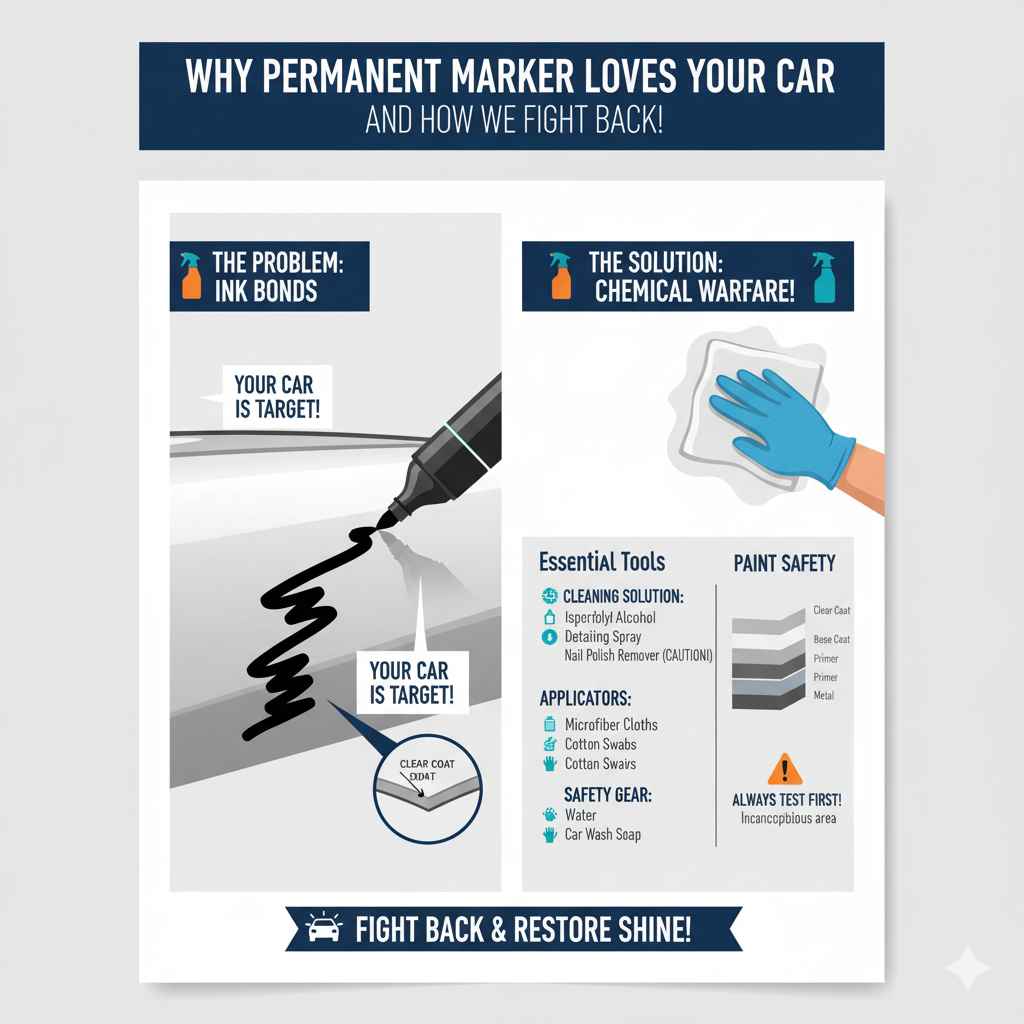
Why Permanent Marker Loves Your Car (And How We Fight Back!)
Permanent markers are designed to stick. Their ink contains pigments and solvents that bond to surfaces. While this is great for paper or other porous materials, it can be a real headache when it lands on your car’s smooth, painted finish. The glossy clear coat on your car acts like a protective shield, but it can still be a target for stubborn inks. Thankfully, many common household cleaners and automotive products have the right chemical properties to break down these inks without harming your car’s paintwork. The key is to choose the right product and use a gentle approach.
Essential Tools and Supplies
Before we dive into the cleaning methods, let’s gather what you’ll need. Most of these items are probably already in your home or garage, making this a budget-friendly fix.
-
Cleaning Solution: This will be your primary weapon against the marker. Options include:
- Isopropyl alcohol (rubbing alcohol, 70% or 90% concentration)
- Specialized car detailing spray (look for one that mentions versatility)
- Nail polish remover (use with extreme caution, as it can be harsh)
- Baking soda paste (more of an abrasive helper)
-
Applicators:
- Clean microfiber cloths (essential for gentle cleaning and buffing)
- Cotton swabs (Q-tips) or cotton balls (for precision work on small marks)
- Soft-bristled brush (like an old toothbrush, for very stubborn spots)
-
Safety Gear:
- Gloves (to protect your hands from cleaners)
- Water (for rinsing)
- Car Wash Soap and Water (for a final clean)
Understanding Paint Safety: A Quick Note
Your car’s paint is a multi-layered system, typically consisting of primer, base coat, and a clear coat. The clear coat is the outermost, protective layer. Most gentle cleaning methods aim to dissolve the ink from this clear coat without stripping or damaging it. Always test any cleaner in an inconspicuous area first, like a door jamb or under the bumper, to ensure it doesn’t discolor or dull your paint. For more information on automotive paint systems and protection, the Coatings World provides excellent technical insights.
Proven Methods: Step-by-Step to a Marker-Free Car
Here are the most effective and beginner-friendly ways to get that permanent marker off your car’s exterior. We’ll start with the gentlest methods and move to slightly stronger ones if needed.
Method 1: The Rubbing Alcohol Rescue
This is often the go-to solution because rubbing alcohol is very effective at dissolving many types of ink, including permanent marker, and it’s generally safe for car paint when used correctly. It evaporates quickly, leaving no residue.
What you’ll need:
- Isopropyl alcohol (rubbing alcohol)
- Microfiber cloths
- Cotton swabs (optional)
Steps:
- Prepare the Area: Ensure the car’s surface is clean and dry. If there’s a lot of dirt, give the area a quick wash and dry it thoroughly.
- Apply the Alcohol: Dampen a small section of a clean microfiber cloth with rubbing alcohol. For very small marks, you can dip a cotton swab into the alcohol.
- Gently Rub: Lightly touch the dampened cloth or swab to the marker line. Don’t scrub aggressively. Instead, use a dabbing or light circular motion. You should see the marker ink start to lift onto the cloth or swab.
- Wipe Away Ink: As the ink lifts, use a clean, dry part of the microfiber cloth to wipe away the dissolved ink. If using a swab, switch to a fresh one as it becomes saturated with ink.
- Repeat if Necessary: For stubborn marks, you may need to apply more alcohol and repeat the gentle rubbing process. Be patient!
- Rinse and Dry: Once the marker is completely gone, rinse the cleaned area with water and dry it with a clean microfiber cloth.
- Final Wash (Recommended): For best results and to remove any lingering alcohol residue, it’s a good idea to wash the entire panel or section of the car where you cleaned the mark with car wash soap and water.
Tips for Rubbing Alcohol:
- Always use dabbing or very light buffing motions.
- Avoid letting alcohol sit on the paint for extended periods.
- Ensure good ventilation when working with alcohol.
{/ External Link Integration /}
For detailed guidance on automotive paint care and the importance of the clear coat, resources from automotive paint manufacturers or industry associations can be very helpful. Organizations like the PPG Industries Automotive Coatings section offer insights into the materials used on your vehicle.
Method 2: Specialized Car Detailing Spray
Many car detailing sprays are formulated to be tough on grime and contaminants but gentle on your car’s paint. Some are specifically designed to remove light blemishes or residue, which can include accidental ink marks.
What you’ll need:
- A quality car detailing spray (read the product label to ensure it’s safe for paint and multipurpose)
- Microfiber cloths
Steps:
- Clean the Surface: As always, start with a clean and dry car surface.
- Spray Directly: Lightly spray the detailing solution directly onto the marker line. Don’t over-saturate.
- Let It Dwell Briefly: Allow the spray to sit on the marker for about 30 seconds to a minute. This gives the chemicals time to start breaking down the ink.
- Gently Wipe: Use a clean microfiber cloth to gently wipe away the marker. Use a light, circular or back-and-forth motion.
- Buff and Inspect: If the mark is gone, use a dry section of the cloth or a separate clean cloth to buff the area to a shine. If traces remain, repeat the process with a little more spray.
- Rinse and Dry: Rinse the area thoroughly with water and dry it with a clean microfiber cloth.
- Final Wash: A good car wash after using any cleaner is always recommended.
Why it works: Detailing sprays often contain mild solvents and cleaning agents that are specifically balanced to lift dirt, grime, and, in many cases, surface contaminants like ink without damaging the paint’s integrity.
Method 3: The Gentle Abrasion Approach (Baking Soda Paste)
If alcohol or detailing spray isn’t quite cutting it, a very mild abrasive like baking soda can help lift the ink. This method requires extra caution to ensure you don’t scratch the paint.
What you’ll need:
- Baking soda
- Water
- Microfiber cloths
- Soft-bristled brush (optional, use with utmost care)
Steps:
- Mix the Paste: In a small container, mix a few tablespoons of baking soda with just enough water to create a thick paste, similar to toothpaste.
- Apply the Paste: Apply a small amount of the paste directly to the marker line.
- Gentle Rubbing: Use a damp microfiber cloth or your fingertip to very gently rub the paste over the marker line. Think of it as a very mild polish. Avoid pressing hard. If the mark is tiny, you can use a damp cotton swab with the paste.
- Wipe Away: Use a clean, damp microfiber cloth to wipe away the paste and dissolved ink. You may need to rinse and wipe a few times.
- Inspect for Scratches: Carefully inspect the area in good light. If you see any dulling or fine scratches, stop immediately.
- Rinse and Dry: Thoroughly rinse the area with water and dry with a clean microfiber cloth.
- Final Wash: Wash the entire panel with car wash soap and water to ensure all residue is removed and to restore the shine.
Caution: Baking soda is mildly abrasive. While generally safe for most car finishes when used gently and sparingly, it’s crucial to apply minimal pressure. Always test in an inconspicuous area first. For more on abrasive cleaning materials and automotive finishes, resources like CarSupplies.com’s guide to cleaning chemicals can offer additional context.
Method 4: The Nail Polish Remover (Acetone) – Use with Extreme Caution!
Nail polish remover, especially if it contains acetone, is a powerful solvent. It can quickly remove permanent marker, but it can also quickly damage your car’s paint, clear coat, and even plastic trim if not used with extreme care and diligence. This is a last resort!
What you’ll need:
- Acetone-based nail polish remover
- Cotton swabs
- Microfiber cloths
- Water
- Car wash soap
Steps:
- Test First: Seriously, test this on a tiny, hidden spot (like inside the fuel filler door lip) and wait to see if it dulls or discolors the paint. If it does, do NOT use it on your car’s exterior.
- Work in Small Areas: Only apply the remover to a small section of the marker at a time.
- Dampen a Swab: Dip a cotton swab very lightly into the nail polish remover. You want it damp, not soaking wet.
- Dab, Don’t Rub: Gently dab the swab onto the marker line. The ink should start to dissolve almost instantly.
- Wipe Immediately: As soon as the ink dissolves, immediately use a clean, damp microfiber cloth to wipe away the remover and the ink.
- Rinse Immediately: Rinse the area thoroughly with water. Do not let acetone linger on the paint.
- Final Wash: Wash the area immediately with car wash soap and water.
Key Takeaway: If you have any doubt about your car’s paint type or condition, or if you’re not comfortable with how aggressive this method is, stick to rubbing alcohol or detailing spray. The risk of permanent paint damage is high with acetone.
Dealing with Different Surfaces
While the above methods primarily focus on painted surfaces, you might find marker on other parts of your car’s exterior.
Plastic Trim and Bumpers
Most of the methods that work on paint will also work on plastic trim. Rubbing alcohol is usually a safe bet. For textured plastic, you might need a soft-bristled brush (like an old toothbrush) to gently work the cleaner into the texture. Be even more cautious with nail polish remover on plastic, as it can sometimes cause permanent hazing or softening.
Glass (Windows and Windshield)
Glass is less sensitive than paint. You can use:
- Rubbing alcohol
- Glass cleaner
- Even a razor blade scraper (used carefully at a shallow angle on dry glass, then cleaned thoroughly afterwards with glass cleaner)
For glass, spray the cleaner directly on the glass, let it sit for a minute, and then wipe with a microfiber cloth. For stubborn marks, a solvent-based glass cleaner or even a bit of Goo Gone (test first) can be effective.
Table: Comparing Removal Methods
Here’s a quick look at the pros and cons of each method:
| Method | Pros | Cons | Best For |
|---|---|---|---|
| Rubbing Alcohol | Highly effective, evaporates quickly, generally safe for paint, readily available. | Can dry out skin, requires good ventilation. | Most common car paint finishes, small to medium marks. |
| Car Detailing Spray | Formulated for cars, easy to use, often gentle, good for general cleaning. | Effectiveness varies by product, may require multiple applications for stubborn marks. | All paint types, general blemishes, light marker marks. |
| Baking Soda Paste | Mild abrasive action helps lift tough ink, natural ingredient. | Risk of scratching if too much pressure is applied, requires thorough rinsing. | Stubborn marks that other methods struggle with, when slightly more power is needed. |
| Nail Polish Remover (Acetone) | Very powerful solvent, dissolves ink quickly. | High risk of paint damage (dulling, stripping clear coat), can damage plastic trim, fumes are strong. | Extremely stubborn marks as a last resort, ONLY after extensive testing. |
Preventing Future Marker Mishaps
The best way to deal with permanent marker on your car is to avoid it altogether! Here are a few tips:
- Keep markers secure: Never leave permanent markers loose in your car or readily accessible where they can roll around.
- Designated artist area: If you often work on projects in or near your car, keep markers in a secure container away from the vehicle.
- Educate passengers: If children or other passengers are in the car, remind them about the importance of keeping markers away from the car’s surfaces.
- Quick clean-up: If a temporary marker (like a dry-erase marker) accidentally gets on your car, wipe it off immediately. While less damaging, it’s good practice to keep surfaces clean.

Frequently Asked Questions (FAQs)
Q1: Will rubbing alcohol damage my car’s paint?
Generally, no. Isopropyl alcohol (rubbing alcohol) is safe for car paint and clear coats when used correctly. Dampen a cloth or swab and gently lift the ink. Avoid aggressive scrubbing and don’t let it sit on the paint for long periods. Always rinse the area afterward.
Q2: How do I know if a product will damage my car paint?
Always test any cleaning product on an inconspicuous area first, like a door jamb or under the bumper. Wait a few minutes and check for any signs of dulling, discoloration, or damage to the clear coat before using it on a visible area.
Q3: What if the marker is on a window instead of the paint?
Windows are much more durable than paint. You can use rubbing alcohol, standard glass cleaner, or even a dedicated glass polish. For very tough residue, a plastic razor blade scraper (used carefully on a clean, dry surface) can be effective, followed by glass cleaner.
Q4: I used nail polish remover and now my paint looks dull. What can I do?
The dullness is likely due to the acetone stripping away the protective clear coat. You will need to re-polish and potentially wax the affected area to restore its shine. If the damage is severe, professional detailing might be necessary. This highlights why acetone is a last resort.
Q5: Can I use toothpaste to remove permanent marker?
Some people find success with non-gel white toothpaste, as it contains mild abrasives similar to baking soda. Apply a small amount, rub gently with a microfiber cloth, and rinse thoroughly. Treat it with the same caution as baking soda regarding pressure.