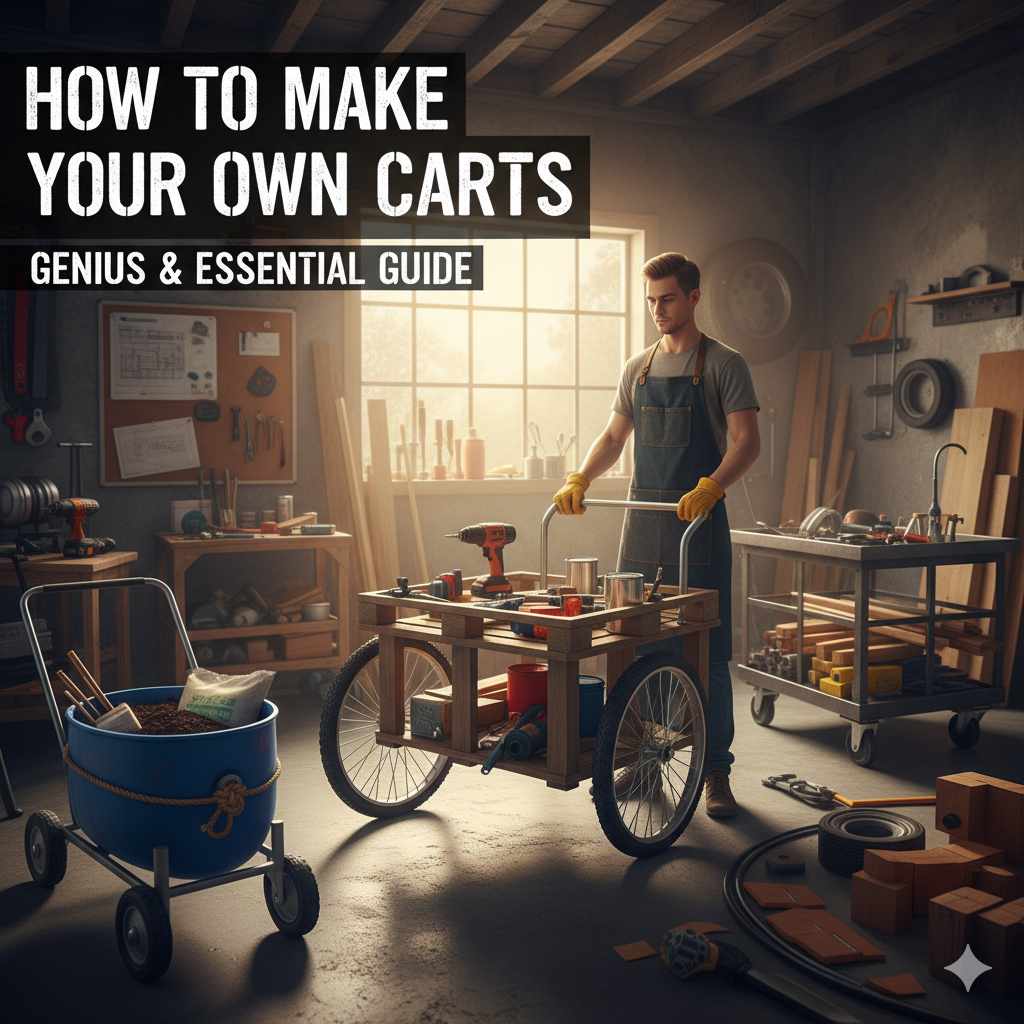
How to Make Your Own Cart: DIY Utility & Garden Cart Plans
A DIY utility cart is a wheeled wood platform you build from plywood, 2×4 framing, and locking casters — no welding required. Undersized casters (rated below your loaded cart’s weight) are the #1 cause of cracked wheel mounts and tipped loads. This guide covers workshop, garden, and storage cart builds, plus how to size casters and prevent tip-overs.
Quick Answer
Build a wheeled wood platform using 3/4-inch plywood, a 2×4 or 1×4 frame, and locking casters rated at least 30% above your cart’s total loaded weight — the extra margin covers uneven floors and one corner going briefly unloaded. A simple 3-shelf workshop cart is the easiest first build, typically finished in an afternoon with basic hand tools.
Why Build Your Own Cart? The Advantages Explained
Before we grab our tools, let’s talk about why building your own cart is such a smart move. It’s not just about the fun of DIY; there are some really solid benefits!
Customization is Key
This is the biggest win! Commercially available carts often come in standard sizes and configurations. When you build your own, you can design it exactly for your needs. Need a cart that fits perfectly under a specific workbench? Or one with extra-deep shelves for bulky items? You get to decide the dimensions, the number of shelves, the type of wheels, and even the material. This level of customization is impossible with off-the-shelf options.
Cost Savings That Add Up
Let’s be honest, specialized utility carts can be pricey. By sourcing your own materials and doing the labor yourself, you can often build a cart for a fraction of the retail cost. This saves you money that can be put towards other projects or tools. Think of it as an investment in your workspace or home.
Durability and Reliability
When you build something with your own hands, you have control over the quality of the materials and the strength of the construction. You can choose sturdy wood, robust metal hardware, and heavy-duty wheels to ensure your cart can handle whatever you throw at it. This means a longer lifespan and less worry about it breaking when you need it most.
Skill Development and Satisfaction
For the beginner DIYer, building a cart is a fantastic way to learn new skills. You’ll gain experience with measuring, cutting, assembling, and possibly even some basic welding or finishing techniques. The sense of accomplishment when you complete your project and use it successfully is incredibly rewarding!
Environmental Friendliness
Repurposing materials is a great way to be eco-conscious. Perhaps you have some scrap wood from another project, or you can find used but sturdy components. Building your own cart allows you to give new life to materials that might otherwise end up in a landfill.

Types of Carts You Can Build
The possibilities are vast, but here are a few popular and incredibly useful cart types that are perfect for beginners:
The Workshop Utility Cart
This is your all-purpose helper for the garage or workshop. It’s perfect for holding tools, cleaning supplies, spare parts, or anything else you need to roll around.
Key Features:
- Sturdy frame, often made of wood or metal.
- Multiple shelves or compartments for organization.
- Durable casters (wheels) for easy maneuverability.
- Can be designed with drawers or specialized holders.
The Garden/Yard Cart
Ideal for hauling soil, mulch, plants, gardening tools, or debris. These carts often need to be a bit more rugged and weather-resistant.
Key Features:
- Larger capacity for bulkier items.
- Pneumatic (air-filled) tires are often best for uneven terrain.
- Can be designed as a simple flatbed or a deeper bin.
- Often made from treated wood or durable plastic.
The Storage Cart
Perfect for organizing items in a closet, pantry, or basement. These can be simpler, lighter-duty carts.
Key Features:
- Can be designed with specific basket-style shelves.
- Often made from lighter materials like plywood or particle board.
- Smaller wheels suitable for indoor flooring.
- Can be made to fit specific shelving units or spaces.
Essential Tools and Materials for Cart Building
You don’t need a professional mechanic’s workshop to build a cart. Most beginner projects can be accomplished with common tools found in many garages or can be acquired affordably.
Essential Tools:
- Measuring Tape: Accuracy is crucial for cutting and assembly.
- Pencil: For marking your cuts.
- Saw: A handsaw is basic, but a circular saw or miter saw makes cuts cleaner and faster.
- Drill with Drill Bits: For creating pilot holes and driving screws.
- Screwdriver Set: To match your chosen fasteners.
- Wrenches or Socket Set: If your design uses bolts.
- Clamps: Handy for holding pieces together while you fasten them.
- Safety Glasses: Absolutely essential to protect your eyes.
- Work Gloves: Keep your hands safe from splinters and rough edges.
If you’re using power tools, read the manual first. OSHA’s PPE standard (29 CFR 1910.133) requires ANSI Z87.1-rated eye protection whenever cutting, drilling, or grinding creates a risk of flying debris — ordinary reading or sunglasses don’t meet that standard.
“Eye and face protection must be worn whenever there is a reasonable probability of injury that could be prevented by such equipment” — including flying particles from power saws and drills.
Common Materials:
- Wood: Plywood, dimensional lumber (like 2x4s or 1x4s), or even reclaimed wood.
- Fasteners: Screws (wood screws are common), bolts, nuts, and washers.
- Casters (Wheels): Choose based on the weight capacity and intended use (e.g., swivel casters for maneuverability, fixed casters for straight lines, pneumatic tires for gardens). Look for casters rated for significantly more weight than you expect to carry.
- Wood Glue: For reinforcing wood joints.
- Sandpaper: For smoothing edges.
- Optional: Paint, stain, sealant for finishing; metal brackets for extra reinforcement.
Best Cart Caster Pick
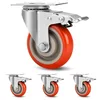
4″ Industrial Heavy Duty Swivel Casters w/ Brake, Set of 4 (2,000 lb rated)
Polyurethane swivel casters with a safety locking brake — the type used in Step 6 of the workshop cart build below.
- Best for: Workshop and heavy-duty storage carts
- Why we picked it: 2,000 lb combined rating clears the safety-margin math in the caster sizing section below for most home-built carts
- Main drawback: Polyurethane tread performs best on hard, smooth floors — not ideal for grass or gravel
Compare more cart wheel options
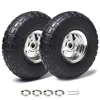 Option 1 10″ Pneumatic Wheel, 5/8″ Bore (2-Pack)
|
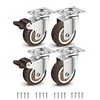 Option 2 2″ Swivel Casters, Set of 4 (600 lb rated)
|
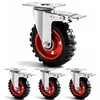 Option 3 5″ Dual Locking Casters, Set of 4 (2,400 lb rated)
|
As an Amazon Associate we earn from qualifying purchases.
How Much Weight Can a DIY Cart Hold? Caster Sizing & Safety Margin
Your cart’s real weight limit is set by whichever is weakest — the frame joints, the plywood shelf, or the casters — and casters are the most common failure point because their rating is printed right on the box, yet often ignored. Add up your expected loaded weight, then size casters above it, not at it.
📊 Caster engineers use the “3-corner rule”: divide your target load by 3 (not 4), then add a 20–30% safety margin — because on an uneven garage or garden surface, one of four wheels is often briefly unloaded, throwing extra weight onto the other three. A 300 lb loaded cart should use casters rated for roughly 130 lb each, not 75 lb each. — Source: CasterHQ, Caster Load Capacity Guide
| Rolling Surface | Recommended Safety Factor | Example (100 lb Load) |
|---|---|---|
| Smooth indoor floor, hand-pushed | 1.5x | 150 lb total caster rating |
| Garage floor with seams or thresholds | 2x | 200 lb total caster rating |
| Uneven yard, gravel, or dock edge | 2.5x | 250 lb total caster rating |
Bore size matters too, especially for garden cart wheels: axle bores commonly come in 5/8″, 3/4″, or 1″ diameters. Measure your existing axle (or your frame’s bracket opening) before ordering replacement or upgrade wheels — a wheel with the wrong bore simply won’t fit, no matter how good its weight rating is.
How to Make Your Own Workshop Utility Cart: A Step-by-Step Guide
Let’s build a simple, sturdy workshop utility cart. This design focuses on ease of construction for beginners using wood.
Step 1: Design and Plan Your Cart
First, sketch out your cart. Decide on the dimensions: height, width, depth, and the spacing between shelves. Consider where it will be used and what you’ll carry. A common size might be around 24 inches wide, 18 inches deep, and 30-36 inches tall, with two or three shelves.
- Height: Comfortable working height.
- Width & Depth: To fit your space and items.
- Shelf Spacing: Enough room for your tools or supplies.
For our example, let’s plan for a 3-shelf cart, approximately 24″ W x 18″ D x 32″ H.
Step 2: Gather Your Materials and Cut Your Wood
Based on your design, measure and cut your lumber. Here’s a basic cut list for a 3-shelf cart (adjust as needed for your dimensions):
- Uprights (Legs): 4 pieces, e.g., 1.5″ x 1.5″ (or 2×2) lumber, 32″ long.
- Shelf Sides: 4 pieces, e.g., 1″ x 4″ lumber, 21″ long (for width between uprights, subtract leg width twice).
- Shelf Front/Back: 4 pieces, e.g., 1″ x 4″ lumber, 15″ long (for depth between uprights, subtract leg width twice).
- Shelf Panels: 3 pieces of ¼” or ½” plywood, cut to fit the assembled shelf frames (e.g., 21″ x 15″).
Tip: Always measure twice and cut once. If you’re new to cutting wood, ask for help at the lumber store – many will cut wood for you for a small fee.
Step 3: Assemble the Shelf Frames
Start by building the rectangular frames for each shelf. Take two “Shelf Side” pieces and two “Shelf Front/Back” pieces. Apply wood glue to the ends where they will join, then screw them together to form a rectangle. Repeat this three more times for the different shelf levels.
If you want the shelf panels to sit on the frame, build the frames first. If you want the panels to fit inside the frame, you might need to route a shallow groove (a dado) or attach small support strips inside the frame for the panel to rest on. For beginners, building the frame and attaching the panel to the top of it is often the easiest.
Step 4: Attach the Uprights (Legs)
Now, attach the uprights to the shelf frames. You can attach them flush to the outside corners of the frames, or set them slightly in. For a simpler build, let’s attach them flush to the outside corners.
Place one shelf frame flat. Position an upright at each corner. Pre-drill pilot holes through the upright and into the frame. Use wood glue and screws to secure them. Make sure the uprights are perfectly perpendicular (straight up and down) to the shelf frame.
Repeat this process for all three shelf frames, ensuring each upright is securely attached to each shelf it passes through.
Step 5: Install the Shelf Panels
Once the uprights are attached to all the shelf frames, lay the cart down on its side. Place the pre-cut plywood shelf panels onto their respective frames. Secure them by screwing through the plywood into the frame below. Ensure the screws are long enough to get a good grip but not so long they poke through the bottom of the frame.
Step 6: Add Casters
This is where your cart becomes mobile! Flip the cart right-side up. Decide where you want to attach the casters. Typically, they are mounted at the very bottom of the uprights, at the outermost corners for the best tip resistance. Ensure the combined weight rating of your casters is sized using the safety-margin math above, not just your cart’s empty weight. Many casters come with a mounting plate with screw holes.
Pre-drill pilot holes for the caster screws. Apply a good amount of wood glue or use sealant if recommended by the caster manufacturer. Screw the casters securely to the bottom of the uprights. If using swivel casters, make sure they are all oriented in a way that allows for easy movement.
Step 7: Finishing Touches
Once everything is assembled and the glue is dry, it’s time for finishing.
- Sand: Smooth out any rough edges or surfaces using sandpaper.
- Clean: Wipe away all sawdust.
- Paint or Seal: Apply paint, stain, or a clear sealant to protect the wood and give your cart a finished look. This is especially important for workshop environments where spills might occur.
Allow the finish to dry completely before loading your new cart!
How to Make a Simple Garden Cart: Building on Rough Terrain
A garden cart needs to be robust and handle uneven ground. Pneumatic tires are often a good choice here.
Step 1: Design Considerations for Garden Carts
Garden carts often benefit from higher sides to contain loose materials like soil. They also need sturdy frames and wheels that can handle dirt, grass, and small bumps. A simple, open-top box design is very effective.
- Frame: Can be wood or metal. Metal is more durable but requires welding or specialized connectors. Wood is easier for beginners.
- Wheels: Pneumatic (air-filled) tires are ideal for shock absorption and easier rolling over bumps.
- Capacity: Think about how much soil, mulch, or plants you typically move.
Step 2: Material Choice for Durability
For a wooden garden cart:
- Wood: Treated lumber (pressure-treated pine or cedar) is recommended for its resistance to moisture and rot.
- Hardware: Galvanized or stainless steel screws and bolts are best to prevent rust.
- Wheels: Look for lawnmower wheels or similar garden cart wheels, often available at hardware or farm supply stores. Brands like Grainger offer durable options.
Step 3: Building the Base and Box
A common approach is to build a sturdy base frame and then attach uprights to form the sides. The box can be made by attaching planks or plywood to the inner sides of the frame.
Example Structure:
- Build a rectangular base frame (e.g., using 2×6 treated lumber).
- Attach four corner posts (e.g., 4×4 treated lumber) to the base frame.
- Attach planks (e.g., 1×6 treated lumber) horizontally to the inner sides of the posts to create the box walls. Leave a gap at the bottom for drainage if needed.
Step 4: Attaching Wheels
Garden carts often have wheels mounted on an axle or directly to the frame. For simpler builds, you can attach wheel brackets to the bottom of the frame that the wheel axles then insert into. Before buying a replacement or upgrade wheel, measure your axle diameter — garden cart wheels commonly use a 5/8″, 3/4″, or 1″ bore, and a wheel with the wrong bore won’t slide onto your axle at all. Ensure the wheels are sturdy enough for the load using the safety-margin math covered above.
Table: Wheel Types for Different Carts
| Cart Type | Recommended Wheel Type | Why? |
|---|---|---|
| Workshop Utility Cart | Swivel Casters (Polyurethane or Rubber Tread) | Easy maneuverability in tight spaces, less vibration, good for hard floors. |
| Heavy-Duty Workshop Cart | Fixed Casters or Larger Swivel Casters (with brakes) | Better load capacity, stability for heavier items. Brakes prevent rolling. |
| Garden/Yard Cart | Pneumatic (Air-Filled) Tires | Absorb shock on uneven terrain, easier to push over grass and dirt. |
| Indoor Storage Cart | Smaller Swivel Casters (Plastic or Rubber) | Lightweight, good for smooth floors, easy to steer. |
Step 5: Weatherproofing
If you used treated lumber, it’s already quite resistant. However, applying a good EXTERIOR grade sealant or paint will add extra protection and improve the look. Pay special attention to end grains, as they absorb the most moisture.
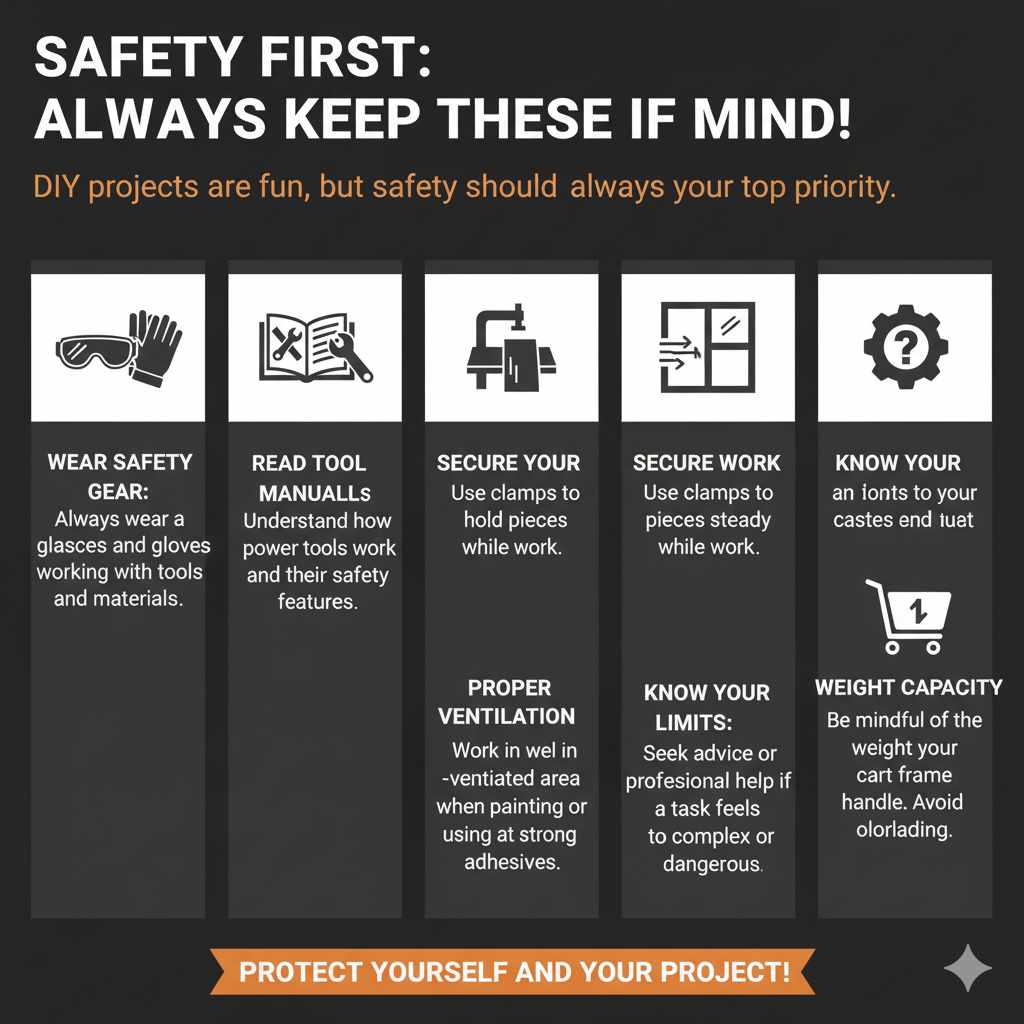
Safety First: Always Keep These in Mind!
DIY projects are fun, but safety should always be your top priority. Working with tools and materials carries inherent risks.
- Wear Safety Gear: Always wear safety glasses when cutting, drilling, or assembling. Gloves are a good idea for handling wood and metal.
- Read Tool Manuals: Especially for power tools, understand how they work and their safety features.
- Secure Your Work: Use clamps to hold pieces steady while you work.
- Proper Ventilation: If you’re painting or using strong adhesives, work in a well-ventilated area.
- Know Your Limits: If a task feels too complex or dangerous, it’s okay to seek advice or professional help.
- Weight Capacity: Be mindful of the weight your casters and cart frame can handle. Overloading can lead to damage or accidents.
Preventing Tip-Overs: How to Keep a DIY Cart Stable
A cart that tips over with a load isn’t just annoying — it can drop tools or heavy materials on your feet. A few frame and loading choices make a bigger difference than the wood species you pick.
- Widen the wheelbase: Mount casters as close to the cart’s overall width as possible — an inset wheelbase makes tipping much easier.
- Use the outermost corners: Casters mounted at the true corners resist tipping far better than casters set in from the edge.
- Brace every joint: A frame that racks side-to-side under load will tip more easily than one with diagonal bracing or corner brackets.
- Load low and centered: Keep the heaviest items on the bottom shelf, centered over the wheelbase, not stacked high on top.
- Add locking casters on slopes: If the cart will ever sit on a driveway incline or ramp, at least two casters should have a locking brake.
Frequently Asked Questions (FAQ) About Making Your Own Carts
What is the easiest type of cart to make for a complete beginner?
A simple, three-shelf utility cart made primarily from wood, with screws and basic joinery, is usually the easiest starting point for beginners. It requires minimal complex cuts and offers clear steps for assembly.
How do I choose the right wheels (casters) for my cart?
Consider the weight you’ll carry and the surface the cart will roll on. For heavy loads or rough surfaces, choose larger, sturdier casters with higher weight ratings. For smooth indoor floors, smaller, lighter-duty casters will suffice. Always size the combined caster rating at least 20-30% above your cart’s maximum loaded weight, not just its empty weight.
Can I use reclaimed wood to build a cart?
Yes, absolutely. Reclaimed wood can be a great, eco-friendly, and cost-effective material. Just ensure the wood is sound, free from excessive rot or insect damage, and that any old nails or screws have been safely removed before cutting.
How much weight can a DIY cart hold?
It depends on your frame material and casters, not just the wood. A 2×4-framed cart with four casters rated 100 lb each can theoretically hold 400 lb, but engineers apply the 3-corner rule for uneven floors: divide your target load by 3, then add a 20-30% safety margin, since one wheel is often unloaded on an uneven surface.
How do I keep a DIY cart from tipping over?
Widen the wheelbase so it’s close to the cart’s overall width, mount casters at the outermost corners rather than inset, and keep heavy items low and centered over the wheels rather than stacked high. On any incline, use casters with locking brakes so the cart can’t roll away while loaded.
With the frame, casters, and stability basics covered, you’re ready to size your materials and start cutting — a weekend afternoon is usually enough for a first workshop cart.