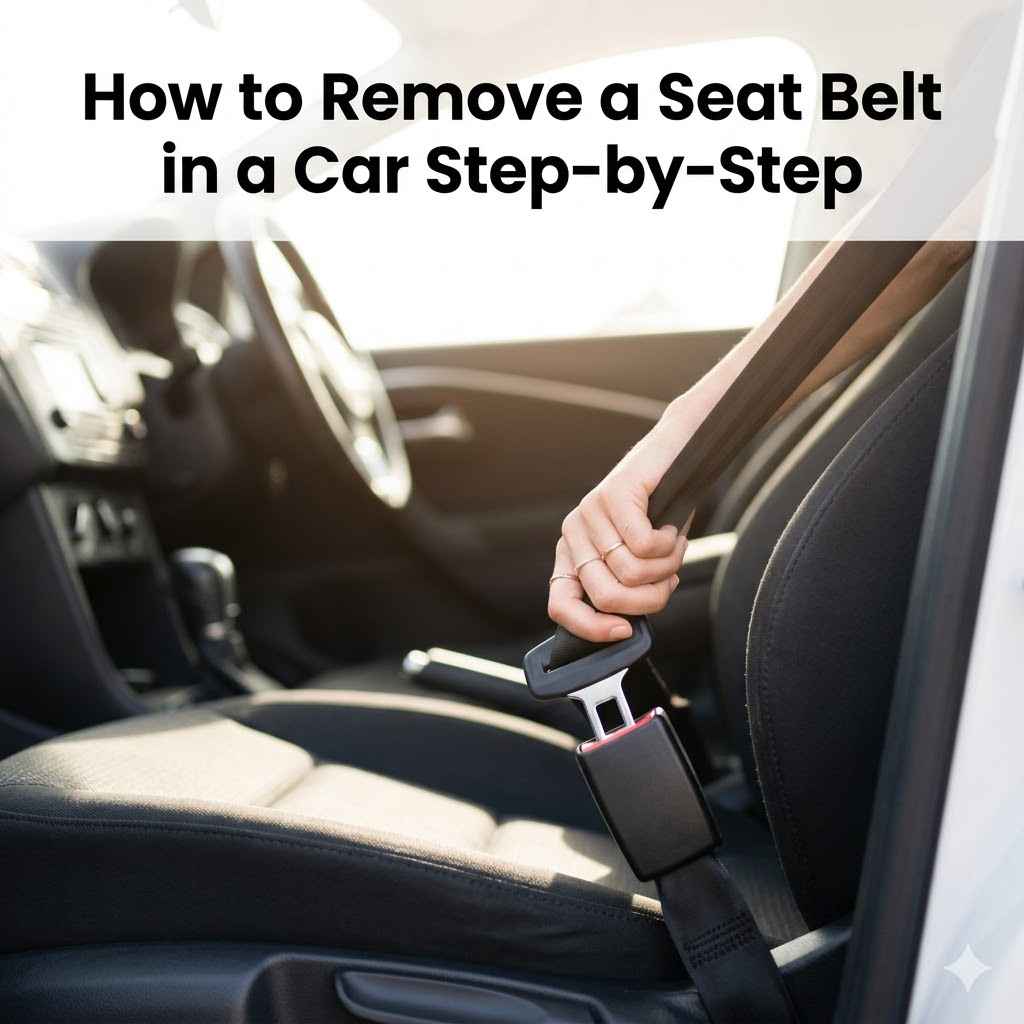
How to Remove a Seat Belt in a Car: Step-by-Step
Sometimes, you might need to know how to remove a seat belt in a car. It’s not something most people do every day, so it can seem a little tricky at first. You might wonder if you’ll break something or if it’s complicated. Don’t worry! This guide will show you exactly how to do it, step-by-step. We’ll make it super simple so anyone can follow along and get the job done without any fuss. Let’s get started.
Learning how to remove a seat belt in a car step-by-step is a useful skill. It might be for a car repair, a vehicle modification, or even just to understand your car better. Seat belts are vital safety devices, but sometimes they need to be taken out temporarily. This section will guide you through the entire process clearly.
Understanding Seat Belt Components
Before you start removing anything, it’s good to know what makes up a seat belt. A typical seat belt system has several key parts. Each part plays a role in keeping you safe. Knowing these will help you understand how to take them apart.
The Retractor Mechanism
The retractor is the part that coils up the seat belt webbing when it’s not in use. It’s usually located near the base of the seat or in the car’s pillar. This mechanism has a spring and a locking system. The spring keeps tension on the belt, and the lock engages if the belt moves too fast or in an accident.
The Buckle and Tongue
The buckle is the part that stays fixed to the car’s body or seat. The tongue is the metal piece attached to the end of the seat belt webbing. When you click the seat belt, the tongue slides into the buckle and locks into place. This connection is what holds you in your seat.
The Anchor Points
Anchor points are where the seat belt system is attached to the car’s frame. There are usually at least three anchor points for a three-point seat belt. These include an anchor for the retractor, an anchor for the shoulder belt, and an anchor for the lap belt. These bolts are critical for the belt’s strength.
The Webbing
This is the actual strap that goes across your body. It’s made of strong nylon material. It’s designed to stretch slightly during a crash to absorb some of the impact force. The webbing is fed through the retractor and attached to the anchor points.

Tools You Will Need
To safely and effectively learn how to remove a seat belt in a car step-by-step, you will need a few basic tools. Having the right tools makes the job much easier and prevents damage to your car.
Basic Hand Tools
You’ll likely need a set of socket wrenches or a wrench set. Seat belt anchor bolts are usually standard sizes, but they can vary between car models. A ratchet with a few different socket sizes is very handy.
Screwdrivers
Some trim pieces around the seat belt anchors might need to be removed to get better access. Phillips head and flathead screwdrivers are commonly used for this. You might also need a trim removal tool to avoid scratching the interior panels.
Safety Gear
Always wear safety glasses to protect your eyes from debris. Gloves can help you get a better grip and protect your hands.
Step-by-Step Guide How to Remove a Seat Belt in a Car
Now, let’s walk through the process. This is a general guide, and the exact steps might differ slightly depending on your car’s make and model. Always refer to your car’s service manual if you have one.
Step 1 Locate All Anchor Points
The first thing you need to do is find where the seat belt is attached to the car. There are usually several anchor points for a three-point seat belt system. Look for bolts that secure the belt to the car’s chassis or frame.
One anchor is usually for the retractor, often found low down near the seat or in the floor well.
Another anchor is for the shoulder belt, typically located on the B-pillar (the pillar between the front and rear doors).
The lap belt anchor is usually on the side of the seat or the vehicle’s floor.
Step 2 Access the Anchor Points
Sometimes, the anchor points are hidden behind plastic trim pieces. You will need to carefully remove these trim pieces to expose the bolts. Use your trim removal tools or a flathead screwdriver gently. Work slowly to avoid cracking or damaging the plastic.
Step 3 Disconnect the Buckle and Tongue
The buckle assembly, where the seat belt clicks in, is usually bolted to the car. Find the bolt holding the buckle in place and remove it. The tongue, the part that inserts into the buckle, is attached to the end of the seat belt webbing. This might have its own anchor bolt or be part of the main webbing assembly.
Step 4 Remove the Retractor Unit
The retractor unit is often secured by one or two bolts. These bolts are usually larger and more robust. Use the correct size socket wrench to loosen and remove these bolts. Be prepared for the seat belt webbing to be under some tension from the spring inside the retractor.
Step 5 Remove the Shoulder Belt Anchor
The shoulder belt is typically anchored at the top of the B-pillar. This anchor point usually involves a bolt that goes through the pillar. Remove this bolt to free the shoulder portion of the seat belt.
Step 6 Free the Seat Belt Webbing
Once all the anchor points are unbolted, you should be able to pull the entire seat belt assembly free from the car. Be careful as you do this, especially with the retractor, as the spring mechanism could cause it to snap back if not handled properly.
Common Challenges and Solutions
When you’re learning how to remove a seat belt in a car step-by-step, you might run into a few common issues. Knowing these can save you time and frustration.
Stuck or Rusted Bolts
Seat belt bolts can sometimes become seized due to rust or corrosion, especially in older cars or those that have been exposed to moisture.
Solution: Apply a penetrating lubricant like WD-40 to the bolts. Let it sit for 15-30 minutes, or even longer, to work its way into the threads. Then, try to loosen the bolt again. You might need to use a breaker bar for extra leverage. If the bolt head is damaged, you might need a bolt extractor.
Tight Trim Panels
Plastic trim can be brittle and difficult to remove without breaking. They are designed to fit snugly.
Solution: Use a dedicated trim removal tool. These are made of plastic and are designed to pry without scratching or damaging your car’s interior. Start at a seam and work your way around the panel, gently applying pressure.
Retractor Spring Tension
The retractor’s spring is under tension and can snap the belt back quickly if released suddenly.
Solution: When removing the retractor bolts, hold the retractor firmly with one hand while unbolting with the other. Once loose, carefully guide the webbing and retractor out. You can temporarily wrap the webbing around the retractor to keep it from fully unwinding while you work.
Different Seat Belt Types
While we’ve focused on the common three-point seat belt, some vehicles have different types, like two-point lap belts or four-point harnesses.
Solution: The basic principle of finding anchor points and unbolting them remains the same. However, the number and location of these points will vary. Always identify all attachment points before you start unscrewing anything.
Why Remove a Seat Belt
There are several valid reasons why someone might need to know how to remove a seat belt in a car step-by-step. It’s not usually done out of convenience, but for specific purposes.
Car Restoration Projects
When restoring a classic car, owners often replace or modify interior components. This can include upgrading or replacing seat belts to meet modern safety standards or to match the car’s new look.
Aftermarket Seat Installation
If you’re installing racing seats, bucket seats, or custom seats in your vehicle, the original seat belt mounts might not align. You may need to remove the factory belts to install new mounting brackets or seat belt harnesses.
Repair or Replacement
Sometimes, a seat belt might become damaged, frayed, or its retractor mechanism might fail. In such cases, the entire unit needs to be removed so it can be
Weight Reduction
In some highly specialized automotive applications, like track cars or drag racing vehicles, every ounce matters. Enthusiasts might remove non-essential safety equipment, including seat belts, to reduce the vehicle’s overall weight. However, this is typically done for specific competitive environments where different safety systems are in place.
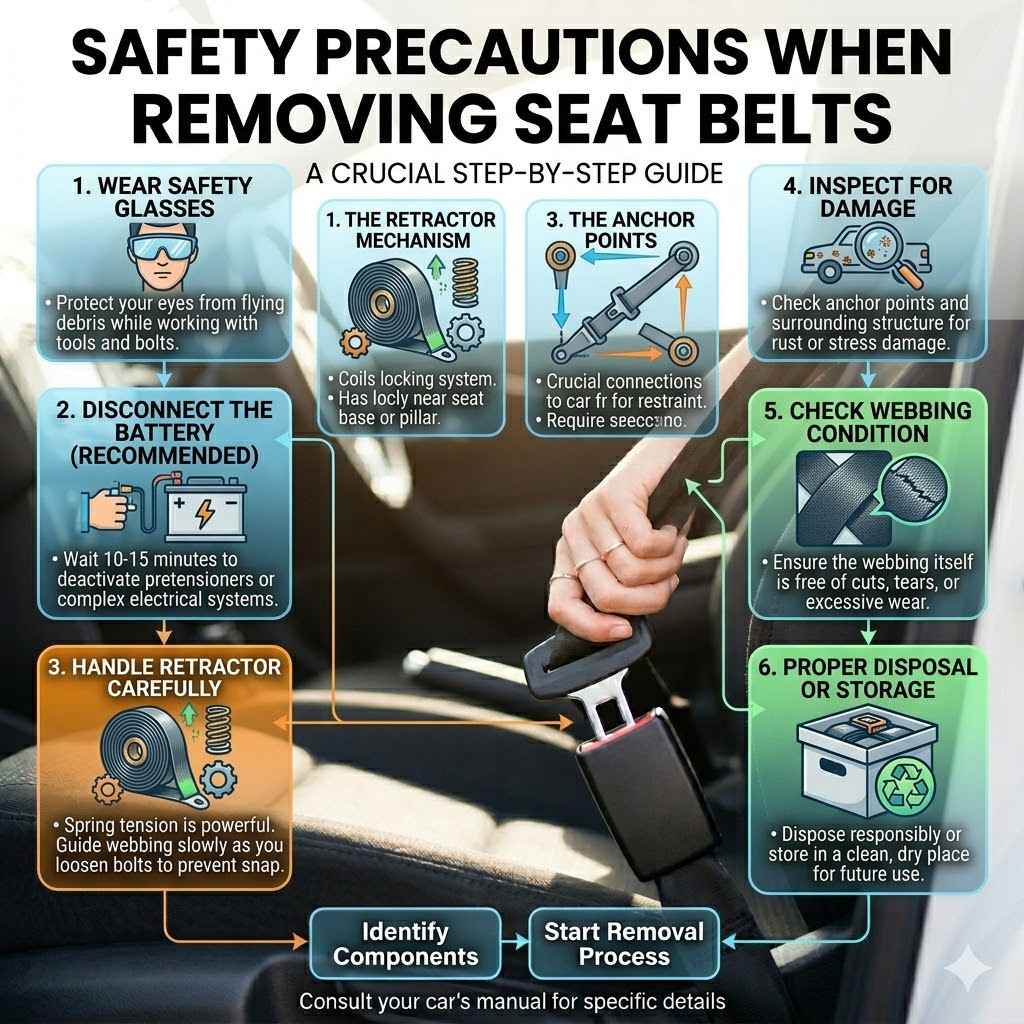
Safety Precautions When Removing Seat Belts
Safety is paramount when working on any part of a vehicle, including seat belts. Understanding how to remove a seat belt in a car step-by-step also means understanding the risks.
Always Wear Safety Glasses
When working with tools, especially when dealing with bolts and trim, there’s a risk of debris flying into your eyes. Safety glasses are essential.
Disconnect the Battery (Optional but Recommended)
For some more complex seat belt systems, particularly those with pretensioners (a device that tightens the belt rapidly in a crash), it is a good idea to disconnect the car’s battery before you start working. This prevents any accidental electrical activation. Wait about 10-15 minutes after disconnecting the battery before proceeding.
Handle the Retractor Carefully
The retractor mechanism contains a spring. If released carelessly, it can cause the belt to snap back, potentially causing injury or damage. Hold onto the retractor and guide the webbing as you loosen the bolts.
Inspect for Damage
While removing the seat belts, take the opportunity to inspect the anchor points and surrounding car structure for any signs of rust or damage. This is also a good time to check the condition of the seat belt webbing itself.
Proper Disposal or Storage
If you are removing seat belts permanently, ensure they are disposed of properly. If you are removing them for later reinstallation or modification, store them in a clean, dry place.
Frequently Asked Questions
Question: What are the main parts of a seat belt system
Answer: A seat belt system typically includes a retractor to coil the belt, a buckle and tongue for fastening, anchor points to attach it to the car, and the webbing itself.
Question: Do I need special tools to remove a seat belt
Answer: You will generally need basic hand tools like socket wrenches and screwdrivers. A trim removal tool is also very helpful for accessing hidden anchor points.
Question: Can I remove a seat belt if it is stuck
Answer: If bolts are stuck due to rust, use penetrating lubricant and allow it time to work. For stubborn bolts, a breaker bar might provide the extra leverage needed.
Question: Is it safe to remove seat belts from my car
Answer: Yes, it is safe as long as you follow proper procedures. Always wear safety glasses and handle the retractor mechanism carefully to avoid injury.
Question: How long does it take to remove a seat belt
Answer: For most common seat belts, the process of learning how to remove a seat belt in a car step-by-step can take anywhere from 30 minutes to an hour, depending on your experience and any complications.
Summary
Learning how to remove a seat belt in a car step-by-step empowers you to handle specific vehicle tasks. You now know how to locate anchor points, use the right tools, and safely detach the various components. Remember to work carefully and always prioritize safety. This knowledge is valuable for car projects and repairs.