How to Detail Your Own Car: Step-by-Step Guide (Cost & Time)
Detailing your own car takes 3-4 hours and costs roughly $30-$50 per session in supplies once you own the basics — versus $158-$278 for a professional full-service detail. The two-bucket wash method, a clay bar pass, and a coat of wax or sealant get you a near-showroom finish without the shop price tag. This guide covers the full tool list, all 10 exterior and interior steps, and the mistakes that ruin a home detail job.
Quick Answer
To detail your own car: rinse and wash it with the two-bucket method, run a clay bar over the paint to lift embedded grime, dry it with microfiber towels, then wax or seal it. Finish with the wheels and tires, glass, and a full interior vacuum and wipe-down. Budget 3-4 hours and about $30-$50 in supplies for a full session.
Why Detailing Your Car Matters
Detailing isn’t just about making your car look good. It’s about protecting your investment. Your car faces dirt, UV rays, bird droppings, and road grime every day. Over time, these can damage the paint, interior, and even mechanical parts. Regular detailing keeps your car in top shape, extends its lifespan, and boosts its resale value. Plus, a clean car feels amazing to drive. I’ve noticed that after a good detailing session, I’m prouder to hop into my car. It’s like giving it a little TLC, and it rewards you with a better driving experience.
When I first started, I thought detailing was just washing and waxing. But it’s so much more. It’s a thorough cleaning and restoration process, inside and out. You’re not just cleaning the surface; you’re reviving every part of your car. Let’s break it down step by step.
What You’ll Need to Get Started
Before you start, gather the right tools and products. Having everything ready makes the process smoother. I learned this the hard way when I had to run to the store mid-detailing! Here’s a list of essentials I use:
| Item | Purpose |
|---|---|
| Two buckets with grit guards | Prevents dirt from scratching the paint during washing. |
| Car wash soap | Gentle soap designed for cars, not dish soap (it strips wax). |
| Microfiber wash mitts | Soft and safe for paint; traps dirt without scratching. |
| Microfiber towels | For drying and polishing without streaks or scratches. |
| Clay bar | Removes contaminants like tar or tree sap from the paint. |
| Car wax or sealant | Protects the paint and adds shine. |
| Tire cleaner | Cleans grime off tires for a polished look. |
| Wheel brush | Reaches into wheel crevices for thorough cleaning. |
| Glass cleaner | Ensures streak-free windows and mirrors. |
| Interior cleaner | Safe for dashboards, leather, or fabric surfaces. |
| Vacuum with attachments | Cleans carpets, seats, and tight spots. |
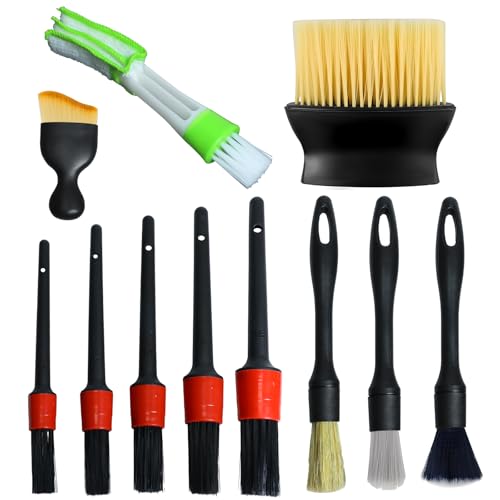
| Brushes for detailing | For scrubbing vents, seams, and hard-to-reach areas. |
| Polishing compound (optional) | Removes light scratches or swirl marks for a smoother finish. |
| Spray bottle with water | For diluting cleaners or wetting surfaces. |
You don’t need the fanciest brands, but quality matters. I started with budget-friendly products and upgraded as I got better. A good tip is to check reviews online for products that work well for your car’s specific needs, like leather or fabric interiors.
Best Car Detailing Kit Pick
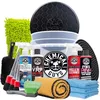
Chemical Guys 17-Piece Car Detailing Kit
A complete interior-and-wheel-cleaning bundle that covers most of the tools list above in one box.
- Best for: first-time detailers who don’t want to buy 14 separate products
- Why we picked it: a trusted detailing brand and covers wash, wheel, and interior steps in one kit
- Main drawback: still doesn’t include a clay bar or wax — buy those separately
Compare more detailing supply options
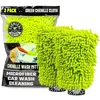 Option 1 Chemical Guys Microfiber Wash Mitt
|
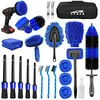 Option 2 26-Piece Detailing Brush Set
|
 Option 3 Chemical Guys Interior Cleaner
|
As an Amazon Associate we earn from qualifying purchases.
Step 1: Pre-Wash and Rinse
The first step is to loosen dirt and grime. I always start by rinsing my car with a hose or pressure washer. This removes loose debris like dust or mud. Make sure to hit the wheels, undercarriage, and lower panels where dirt loves to hide. I once skipped this step and ended up grinding dirt into the paint while washing—big mistake!
“I once skipped the pre-rinse and ended up grinding dirt straight into the paint while washing — that single shortcut left more swirl marks than an entire year of normal driving.”
If your car has caked-on mud or bugs, use a pre-wash foam or spray. Let it sit for a minute to break down the grime. Then rinse thoroughly. This step prevents scratches later when you’re scrubbing with a mitt. Be patient here; rushing can cause more work down the line.
📊 A garden hose without a shutoff nozzle can use 80-140 gallons of water on a single car — versus just 9-15 gallons at a professional car wash. — Source: EPA, Best Management Practices for Vehicle Maintenance and Washing, 2023
Using a trigger nozzle that shuts the water off while you scrub — instead of letting the hose run continuously — cuts that water use dramatically and keeps soapy runoff from washing straight into a storm drain. Washing on grass or gravel instead of pavement lets the ground filter some of that runoff before it reaches a drain.
Step 2: Washing the Car
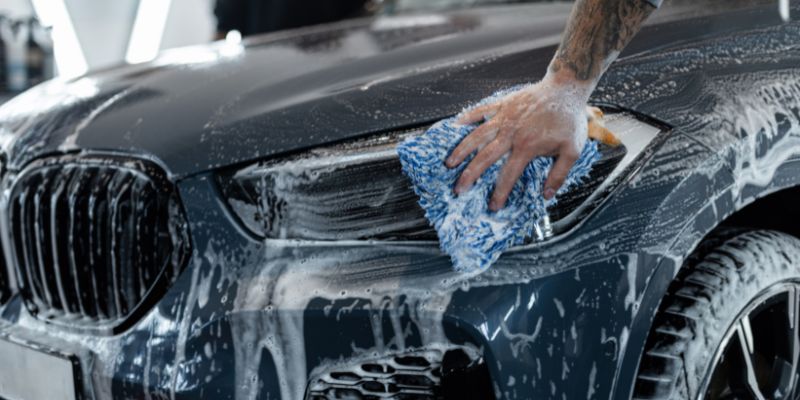
Now it’s time to wash. I use the two-bucket method to keep things safe. One bucket has car wash soap mixed with water, and the other has plain water for rinsing the mitt. The grit guards in both buckets trap dirt, so it doesn’t get back on your car. Dip your microfiber mitt in the soapy water, wash a small section (like half the hood), and rinse the mitt in the clean water bucket before dipping it back in the soap.
Start from the top and work your way down. This way, dirt flows downward, and you’re not spreading grime to already-clean areas. I like to divide the car into sections: hood, roof, sides, and lower panels. Wheels come last since they’re the dirtiest. Use a separate mitt or brush for the wheels to avoid cross-contamination.
Should You Clean Wheels Before or After Washing the Body?
Most professional detailers actually clean wheels first, before touching the paint — because brake dust contains iron particles that can sling onto a freshly washed panel and bond to the clear coat. This guide’s Step 7 treats wheels as their own deep-clean stage later on, which works fine as long as you follow one rule: never use the same mitt, brush, or bucket water on your wheels that you use on the paint. If you want the safer order, do a quick wheel rinse and scrub before you start on the body, then come back for the full tire-dressing treatment in Step 7.
Don’t use dish soap or household cleaners. They’re too harsh and can strip wax or damage the paint. I made that mistake once, and my car looked dull afterward. Stick to car-specific soap for a safe, shiny finish.
Step 3: Clay Bar Treatment
After washing, your car might feel smooth, but there’s often invisible grime stuck to the paint. That’s where a clay bar comes in. It’s like exfoliating your car’s skin! I was amazed the first time I used one. The paint felt like glass afterward.
Spray a lubricant (like a quick detailer or soapy water) on a small section of the car. Rub the clay bar gently over the surface in straight lines. You’ll hear a slight gritty sound if there’s contamination. Keep folding the clay to expose a clean side. Work in small sections and wipe off any residue with a microfiber towel. This step removes tree sap, tar, or tiny particles that washing misses. It’s a game-changer for a smooth finish.
Step 4: Drying the Car
Drying is just as important as washing. If you let your car air-dry, you’ll get water spots that ruin the look. I use microfiber drying towels because they’re super absorbent and won’t scratch. Start from the top and work down, gently patting or dragging the towel across the surface. For tight spots, like around mirrors, use a smaller towel.
If you have a leaf blower or air compressor, you can blow water out of crevices like side mirrors or grilles. I tried this once, and it saved me time. Just be careful not to blast dirt back onto the car.
Step 5: Polishing (Optional)
If your car has light scratches or swirl marks, polishing can help. I only do this every few months because it removes a tiny layer of clear coat. Use a polishing compound and a foam applicator pad. Work in small sections, applying the compound in circular motions. Wipe it off with a clean microfiber towel.
The first time I polished my car, I was nervous about doing it wrong. But with a little practice, I got the hang of it. If your car’s paint is in good shape, you can skip this step. It’s more for older cars or ones with visible imperfections.
Step 6: Waxing or Sealing
Waxing or applying a sealant protects your car’s paint and gives it that glossy shine. I love this step because it’s so rewarding. Apply a small amount of wax to an applicator pad and work it into the paint in circular motions. Let it haze (usually 5-10 minutes), then buff it off with a clean microfiber towel.
I prefer synthetic sealants because they last longer than traditional wax—sometimes up to six months! But carnauba wax gives a warmer, deeper shine. Choose based on what matters to you: longevity or looks. Work in small sections to avoid letting the wax dry too long, which makes it harder to buff off.
Step 7: Cleaning the Wheels and Tires
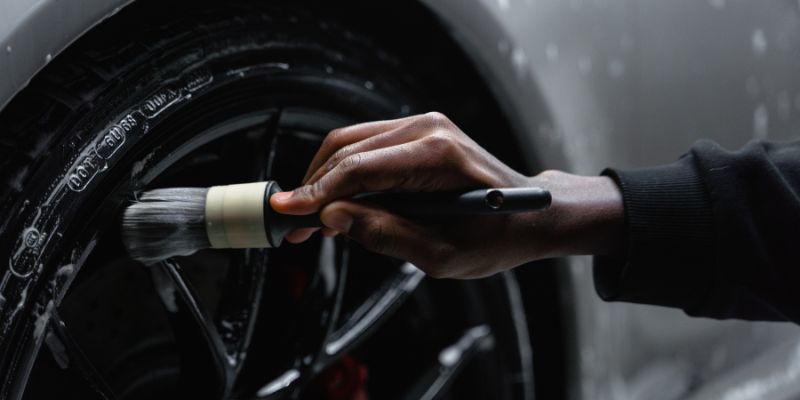
Wheels and tires can make or break your car’s appearance. Dirty wheels look terrible, even on a clean car. I start by spraying a wheel cleaner and letting it sit for a minute to loosen brake dust and grime. Then, I scrub with a wheel brush, getting into the spokes and crevices. Rinse thoroughly and dry with a microfiber towel.
For tires, use a tire cleaner or all-purpose cleaner. Scrub with a stiff brush to remove dirt and road grime. After rinsing, apply a tire dressing for that shiny, black look. I love how this makes the tires pop. Just don’t overdo the dressing—it can sling onto your paint when driving.
Step 8: Cleaning the Glass
Clean windows are a must for safety and looks. I use a car-specific glass cleaner and a microfiber towel. Spray the cleaner and wipe in straight lines, not circles, to avoid streaks. Do the inside and outside of all windows, including the windshield and mirrors. For stubborn spots, like water marks, a little vinegar diluted with water works wonders.
I always clean the glass last because other steps, like waxing, can leave residue on the windows. It’s a small detail, but it makes a big difference when you’re driving at night or in the rain.
Step 9: Interior Cleaning
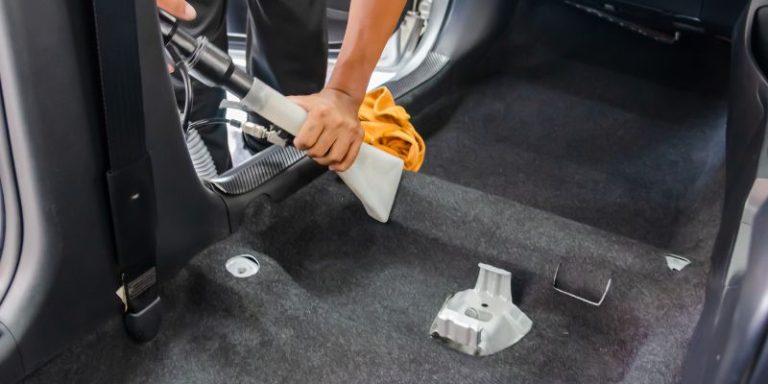
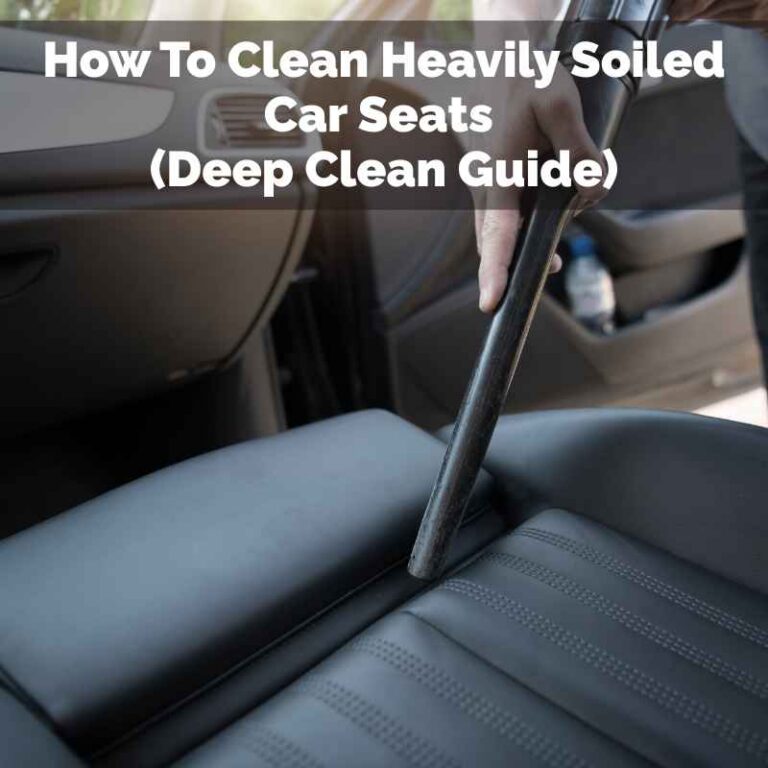
Now, let’s move inside. A clean interior feels just as good as a shiny exterior. Start by removing trash, mats, and any loose items. I like to shake out the mats and vacuum them separately. Use a vacuum with a crevice attachment to get into tight spots like between seats or around the console.
For the dashboard, console, and door panels, use an all-purpose cleaner safe for your car’s materials (leather, plastic, or vinyl). Spray the cleaner onto a microfiber towel, not directly on the surface, to avoid overspray. Wipe gently, and use a soft brush for vents or textured areas. If you have leather seats, use a dedicated leather cleaner and conditioner to keep them soft and crack-free.
For fabric seats or carpets, a carpet cleaner or upholstery shampoo works well. Spray it on, scrub with a brush, and blot with a towel. I once had a coffee stain on my seat, and this method saved me! If stains are stubborn, let the cleaner sit for a few minutes before scrubbing. This section covers the basics — for a full interior-only walkthrough with tool-by-tool costs and timing, see our DIY car interior detailing guide.
Step 10: Final Touches
You’re almost done! Walk around your car and check for missed spots. I sometimes find a bit of wax residue or a streak on the glass. Fix these with a quick wipe. If you want to go the extra mile, apply a quick detailer spray for added shine or clean the exhaust tips with a metal polish.
Step back and admire your work. Your car should look and feel amazing. I always feel a sense of pride when I finish detailing. It’s like giving my car a new lease on life.
Tips for Maintaining Your Car’s Shine
Detailing takes effort, but maintaining that shine is easier. I wash my car every two weeks to prevent dirt buildup. A quick detailer spray between washes keeps the paint glossy. Park in the shade when possible to protect against UV rays. And don’t skip the wax or sealant—it’s your car’s armor against the elements.
If you live in a dusty area or near the coast, rinse your car more often to remove salt or dirt. I learned this living near the beach; salt is brutal on paint! Also, keep a microfiber towel and quick detailer in your trunk for quick touch-ups.
DIY vs. Professional Detailing: Cost and Time Compared
Detailing your own car is cheaper per session once you own the tools, but it costs you time that a professional detail doesn’t. Here’s how the two options actually compare:
| Option | Typical Cost | Time Required | Best For |
|---|---|---|---|
| DIY (after initial kit) | $30-$50 per session in supplies | 3-4 hours | Drivers who detail often and don’t mind the time |
| DIY (first-time kit purchase) | $60-$150 one-time, then $30-$50 per session | 3-4 hours, plus setup time | Beginners building a permanent kit |
| Basic professional detail | $100-$150 (national average around $158) | 0 hours of your own time | Quick refresh, tight schedule |
| Full-service professional detail | $200-$300 (national average around $278) | 0 hours of your own time | Deep correction, resale prep |
If you value your time at even $20-$25 an hour, a 3-4 hour DIY session has a real cost of $60-$100 in time on top of supplies — which narrows the gap with a basic professional detail. DIY still wins on cost if you detail more than a couple of times a year, since the tools are reusable for 5-8 sessions or more.
Common Mistakes to Avoid
I’ve made plenty of mistakes while learning to detail. Don’t wash in direct sunlight—it causes water spots. Don’t use old, dirty towels; they can scratch the paint. And never skip the rinse before washing—you’ll grind dirt into the surface. Don’t wash your wheels with the same mitt you use on the paint — that’s the fastest way to put swirl marks in a fresh wax job. Take your time, and your car will thank you.
Conclusion
Detailing your own car is a rewarding experience. It saves money, protects your vehicle, and gives you a sense of accomplishment. I love seeing my car gleam like it just rolled off the lot. With the right tools, a little patience, and this guide, you can achieve professional results at home. So grab your buckets and give your car the pampering it deserves — you’ll be amazed at the difference.
Frequently Asked Questions
How often should I detail my car?
I detail my car every 3-4 months for a full deep clean. In between, I do a quick wash every two weeks and apply a quick detailer to maintain the shine. If you drive a lot or live in a harsh climate, you might need to detail more often.
Can I use household cleaners to detail my car?
I wouldn’t recommend it. Household cleaners like dish soap or all-purpose sprays can be too harsh. They strip wax or damage surfaces. Stick to car-specific products. They’re designed to be safe and effective.
How long does it take to detail a car?
For a thorough detail, I spend about 3-4 hours. It depends on your car’s size and condition. If you’re just washing and waxing, it might take 1-2 hours. Take your time to do it right.
Do I need a pressure washer to detail my car?
A pressure washer is nice but not necessary. I started with a regular garden hose, and it worked fine. A pressure washer makes rinsing easier, especially for wheels and undercarriages, but you can get great results without one.
What’s the difference between wax and sealant?
Wax, like carnauba, gives a warm, glossy shine but lasts about 1-2 months. Sealants are synthetic and last longer—up to 6 months. I use sealants for durability, but wax if I want that extra glow. It’s your call!
Should I clean my wheels before or after washing the car body?
Most detailers recommend cleaning wheels first, since brake dust and iron particles can splash onto freshly washed paint and bond to the clear coat. If you follow this guide’s order and clean wheels in Step 7 instead, just use a separate mitt, brush, and bucket for the wheels so you never cross-contaminate the tools you use on the paint.
How much does it cost to detail your own car?
Budget $60-$150 upfront for a starter kit (soap, mitts, clay bar, wax, interior cleaner), then about $30-$50 per session after that since most supplies last 5-8 details. That compares to $100-$150 for a basic professional detail or $200-$300 for a full-service detail.
Products related to this article
Sponsored / affiliate links. As an Amazon Associate I earn from qualifying purchases. I may earn additional commission from eligible campaigns.