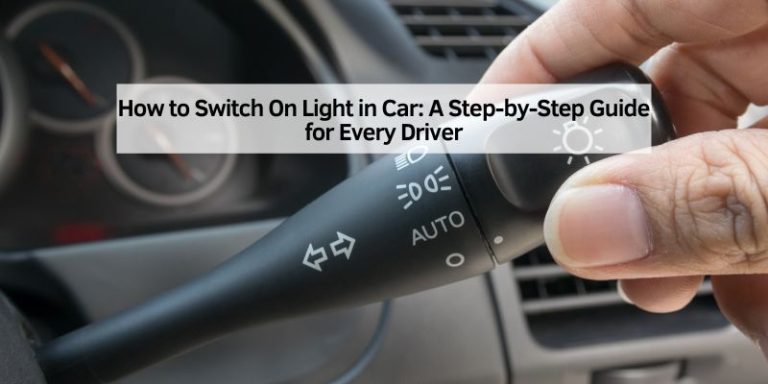
How to Remove Clear Coat from Car: Easy Steps for a Smooth Finish
Have you noticed your car’s clear coat looking dull, peeling, or damaged? Removing the clear coat might be the solution to restore your car’s shine or prepare it for a fresh paint job.
But how do you do it without harming the paint underneath? If you want a smooth, flawless finish, you need the right steps and tools. In this guide, you’ll learn exactly how to remove clear coat from your car safely and effectively.
Keep reading, and you’ll discover simple tips that can save you time, money, and frustration. Your car deserves the best care, and you’re just a few steps away from making it look brand new again.
Reasons To Remove Clear Coat
Clear coat protects your car’s paint and keeps it shiny. Over time, this layer can wear out or get damaged. Removing the clear coat becomes necessary to fix these problems. Doing this helps prepare your car for a fresh coat or a full repaint. It also improves the look and value of your vehicle.
Signs Of Clear Coat Damage
Clear coat damage shows in many ways. Fading or dull areas appear on the surface. You may notice peeling or flaking paint. Scratches that don’t go through the paint often mean clear coat damage. Cloudy or hazy spots also signal trouble. These signs reduce your car’s shine and protection.
When To Strip The Clear Coat
Strip the clear coat if damage covers a large area. Peeling or bubbling clear coat needs removal. If polishing or waxing does not restore shine, stripping is best. Before repainting, remove the old clear coat. This ensures the new paint sticks well and lasts longer.
Tools And Materials Needed
Removing the clear coat from a car requires specific tools and materials. Having the right supplies makes the process smoother and safer. Preparation helps avoid damage to your car’s paint and finish.
Essential Supplies
Start with a clear coat remover or paint stripper. Choose one made for automotive use to protect the base paint. You will also need fine-grit sandpaper, around 800 to 1500 grit. This helps smooth the surface after removing the clear coat. Use soft microfiber cloths for cleaning and wiping off residue. A plastic scraper can gently lift off the clear coat without scratching the car. Have a bucket of clean water and car soap ready for washing the area before and after removal.
Safety Gear
Protect yourself during the process. Wear chemical-resistant gloves to avoid skin contact with removers. Use safety goggles to shield your eyes from splashes. A mask or respirator helps prevent inhaling fumes from chemicals. Work in a well-ventilated area to reduce exposure to harmful vapors. Dress in long sleeves and pants for extra skin protection.
Preparing The Car Surface
Preparing the car surface is the first step before removing the clear coat. It ensures the process goes smoothly and protects the car’s paint. Taking time to prepare helps avoid damage and gives better results.
Start by making the surface clean and free of dirt. Then protect areas that should not be touched during the process. These simple steps make the job safer and easier.
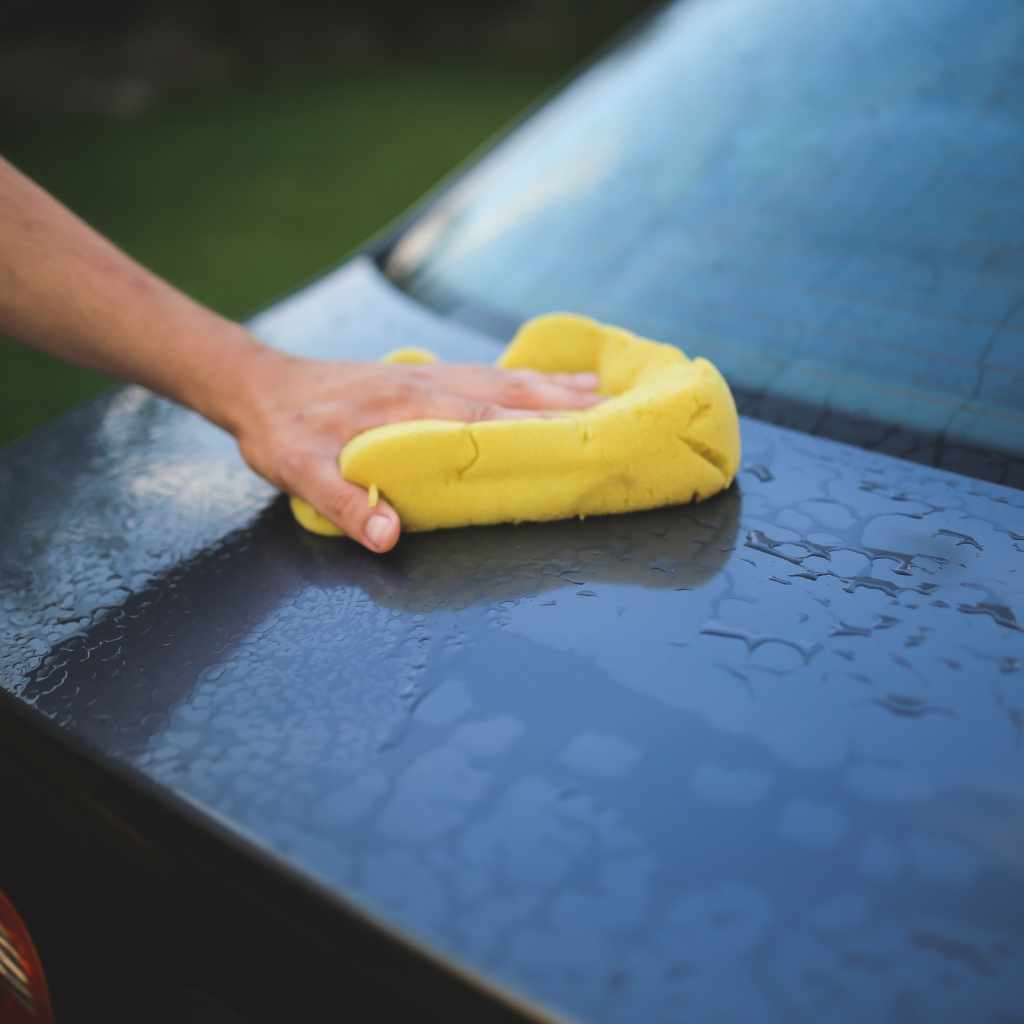
Cleaning The Area
Begin by washing the car with soap and water. Use a soft cloth or sponge to remove dirt and grime. Rinse well and dry the surface completely. Dirt can cause scratches if not cleaned properly.
After washing, wipe the area with a wax and grease remover. This removes oils and residues that soap misses. Make sure to use a clean cloth for this step. A clean surface helps the clear coat remover work better.
Masking Surrounding Parts
Cover areas next to the clear coat with masking tape and paper. Protect trim, glass, and other paint sections. This prevents accidental damage from chemicals or sanding.
Apply the tape carefully and press it down firmly. Check that no gaps exist where liquid can seep through. Good masking saves time and protects your car’s look.
Methods To Remove Clear Coat
Removing the clear coat from a car requires careful methods to avoid damaging the paint underneath. Different approaches work better for various situations. Choosing the right method depends on your tools, skill level, and the condition of the clear coat. Below are three common and effective ways to remove clear coat.
Sanding Techniques
Sanding is a hands-on method to remove clear coat. Use fine-grit sandpaper, such as 1500 to 2000 grit. Start gently to avoid scratching the paint layer. Sand in a circular motion to blend the edges smoothly. Wet sanding helps reduce dust and heat, protecting the surface. This method requires patience and steady hands.
Chemical Strippers
Chemical strippers dissolve the clear coat without sanding. Apply the stripper evenly on the surface with a brush. Let it sit for the time stated on the product label. The clear coat will bubble or soften. Use a plastic scraper to lift the clear coat off. Wear gloves and work in a ventilated area for safety.
Using A Polisher
A polisher with a cutting compound can remove thin clear coat layers. Attach a foam or wool pad to the polisher. Apply the compound and work in small sections. The machine buffs away the clear coat and smooths the paint. This method is faster but needs control to avoid burning the paint.
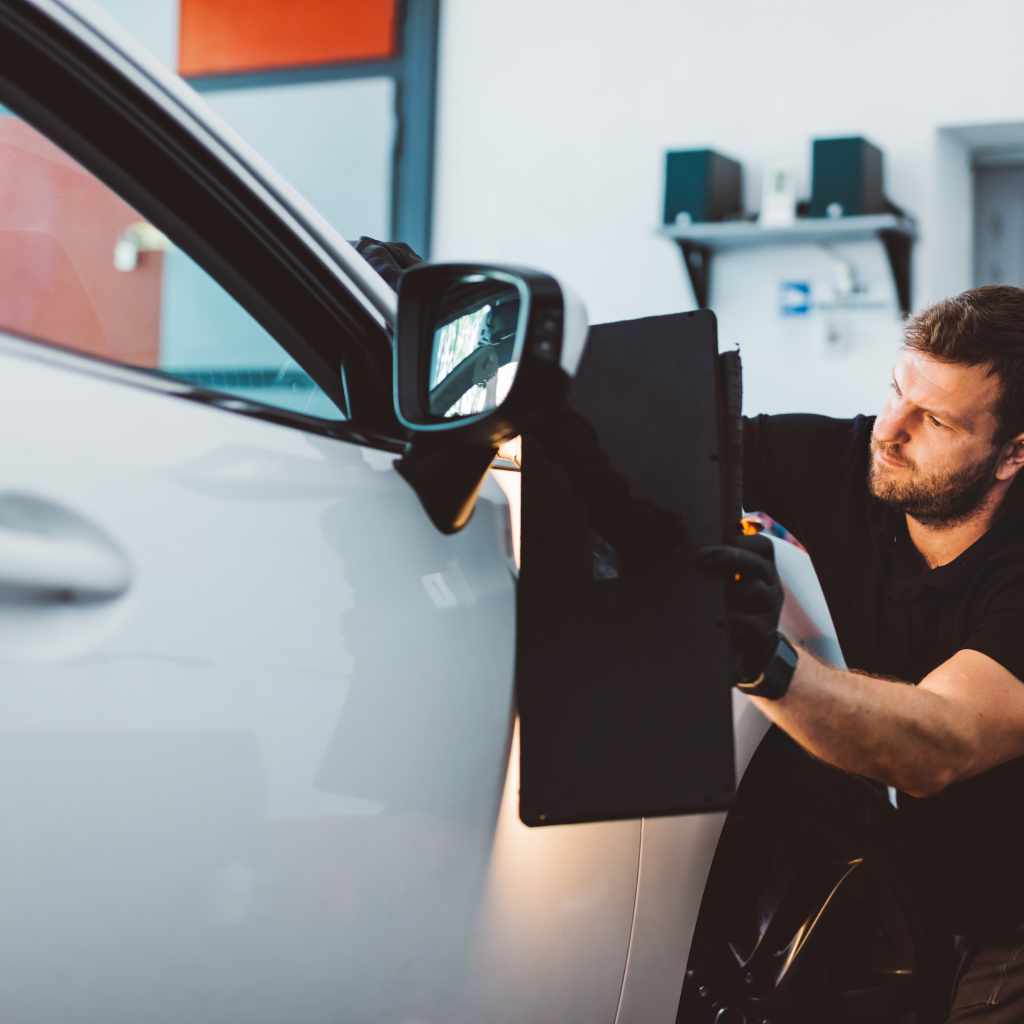
Step-by-step Removal Process
Removing the clear coat from your car can improve its look or prepare it for a new finish. Follow these simple steps to do it safely. This guide helps you handle the process with care and precision.
Applying The Chosen Method
First, select a removal method. Common options include sanding, chemical strippers, or polishing compounds. Wear gloves and a mask for protection. If sanding, use fine-grit sandpaper and move in small circles. For chemicals, apply evenly with a cloth and wait as directed. Avoid rushing this step to prevent damage.
Checking Progress
Stop frequently to check the surface. Look for dull or rough patches where the clear coat is gone. Run your hand gently to feel the texture. The paint beneath should start to show through. Adjust your method if the clear coat is not removing evenly. Patience ensures a smooth finish.
Final Surface Preparation
Once the clear coat is removed, clean the area with a damp cloth. Remove all dust and residue. Let the surface dry completely. Lightly sand with very fine grit to smooth rough spots. This step readies the paint for sealing or repainting. Proper preparation helps the new layer stick well.
Tips For A Smooth Finish
Getting a smooth finish after removing the clear coat is very important. A rough surface can ruin your car’s look. Small mistakes can damage the paint underneath. Care and the right tools make the job easier. Follow these tips to get the best results.
Avoiding Damage To Base Paint
Clear coat removal can harm the base paint if done carelessly. Always check the surface often while working. Use gentle pressure to protect the paint below. Avoid deep sanding that can cut through the paint. Keep the work area clean to stop dust from scratching.
Proper Sanding Grits
Choosing the right sanding grit is key. Start with a coarse grit to remove clear coat fast. Then, switch to finer grits to smooth the surface. Use 600 grit sandpaper for initial sanding. Follow with 1500 or 2000 grit for finishing. Sand evenly to avoid uneven spots or scratches.
Using Finishing Compounds
Finishing compounds help restore shine after sanding. Apply a small amount on a soft cloth. Rub gently in a circular motion over the surface. This removes fine scratches and smooths rough areas. Finish by wiping the area clean with a microfiber cloth. Use compounds designed for automotive paint for best results.
Post-removal Care
After removing the clear coat from your car, proper care is very important. This step helps keep your car’s paint safe and looking good. Post-removal care stops damage and prepares the surface for new protection. It involves cleaning off any leftover materials and shielding the paint from harm.
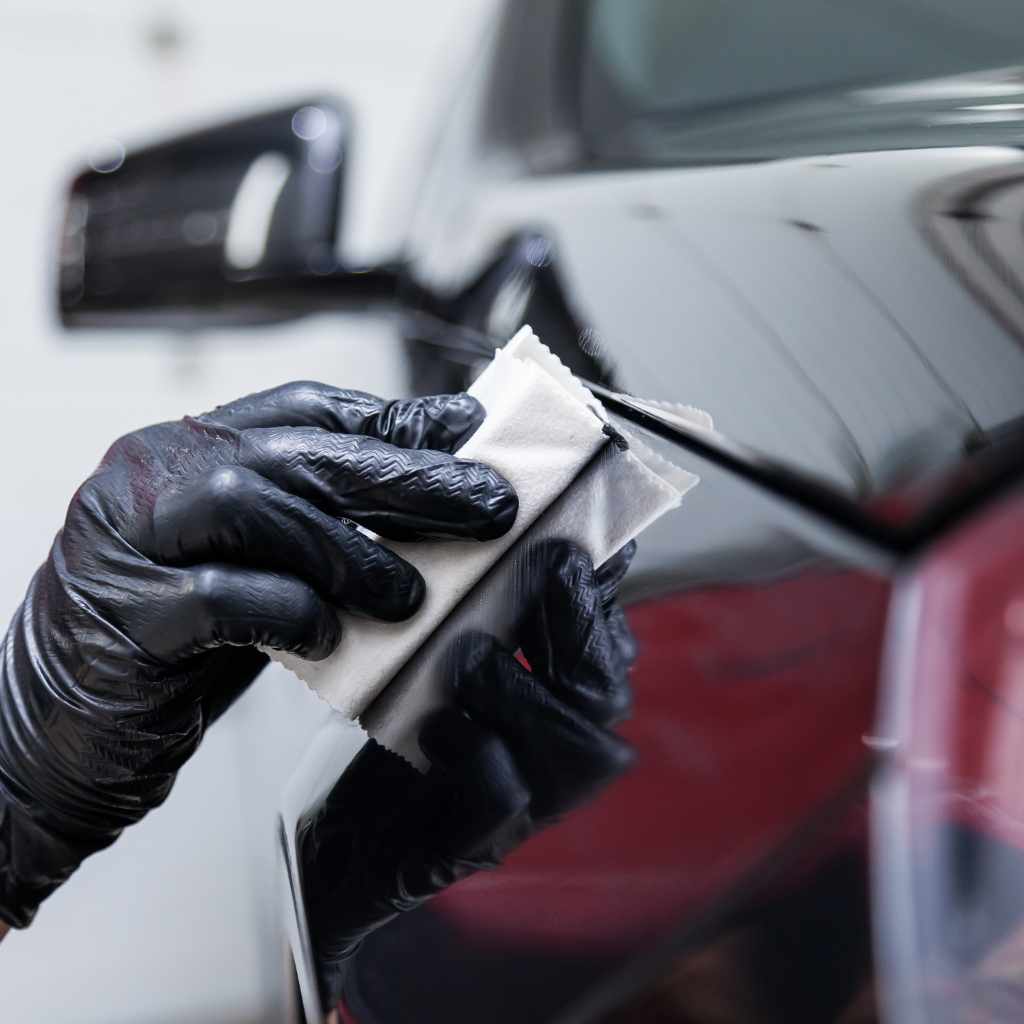
Cleaning Residue
Clear coat removal leaves behind dust and chemicals. Use a soft cloth and gentle cleaner to wipe the surface. Avoid harsh chemicals that can hurt the bare paint. Clean slowly and carefully to remove all residue. This makes the surface ready for the next steps.
Protecting The Bare Paint
Without clear coat, paint is open to damage. Apply a high-quality paint sealant or wax soon after cleaning. These products create a barrier against dirt and moisture. Use a soft applicator and spread evenly over the surface. This protection keeps your car’s paint safe and shiny longer.
Frequently Asked Questions
How Do You Safely Remove Clear Coat From A Car?
Use fine-grit sandpaper or a chemical clear coat remover. Always wear protective gear and work in a ventilated area. Test on a small spot first to avoid damage. Follow with polishing to restore smoothness and shine.
What Tools Are Best For Clear Coat Removal?
Fine-grit sandpaper, chemical clear coat removers, microfiber cloths, and polishers are best. Power sanders can be used but require skill. Proper tools ensure even removal without damaging the paint underneath.
How Long Does Clear Coat Removal Usually Take?
Clear coat removal can take from 30 minutes to several hours. The time depends on the method used and the area size. Chemical removers work faster, while sanding requires more patience and precision.
Can I Remove Clear Coat Without Damaging The Paint?
Yes, with careful sanding or the right chemical remover, you can. Always test in an inconspicuous area first. Work slowly and evenly to avoid sanding through the paint layer.
Conclusion
Removing clear coat from a car takes patience and care. Use the right tools and products for best results. Work in small sections and follow safety steps closely. Avoid rushing to protect your car’s paint underneath. With the right approach, you can restore your car’s surface smoothly.
Keep practicing, and your skills will improve over time. This process helps keep your car looking fresh and well-maintained. Try to stay calm and focused throughout the job. The effort you put in will show in the final finish.