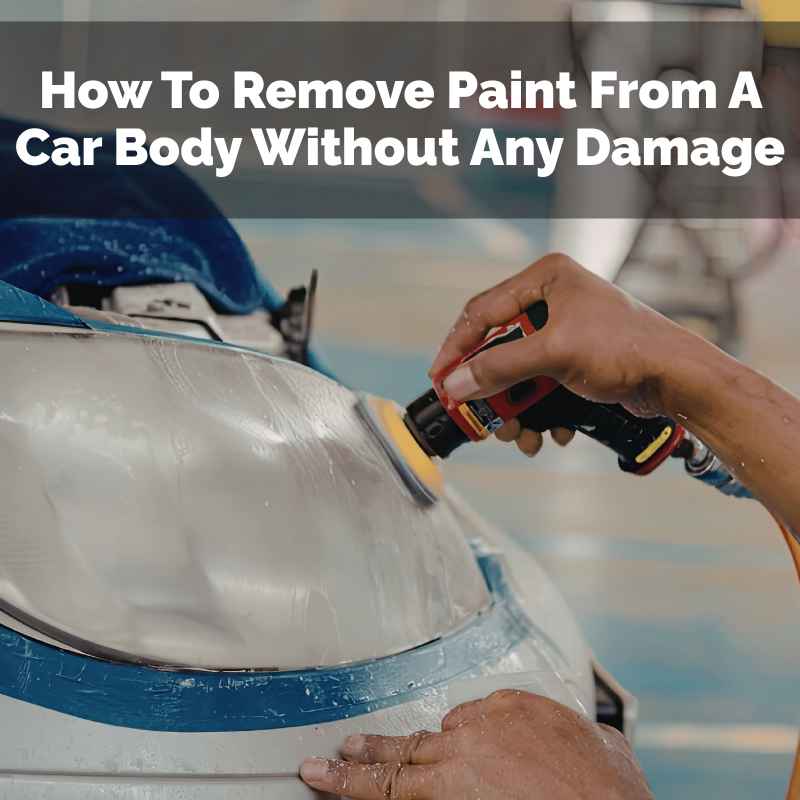
How To Remove Paint From A Car Body Without Any Damage
But it doesn’t have to be. With the right approach and a bit of care, you can tackle paint removal from your car’s body. You can get it looking just right again.
This guide will walk you through it, step by step. We’ll cover what you need and how to do it safely. You’ll learn the best ways to get paint off without causing harm.
Safely removing paint from a car body involves choosing the right method for the type of paint you’re dealing with and the surface. Gentle, controlled approaches are key to avoiding scratches, etching, or damage to the underlying metal or primer. Always test in an inconspicuous area first.
Understanding Paint Layers on Your Car
Cars have layers of paint. This helps them look good and protects the metal. The first layer is usually a primer.
This helps the paint stick. Then comes the base coat. This is the color you see.
On top of that is a clear coat. This shiny layer protects the color.
Knowing these layers helps. It tells you how deep you need to go. It also tells you what you are working with.
Sometimes, you only need to remove the top paint. Other times, you might need to go deeper.
Why Would You Need to Remove Car Paint?
People remove car paint for many reasons. Maybe you have an old scratch. Or a ding that needs fixing.
Sometimes, you want to repaint the whole car. You might have a rust spot. Or maybe you bought a car with a bad paint job.
Another common reason is removing old stickers. Or old vinyl wraps. These can leave sticky residue.
Or damage the paint underneath. Sometimes, graffiti can get on a car. You need to remove that too.
All these jobs need careful paint removal.
Choosing the Right Paint Removal Method
There are several ways to remove paint. Not all are good for cars. Some are too harsh.
They can damage the car’s metal. Others are too weak. They won’t remove the paint.
We need methods that are effective yet gentle.
The best method depends on the job. Are you removing a small spot? Or the whole car?
What kind of paint are you removing? Is it old, chipped paint? Or new, factory paint?
Experience: The Time I Learned About Gentle Removal
I remember one late afternoon. I was trying to fix a small scuff on my old pickup truck. It was just a little mark from a shopping cart.
I thought, “Easy fix!” I grabbed a common paint stripper I had from a furniture project. I thought it would be quick and simple.
I slathered it on. Within minutes, it was bubbling. Good, I thought.
Then I wiped it. My heart sank. It had taken off not just the scuff paint, but also the clear coat and the base color around it.
It left a dull, splotchy patch. I felt a wave of panic mixed with annoyance. That day, I learned a hard lesson about using the wrong tools for the job.
Different Paint Types and Their Removal Needs
Factory Paint: This is tough and layered. It needs careful handling. Often, you’ll remove clear coat first.
Then base coat. Be aware of primer underneath.
Aftermarket Paint: This can vary a lot. Quality differs. Some layers might be thinner.
Some removers might work faster.
Touch-up Paint: This is often thick and uneven. It can be scraped or sanded carefully.
Two-Part Paints: These are very durable. They might need stronger chemical strippers or longer dwell times.
Method 1: Chemical Paint Strippers
Chemical strippers are common. They work by breaking down the paint’s chemical bonds. This makes it easier to wipe or scrape off.
There are different types. Some are strong. Others are milder.
For car paint, you need specific automotive paint removers. These are often less harsh than industrial ones. Always follow the product instructions.
Wear gloves and eye protection. Work in a well-ventilated area.
How to Use Chemical Strippers Safely
First, clean the car’s surface. Make sure it’s free of dirt and grease. Apply a thick, even coat of the stripper.
Let it sit for the time recommended on the can. You’ll see the paint bubble or wrinkle.
Use a plastic scraper or putty knife. Gently lift the softened paint. Avoid digging into the metal.
For stubborn spots, you might need a second coat. Rinse the area thoroughly. Use water and a mild soap.
This removes all stripper residue.
Quick Scan: Chemical Stripper Do’s and Don’ts
- Do: Read and follow label directions.
- Do: Wear safety glasses and chemical-resistant gloves.
- Do: Work in a well-ventilated space, like outdoors.
- Do: Test on a small, hidden spot first.
- Do: Use plastic scrapers to avoid scratching.
- Don’t: Use on hot surfaces or in direct sun.
- Don’t: Let stripper dry on the surface.
- Don’t: Mix different chemical products.
- Don’t: Ignore fumes; ensure good airflow.
Method 2: Mechanical Removal (Sanding and Grinding)
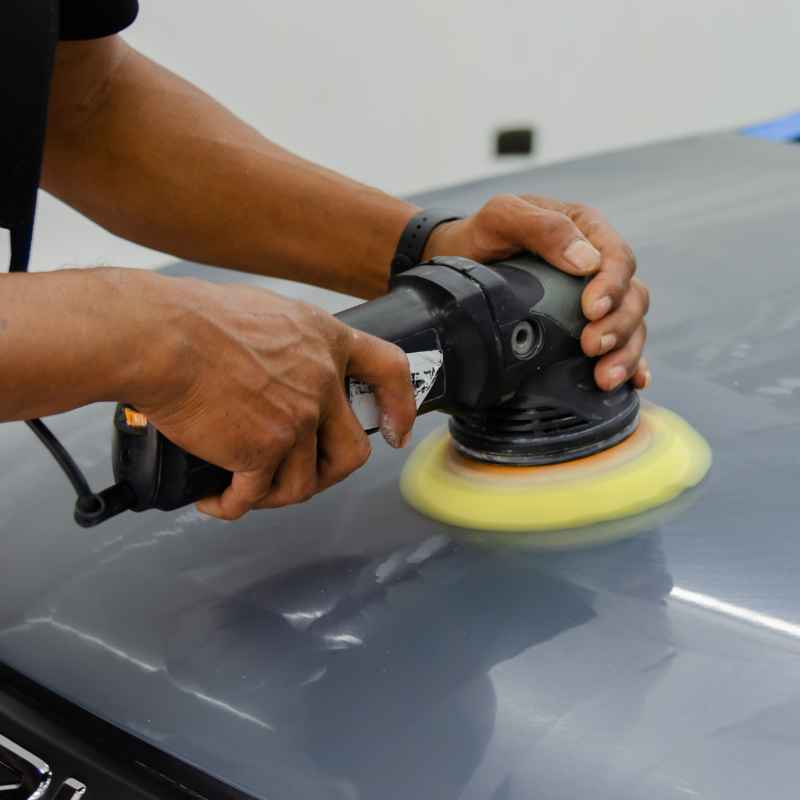
Sanding is another way to remove paint. It uses abrasive materials. These wear away the paint layer by layer.
You can use sandpaper by hand. Or you can use power tools.
Power sanders are faster. But they are also riskier. You can easily sand too deep.
This can damage the metal. Or create an uneven surface. Grinding is even more aggressive.
It’s usually for heavy rust or thick coatings.
When to Use Sanding
Sanding is best when you know the paint layers well. Or when chemicals aren’t working. For small spots, a coarse grit sandpaper might work.
Start with something like 80-grit. Then move to finer grits, like 180 or 220-grit. This smooths the surface.
For larger areas, an orbital sander is helpful. Always sand in one direction. Or in small, controlled circles.
Don’t apply too much pressure. Feather the edges. This means blending the sanded area into the surrounding paint.
Using Grinding Wheels (With Extreme Caution)
Grinding wheels are powerful. They remove material very quickly. They are often used with angle grinders.
You might use a wire wheel or a flap disc. These are for tough jobs.
Be very careful. Grinding can easily remove too much metal. It can create heat. This can warp the metal.
It’s best to use this method only when necessary. And with precise control. Many DIYers avoid grinding on car bodies.
Contrast: Sanding vs. Grinding for Paint Removal
Sanding:
- Pros: More control, better for removing paint layers, can smooth surface.
- Cons: Slower, can create dust, risk of sanding too deep with power tools.
- Best For: Removing layers of paint, preparing for refinishing, smaller areas.
Grinding:
- Pros: Very fast for heavy material removal.
- Cons: High risk of damage, can warp metal, generates heat, leaves rougher finish.
- Best For: Removing thick rust, heavy coatings, only when other methods fail.
Method 3: Steam or Hot Water
Sometimes, heat can help soften paint. Especially older, brittle paint. You can use a heat gun.
Or even very hot water. This is a gentler option for some situations.
A heat gun can soften paint. Then you can scrape it off. Be careful not to overheat the paint.
Or the metal. Overheating can damage the metal. Or cause blistering.
Hot water can work on very light coatings. Or some stickers.
Using a Heat Gun
Hold the heat gun a few inches away. Move it back and forth. Keep the heat moving.
You’ll see the paint start to soften and bubble. Use a plastic scraper to lift it. Work in small sections.
This method is often used for removing decals or small paint spots.
It’s a good idea to have a damp cloth handy. You can cool the metal down. This stops it from getting too hot.
This method needs patience. It’s not for removing thick layers of paint.
Method 4: Specialized Tools
There are tools made for specific paint removal tasks. For instance, eraser wheels. These are rubber wheels that attach to a drill.
They spin and ‘rub’ paint off. They work well for removing vinyl graphics and decals.
They are quite effective. And much safer than grinding. They are less likely to damage the paint underneath.
They can remove adhesives too. They are a good choice for sticker removal. Or pinstripes.
Eraser Wheels Explained
An eraser wheel looks like a thick rubber wheel. It has many small cutting edges. When you spin it on the paint, these edges break down the paint.
It’s like a very gentle form of abrasion. They are usually made of soft rubber.
You attach them to a standard drill. Use a moderate speed. Apply light to medium pressure.
Move the drill in a steady motion. It’s best to work in one direction. This tool is great for removing factory decals.
Or old racing stripes. It’s less effective on thick, hardened paint layers.
Observational Flow: Removing Old Decals
- Preparation: Clean the area around the decal.
- Soften (Optional): Use a heat gun briefly.
- Lift Edge: Carefully peel up a corner of the decal.
- Use Eraser Wheel: Attach to drill, moderate speed.
- Gentle Abrasion: Rub over the decal surface.
- Remove Residue: Clean with a mild solvent or adhesive remover.
- Inspect Surface: Check for any remaining adhesive or paint damage.
Real-World Context: Where Paint Removal Happens
You might need to remove paint from the whole car. Or just a small section. Think about a car door.
Or a fender. These are common areas for minor damage. Or to remove a bad repair spot.
Sometimes, people want to change the car’s color. This means removing all the old paint. This is a big job.
It requires careful planning. And the right tools for large areas. Or you might have a scratch that goes through the clear coat.
You need to remove the damaged paint around it. Then you can re-prime and paint.
What This Means for You: When is it Normal?
It’s normal to need to remove paint for repairs. Or for a color change. It’s also normal to remove old stickers.
Or to fix chipped paint. The key is the method you choose.
If you are just touching up a tiny scratch, you might only need a very fine grit sandpaper. Or a small amount of rubbing compound. If you are repainting a whole car, you’ll likely need stronger methods.
Like chemical strippers or sanding.
When to Worry and What to Check
Worry if you see rust forming. Or if the metal looks thin. This means you might have gone too deep.
Or exposed bare metal for too long. Always protect bare metal. Use a primer right away.
Check the surface after you remove paint. Does it feel smooth? Are there deep scratches?
If you used chemicals, is there any residue left? Residue can cause new paint to fail. Look for any discoloration.
This could mean you’ve damaged the metal or underlying layers.
Simple Checks After Paint Removal
- Smoothness: Run your hand over the area. It should feel smooth, not rough or pitted.
- Uniformity: Is the bare metal or primer layer even? No deep gouges or uneven patches.
- No Residue: Wipe with a clean cloth. No paint or chemical remnants should come off.
- Metal Condition: Is the metal clean and bright? No signs of rust or corrosion starting.
Quick Fixes and Tips for Paint Removal
Start Gentle: Always begin with the least aggressive method. Try hot water or mild solvents first for light tasks. Then move to chemicals or sanding if needed.
Work in Sections: Don’t try to strip the whole car at once. Work on one panel or section. This keeps you focused and allows for thorough cleaning.
Protect Surrounding Areas: Use masking tape and paper. This protects good paint from stripper or dust. It also makes cleanup easier.
Ventilation is Key: Always work outdoors or in a very open garage. Fumes from chemicals can be strong and harmful.
Patience Pays Off: Rushing can lead to mistakes. Take your time. Let the products do their work.
It’s better to do it slowly and correctly.
Stacked Micro-Sections: Important Considerations
Primer Protection: After removing paint, the metal is exposed. Apply a suitable primer quickly. This prevents rust and gives new paint something to adhere to.
Temperature Matters: Avoid extreme temperatures. Strippers work best in mild weather. Too cold, and they won’t work well.
Too hot, and they can dry too fast.
Tool Cleanliness: Keep your scrapers and brushes clean. Dirty tools can spread old paint or debris. This can mar the surface you’re working on.
Frequent Questions About Removing Car Paint
Can I use a regular household paint stripper on my car?
It’s not recommended. Household strippers can be too harsh for car paint and metal. They might contain strong solvents that damage plastic parts.
Or cause the metal to corrode. Always use products specifically designed for automotive paint removal.
How do I remove paint overspray from my car?
Overspray is usually light. You can often remove it with a clay bar kit. Or a dedicated overspray removal product.
For tougher spots, a very mild polish might help. Always start gently. Test in an inconspicuous area first.
Is it safe to use a pressure washer to remove paint?
No, a pressure washer is too aggressive for paint removal on a car. It can easily damage the paint. It can also force water into seals and seams.
This can lead to rust or electrical problems later. Stick to recommended paint removal methods.
How long does it take to remove paint from a whole car?
This depends on the method and the car’s size. Using chemical strippers or sanding can take several days. For a whole car, it’s often a multi-day job for one person.
Professional shops have specialized tools and multiple people to speed this up.
What should I do if I accidentally sand through the primer into the metal?
Don’t panic. This is a common issue. You need to clean the exposed metal thoroughly.
Then apply a rust-inhibiting primer. Follow the primer’s drying times. Then you can apply your new base coat and clear coat.
How can I tell if I’ve removed all the old paint?
After your primary removal method, clean the surface thoroughly. Then look at the surface under good light. You should see clean metal or a consistent primer layer.
Running a clean finger or cloth over it should feel smooth and free of paint flakes.
Conclusion: Achieving a Smooth Surface Safely
Removing paint from your car’s body can seem daunting. But with the right knowledge and careful steps, it’s manageable. Always prioritize safety.
Wear your protective gear. Work in a safe area. Choose methods suited to your task.
Remember to be patient. And gentle. Your car’s finish deserves it.
By following these tips, you can achieve a clean, smooth surface. Ready for its next coat of paint.
Products related to this article
Sponsored / affiliate links. As an Amazon Associate I earn from qualifying purchases. I may earn additional commission from eligible campaigns.