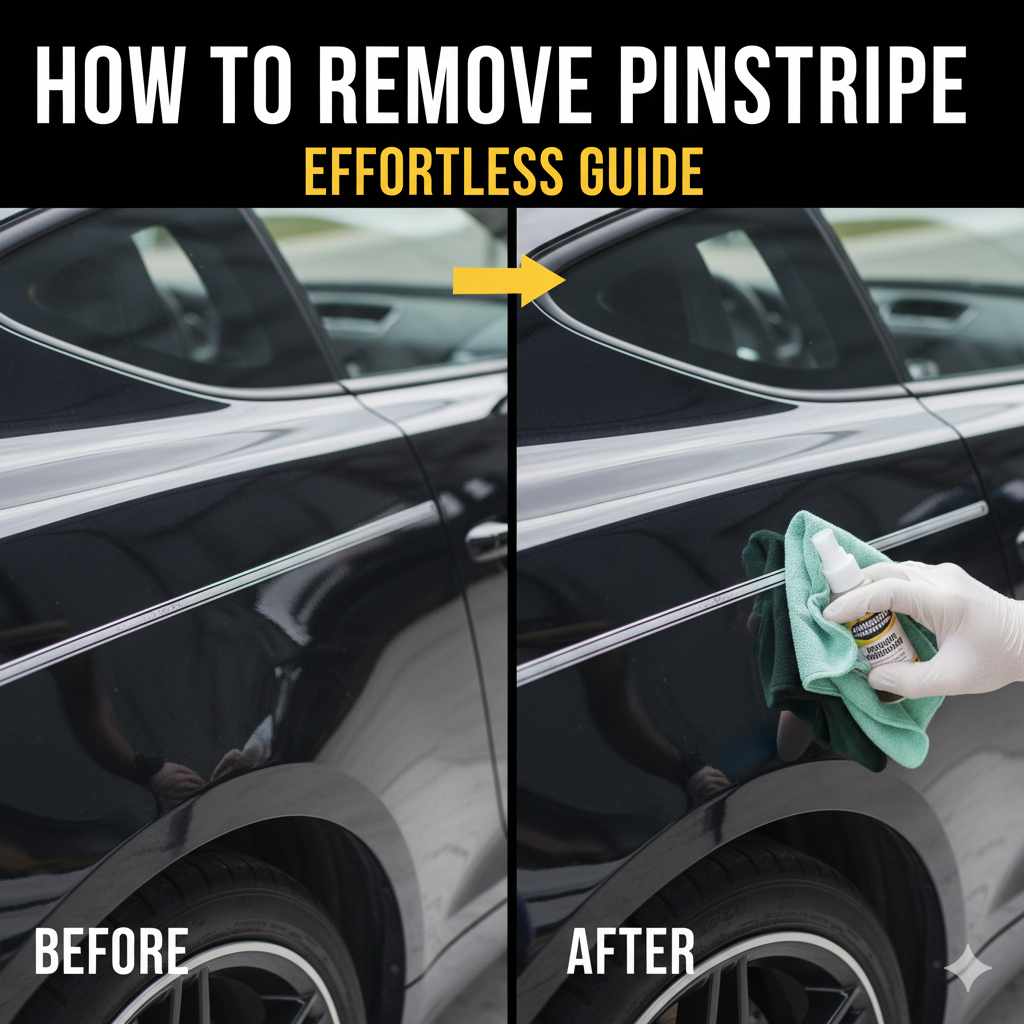
How to Remove Pinstripe: Effortless Guide
Removing pinstripes from your car is a straightforward DIY project. With the right tools and simple techniques, you can easily restore your vehicle’s smooth finish by gently heating and peeling, or using adhesive removers and a plastic scraper. This guide offers a step-by-step approach to help you achieve a flawless look without damaging your paint.
Car pinstripes add a touch of style and detail, but over time, they can fade, peel, or simply go out of fashion. If you’re looking to refresh your car’s appearance and ditch those old stripes, you’re in the right place! Many car owners hesitate to tackle this because they worry about damaging the paint. But don’t worry, it’s a common and surprisingly easy task for most car owners. This guide will walk you through the process, step-by-step, making it simple and stress-free. We’ll cover everything you need to know to get your car looking sleek and smooth again.
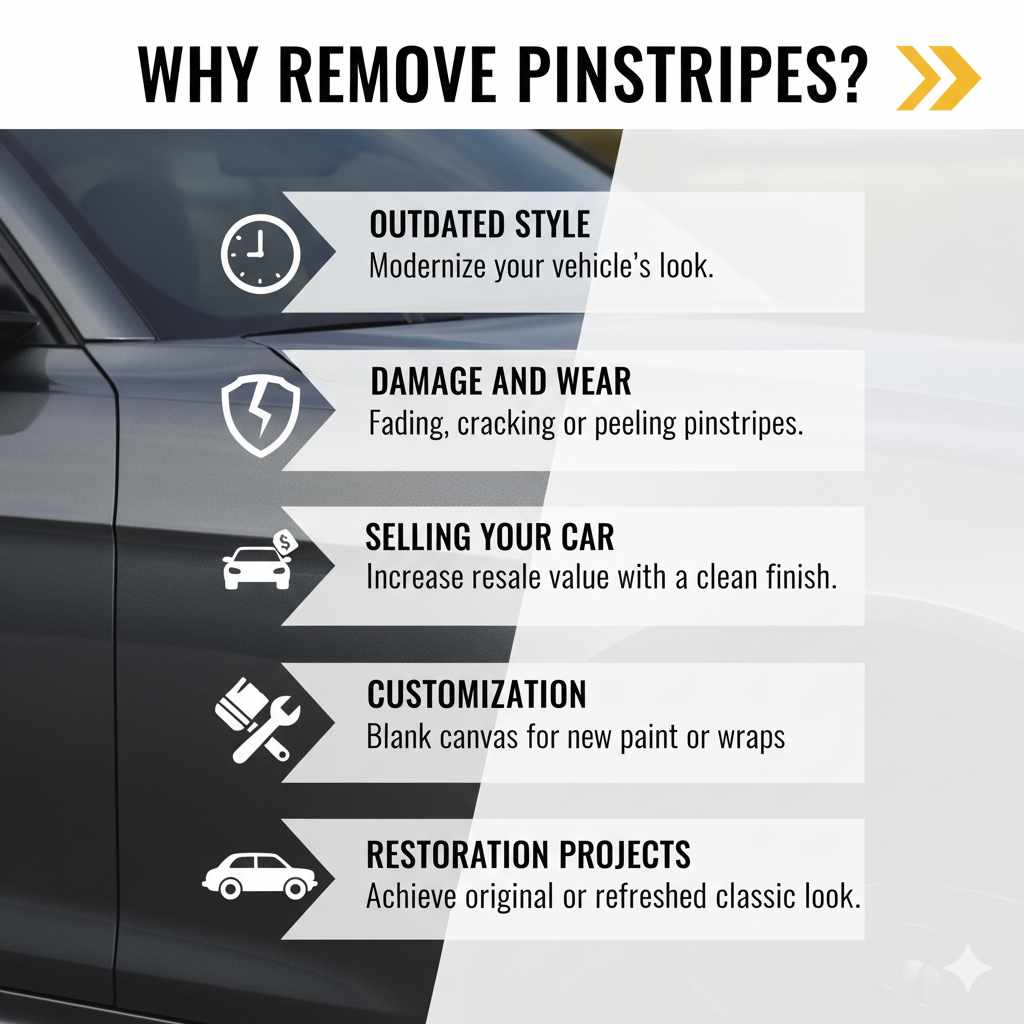
Why Remove Pinstripes?
There are several good reasons why you might want to remove pinstripes from your vehicle. It’s more than just a style choice for many people. Here are some common motivations:
- Outdated Style: Pinstripes that were popular years ago might not fit the aesthetic you’re going for today. Removing them can give your car a more modern and clean look.
- Damage and Wear: Over time, UV rays, weather, and car washes can cause pinstripes to fade, crack, or peel. This can make your car look less appealing and well-maintained.
- Selling Your Car: When selling a used car, a clean, uniform paint finish is often more attractive to potential buyers than aged or damaged pinstripes. Removing them can potentially increase your car’s resale value.
- Customization: You might be planning a new custom paint job, a wrap, or simply want to create a personalized look for your vehicle. Removing old pinstripes is the first step in achieving a blank canvas.
- Restoration Projects: If you’re restoring a classic car, you might be aiming for an original factory finish, which may not have included pinstripes, or you might want to replace worn-out factory stripes with new ones.
What You’ll Need: Tools and Supplies
Gathering the right tools before you start is key to a smooth and successful pinstripe removal. You don’t need to be a professional mechanic to have these items. Most are readily available at auto parts stores or even your local supermarket.
| Tool/Supply | Purpose | Notes |
|---|---|---|
| Heat Gun or Hair Dryer | Softens the adhesive and vinyl for easier removal. | Use on a low to medium setting to avoid paint damage. |
| Plastic Razor Blades or Scraper | To gently lift and peel the pinstripe. | Plastic is crucial to prevent scratching your paint. Avoid metal blades. |
| Adhesive Remover (e.g., Goo Gone, WD-40) | To dissolve any remaining sticky residue. | Test in an inconspicuous area first. |
| Microfiber Towels | For cleaning, drying, and buffing. | Have a few clean ones ready. |
| Car Wash Soap and Water | To clean the area before and after removal. | Standard car wash supplies. |
| Rubbing Alcohol (Isopropyl Alcohol) | For final cleaning and degreasing of the surface. | Use a concentration of 70% or higher. |
| Gloves (Optional) | To keep your hands clean, especially when using adhesive removers. | Nitrile or latex gloves work well. |
| Painter’s Tape (Optional) | To protect surrounding paint if you’re worried about slips. | Good for beginners. |
Step-by-Step Guide: How to Remove Pinstripe from Car
Follow these simple steps to get those pinstripes off your car. We’ll break it down into manageable actions, so you can feel confident with each part of the process.
Step 1: Clean the Area
Before you start applying any heat or chemicals, it’s important to clean the surface where the pinstripe is located. Dirt and grime can get in the way and might even cause scratches during the removal process. Use a standard car wash soap and water to wash the area thoroughly. Rinse it well and then dry it completely with a clean microfiber towel. A clean surface ensures better adhesion for heat or removers and less risk of scratching.
Step 2: Apply Heat
This is where the magic happens! The heat softens the adhesive holding the pinstripe to your car’s paint. You can use either a heat gun or a strong hair dryer for this. Make sure to keep the heat source moving constantly to avoid overheating any one spot, which could damage your paint.
- Set your heat gun or hair dryer to a low or medium setting. High heat can warp or melt plastic trim or even bubble your car’s paint.
- Hold the heat source about 6-8 inches away from the pinstripe.
- Move the heat gun back and forth along the length of the pinstripe. You want to warm it evenly. You’ll feel the stripe becoming more pliable.
- For a good overview of automotive paint care, including how to protect your finish, check out resources like those from the Auto Body Review website, which offers insights into paint technology and maintenance.
You don’t need to bake the stripe; just warm it enough so it feels soft and flexible to the touch. It usually takes about 30 seconds to a minute of continuous heating and moving for a small section.
Step 3: Lift and Peel
Once the heat has done its job, it’s time to start peeling. This is where your plastic razor blade or scraper comes in. Remember, always use plastic to protect your paintwork.
- Start at one end of the pinstripe. Look for a spot where the edge might be naturally lifting or where you can get the plastic scraper underneath.
- Gently insert the plastic blade under the edge of the pinstripe. Work at a low angle, almost parallel to the surface of the car.
- Slowly and steadily push the blade forward, lifting the pinstripe as you go.
- As you peel, continue to apply heat to the section you are working on. This keeps the adhesive soft and makes it easier for the stripe to come off in one piece.
- If the pinstripe breaks, don’t panic! Just start a new section with your scraper and continue.
Work in small, manageable sections. The goal is to pull the stripe away at a shallow angle, keeping the heat applied as you go. Patience here is key to avoiding any unnecessary damage.
Step 4: Remove Adhesive Residue
After the main part of the pinstripe is off, you’ll likely have some sticky residue left behind. This is completely normal. Now you’ll use your adhesive remover to tackle this sticky mess.
- Apply a small amount of your chosen adhesive remover (like Goo Gone, WD-40, or a dedicated tar and bug remover) to a clean microfiber towel.
- Gently rub the residue with the towel. You should see the gunk start to dissolve and lift off the surface.
- For stubborn spots, you might need to let the remover sit for a minute or two. You can also try gently scraping with your plastic blade again over the loosened residue.
- Avoid using too much product at once. It’s better to apply a little, work it in, and then add more if needed.
Take your time to ensure all the stickiness is gone. If you try to apply wax or sealant over residue, it won’t bond properly.
Step 5: Final Clean and Polish
Once all the residue is removed, give the area one last thorough cleaning. This gets rid of any leftover remover and ensures a perfectly clean surface for the next steps.
- Wash the area again with car wash soap and water.
- Rinse and dry the area completely with a clean microfiber towel.
- Wipe down the area with rubbing alcohol on a clean microfiber towel. This will degrease the paint and ensure it’s perfectly clean. This step is especially important if you plan to apply a new wax, sealant, or ceramic coating.
- Inspect the paint in the area where the pinstripe was. If there’s any minor scratching or dullness from the process, you can use a light rubbing compound or polish with a microfiber applicator pad and then buff it out.
- Consider applying a coat of wax or a paint sealant to protect the paint and give it a beautiful shine. This acts as a protective barrier for your car’s finish.
Congratulations! You’ve successfully removed the pinstripes and restored a clean, smooth finish to your car.
Alternative Methods for Different Pinstripe Types
Not all pinstripes are created equal! While the heat and peel method is the most common and effective for vinyl pinstripes, you might encounter others. Here’s a quick look at alternatives:
Painted Pinstripes
These are often part of the car’s original paint job or custom airbrushing. Removing painted pinstripes is much more involved and typically requires:
- Wet Sanding: This involves using very fine grit sandpaper (often 1000-3000 grit) with water to carefully sand down the painted stripe until it is flush with the surrounding paint. This is a delicate process that requires a lot of skill and patience to avoid sanding through the clear coat.
- Compounding and Polishing: After sanding, the area will be dull and will need to be compounded and polished to restore the gloss and match the surrounding paint.
- Repainting: In many cases, especially with thicker painted stripes or if significant sanding is required, the best and safest method is to have the area professionally repainted.
This type of removal is generally not recommended for beginners and is best left to professional detailers or body shops.
Older, Brittle Vinyl or Decals
Sometimes, older stripes can become very brittle. If the heat method causes them to shatter into tiny pieces, you might need to:
- Emphasize Soaking: Instead of just heating, you might need to use a specialized decal remover solution. These are often petroleum-based and work by breaking down the adhesive and even the decal material itself.
- Longer Soak Times: Let the remover sit on the decal for a longer period, reapplying as needed.
- Gentle Scraping: Continue to use your plastic scraper, but be prepared for more small pieces.
For very old, severely degraded decals, a rubber eraser wheel attachment for a drill can be very effective. These wheels are designed to safely remove old decals and adhesives without damaging paint when used correctly. You can find more information on using these tools from reputable suppliers like Eastwood’s blog.
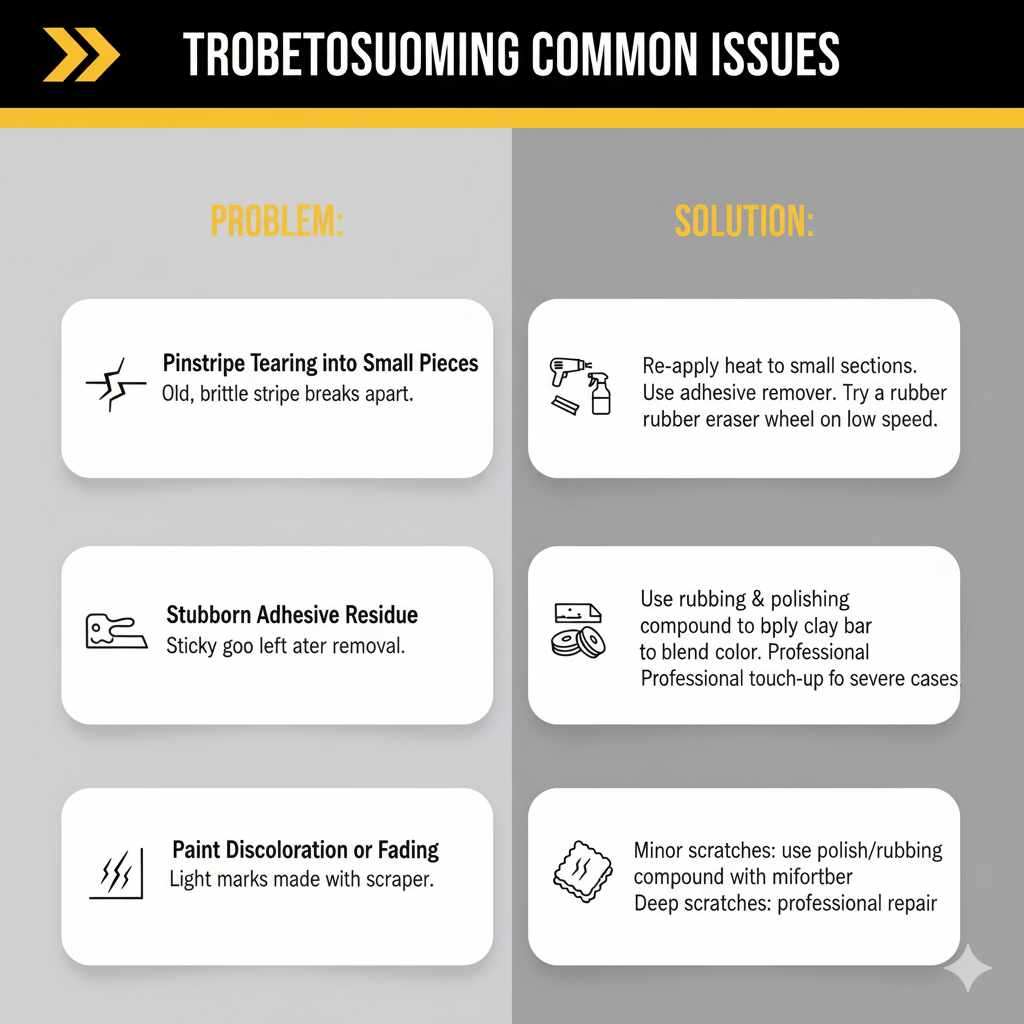
Troubleshooting Common Issues
Even with the best preparation, you might run into a few snags. Here’s how to handle them:
Pinstripe Tearing into Small Pieces
Problem: The pinstripe is old, brittle, and breaks apart instead of coming off in long strips.
Solution: Don’t get discouraged! Re-apply heat more consistently to smaller sections, and be patient with your plastic scraper. If it’s still not cooperating, try applying an adhesive remover directly to the torn pieces and let it soak for a few minutes before scraping. A rubber eraser wheel can also be very effective here, but use it with caution on a low speed.
Stubborn Adhesive Residue
Problem: After the pinstripe is off, there’s a layer of sticky goo that won’t budge.
Solution: Try different adhesive removers. Some work better on certain types of adhesives. You can also try using a clay bar (specifically designed for automotive paint) after cleaning with an adhesive remover. A clay bar is excellent for removing embedded contaminants and stubborn residue.
Paint Discoloration or Fading
Problem: The paint under the pinstripe looks lighter or duller than the surrounding area.
Solution: This is usually due to UV exposure. The pinstripe protected that area from the sun. You’ll need to use a rubbing compound, followed by a polishing compound, to help blend the color. This is essentially an aggressive form of paint correction. If the difference is very significant, professional touch-up paint or a repaint might be necessary. A good detailer can assess this.
Accidental Scratches
Problem: You accidentally made a light scratch with your scraper.
Solution: For minor surface scratches, a polish or rubbing compound applied with a microfiber cloth can often remove or reduce their appearance. If the scratch is deep enough to catch your fingernail, it may require professional attention.
Frequently Asked Questions (FAQs)
Q1: Can I remove pinstripes without heat?
A1: Yes, but it’s much harder. Heat softens the adhesive, making removal easier and reducing the risk of paint damage. Without heat, you’ll likely need stronger chemical removers and more vigorous scraping, increasing the chance of scratching the paint. It’s always recommended to use heat.
Q2: Will removing pinstripes damage my car’s paint?
A2: Not if you do it correctly and carefully. Using plastic scrapers instead of metal, applying moderate heat, and using appropriate cleaners are crucial. If the pinstripes have been on for many years and the paint underneath has faded differently due to UV exposure, there might be a slight “shadow” effect, but the paint itself shouldn’t be damaged.
Q3: How long does it take to remove pinstripes?
A3: This varies depending on the length and condition of the pinstripes, as well as your experience. For an average car with two sides of pinstripes, it can take anywhere from 1 to 3 hours from start to finish, including cleaning and residue removal.
Q4: What’s the best way to remove sticker residue after taking off pinstripes?
A4: Products like Goo Gone, WD-40, or specialized automotive adhesive removers are very effective. Apply the product to a microfiber towel, rub the residue gently, and then wipe clean. A final wash with soap and water, followed by rubbing alcohol, will ensure all traces are gone.
Q5: Can I remove pinstripes myself or should I go to a professional?
A5: Removing vinyl pinstripes is a perfectly achievable DIY task for most car owners. If you are uncomfortable with chemicals, heat guns, or have a vintage or exceptionally valuable car, a professional detailer is a safe bet. For most everyday cars, you can save money by doing it yourself.
Q6: What if my pinstripes are painted on?
A6: Painted pinstripes are much more difficult to remove than vinyl. This usually involves wet sanding and polishing, or even repainting. It’s generally not a beginner DIY job and is best handled by a professional auto body shop or detailer.
Q7: Should I wax my car after removing pinstripes?
A7: Absolutely! After thoroughly cleaning the area and removing all residue, applying a coat of wax or paint sealant is highly recommended. This protects the fresh, exposed paint and restores the shine, making your car look even better.
Conclusion
Removing pinstripes from your car doesn’t have to be a daunting task. By following this step-by-step guide, using the right tools, and working with patience, you can confidently restore your vehicle’s smooth, clean finish. Whether you’re updating your car’s style, preparing it for sale, or simply want a fresh look, this DIY project is well within your reach. Remember to clean thoroughly, apply heat gently, use plastic tools, and tackle any leftover residue with appropriate cleaners.