How to Remove Pinstripe From a Car: A Step-by-Step Guide
Removing pinstripes from your car might seem tricky, but it’s a common task for anyone who wants to freshen up their vehicle’s look. If you’re new to this, don’t worry! How to Remove Pinstripe From a Car can be done with simple tools and a bit of patience. This guide will walk you through the process, making it easy to get professional-looking results without any stress. We’ll start by looking at what you’ll need and then get into the actual steps.
The Essentials: Gathering Supplies
Before you start, make sure you have everything ready. This prepares you and will lead to a better, quicker outcome. It’s like having all the right ingredients before you start cooking a meal. Having the correct tools makes a big difference.
Necessary Tools and Materials
You’ll need a few items to remove the pinstripe effectively. This list contains essential items for your project.
Heat Gun or Hair Dryer: This helps to loosen the adhesive. A heat gun is more effective, but a hair dryer works in a pinch. Be careful not to overheat the paint.
A heat gun is a tool that blows hot air, similar to a hairdryer but much stronger. It is used to soften adhesives or melt materials. It’s useful for projects like removing stickers or pinstripes. A hair dryer can also do this job but takes longer and may not get as hot.
Plastic Scraper: A plastic scraper prevents scratching the car’s paint.
A plastic scraper is a flat tool made from plastic. It is used to remove things like stickers or pinstripes without damaging the surface. Unlike metal scrapers, plastic ones are less likely to scratch your car’s paint.
Goo Gone or Adhesive Remover: This helps remove any sticky residue.
Goo Gone or an adhesive remover is a chemical product. It’s designed to dissolve sticky substances like glue or adhesive residue. It’s important for cleaning up after you remove the pinstripe. Apply this product with a clean cloth to the area.
Microfiber Cloths: These are for cleaning the car surface.
Microfiber cloths are very soft cloths made from tiny synthetic fibers. They are excellent for cleaning cars because they won’t scratch the paint. They are also very absorbent, so they pick up dirt and residue effectively.
Isopropyl Alcohol: Use this to clean the area.
Isopropyl alcohol, often called rubbing alcohol, is a clear liquid that evaporates quickly. It’s used for cleaning and disinfecting surfaces. It removes any remaining adhesive residue. Always use with a clean microfiber cloth.
Automotive Wax (Optional): Use this after the process to protect the paint.
Automotive wax is a protective coating applied to car paint. It adds a shiny finish and protects the paint from the weather and other damage. It is a good choice to help protect your paint job once you are done.
Having these supplies ensures you’re prepared for the job and will help you get the best possible result. Without these, your project could take much longer.
Prepare Your Car for Pinstripe Removal
Preparation is key. Proper prep will help protect your car’s paint and make the process easier. Start with these simple steps.
Washing and Cleaning the Area
Before you remove the pinstripe, wash and clean the area around it. This removes any dirt and prevents scratches. This is a very important step. Washing helps you to avoid scratching the paint.
Wash the Car: Use soap and water to wash the car. Rinse thoroughly.
Washing your car involves using soap and water to remove dirt and grime. This is the first step in preparing the car for pinstripe removal. Be sure to use car wash soap to protect the car’s paint.
Dry the Area: Use a clean, dry microfiber cloth to dry the area.
Drying the area completely is important. This ensures that any adhesive remover or wax will adhere properly. Be careful to ensure that the area is spotless.
Inspect the Pinstripe: Check the condition of the pinstripe. See if there are any chips or tears.
Checking the pinstripe lets you know what you are dealing with. If the pinstripe is old and worn, it might be more difficult to remove. This will help you know how careful you need to be.
By preparing the car correctly, you give yourself a better chance of success. This is an important step to protecting your car’s paint and ensuring a clean finish.
Applying Heat to Loosen Adhesive
Heating the pinstripe makes the adhesive soft, which helps to remove the stripe. Be careful with heat; too much can damage your car’s paint. This is an important consideration.
Use the Heat Source: Hold the heat gun or hair dryer a few inches away from the pinstripe.
The heat source should be at a safe distance to prevent damage to your car’s paint. A good distance will depend on the heat setting. If the area is hot, move farther away.
Heat in Sections: Warm a small section of the pinstripe at a time. This prevents the adhesive from cooling down.
Working in small sections makes sure the adhesive stays soft. It also helps to prevent the rest of the pinstripe from getting cold, making removal much easier.
Check the Temperature: Test the area to see if the adhesive is soft.
Checking the temperature lets you know when the adhesive is ready to remove. Gently touch the pinstripe to see if it’s soft and pliable. If it isn’t, apply more heat.
This process of heating the pinstripe makes the adhesive soft and much easier to remove. Always be careful to not apply too much heat, which can damage the car’s paint. Take your time to get it right.
Removing the Pinstripe and Adhesive
With the pinstripe ready, it’s time to take it off. Use the plastic scraper carefully. Cleaning up any sticky residue is important to protect the car’s paint.
Lifting and Peeling the Pinstripe
Use the plastic scraper to lift an edge of the pinstripe gently. Then, slowly peel it off. If it doesn’t come off easily, apply more heat.
Lift an Edge: Use the plastic scraper to gently lift an edge of the pinstripe. Be careful not to scratch the paint.
The plastic scraper is designed to remove stickers without scratching the car’s paint. Make sure the edge is raised. This is the first step in removing the pinstripe.
Peel Slowly: Slowly peel the pinstripe away from the car.
Peeling slowly helps to prevent the pinstripe from tearing. Working slowly allows the adhesive to stay soft and prevents damage to the paint. If it is too difficult, apply more heat.
Use the Scraper: Use the scraper to help lift the pinstripe if it tears.
The scraper can help to lift any stubborn sections of the pinstripe. This will also help to prevent the adhesive from sticking to the car’s paint. Always use it gently.
By removing the pinstripe slowly and carefully, you can help to prevent damage to your car’s paint. Take your time and be gentle.
Removing Adhesive Residue
Even after removing the pinstripe, some adhesive might be left behind. This is where the adhesive remover comes in. Use it to dissolve any sticky residue. Then clean the area.
Apply Adhesive Remover: Apply the remover to the area with the residue.
Adhesive remover is used to dissolve any sticky residue that’s left behind. Make sure to apply it carefully so that you only hit the residue. Follow the instructions on the product.
Let it Sit: Allow the remover to sit for a few minutes. This is to dissolve the adhesive.
The adhesive remover needs time to work. Letting it sit gives the remover time to break down the adhesive. The amount of time depends on the product and how much residue there is.
Wipe Clean: Use a clean microfiber cloth to wipe the area clean.
After letting the remover sit, use a clean microfiber cloth to wipe away the residue. The cloth will pick up the dissolved adhesive, leaving the surface clean. Use a fresh area of the cloth often.
Cleaning up the adhesive is an important step to a clean finish. Take your time, and make sure that you remove all the residue. If you fail to do so, it can make your car look poor. A little work now will pay off later.
Cleaning and Protecting the Paint
Once you’ve removed the pinstripe and the adhesive, it’s time to clean and protect the paint. You can choose to wax the area. This step adds a shiny finish and helps to protect your car’s paint. Waxing is a popular choice to take care of the car.
Cleaning the Surface
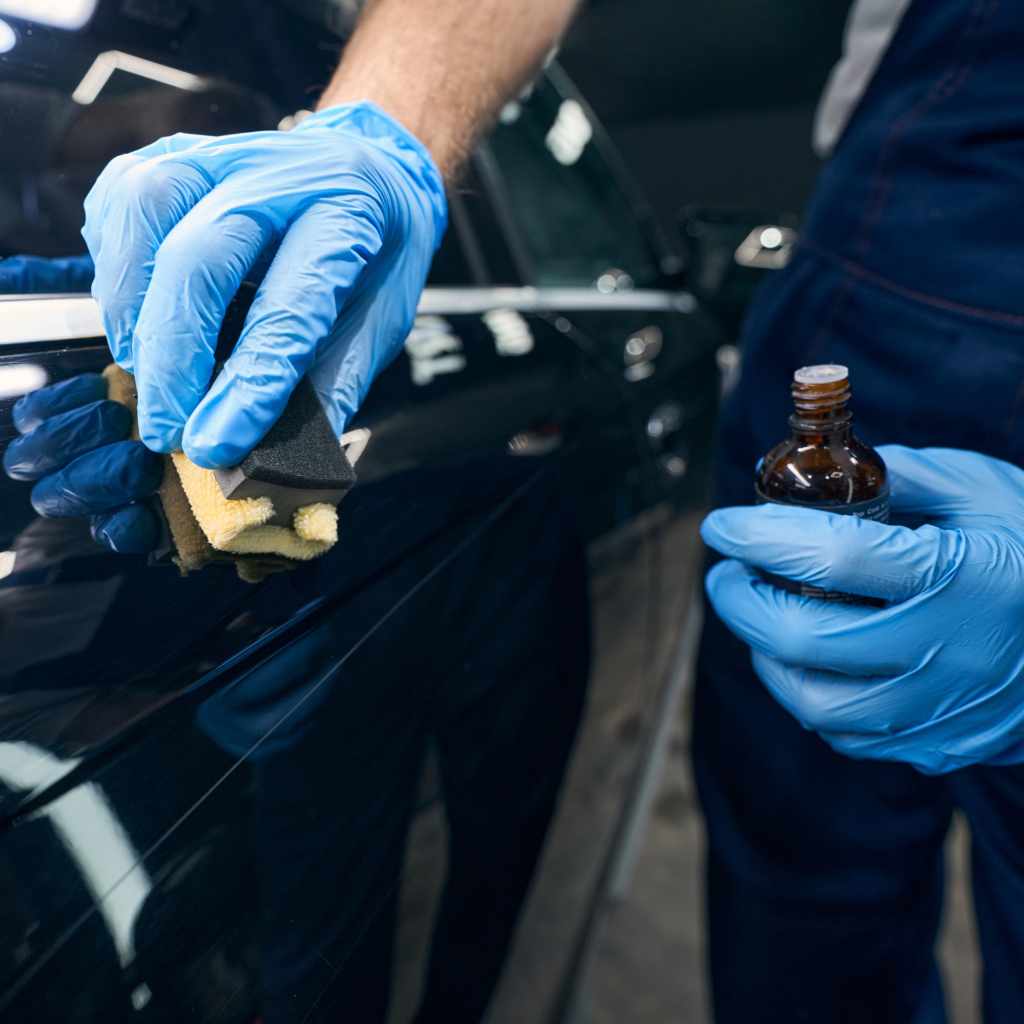
Clean the area with isopropyl alcohol to remove any remaining residue. This will prepare the surface for waxing. It will also help the paint shine.
Apply Alcohol: Apply the alcohol to a clean microfiber cloth.
Isopropyl alcohol is a strong cleaning agent. Make sure to use a clean microfiber cloth to apply it. This removes any final residue, leaving the area ready for wax.
Wipe the Area: Gently wipe the area where the pinstripe was removed.
Wiping the area gently removes any remaining residue from the adhesive remover. It cleans the surface and prepares it for the final step. Always use a clean part of the cloth.
Allow to Dry: Let the area dry completely before waxing.
Letting the area dry completely is important to allow the paint to have a clean surface for wax. The drying allows for the wax to adhere correctly.
Cleaning the surface ensures that it’s ready for the final step. You want to make sure the paint is very clean. This is an important step to ensure a nice finish for your car.
Waxing the Area
Waxing protects your car’s paint. It gives a shiny finish. This is an optional step, but it protects the paint and makes the car look good. This can also help blend the paint color.
Apply Wax: Apply a thin layer of automotive wax to the area.
Automotive wax protects the car’s paint from the elements. A thin layer is usually enough for good protection. Apply according to the directions on the wax container.
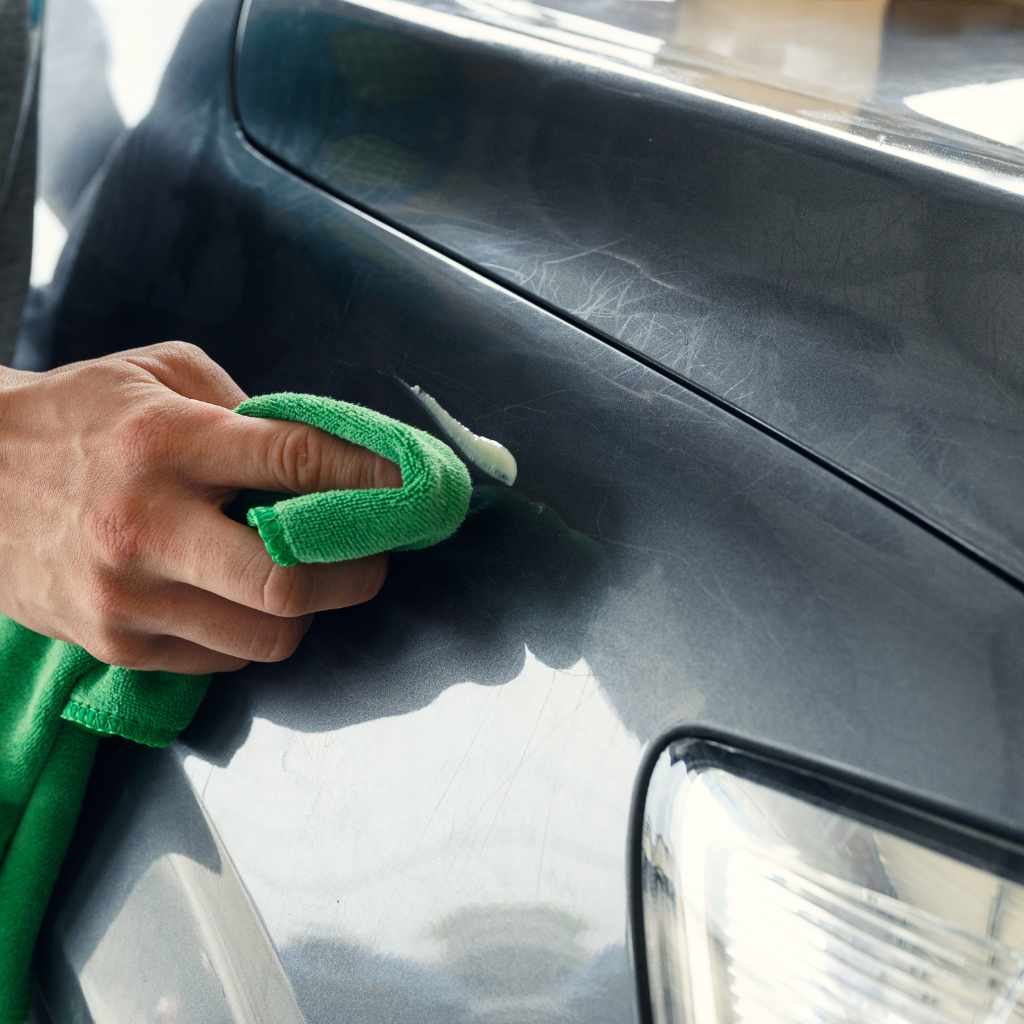
Buff the Wax: Buff the wax with a clean microfiber cloth.
Buffing the wax helps it to spread evenly and give the car a shiny finish. Use a clean part of the cloth to buff the wax. Follow the directions to buff the wax.
Protect the Paint: The wax protects the paint and adds shine.
Waxing protects the paint by creating a barrier that helps shield it from damage. A waxed car will also look shinier. Waxing provides additional protection for your car.
Waxing is an optional step, but it can protect the paint. It adds a shiny finish and helps the car look great. This final step will help make your car shine.
Real-Life Examples
-
Case Study: Old Pinstripe Removal
A car owner wanted to remove a very old and faded pinstripe from their classic car. The pinstripe was brittle and cracked. They followed the steps. They used a heat gun on a low setting and slowly heated the pinstripe in small sections. They carefully used a plastic scraper to lift the edges and peel it off. Due to the age and condition of the pinstripe, it took a long time, and they needed to apply extra heat to each section. They used Goo Gone to remove the remaining adhesive. The result was a clean, restored look that improved the car’s appearance.
-
Case Study: Removing a Recent Pinstripe
A person wanted to remove a newer pinstripe from their car. The pinstripe was in good condition. They started by washing the car and cleaning the area. They used a hair dryer to heat the pinstripe. This was an effective but slower choice. Using a plastic scraper, they lifted an edge and peeled the pinstripe off in one piece. They used isopropyl alcohol to remove the minimal adhesive residue and then waxed the area. This was a quick and easy process, and they completed the task in about 30 minutes.
Sample Scenarios
- Scenario 1: Stubborn Adhesive. You are removing the pinstripe, and the adhesive is very difficult to remove. The pinstripe keeps tearing, and you have significant residue left behind. You re-apply heat. You also carefully use more adhesive remover. The heat loosens the pinstripe, and the adhesive remover breaks down the residue. Be patient and take your time.
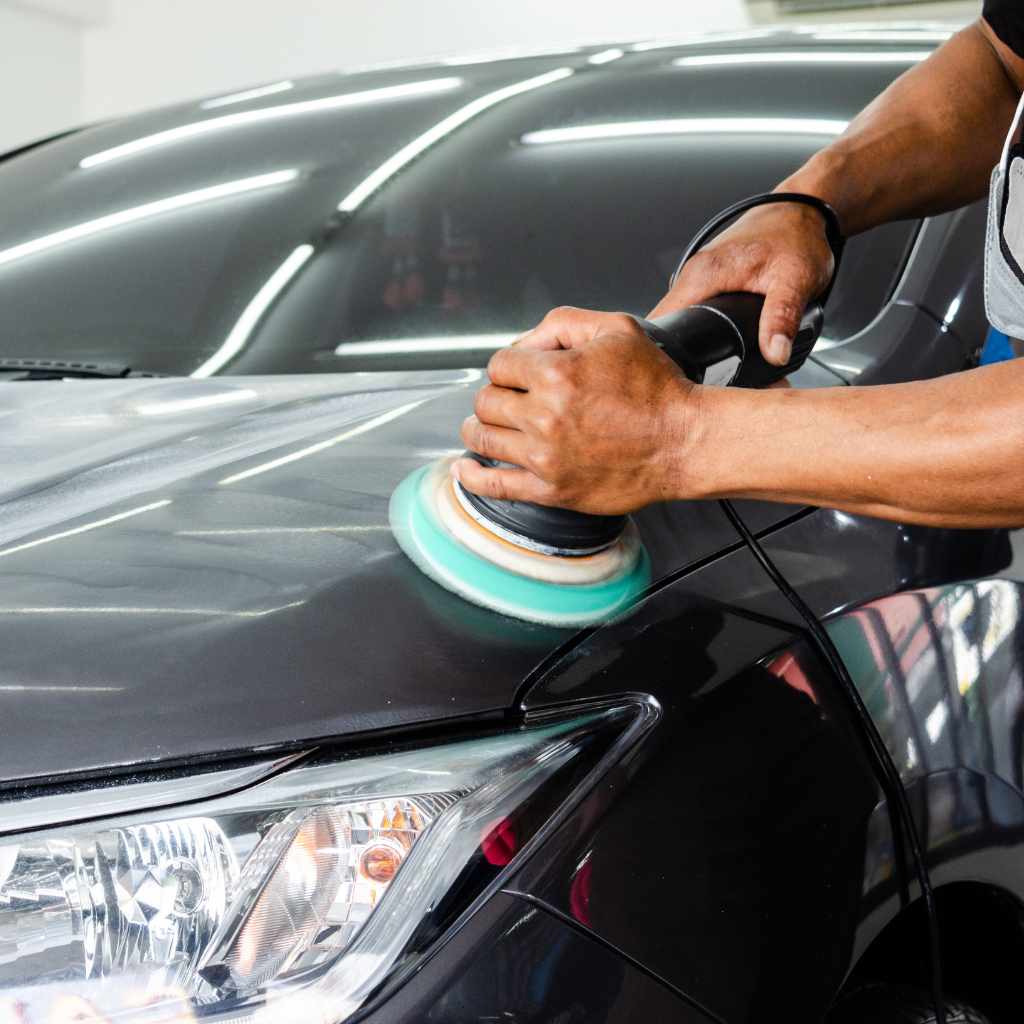
- Scenario 2: Paint Damage. While removing the pinstripe, you accidentally scratch the paint. You stop immediately. After removing the adhesive, you carefully polish the area with a polishing compound to remove the scratch. This removes the scratch, and you follow up by waxing the area. Be very careful.
Here’s a comparison that you might find useful. This table will help you understand the differences between the tools used:
| Tool | Description | Pros | Cons |
|---|---|---|---|
| Heat Gun | A tool that blows hot air | Faster, more effective. | Can damage the paint if used incorrectly. |
| Hair Dryer | A household appliance | Easily available, safer for paint. | Slower, less effective. |
| Plastic Scraper | A flat plastic tool | Less likely to scratch paint. | May not work on stubborn adhesives. |
| Metal Scraper | A flat metal tool | More effective on stubborn adhesives. | Higher risk of scratching paint. |
Additional Tips for Successful Pinstripe Removal
Here are some other pieces of advice that will help you. Keep these tips in mind as you work. These pieces of information can help you with your project.
Working in a Well-Ventilated Area
Working in a well-ventilated area is important. This helps to protect your health. Always make sure to work in a well-ventilated area. This simple tip will make a difference.
Fresh Air: Ensure the area has plenty of fresh air.
Good ventilation means the air is constantly moving. This will help to reduce the risk of inhaling any chemicals. Open doors and windows.
Avoid Fumes: Prevent the buildup of chemical fumes.
Some of the chemicals you may use can create fumes. These fumes can be harmful if you breathe them in. Good ventilation ensures the fumes do not build up.
Health and Safety: Protect your health while working.
Working in a safe environment is important. Be mindful of the fumes to protect yourself. Work safely by using ventilation.
A well-ventilated area makes working safer and more pleasant. Make sure you are in a well-ventilated space when working. Take safety precautions.
Testing in an Inconspicuous Area
Test the products in a hidden spot before you start. This ensures that the products are safe for your paint. This will prevent damage to your car. Test products on a small, hidden area before you begin.
Find a Hidden Spot: Choose a place where the pinstripe used to be.
Look for an area that’s out of sight. That way, if something goes wrong, it won’t be noticeable. Test the product.
Apply the Product: Test the heat and adhesive remover.
Apply the products in the hidden spot and see how they work. Wait a few minutes. Check the area for any adverse reactions. The test helps to ensure the product is safe.
Check for Reactions: Watch for changes in the paint.
Check the area for color changes, blistering, or any other damage. Make sure that the products are safe. Testing will make your job go more smoothly.
Testing helps to prevent damage to your car’s paint. This is an important step that will give you peace of mind. Taking this step can prevent issues later on. Make sure to test in a hidden area.
Working Slowly and Patiently
Removing a pinstripe takes time. Go slowly and be patient. Be careful so that you don’t scratch your car’s paint. This will ensure you don’t have issues later.
Don’t Rush: Take your time and don’t rush the process.
Rushing can cause mistakes that can damage your car’s paint. A job that is done carefully is a job well done. Take your time to be successful.
Careful Application: Apply heat and adhesive remover carefully.
Carefully applying heat and adhesive remover is very important. This also means you will avoid damage to your car. Prevent any issues by being careful.
Regular Checks: Check the work as you go.
Make sure to check the work as you go. Checking the process helps you to catch any mistakes. That will give you a better result overall. Working step-by-step is an important choice.
Removing a pinstripe needs time. Going slowly and being patient will help you get good results. Be careful and be patient. It will make your project a success.
Avoiding Direct Sunlight
Avoid working in direct sunlight. The heat can cause issues. Choose a shady spot or work indoors to prevent issues. These tips can help you.
Shady Location: Choose a shady spot to work.
Direct sunlight can make the adhesive more difficult to work with. Choose a shady location, like a garage. This provides the best working conditions.
Inside Work: Consider working indoors if possible.
Working indoors can protect your car. That can also make the project easier to complete. Direct sunlight can make the job harder. Avoid sunlight.
Temperature Control: Maintain a consistent temperature for the best results.
Consistent temperatures are better for adhesives and paints. This prevents the pinstripe and adhesive from drying out quickly. This will also help with the quality.
Avoiding direct sunlight gives you better control over the process. You will achieve a better result when you are out of the sun. You will have a better outcome in the end.
Frequently Asked Questions
Question: Can I use a razor blade to remove the pinstripe?
Answer: It’s best to avoid using a razor blade. It can scratch the car’s paint. A plastic scraper is a safer option.
Question: What happens if I use too much heat?
Answer: Too much heat can damage the car’s paint. It can cause blistering or discoloration. Use the heat carefully.
Question: What should I do if the pinstripe tears?
Answer: If the pinstripe tears, apply more heat to soften the adhesive. Use the plastic scraper to lift the torn piece carefully.
Question: Can I use household items to remove the adhesive?
Answer: It’s best to use products made for this purpose, such as Goo Gone or adhesive remover. Household items may not be effective.
Question: How long does the entire process take?
Answer: The time varies depending on the pinstripe’s condition and your experience. It can take anywhere from 30 minutes to a couple of hours.
Final Thoughts
Removing a pinstripe from your car can improve its look. You now have the skills and knowledge to do this, using the right tools and steps. Remember, preparation and patience are important. Start by gathering your supplies. Carefully prepare your car. Then, slowly peel off the pinstripe using heat and a plastic scraper. Don’t rush; take your time. If adhesive residue remains, use an adhesive remover and clean the surface. Consider waxing the area to protect your paint. By following these steps, you can achieve professional results at home. Now you can restore your car’s look and enjoy a fresh appearance!