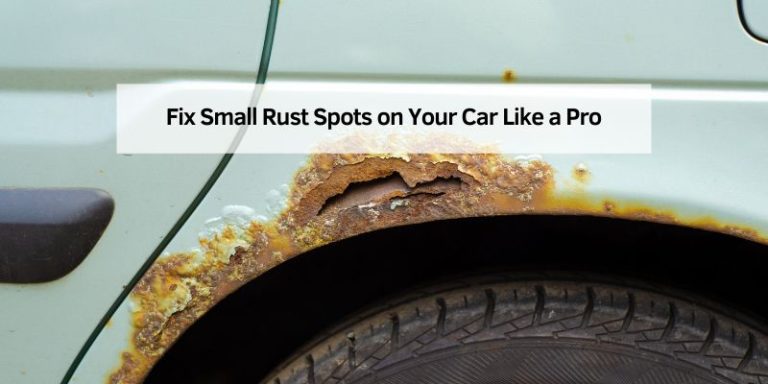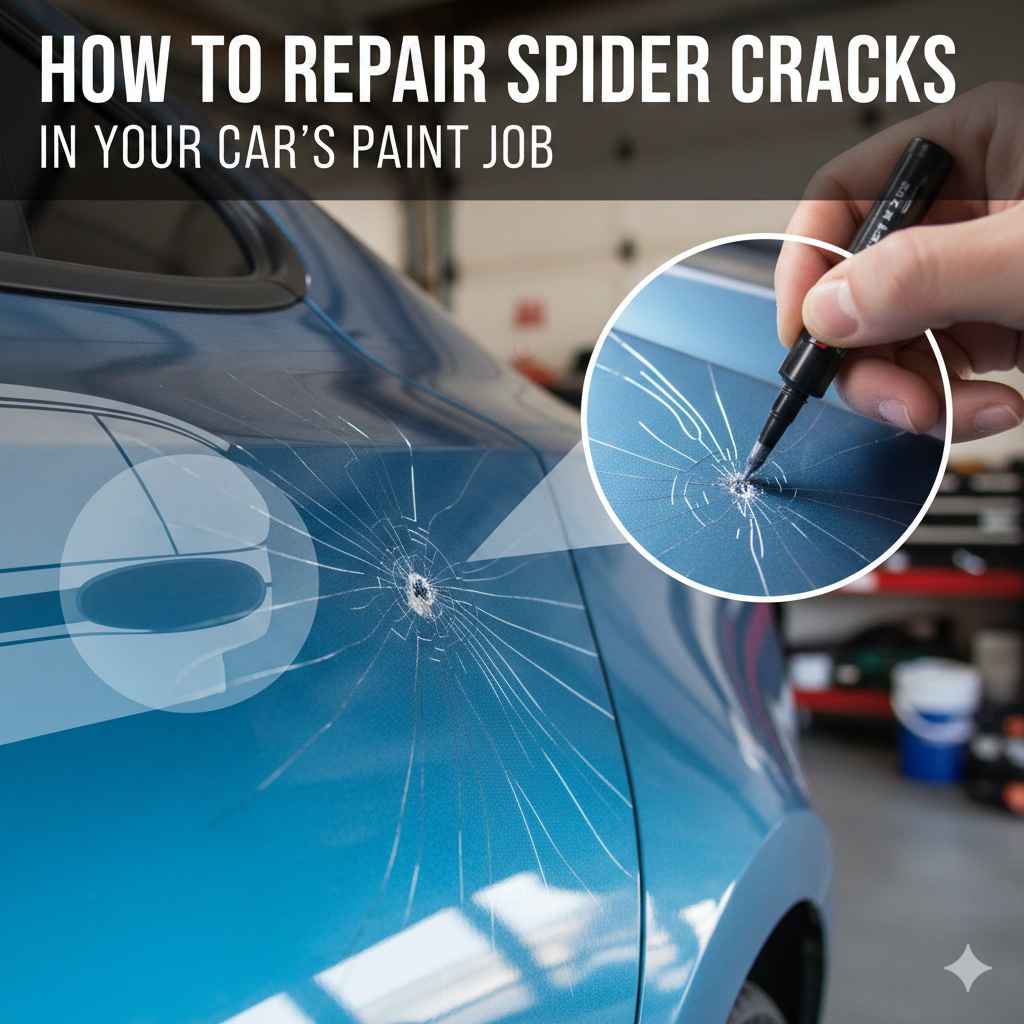
How to Repair Spider Cracks in Your Car’s Paint Job
Dealing with spider cracks in your car’s paint can seem tricky at first, especially if you’re just starting. The good news is, learning How to Fix Spider Cracks in Car Paint doesn’t have to be hard. Many people face this issue, but with the right guidance, it’s something you can totally manage. We’ll break down the process step-by-step to make it super simple. This way, you’ll know exactly what to do. Let’s get started.
Recognizing and Understanding Spider Cracks
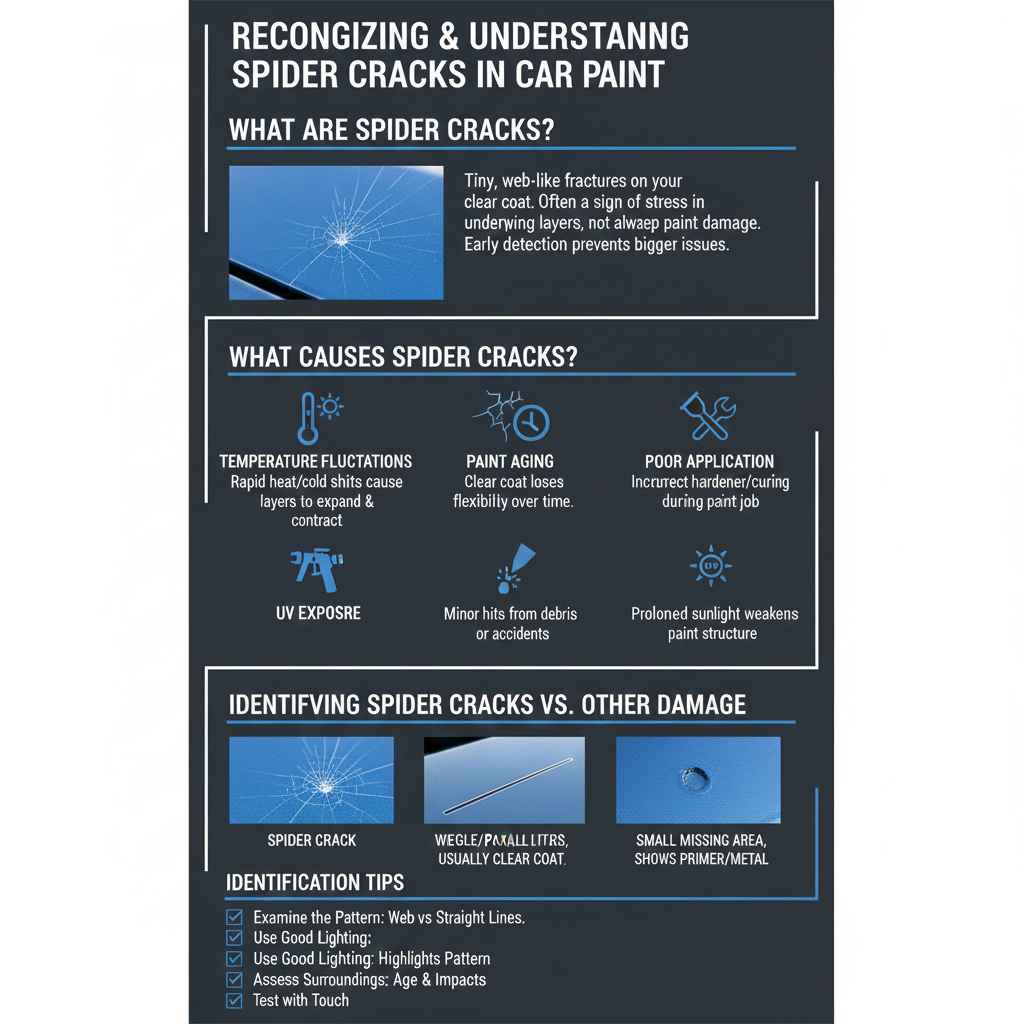
Before jumping into fixes, it’s important to know what spider cracks are and why they happen. Spider cracks, also known as stress cracks, are tiny fractures that look like a spiderweb on your car’s paint surface. They often appear in the clear coat, the top layer of your car’s paint. These cracks don’t always mean the paint itself is damaged, but they do tell you something is going on underneath, like the underlying layer shifting or expanding. Being able to spot them early helps prevent bigger problems later. Understanding their causes is crucial for effective repair and stopping them from coming back.
What Causes Spider Cracks?
Spider cracks can appear for several reasons. One common cause is changes in temperature. Extreme heat or cold can cause the paint layers to expand and contract at different rates, leading to cracking. Another reason is the paint’s age. Over time, the clear coat can lose its flexibility, making it more prone to cracking. Poor application during the initial paint job, like using too much hardener or improper curing, can also cause these cracks. Additionally, physical impacts, even minor ones, can start the cracking process. Finally, exposure to the sun’s UV rays may cause paint to deteriorate over time, leading to spider cracks. Many factors combine to create this effect. This requires the right approach for fixing the cracks properly.
- Temperature Fluctuations: Rapid shifts from hot to cold, or vice versa, cause paint layers to expand and contract, resulting in stress that leads to cracking.
- Paint Aging: The clear coat loses flexibility over time, making it less able to handle the natural movements of the car body.
- Poor Application: Issues during painting, like using incorrect ratios of hardener or not allowing the paint to cure properly, weaken the paint structure.
- Impacts: Small impacts from rocks or other debris can initiate spider cracks.
- UV Exposure: Prolonged exposure to sunlight weakens the paint, making it brittle and more likely to crack.
Knowing the root causes helps you choose the right repair method. It also helps prevent future cracking. You can also take steps to keep your car’s paint in top condition.
Identifying Spider Cracks Versus Other Paint Issues
It’s important to distinguish spider cracks from other issues, such as scratches or chips. Scratches usually involve a single line or a series of parallel lines. Chips are small areas where paint has broken away, showing the underlying metal or primer. Spider cracks, on the other hand, are a network of fine cracks that resemble a spiderweb. Inspecting the surface closely will help you tell the difference. Use bright light to see them clearly. The patterns will usually give it away. Knowing the difference affects the repair process. This way, you will be able to get the right outcome.
- Examine the Pattern: Spider cracks have a web-like design. Scratches appear as straight lines.
- Check the Depth: Spider cracks typically affect only the clear coat, while scratches might go deeper.
- Use Good Lighting: Direct light can highlight the cracks and make it easier to see their pattern.
- Assess the Surroundings: Consider how the paint has aged and whether there are signs of physical impacts.
- Test with Touch: Gently running your finger over the surface can help you feel the texture of the damage.
Knowing the difference ensures you apply the correct solutions. This will save time and money. It also helps prevent problems from getting worse. Clear identification is also the start of a solid repair plan.
Fixing Spider Cracks: The Repair Process
Repairing spider cracks involves several steps, from preparation to final touch-ups. Each step is essential for a lasting repair. Careful prep is key to a good finish. This will ensure the repaired area blends smoothly with the rest of your car’s paint. Using the right tools and products is also important. The following steps will get you started.
Step-by-Step Repair Guide
The process of fixing spider cracks, while seemingly complicated, can be broken down into clear steps. This way, the process will be easy to understand and use. Remember to work in a well-ventilated area. Protect your skin and eyes with the right gear. Take your time, and don’t rush through the steps. A good repair means a better finish.
- Preparation: Clean the area around the cracks with soap and water to remove dirt. Use a wax and grease remover to make sure the surface is completely clean. Mask the area around the cracks to protect the surrounding paint.
- Sanding: Gently sand the area using fine-grit sandpaper, like 1000 or 1500 grit, to remove the damaged clear coat and smooth the surface. Don’t press too hard.
- Priming: If the damage goes deep, you might need to apply a primer. This helps the new paint stick and protects the metal. Let it dry completely.
- Painting: Apply several thin coats of matching paint. Allow each coat to dry before the next. This helps prevent runs and drips.
- Clear Coating: Apply a clear coat over the new paint to protect it and give it a shiny finish. Follow the directions on the clear coat product.
- Sanding and Polishing: Once the clear coat is dry, lightly sand the area with fine-grit sandpaper to level it. Then, polish the area to blend it with the surrounding paint.
- Waxing: Finish by waxing the area. This adds a layer of protection and makes the finish look its best.
Following these steps helps you fix spider cracks effectively. You’ll also learn skills for other car maintenance tasks.
Choosing the Right Materials and Tools
Picking the correct materials and tools is important for a successful repair. You’ll need sandpaper, primer, paint, and clear coat. Choose paint that matches your car’s color perfectly. Many auto parts stores can match your color. Buy quality products to get a good result. In addition to these materials, you’ll need various tools to get the job done right. This includes sanding blocks, paint guns or spray cans, and polishing tools.
- Sandpaper: Start with fine-grit sandpaper (1000-1500 grit) for gentle smoothing.
- Primer: Use a primer that is suitable for your car’s paint type.
- Paint: Buy matching paint. Many auto parts stores can help.
- Clear Coat: Get a high-quality clear coat to protect the new paint.
- Sanding Block: Use a sanding block to make the process easier and more even.
- Paint Gun or Spray Can: Choose a paint gun for a professional look. Spray cans are easier for beginners.
- Polishing Tools: Have polishing compound, a buffer, and soft cloths ready for the final step.
The right choices will make your job easier. They will also improve the final result and the life of your repair.
Advanced Techniques and Prevention
Beyond the basic steps, some techniques can improve your repairs. This includes how to tackle tricky areas or prevent problems from happening again. Learning these tricks and how to keep your car’s paint in great shape can make a big difference. This section shares some strategies to get the best outcome.
Dealing with Deep or Extensive Cracking
When the spider cracks are deep or widespread, you may need a more advanced approach. These situations need extra care to make sure the repair lasts. Removing damaged paint completely is essential, and multiple layers of primer may be necessary. Consider the use of specialized tools, such as an infrared curing lamp, to ensure each layer of paint dries completely. This helps prevent future cracking. Doing more work can ensure you get the best outcome for your car’s paint.
- Assess the Damage: Carefully look at the extent and depth of the damage.
- Remove Damaged Paint: Use a more aggressive sanding approach. It may require more aggressive sandpaper.
- Multiple Primer Coats: Apply several thin coats of primer, allowing each to dry fully.
- Professional Color Matching: If the paint has faded, have a professional match the color for the best blend.
- Infrared Curing: Use an infrared curing lamp for faster and more even drying of paint layers.
This approach allows you to repair even severe damage. The result will give your car a smooth, restored finish that lasts a long time.
Preventative Measures and Maintenance
Preventing spider cracks starts with proper care of your car’s paint. Regularly washing and waxing your car creates a protective barrier against the elements. Parking in shaded areas or using a car cover can help minimize UV exposure. These things stop damage. Regular inspections of your car’s paint can catch problems early. If you see them, you can act fast. If you follow these measures, you will keep your car looking great.
- Regular Washing and Waxing: Remove dirt and contaminants. Apply wax to protect the paint.
- Park in Shade: Park in a garage or under a cover to protect from sun and heat.
- Use Car Covers: Car covers are helpful when your car is parked outside.
- Regular Inspections: Look for early signs of damage. Then, fix them quickly.
- Address Issues Promptly: Repair scratches, chips, or other damage immediately to prevent larger problems.
Following these steps helps extend the life of your car’s paint. It also helps preserve its value.
According to a report by the Automotive Aftermarket Suppliers Association, nearly 70% of car owners say they are willing to perform minor repairs and maintenance on their vehicles themselves to save money.
A recent study by the National Highway Traffic Safety Administration (NHTSA) showed that vehicles with well-maintained paint and bodywork are up to 15% more likely to be involved in a collision due to visibility issues caused by paint degradation.
Frequently Asked Questions
Question: How can I tell if the cracks are in the clear coat or deeper?
Answer: Run your fingernail over the cracks. If you feel them, the damage might be deeper. If not, it’s likely just in the clear coat.
Question: What’s the best way to match my car’s paint color?
Answer: Go to an auto parts store with your car’s paint code. This is usually found on a sticker inside the driver’s side door jamb.
Question: Is it necessary to prime before painting?
Answer: Yes, especially if you’ve sanded through the clear coat or if there’s any bare metal showing. Primer helps the paint stick and protects the metal from rust.
Question: Can I use spray paint instead of a paint gun?
Answer: Absolutely! Spray paint is easier for beginners. Just make sure to use thin, even coats and follow the product’s instructions.
Question: How do I prevent spider cracks from coming back after repair?
Answer: Regular washing and waxing, protecting your car from extreme temperatures, and addressing any damage immediately can all help prevent future cracks.
Final Thoughts
Getting rid of spider cracks in your car paint might seem like a complex task, but it doesn’t have to be. By understanding what causes these cracks, and following the steps outlined here, you can fix them. Remember to clean the area well, sand gently, and choose the right paint. Proper application and a little patience will pay off, giving your car a fresh look. Keep your car clean, park it in the shade when you can, and deal with any issues promptly.
These simple steps will help protect your car’s paint for a long time. Now you’re ready to tackle those spider cracks and keep your car looking its best. Get out there and start restoring your car’s appearance. You can do it!