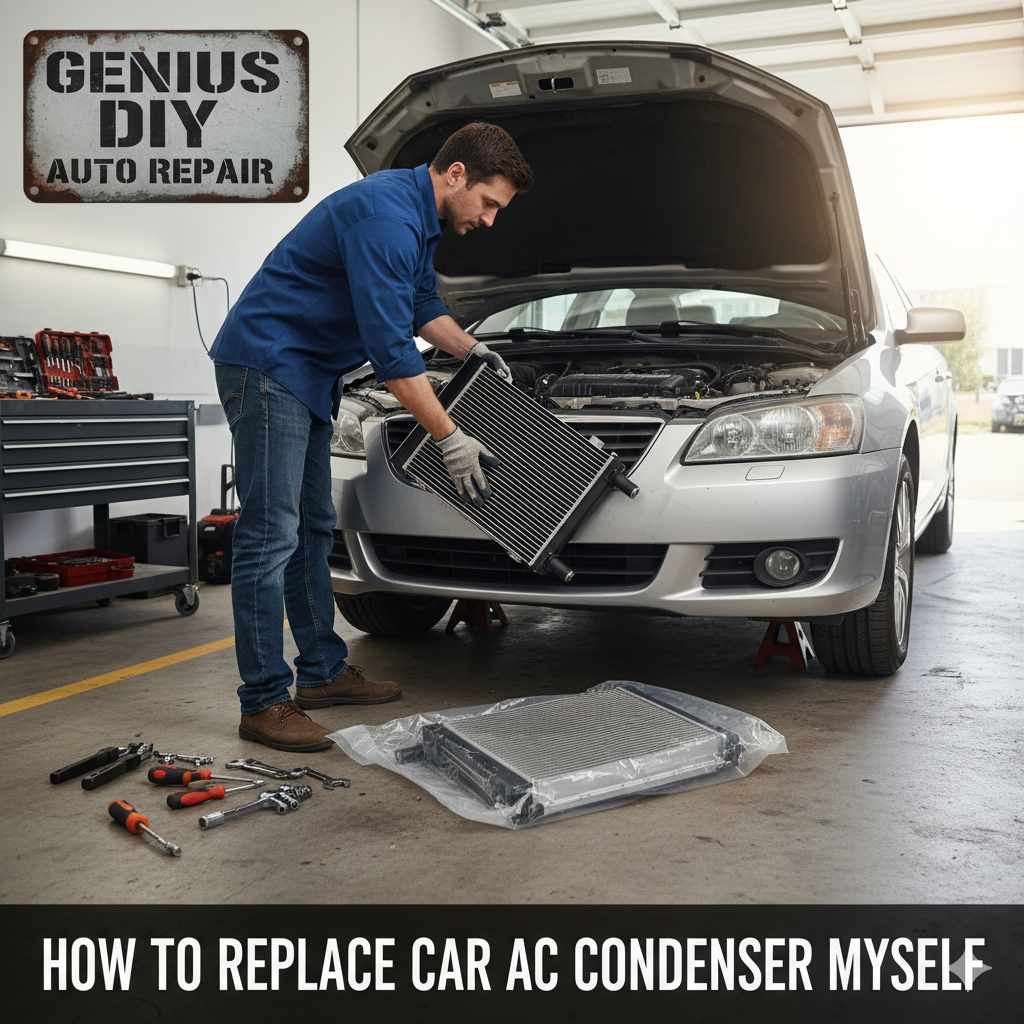
How to Replace a Car AC Condenser Yourself: Full DIY Guide
Yes, you can replace your car’s AC condenser yourself with basic tools, about 4-8 hours, and a vacuum pump to properly evacuate the system afterward. The refrigerant recovery step is the one part you legally cannot skip or do without the right equipment — everything else is standard wrench work.
Quick Answer
Yes, replacing a car AC condenser is a beginner-friendly DIY job — expect 4-8 hours. You do NOT need an EPA 609 certification to buy small (2 lb or less), self-sealing cans of R134a or R1234yf for your own vehicle, but you cannot legally vent old refrigerant into the air; it must go through a recovery machine. Don’t blow out a brand-new condenser with compressed air — drain and measure its factory oil charge instead.

Getting hot under the collar because your car’s air conditioning has decided to take a vacation? It’s frustrating, especially when the sun is blazing. A common culprit for AC woes is a faulty condenser. But don’t sweat it! Replacing your car AC condenser yourself is totally achievable, even for beginners. This guide will walk you through everything, step-by-step, making a job that sounds scary actually manageable. Let’s get your car blowing cold air again!
Why Your Car AC Condenser Needs a Fix
Your car’s AC system is like a circulatory system for cool air. The condenser is a key player, working hard to turn hot, high-pressure refrigerant gas into a warm, high-pressure liquid. Think of it like the radiator for your AC – it needs to dissipate heat effectively. When it’s not doing its job, you get weak or no cold air.
Common issues arise from:
Road Debris: Small rocks, bugs, and general road gunk can easily get kicked up and puncture the delicate fins of the condenser.
Corrosion: Over time, especially in areas with salt on the roads or high humidity, the metal components can corrode, leading to leaks.
Physical Damage: Accidents, even minor bumps, can bend or damage the unit.
Wear and Tear: Like any component, condensers have a lifespan.
If your AC is blowing warm, you hear strange noises, or you notice oily residue around the condenser, it’s likely time for a replacement.
Can I Really Replace My Car AC Condenser Myself?
Absolutely! While some car repairs require specialized tools and deep mechanical knowledge, replacing an AC condenser is well within the reach of a determined DIYer. You’ll need some basic tools, a bit of patience, and this guide. It’s a fantastic way to boost your car maintenance confidence and save a significant chunk of money compared to professional labor costs. The key is understanding the process and taking your time.
Know the rule: Under EPA regulations, DIYers do not need Section 609 certification to buy small containers (2 lbs or less) of R-134a or R-1234yf with self-sealing valves for their own vehicle. Certification is only required to purchase larger bulk containers, or to service someone else’s vehicle for pay (Source: EPA MVAC regulatory requirements, epa.gov/mvac). Venting refrigerant to the atmosphere is illegal either way.
Do You Need EPA Certification to Buy Refrigerant for Your Own Car?
No — for your own vehicle, you can legally buy small, self-sealing cans of R-134a or R-1234yf (2 lbs or less) without any EPA certification; these are the same cans sold at auto parts stores for DIY recharge kits. You would only need EPA Section 609 certification to buy larger bulk containers, or if you’re servicing someone else’s car for pay. What you can never legally do, certified or not, is vent old refrigerant into the air — it has to go through a recovery machine, which is why Step 3 below can’t be skipped.
Tools and Supplies You’ll Need
Gathering your tools before you start is crucial. It prevents frustrating pauses in your workflow.
| Tool/Supply | Purpose |
|---|---|
| Socket Set (Metric and SAE) | To remove bolts and nuts securing the condenser and other components. |
| Ratchet Wrench | To drive the sockets. |
| Screwdrivers (Various sizes) | For plastic clips and fasteners. |
| Pliers (Various types) | For hoses, clamps, and stubborn clips. |
| Adjustable Wrench | For specific bolt sizes. |
| Safety Glasses | Essential eye protection. |
| Gloves (Nitrile or Heavy-duty) | To protect your hands from grease and refrigerant. |
| New AC Condenser | Make sure it’s the correct part for your vehicle make, model, and year. |
| AC Refrigerant (Correct type for your car) | Usually R134a or R1234yf. Check your owner’s manual or under the hood. |
| AC Recharge Kit with Gauge | To safely add refrigerant and monitor pressure. |
| Vacuum Pump (Can be rented) | Crucial for removing moisture and air from the system. |
| Manifold Gauge Set (Comes with some vacuum pump kits or can be rented) | Helps monitor AC system pressures. |
| O-ring Seal Kit | For the AC line connections to prevent leaks. |
| Shop Rags and Cleaner | For wiping up spills and residue. |
| Possibly a New Receiver Drier/Accumulator | Recommended to replace whenever the AC system is opened. |
Important Note on Refrigerant: Handling AC refrigerant requires care. It’s under pressure and can cause frostbite. If you’re unsure about using refrigerant or a vacuum pump, consider renting the tools and getting guidance. Many auto parts stores offer tool rental programs. Also, always use the correct type of refrigerant specified for your vehicle. Using the wrong type can damage your system. You can find this information in your owner’s manual or on a sticker under the hood.
Our Pick: AC Condenser Swap Toolkit
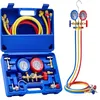
Orion Motor Tech 3-Way AC Manifold Gauge Set
The gauge set this guide’s evacuation and recharge steps assume you have — reads both high and low side pressure, works with R134a self-sealing couplers.
View Our Pick on Amazon
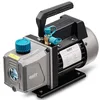 For Step 6 (Evacuation) 3.5 CFM vacuum pump — pulls moisture and air out of the system before recharge, the step you can’t skip after opening the lines. Check on Amazon → |
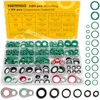 For Every Line You Open 265-piece O-ring kit — replace every seal you disconnect, since reusing old O-rings is the #1 cause of a new-condenser leak. Check on Amazon → |
 For Recharge (No Cert Needed) Self-sealing recharge hose and gauge for small cans — the exact type of DIY-legal, no-certification-required setup this guide covers. Check on Amazon → |
As an Amazon Associate we earn from qualifying purchases.
Safety First!
Before diving in, let’s talk safety. This is paramount.
- Work in a Well-Ventilated Area: Garages are fine if the door is open. Never work in a sealed space.
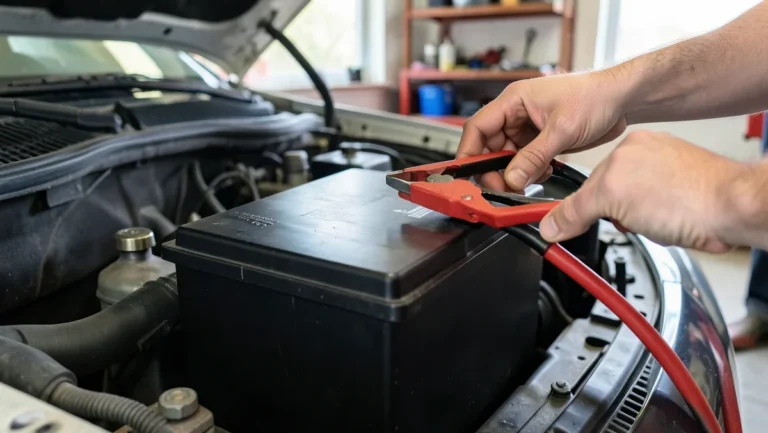
- Disconnect the Battery: Always disconnect the negative battery terminal before starting any work on your car’s electrical or AC system.
- Eye Protection: Wear safety glasses at all times. AC components can be under pressure, and flying debris is a risk.
- Gloves: Protect your hands from grease, sharp edges, and refrigerant.
- Let the Car Cool Down: Engine and exhaust components can be very hot.
- Refrigerant Handling: Refrigerant is harmful if inhaled or if it contacts skin. It can also damage the environment if released. Following EPA guidelines is important.
Step-by-Step: How to Replace Your Car AC Condenser
Let’s get down to business. This process involves opening the AC system, so there are a few critical steps that shouldn’t be skipped.
Step 1: Prepare Your Workspace and Vehicle
1. Park on a Level Surface: Ensure your car is stable.
2. Engage the Parking Brake: For extra safety.
3. Open the Hood: Give yourself plenty of working room.
4. Disconnect the Battery: Locate the negative battery terminal and loosen the clamp with a wrench. Remove the cable and secure it away from the post.
5. Locate the Condenser: It’s typically found at the front of the car, in front of the radiator, often with visible fins.
Step 2: Access the Condenser
This is where your tools come in. The exact procedure varies by vehicle, but generally involves removing parts that block access to the condenser.
- Remove the Front Bumper Cover (If Necessary): Many cars require this for full condenser access. Look for screws and clips along the edges and wheel wells.
- Remove the Grille: This might also obstruct your view and access.
- Remove Radiator Fan Shroud: You might need to unbolt the fan itself or just the shroud holding it. Be careful not to damage the fan blades or motor.
- Identify AC Lines: You’ll see two refrigerant lines (high-pressure and low-pressure) connected to the condenser.
Step 3: Safely Recover Refrigerant (Crucial!)
You absolutely cannot just disconnect AC lines. Refrigerant needs to be recovered professionally or with specialized equipment. Releasing it into the atmosphere is illegal and harmful to the environment.
If you don’t have a certified refrigerant recovery machine, this is where you might need to take your car to a shop for this specific step. However, if you’ve rented a vacuum pump and manifold gauges, you’ll connect them to your AC system to draw out the refrigerant. Follow the instructions that come with your specific recovery equipment. This usually involves connecting hoses to the service ports on your AC system and running the recovery machine.
For DIYers aiming to do the full job, renting a “back seat” recovery machine is an option. Alternatively, some DIY-friendly AC recharge kits include basic “evacuation” or vacuuming capabilities, but a dedicated vacuum pump is far superior for system health.
Step 4: Disconnect and Remove the Old Condenser
1. Loosen AC Line Fittings: Use a backup wrench to prevent twisting the AC lines themselves. On the condenser, there will be two fittings where the refrigerant lines connect. These are usually secured with nuts. Loosen and remove them. Have a rag ready, as a small amount of residual refrigerant oil might drip out.
2. Replace O-rings: When you disconnect AC lines, the rubber O-rings at the connection points should always be replaced. Keep the old O-rings with you and purchase a new set of AC O-rings specifically designed for your vehicle and the type of refrigerant used. Lubricate the new O-rings with a specialized AC lubricant (like PAG oil) before installation.
3. Remove Mounting Bolts: The condenser is usually held in place by several bolts or nuts. Locate and remove them.
4. Carefully Remove Condenser: Gently maneuver the old condenser out. It might be attached to brackets or rubber isolators. Be careful not to damage nearby components like the radiator or cooling fan.
Should You Blow Out a New Condenser With Compressed Air First?
No — a brand-new condenser isn’t something you blow out with shop air before installing it. It ships with a small, measured amount of refrigerant oil already inside, and blowing it out with compressed air just removes oil the system needs. Instead, drain the new condenser’s oil into a measuring cup, note the amount, and add that same amount of fresh PAG or POE oil (matching your system type) back into the system during installation. Compressed shop air also introduces moisture into an open AC system, which is exactly what the vacuuming step (Step 6) exists to remove — so skip the air blast and go straight to draining and measuring instead.
Step 5: Install the New Condenser
1. Transfer Brackets or Isolators: If your new condenser didn’t come with them, carefully transfer any mounting brackets or rubber isolators from the old unit to the new one.
2. Position the New Condenser: Carefully place the new condenser into its mounting location. Align the holes with the mounting points.
3. Secure the Condenser: Install and tighten the mounting bolts or nuts. Do not overtighten.
4. Connect AC Lines: With the new O-rings lubricated and in place, reconnect the refrigerant lines to the condenser. Tighten the fittings securely, again using a backup wrench on the tubing if possible to avoid stressing the AC lines.
Step 6: Evacuate the AC System (Vacuuming)
This is one of the most critical steps in ensuring your AC system functions correctly and lasts. When the system is opened, moisture and air inevitably enter. These contaminants can freeze, clog the system, corrode components, and reduce cooling efficiency. Vacuuming removes them.
1. Connect Vacuum Pump and Gauge Set: Attach your manifold gauge set to the high- and low-pressure service ports of your AC system (usually accessible on the lines coming from the firewall or compressor). Connect the vacuum pump to the appropriate port on the manifold set.
2. Start the Vacuum Pump: Turn on the vacuum pump.
3. Pull a Deep Vacuum: Let the pump run for at least 30-60 minutes (some recommend longer, up to 2 hours). You want to pull the system down to at least 29 inches of mercury (inHg).
4. Check for Leaks: After the vacuum pump has run for the recommended time, turn off the pump but keep the manifold gauge set connected for another 30-60 minutes. Watch the gauges. If the vacuum level drops significantly, you have a leak somewhere that needs to be found and fixed. You may need to re-tighten fittings or replace O-rings.
Step 7: Recharge the AC System
Once you’ve confirmed the system holds a vacuum, you’re ready to add refrigerant.
1. Connect Refrigerant Canister: Connect the refrigerant can to the low-pressure side service port via your manifold gauge set. Ensure the canister is upright for liquid charging or inverted for vapor charging, depending on the specific refrigerant and instructions.
2. Follow Gauge Instructions: Carefully follow the instructions on your AC recharge kit or manifold gauge set for adding refrigerant. Your car’s owner’s manual or an under-hood sticker will specify the exact amount of refrigerant needed (usually in ounces or pounds). Overcharging can be as bad as undercharging.
3. Monitor Pressures: As you add refrigerant, watch the pressures on your manifold gauge set. The target pressures will vary based on ambient temperature. Many recharge kits include a temperature chart.
4. Start the Engine and AC: Once the system is near the correct charge, start the engine, turn the AC to its coldest setting and highest fan speed. Continue to monitor pressures. The low-side pressure will typically be between 25-50 psi and the high-side pressure between 150-250 psi when the engine is running and the AC is on, but this is highly dependent on ambient temperature.
5. Disconnect and Cap: Once the system is properly charged and cycling correctly, carefully disconnect your recharge hoses, ensuring you don’t release refrigerant. Reinstall service port caps.
Step 8: Reassemble and Test
1. Reinstall Removed Parts: Put back any grilles, fan shrouds, bumper covers, or other components you removed in reverse order.
2. Reconnect Battery: Reconnect the negative battery terminal.
3. Test the AC: Start the engine, turn on the AC, and feel the air coming out of the vents. It should be noticeably cold. Let it run for a few minutes to ensure the system is working efficiently and no new noises are present.
Receiver Drier or Accumulator Replacement
Whenever you open an AC system, especially if it’s been open for more than an hour or so, it’s highly recommended to replace the receiver drier (in systems with a receiver/drier) or the accumulator (in systems with an accumulator). These components act as desiccant (moisture absorber) and a filter for the refrigerant. Once they absorb moisture from the air, their effectiveness is significantly reduced. Replacing them ensures the longevity and efficiency of your AC system.
The receiver drier is usually located in the high-pressure liquid line between the condenser and the expansion valve or orifice tube. The accumulator is typically located on the low-pressure suction line between the evaporator and the compressor.
The process is similar to replacing the condenser: locate the component, disconnect the refrigerant lines (remembering new O-rings), unbolt it, and install the new one, ensuring proper lubrication and tightening of lines.
What If It Still Doesn’t Work?
If you’ve gone through the entire process and your AC is still blowing warm, or if you notice new issues, don’t get discouraged. It’s time to troubleshoot:
If cold air still isn’t coming through after the swap, work through how to test your AC compressor next, and double-check your evacuation with a proper AC vacuum and leak-down test before assuming the new condenser itself is faulty.
- Check Refrigerant Levels Again: You might be undercharged or overcharged. Refer to your gauge set and temperature charts.
- Listen for the Compressor Clutch: When you turn on the AC, you should hear the compressor clutch engage with a click, and the center of the pulley should spin with the belt. If not, the issue might be electrical (fuse, relay, pressure switch) or the compressor itself.
- Inspect for Leaks: Look for oily residue around fittings, which indicates a refrigerant leak.
- Check Electrical Components: Fuses, relays, and pressure switches can fail. Consult your vehicle’s manual for their locations.
- Consider Professional Help: If you’re stumped, it’s okay to seek help from a qualified AC technician. They have advanced diagnostic tools to pinpoint more complex issues like expansion valve problems or internal compressor damage.
FAQ about Replacing a Car AC Condenser
How long does it typically take to replace a car AC condenser?
For a beginner, with all tools and parts ready, it can take anywhere from 4 to 8 hours. This includes the critical vacuuming and recharging steps. Experienced mechanics can do it much faster.
Can I just add refrigerant if my AC isn’t cold, without replacing the condenser?
Adding refrigerant is only a temporary fix if the system is low due to a leak. If the condenser is damaged, the system will just lose its refrigerant again. It’s best to fix the underlying problem. Also, simply adding refrigerant without checking pressures can damage your system.
Where can I find the correct type and amount of refrigerant for my car?
Check your vehicle’s owner’s manual, or look for a sticker under the hood, usually on the radiator support or the hood itself. This sticker will specify the type of refrigerant (e.g., R134a, R1234yf) and the system capacity in ounces or pounds.
Do I need a special license to buy AC refrigerant?
In the United States, you do not need a special license to buy small (2 lb or less), self-sealing cans of R134a or R1234yf refrigerant for DIY use on your own vehicle from major auto parts stores. If you plan to purchase larger bulk containers, you’ll need EPA Section 609 certification — not Section 608, which covers stationary refrigeration/HVAC, not motor vehicles. Always check current EPA rules before buying in bulk.
What’s the difference between a condenser and a radiator?
Both are heat exchangers with fins, but they serve different purposes. The car’s radiator cools the engine coolant using airflow. The AC condenser cools the hot refrigerant gas, turning it into a liquid before it goes further into the AC system. The condenser is typically located in front of the radiator.
Products related to this article
Sponsored / affiliate links. As an Amazon Associate I earn from qualifying purchases. I may earn additional commission from eligible campaigns.