How to Repair a Torn or Ripped Car Seat (DIY Steps)
Repairing a ripped car seat might seem daunting at first. Yet, with the right guidance, anyone can tackle this challenge.
A torn car seat not only affects your vehicle’s interior look but can also reduce its resale value. Fixing it yourself can save you money and restore your car’s comfort. It’s a skill worth learning, especially if you’re a car enthusiast or simply wish to maintain your vehicle.
This guide will explore straightforward methods to mend your seat effectively. We’ll cover easy steps, necessary tools, and helpful tips. Whether it’s a small tear or a bigger rip, you’ll gain the confidence to handle it. Dive in to discover how simple repairs can make a big difference in your car’s appearance and value.
Assessing The Damage
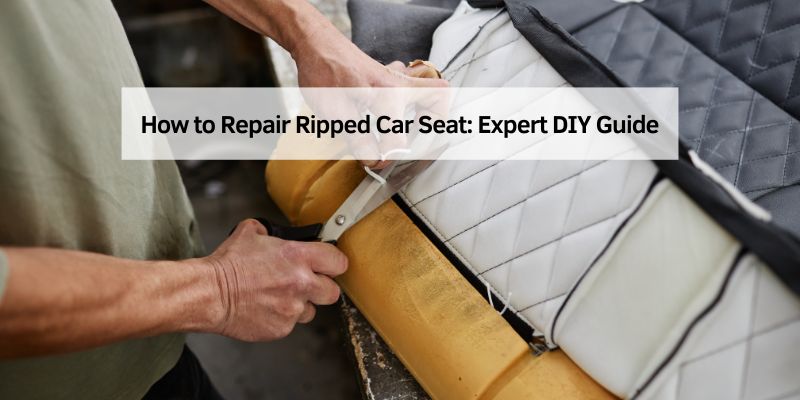
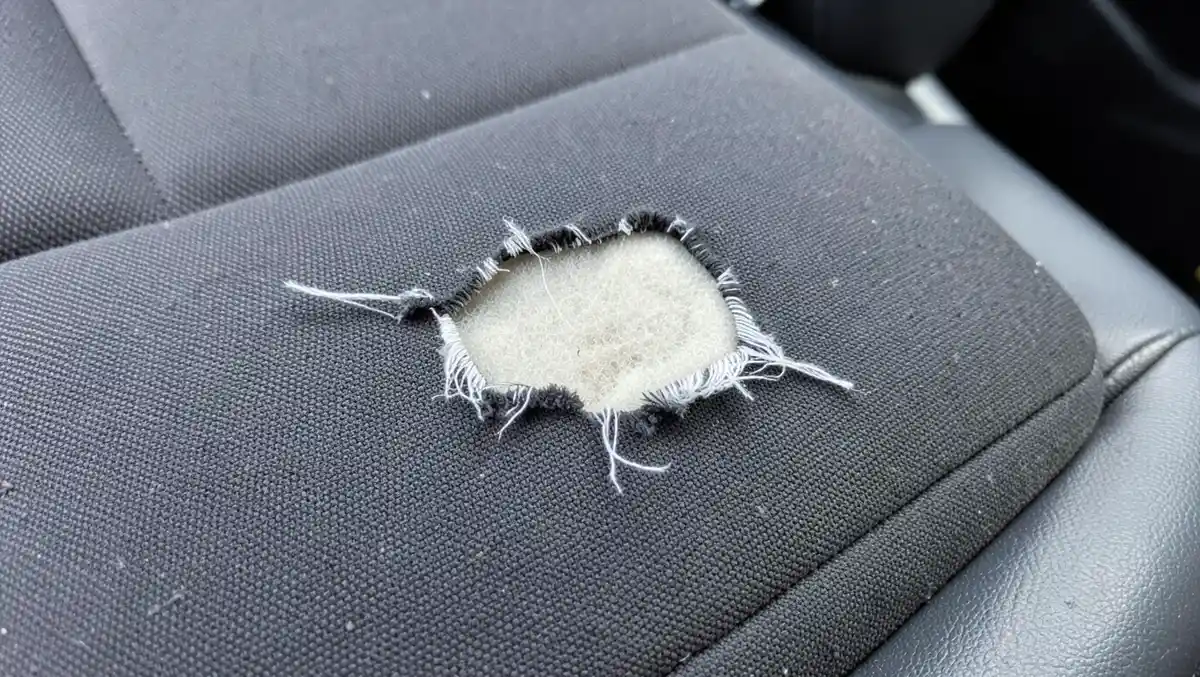
Begin by carefully assessing the damage to your ripped car seat. Identify the type of fabric and the size of the tear. This helps in choosing the right repair method and materials for a seamless fix.
Identify The Rip Type
The repair method you choose depends on how the seat actually tore. A clean, straight rip that runs along a seam line is the easiest fix — it usually just needs to be sewn shut by hand or machine. A jagged tear that cuts diagonally across the fabric’s weave is trickier, since the two edges won’t line back up evenly on their own; these often need a backing patch glued or stitched behind the tear before the visible side gets sewn closed. A punched-through hole, the kind left by keys, a dog’s claws, or a dropped tool, can’t be pulled shut at all — it needs a patch that replaces the missing material. Run your fingers along the damage before buying anything, so you know whether you’re dealing with a seam split, a diagonal tear, or actual missing fabric.
Evaluate Repair Feasibility
A tear under two or three inches in woven fabric or vinyl is usually a weekend job with nothing more than a needle, thread, and a patch kit. Once a tear runs longer than that, crosses a seam junction, or involves genuine leather, the calculation changes — leather repairs mean matching grain, color, and thickness, and a poorly blended leather patch is far more noticeable than a rough fabric one. Be honest about your own comfort with hand-sewing or a machine, since a rushed job on a visible seat panel can end up looking worse than the original rip. It’s also worth getting a quick quote from a local upholstery shop before committing to DIY: a straightforward stitch-and-patch repair typically runs $75 to $150, while a full seat panel replacement can climb past $300, so you can weigh that against the cost of your own materials and time.
Gathering Essential Tools
A basic repair kit covers most fabric tears: a curved upholstery needle, heavy-duty polyester or nylon thread (regular sewing thread is too thin and will snap under seat pressure), fabric glue, and a sharp pair of scissors for trimming frayed edges and cutting patch material to size. Many kits also include pre-colored patches sized for common car-seat fabrics, saving you the trouble of hunting down a close color match on your own.
Bigger or tougher jobs call for a few more specialized supplies. A curved upholstery needle with a triangular point punches through thick, multi-layer fabric far more easily than a standard straight sewing needle. Leather seats need leather patches and leather-specific adhesive, since a fabric patch won’t bond properly to a coated leather or vinyl surface. A seam sealant or fabric fusion adhesive run along the finished stitching also keeps the thread from loosening as the seat flexes under repeated use.
Choosing The Right Materials
Match your patch material to what’s already on the seat rather than grabbing whatever fabric happens to be on hand. Durable fabrics like vinyl or leather hold up to daily wear far better than a generic cotton scrap, and a close color and grain match is really what separates an invisible repair from an obvious patch job. If you can’t find an exact match, lean slightly darker rather than lighter — it blends in more convincingly under the seat’s normal lighting and looks less professional to point out later.
Skip standard sewing thread for this job. A bonded nylon or polyester upholstery thread, often labeled “heavy duty” or rated at a higher tex count, resists the constant flexing and body weight a car seat takes every day, where thin all-purpose thread tends to snap within a few months. Pair it with a sharp, heavy-gauge needle, since a fine needle meant for clothing will bend or break trying to push through vinyl, leather, or several layers of fabric at once.
Preparing The Seat
Gather your cleaning supplies — a soft cloth, mild soap, and warm water — and wipe down the area around the tear, working a few inches beyond the damage on every side. Any dirt or dust left embedded in the fabric weave will keep glue from bonding properly and can work its way under the stitches, weakening the repair from the inside out. Let the area air-dry completely before moving on; even a little trapped moisture will stop fabric glue from setting the way it’s supposed to.
Line the two torn edges back up as closely as they sat before the tear happened, smoothing the fabric flat with your fingers so the weave or grain matches on both sides instead of overlapping or gapping. A few sewing pins placed perpendicular to the tear will hold everything in position while you work, which matters most on curved seat bolsters where the fabric tends to shift. Take an extra moment here — a rip pinned crooked will sew up crooked no matter how careful the stitching is.
Sewing Techniques
Hand-sewing a whip stitch, also called an overcast stitch, is the standard method for a straight tear. Work from the underside of the fabric so the stitches stay hidden once you flip it back over, and space each stitch closely — roughly 1/8 inch apart — since tight, closely packed stitches spread the load across more thread and are far less likely to tear back open under normal use. Pull each stitch snug but not so hard that it puckers the fabric, and finish with two or three overlapping knots rather than one; a single knot in upholstery thread can work itself loose after months of sitting and flexing.
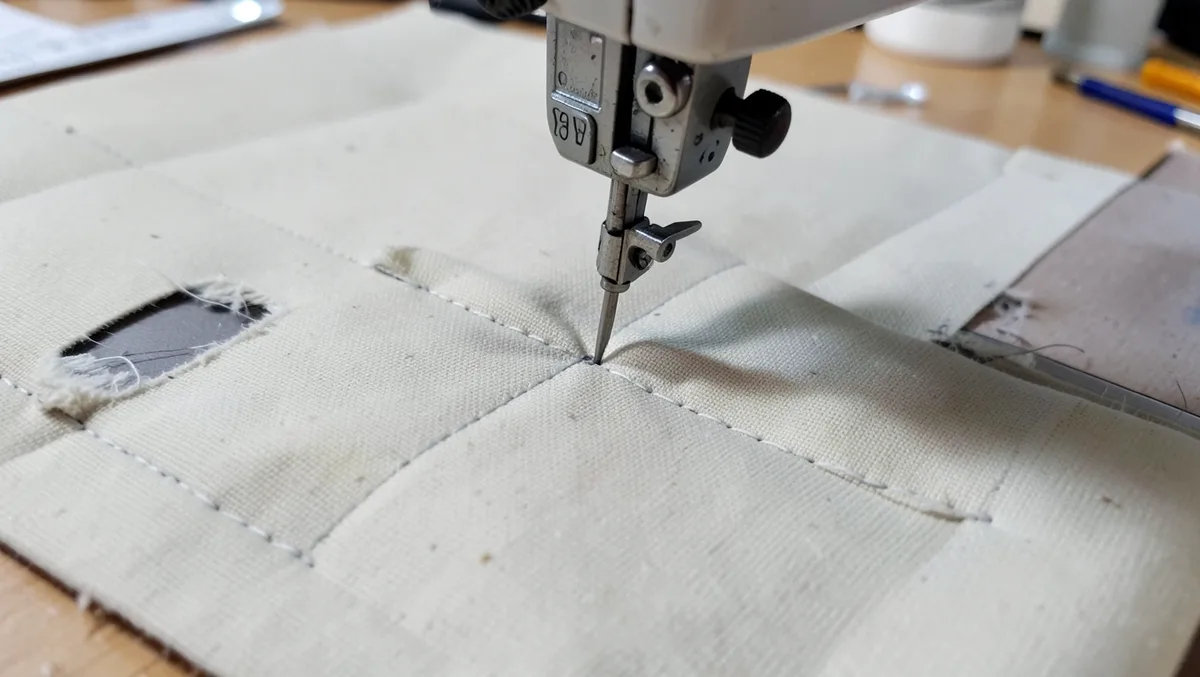
A sewing machine handles longer tears faster and more evenly than hand-stitching. Load it with strong thread in a matching color, set a straight stitch slightly longer than you’d use on clothing (around 3 to 3.5mm), and always run a test line on a fabric scrap first to dial in the tension — too tight and the thread will pucker or cut into the fabric, too loose and the seam will gap open under load. Backstitch two or three stitches at both the start and end of the seam to lock the thread in place, then trim the loose ends close to the fabric so nothing snags on clothing afterward.
Applying Adhesive Patches
Wipe the area around the tear clean and let it dry fully first — leftover dust or oil on the surface is the most common reason an adhesive patch fails to bond within a few weeks. Position the patch over the tear so it overlaps the damaged area by at least half an inch on every side, then press from the center outward with your fingers or the flat of your palm to push out any trapped air as you go, finishing by smoothing the outer edges down flush with the surrounding fabric.
Patch Placement
Cut or select a patch that extends past every edge of the tear by roughly half an inch — a patch sized to the exact tear length almost always ends up shifting or peeling at a corner within weeks. Dry-fit it over the damage first to confirm full coverage before peeling off any adhesive backing, then press it into place starting from the center and working outward so it bonds evenly instead of trapping air underneath the middle.
Securing The Patch
Run a hard roller, the back of a spoon, or any smooth, blunt object firmly over the patch to seat it fully into the adhesive; hand pressure alone often isn’t enough to activate a strong bond. Let the repair cure undisturbed for at least a few hours (check your adhesive’s label, since some fabric glues need up to 24 hours to fully cure), and avoid sitting on that part of the seat during that window. Once it’s set, run your hand over the patch — it should feel flat and firmly anchored, with no lifting at the corners.
Final Touches
By this point the process comes down to three things done in order: get the area completely clean, close the tear with the method that matches how it tore, and reinforce anything that still feels loose. A repair kit to patch and stitch the tear together handles the vast majority of rips without a shop visit.
Trimming Excess Threads
Snip any stray thread ends close to the fabric with a sharp, small pair of scissors — dull blades tend to fray or drag at the stitching instead of cutting cleanly. A few loose threads left dangling are usually what give an otherwise solid repair away at a glance, so take the extra minute to tidy them up before calling the job finished.
Reinforcing The Repair
Run a second pass of stitches over any section that still feels loose, or wherever the original tear sat under the most stress, such as near a seam corner or a spot that flexes every time someone sits down. A slightly over-built repair at these stress points will typically outlast the rest of the seat, where a repair sewn to the bare minimum tends to reopen first.
A repair done this carefully holds up for years of normal use instead of reopening after a few months. The difference between a fix that lasts and one that doesn’t usually comes down to these small details — clean edges, tight stitches, and a bit of reinforcement where the fabric works hardest.
Maintaining Repaired Seats
Regular cleaning does more than keep the seat looking fresh — it protects the repair itself. A quick vacuum to lift crumbs and grit, followed by a soft brush over the fabric, keeps everyday dirt from grinding into the weave and stressing the stitching over time. For spot stains, a damp cloth with a mild, unscented soap is gentler on both the fabric and the patch adhesive than a harsh upholstery cleaner, which can break down glue-based repairs faster than normal wear ever would. Let the seat air-dry completely before anyone sits on it again, since trapped moisture is one of the more common reasons a patch starts lifting at the edges, and a light cleaning pass once a month is usually enough to keep both the seat and the repair looking good.
Preventing Future Damage
A removable seat cover is one of the easiest ways to head off a repeat tear, since it takes the brunt of spills, pet claws, and everyday scuffs, and most versions unclip in seconds for a wash. Seat covers aside, it’s worth simply being mindful of what rides in your back pocket, since loose keys, pens, and tools are the most common cause of small rips in the first place. A windshield sunshade helps indirectly too, because UV exposure gradually dries out and weakens both fabric and vinyl, making them more likely to tear the next time something catches on them. Checking your seats every few months for early fraying lets you patch a small snag before it turns into the kind of rip this guide is written for.
Frequently Asked Questions
How Do You Fix A Ripped Fabric Car Seat?
To fix a ripped fabric car seat, sew the tear with a needle and strong thread. Use a fabric patch if necessary.
How Much Does It Cost To Fix A Ripped Car Seat?
Repairing a ripped car seat can cost between $75 and $300. The price depends on the material and extent of damage. Leather repairs tend to be more expensive than fabric ones. Getting quotes from local upholstery shops can help find the best deal.
Can Holes In Car Seats Be Repaired?
Yes, holes in car seats can be repaired. Various methods exist, like patching, sewing, or using repair kits. Professional services provide better results, ensuring durability and appearance. DIY options are available for quick fixes, but might not last long. Regular maintenance helps prevent further damage.
How To Cover A Rip In A Car Seat?
To cover a rip in a car seat, use a fabric patch or upholstery adhesive. Clean the area first. Apply the patch firmly and ensure it matches the seat color. For a seamless look, stitch or use fabric glue. Consider professional repair for large rips.
Conclusion
A ripped car seat almost never needs a trip to an upholstery shop. With a needle, the right thread, and a patch that matches your seat’s material, most tears can be closed up in well under an hour — the real keys to a repair that lasts are matching the fix to the type of tear, cleaning the area properly first, and reinforcing the stitching at the spots under the most stress.
From here, keeping the seat clean and covered does more to prevent the next tear than any single product can. A little maintenance now is a lot cheaper than a full seat replacement later.
Now, take pride in your handiwork. Happy driving!
Products related to this article
Sponsored / affiliate links. As an Amazon Associate I earn from qualifying purchases. I may earn additional commission from eligible campaigns.