How to Remove a Car Door Panel: Steps & Broken Clip Fix
Most car door panels come off in under 30 minutes with a $10 plastic trim tool, four screws, and a plan for the wiring clips underneath — but skip the trim tool for a screwdriver and you’ll likely snap a $2 plastic clip, or worse, crack the panel itself. This guide covers where the hidden screws hide, how to release clips without breaking them, and what a broken clip actually costs to fix.
Quick Answer
To remove a car door panel: disconnect the battery, remove the door handle and window switch panel, take out any hidden screws (often under small covers), then use a plastic trim tool to pop the perimeter clips before lifting the panel up and off the window track. Most jobs take 15–30 minutes with basic hand tools.
Tools Needed
Taking off a car door panel requires the right tools. Using proper tools makes the job easier and safer. Without them, you risk damaging the panel or hurting yourself.
Below are the essential tools to prepare before starting. Each tool has a specific role in removing the door panel smoothly.
Flathead Screwdriver
This tool helps pry off clips and covers. Its flat tip fits under plastic parts to gently lift them. Avoid using too much force to prevent damage.
Phillips Screwdriver
Many car door panels use Phillips screws. This screwdriver fits cross-shaped screws perfectly. It allows safe and easy removal of screws without stripping them.
Trim Removal Tool
A plastic or nylon trim removal tool protects the panel surface. It slides between the panel and frame to release clips. It reduces the chance of scratching or breaking parts.
Socket Wrench Set
Some panels have bolts that need a socket wrench. A small set with different sizes covers most bolt heads. This tool tightens or loosens bolts quickly.
Needle Nose Pliers
Useful for gripping small parts and connectors. They help disconnect wiring harnesses and remove stubborn clips. Their thin tips reach tight spaces easily.
Magnetic Tray
Keep screws and small parts organized in one place. A magnetic tray prevents losing tiny items during the process. It saves time searching for dropped screws.

Safety Precautions
Removing a car door panel requires care. Safety is the first step. Without proper precautions, you risk injury or damage. Follow these safety tips to protect yourself and your vehicle.
Wear Protective Gloves
Gloves protect your hands from sharp edges and dirt. Use durable gloves to avoid cuts. They also improve your grip on tools and parts.
Disconnect The Car Battery
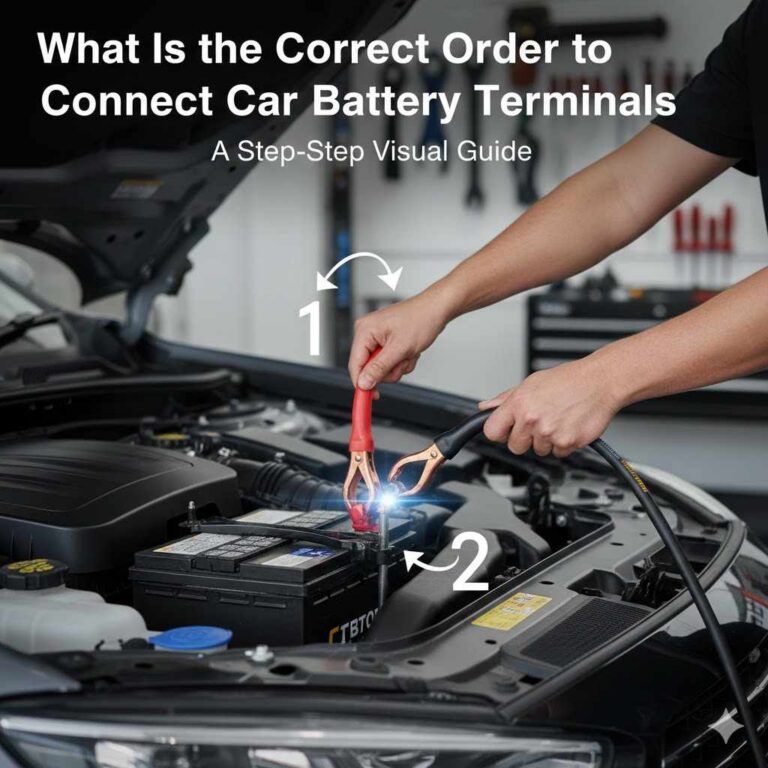
Always disconnect the battery before starting. This prevents accidental electrical shocks. It also stops airbags from deploying unexpectedly.
Use Proper Tools
Use tools designed for car panels. Avoid makeshift tools that can break or slip. Proper tools make the job safer and easier.
Work In A Well-lit Area
Good lighting helps you see screws and clips clearly. It reduces mistakes and accidents. Choose a clean, flat space to work in.
Handle Electrical Components Carefully
Be gentle with wires and connectors. Do not pull on wires forcefully. Damaged wiring can cause expensive repairs.
Locate Screws And Fasteners
Locating screws and fasteners is the first step to remove a car door panel safely. These parts hold the panel tightly to the door frame. Missing even one screw can damage the panel or the clips. It is important to find every screw and fastener before pulling the panel off.
Each car model may have a different setup. Some screws hide under covers or inside the door handle. Take time to check every part of the door carefully. This ensures a smooth removal process.
Check Around The Door Handle
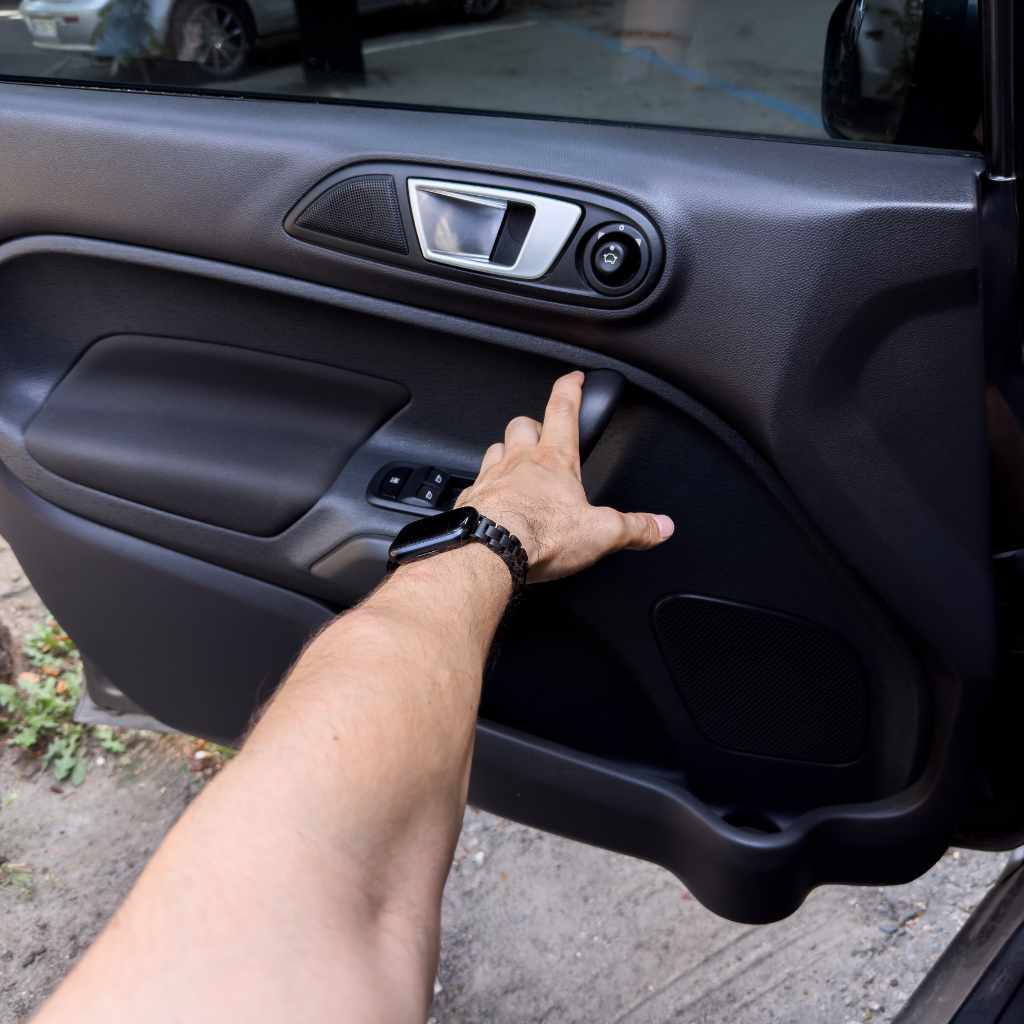
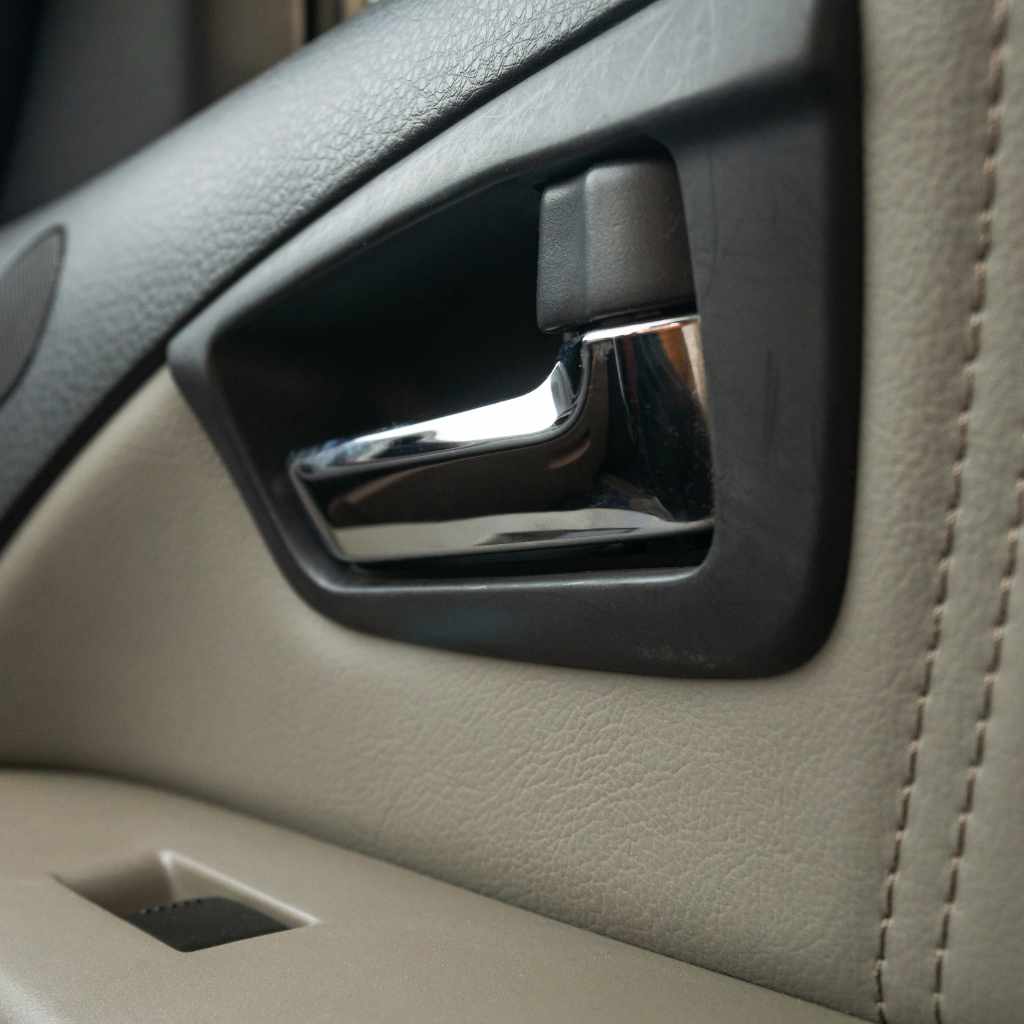
Look closely near the door handle. Screws often hide behind small plastic covers. Pry these covers gently with a flat tool. Remove all screws you find here. This area usually holds the panel securely.
Inspect The Armrest And Control Panel
The armrest and control panel can hold hidden screws. Remove any buttons or switches if needed. Use a screwdriver to take out screws under these parts. This step frees the panel from the door frame.
Look Along The Bottom And Edges
Screws and clips often line the bottom edge of the door. Check the edges for small covers or holes. Remove all visible screws carefully. Some clips may snap off if forced. Handle the panel gently to avoid damage.
Remove Door Handle
Removing the door handle is a key step in taking off the car door panel. It allows you to access screws and clips hidden behind the handle. This step helps prevent damage to the panel or handle during removal. Follow the steps carefully for a smooth process.
Locate The Screws Or Clips
First, find the screws or clips holding the door handle. Check around the handle and inside small covers. These covers hide screws that keep the handle in place. Use a flat tool to gently pry off covers without breaking them.
Use The Right Tools
Use a screwdriver that fits the screws well. A Phillips or flathead screwdriver works for most cars. For clips, a trim removal tool helps to avoid damage. Do not force parts; work slowly and carefully.
Remove The Screws Or Clips
Turn screws counterclockwise to remove them. Keep the screws safe for reassembly. If clips hold the handle, carefully pry them out. Avoid using too much force to stop breaking the clips.
Detach The Door Handle
After screws or clips are removed, pull the handle gently. Wiggle it if it feels stuck but avoid sudden force. The handle should come off smoothly, revealing the area behind it. If the handle or lock mechanism itself was the reason you opened the door in the first place, see our guide on how to fix a car door lock.
Detach Window Controls
Detaching the window controls is an important step in removing a car door panel. These controls often sit firmly in place. Removing them carefully prevents damage to wires and plastic parts.
Start by locating the screws or clips holding the window control panel. Some panels pop out with gentle prying. Use a flat tool to lift the edges slowly.
Disconnect The Power Window Switch
After removing the panel, you will see the power window switch connected by wires. Press the tab on the wire connector to unplug it. Pull the connector straight out without twisting.
Remove The Control Panel From The Door
Lift the control panel out of its slot once unplugged. Handle it gently to avoid breaking plastic tabs. Set it aside in a safe place.
Check For Additional Clips Or Screws
Some car models have extra clips or screws holding the controls. Look carefully along the edges of the panel. Remove all fasteners before pulling the panel completely out.
Pry Off Door Panel
Prying off a car door panel is a key step in many repairs or upgrades. It requires care to avoid damage. The panel clips and screws hold it tight. You need to loosen these gently. Using the right tools helps protect the panel and door. Follow simple steps to remove the panel cleanly and safely.
Use Trim Removal Tools
Trim removal tools are designed for car panels. They are plastic or nylon, so they won’t scratch. Start by inserting the tool between the panel and door. Gently push to release the clips inside. Move the tool along the edge to loosen all clips. Avoid using metal tools to prevent damage. These tools make the job easier and safer.
Work Around Edges Carefully
Focus on the panel edges while prying. Apply steady, gentle pressure to avoid cracks. Pull a little at a time to check clip release. Listen for popping sounds; they show clips are free. Take care near handles and switches; wires may be attached. Patience here prevents breaking or bending the panel. Slow, careful work protects your car’s interior parts.
Disconnect Electrical Connectors
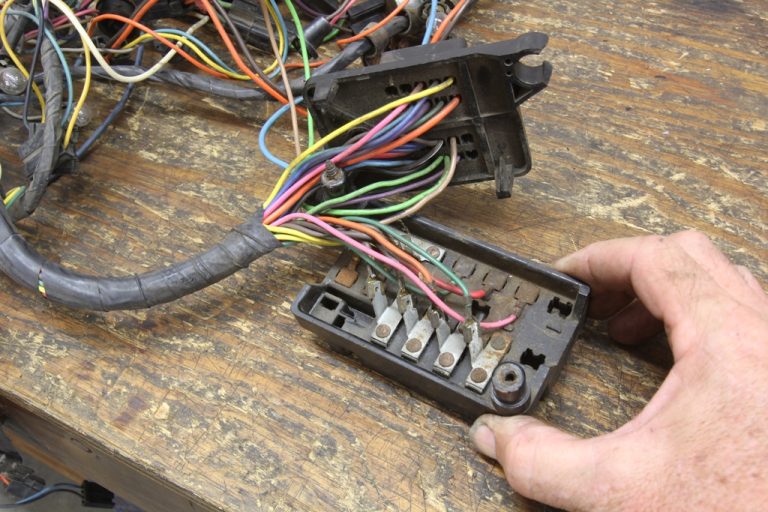
Disconnecting electrical connectors is an important step before removing a car door panel. These connectors link the door’s electronic parts, like power windows and locks, to the car’s main system. Careful handling prevents damage and ensures easy reassembly.
Each connector usually has a small tab or clip. Press or lift this gently to release the connector. Avoid pulling on the wires directly. Use your fingers or a plastic tool to separate the plugs.
Make sure to note where each connector belongs. Taking a photo helps during reinstallation. Some cars have multiple connectors, so checking all is essential.
Identify All Electrical Connectors
Start by locating every connector behind the panel. Look near the window controls, speakers, and lock mechanisms. Check carefully to avoid missing any hidden plugs.
Release Connector Clips Safely
Find the clip or tab on each connector. Press or lift it gently. Pull the connector straight out. Avoid twisting or yanking to protect the wires.
Label Or Photograph Connectors
Mark each connector with tape or a marker. Take clear photos of the connections. This helps when putting the panel back on.
Remove Door Panel Completely
Removing a car door panel fully is key for repairs or upgrades. This step needs care and patience to avoid damage. Follow simple steps to safely detach the panel.
Work slowly and keep track of all screws and clips. This helps to put everything back without trouble. Use the right tools for a smooth process.
Locate all electrical plugs behind the panel. These may power windows, locks, or speakers. Gently unplug each connector by pressing the release tabs. Avoid pulling wires directly to prevent damage.
Remove Retaining Clips And Screws
Check for hidden screws under handles and covers. Use a screwdriver to remove them carefully. Then, use a panel removal tool to pop out plastic clips. Work around the panel edges to free it without breaking clips.
Lift The Door Panel Away
Hold the panel firmly near the bottom and pull it outward. Lift it up slightly to unhook from the window ledge. Keep a steady grip to avoid dropping the panel. Set it aside on a soft surface.
What to Do If You Break a Door Panel Clip
Plastic door panel clips are brittle, especially on vehicles more than 10 years old, and even careful work can snap one. A broken clip is not a sign you did something wrong — it is a normal part of this job, and it is a cheap, easy fix.
A universal clip kit ($6–$12 at most auto parts stores) includes 200–300 mixed clips and covers the majority of vehicles built since the mid-1990s. If you need an exact factory match instead, search your vehicle’s year, make, and model plus “door panel clip” at a parts retailer or your dealer’s parts counter. Budget $5–$40 in replacement clips per door depending on how many you need.
📊 Universal door panel clip kits cost $6–$12 and include 200–300 mixed clips, covering most vehicles built since the mid-1990s — far cheaper than a single trip to the dealer parts counter. — Source: Car Upholstery Cost, 2026 pricing data
Repair and DIY-upholstery guides consistently agree on this: breaking a clip during removal is common, not a sign of failure, and cheap to fix — a universal clip kit runs $6–$12 and covers most cars built since the mid-1990s.
If you would rather not deal with broken clips at all, a shop will remove and reinstall a door panel for roughly $55–$95 in labor.
Best Trim Removal Tool Kit Pick
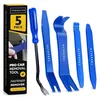
Tresalto Auto Trim Removal Tool Kit (5-Piece)
A dedicated nylon pry-tool set built to release door panel clips without scratching plastic or cracking the panel.
- Best for: releasing perimeter clips cleanly on the first try
- Why we picked it: a flathead screwdriver is the #1 cause of broken clips and scratched panels — this kit avoids both
- Main drawback: tips can wear down if used on very stiff or corroded clips
Compare more door panel removal options
 Option 1 GOOACC 725-Piece Clip Assortment
|
 Option 2 HORUSDY Magnetic Parts Tray Set
|
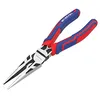 Option 3 WORKPRO 8" Needle Nose Pliers
|
As an Amazon Associate we earn from qualifying purchases.
Tips For Reinstalling Panel
Reinstalling a car door panel is a careful task. Doing it right keeps the door working well and looking good. Follow simple tips to avoid damage and make the panel fit perfectly. If the door itself rattles, sags, or won’t close flush once the panel is back on, that’s a separate fix — see how to adjust a car door.
Check All Clips And Fasteners
Look at every clip before putting the panel back. Broken or missing clips can cause loose fit. Replace any damaged parts for a secure hold.
Align The Panel Correctly
Match the panel with the door frame carefully. Align holes and clips with their spots. Proper alignment stops rattling and keeps the panel tight.
Reconnect All Electrical Parts
Plug in all wires for windows, locks, and speakers. Missed connections stop parts from working. Double-check each plug before securing the panel.
Press The Panel Firmly Into Place
Push the panel gently but firmly. This helps clips snap into their slots. Avoid using too much force to prevent cracks or breaks.
Tighten Screws And Bolts Securely
Fasten all screws and bolts firmly. Loose screws can cause vibrations and noise. Use the correct tools to avoid stripping screws.
Frequently Asked Questions
How Do You Safely Remove A Car Door Panel?
To safely remove a car door panel, first disconnect the battery. Use proper tools like a panel remover to avoid damage. Remove screws and clips carefully. Gently pry the panel away without forcing it to prevent breaking any parts.
What Tools Are Needed To Remove Car Door Panels?
Essential tools include a screwdriver set, panel removal tool, trim clip remover, and a socket wrench. These tools help remove screws, clips, and fasteners without damaging the door panel or interior parts efficiently.
Can I Remove A Car Door Panel Without Damaging It?
Yes, by using the right tools and techniques. Start by loosening screws and clips gently. Avoid using excessive force when prying the panel. Follow vehicle-specific instructions to prevent breaking clips or scratching the surface.
How Long Does It Take To Remove A Car Door Panel?
Removing a car door panel typically takes 15 to 30 minutes. Time varies depending on your vehicle model and experience. Taking your time ensures you don’t damage any components during removal.
What Should I Do If I Break a Door Panel Clip?
Buy a universal clip kit, which costs $6–$12 and includes 200–300 mixed clips covering most vehicles built since the mid-1990s. For an exact factory match, search your vehicle’s year, make, and model plus “door panel clip” at a parts retailer. Breaking a clip is common and not a sign the job went wrong.
How Much Does It Cost to Have a Shop Remove a Door Panel?
Expect to pay roughly $55–$95 in labor for a shop to remove and reinstall a single door panel, depending on your vehicle and local rates. Doing it yourself with a $10–$20 trim tool kit saves most of that cost.
Conclusion
Removing a car door panel is simple with the right steps. Take your time and follow each instruction carefully. Use the right tools to avoid damage. Keep track of screws and clips for easy reassembly. This task saves money and helps you understand your car better.
Practice makes the process easier next time. Stay safe and patient while working on your vehicle. Now, you are ready to handle door panel removal confidently.
Products related to this article
Sponsored / affiliate links. As an Amazon Associate I earn from qualifying purchases. I may earn additional commission from eligible campaigns.