
How to Use a Cen-Tech Automotive Meter for Car Testing
Put the black lead in COM and the red lead in VΩmA for volts, ohms, and continuity. Move the red lead to 10A only for current, and read 12.6 volts or more as a fully charged resting battery. A wrong range or jack can blow the meter fuse, hide a bad battery, or send you after the wrong part. This guide shows how to set up a Cen-Tech automotive meter and read battery, charging, continuity, fuse, ground, starter, and parasitic-draw tests correctly.
What a Cen-Tech automotive meter is for

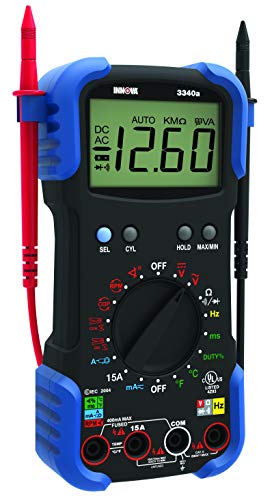

A Cen-Tech automotive meter can check voltage, resistance, continuity, and current in car circuits. The Cen Tech 98025 seven-function model also adds diode and transistor checks, and the line uses a digital display with over-range indication and data hold. For car work, that makes it useful on batteries, charging systems, fuses, grounds, and simple wiring faults.
It is not the right tool for every complaint. If you need module data, fault-code direction, or live sensor values, use a scan tool first. For battery, cable, fuse, relay, or ground checks, a meter often narrows the fault fastest.
What the meter can measure in a car
In automotive use, the key readings are DC voltage, resistance, continuity, and current. Some models also help with diode checks, while the 98025 adds transistor and battery testing. That covers the common DIY electrical questions: is power present, is the path intact, is the fuse open, and is the circuit drawing too much current.
When it is the right tool
Use it when the symptom is electrical and specific: a no-start with a weak battery, a charging complaint, a dead fuse, a bad ground, a light that flickers, or a battery that keeps going flat. If the issue is mechanical noise, fuel delivery, or a drivability code that points to sensors, the meter may still help, but it is not the full diagnosis.
📊 The Toolsweek article identifies the Cen Tech multimeter as the 98025 seven-function model. Source: How to Use a Cen Tech Multimeter? (7 Function Guide).
Which port and setting should you use first?
Start with the black lead in COM and the red lead in VΩmA for most car tests, then choose the dial setting that matches the job. Use DC volts for battery and charging checks, continuity for closed-loop wire and fuse checks on an unpowered circuit, resistance for ohms, and 10ADC only for specific current tests.
On a manual-ranging meter, the display may show 1 or OL when the selected range is too low or the circuit is out of range. That usually means you need a higher range, not that the part is bad.
COM, VΩmA, and 10ADC
- COM: black probe connection, the reference or ground terminal.
- VΩmA: red probe connection for most tests, including voltage, resistance, and small current.
- 10ADC: red probe connection for high-current testing, up to 10 amps, and only for specific current checks.
How to read over-range and OL
Over-range or OL usually means the meter wants a different range or a different test mode. On a manual-ranging model such as the 98025, that is normal when you start too low for the value you are measuring. If you are on the right mode and still see OL, the circuit may be open, the leads may not be touching metal, or the meter battery may be weak.
How do you prep the meter before testing a car?
Before any car test, confirm the meter turns on, the display is readable, the leads are in the right jacks, and the internal fuse has not opened. Check the probe insulation for cuts, make sure the red lead is not still in the current jack from a previous test, and start on a safe range if your model is manual-ranging.
Basic setup checklist
- Put the black lead in COM.
- Put the red lead in VΩmA unless you are measuring current.
- Check that the display powers up cleanly.
- Look for a low or missing meter battery if the screen is faint.
- Confirm the selected dial position matches the test.
- Inspect the probes for broken tips, cracked insulation, or loose plugs.
How to spot a dead meter battery or blown fuse
A weak meter battery can cause dim digits, unstable readings, or missing beep tones on some models. Toolsli notes that a 9V battery powers the display and some resistance or continuity checks. A blown internal fuse usually shows up when current readings stop working, while voltage readings may still look normal.
Say your meter powers up, but continuity mode will not beep on a known good fuse. That can point to a bad meter battery, a blown internal fuse, or a bad probe contact before it points to the car part.
How do you test battery and charging voltage?
Set the meter to DC volts, connect black to battery negative and red to battery positive, and read the battery at rest first. A fully charged battery should read around 12.6 volts, and many DIY guides treat anything over 12.4V as acceptable in a simple health check. With the engine running, alternator output should usually rise above resting battery voltage.
Battery voltage at rest
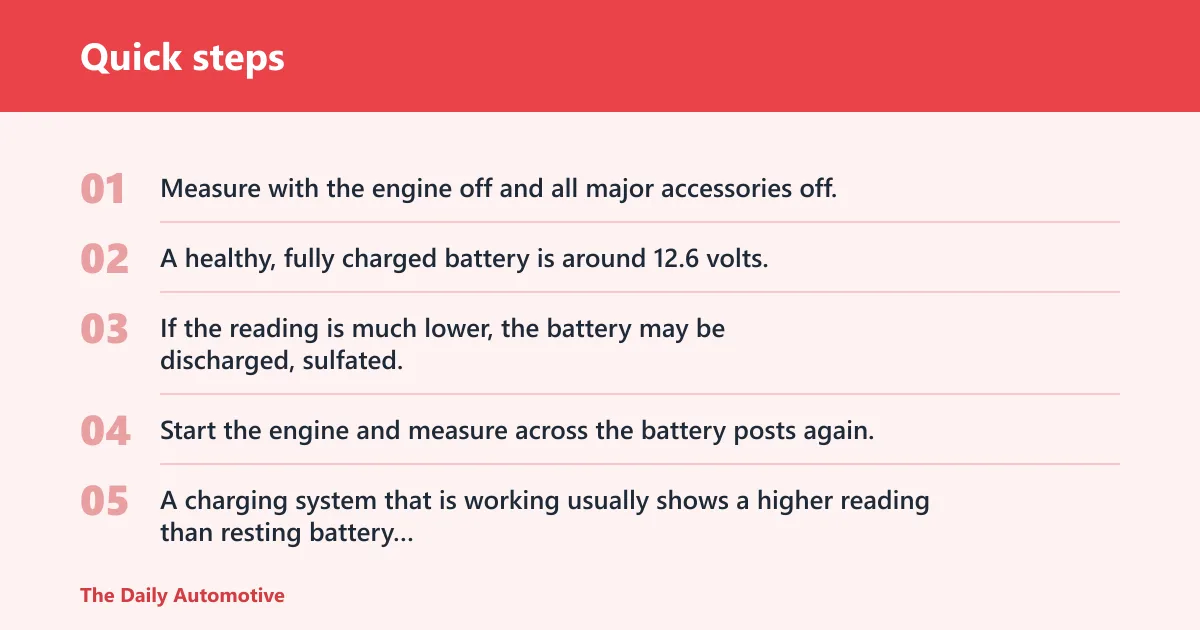
Measure with the engine off and all major accessories off. A healthy, fully charged battery is around 12.6 volts. If the reading is much lower, the battery may be discharged, sulfated, or carrying a parasitic load that is draining it overnight.
Alternator output with the engine running
Start the engine and measure across the battery posts again. A charging system that is working usually shows a higher reading than resting battery voltage, often around the mid-13s to mid-14s in common passenger vehicles. If the reading stays near 12.6 volts or falls below resting voltage, the alternator, belt drive, wiring, or regulator may need more attention.
| Test | Mode | Probe ports | Dial range | Expected reading | Common mistake |
|---|---|---|---|---|---|
| Battery voltage | DC volts | Black to COM, red to VΩmA | 20V DC or next higher manual range | Around 12.6 volts at rest | Leaving the meter on AC or using the wrong jack |
| Alternator output | DC volts | Black to COM, red to VΩmA | 20V DC or next higher manual range | Higher than resting battery voltage with engine running | Reading only one battery post, not both posts |
| Continuity | Continuity mode | Black to COM, red to VΩmA | Continuity symbol or lowest resistance range | Beep or close to zero | Testing a live circuit |
| Fuse test | Continuity or resistance | Black to COM, red to VΩmA | Continuity symbol or low ohms | Good fuse beeps or reads near zero | Removing the fuse but not confirming the circuit is off |
| Starter parasitic draw check | Current | Black to COM, red to 10ADC | 10A DC | Low current at starter-check steps, then a much lower sleep draw after setup | Trying to measure too much current through VΩmA |
How do you use continuity and resistance mode?
Use continuity only on a de-energized circuit. The meter should beep or show a reading close to zero when the path is closed. Resistance mode measures ohms directly and is the better choice when you need to compare wire paths, sensor elements, or ground resistance on an unpowered circuit.
Testing fuses, grounds, and wire paths
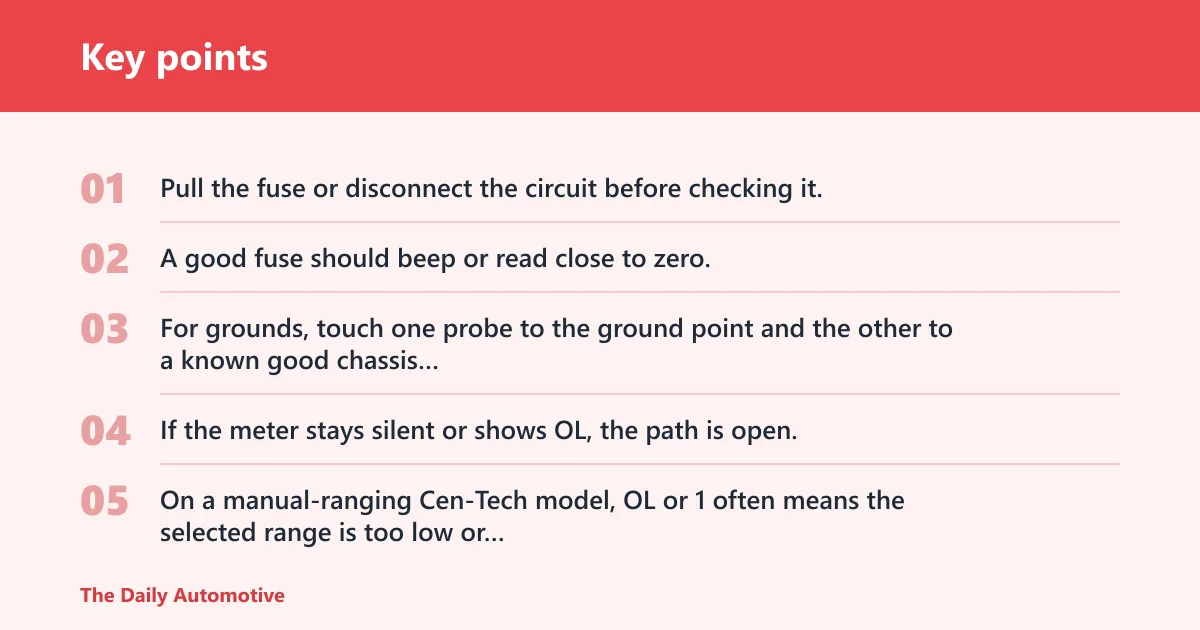
Pull the fuse or disconnect the circuit before checking it. A good fuse should beep or read close to zero. For grounds, touch one probe to the ground point and the other to a known good chassis ground or battery negative on an unpowered path. If the meter stays silent or shows OL, the path is open.
What OL, 1, or no beep usually means
On a manual-ranging Cen-Tech model, OL or 1 often means the selected range is too low or the circuit is open. If the meter is in continuity mode and gives no beep, check whether the circuit is truly de-energized, whether the probes are touching bare metal, and whether the meter range needs to move up. A bad contact can look like a bad part.
Picture a fuse slot that reads OL on one side and near-zero on the other. That is a clue to inspect the fuse itself and the power feed, not just the fuse cover label.
Resistance mode on a manual-ranging meter
On the 98025 and similar manual-ranging meters, move through the ohms ranges until the reading is stable. If the screen shows 1, you usually need a higher range. If the number jumps around, the probes may not be making solid contact, or the path may have corrosion that is adding unwanted resistance.
How do you measure current safely on a car?
Move the red lead to 10ADC before measuring current, and use that jack only for the specific current test you need. This is where many DIY mistakes happen, because current testing is more hazardous than voltage checks and can blow the meter fuse if the circuit draws more than the meter path is built to handle.
Why current testing needs extra care
The 10ADC port is for high-current circuits up to 10 amps, and it is not the default jack. Never try to measure current the same way you measure voltage. Current measurements require the meter to be part of the circuit path, and that makes shorting, fuse damage, and wrong-jack errors much more likely.
Starter draw and parasitic draw basics
Starter draw and parasitic draw are different jobs. Starter current can be high and may exceed what a basic DIY meter should handle directly. Parasitic draw is usually a low-amp check done after the vehicle is shut down, and the setup still has to be correct or the meter fuse can fail.
How to avoid blowing the meter fuse
- Move the red lead to 10ADC only when the dial is on current.
- Start with the highest current range available.
- Never connect current mode across a battery like a voltage test.
- Confirm the circuit is within the meter’s limit before closing the loop.
- Go back to VΩmA for voltage, resistance, or continuity work.
Can I use a Cen-Tech multimeter for automotive troubleshooting
Yes. A Cen-Tech multimeter is practical for automotive troubleshooting when the issue is electrical and you know which test to choose. It can measure voltage, current, and resistance in car systems, and the 98025 seven-function model adds basic battery, diode, and transistor checks. The key is matching the symptom to the right mode and port.
The most common mistake is using the wrong function or lead polarity. The Daily Automotive treats that as the first thing to fix because a bad setup can make a good part look defective.
Quick troubleshooting sequence
- Identify the symptom: no start, dead battery, blown fuse, dim light, or drain.
- Choose the test: voltage, continuity, resistance, or current.
- Put black in COM and red in the correct jack.
- Set the dial to the right mode before probing the car.
- Interpret the reading in automotive terms, not just as a number.
How to use a Cen Tech multimeter
To use a Cen Tech multimeter, start with the black lead in COM, put the red lead in VΩmA for most checks, and choose the dial setting that matches the job. For car work, the most useful modes are DC volts, continuity, resistance, and current. If the display shows OL or 1, change the range or confirm the circuit is actually open.
Model note for the 98025 and similar meters
The Cen Tech 98025 is identified as a manual-ranging model with several functions. That means you may need to select the range yourself instead of relying on auto-ranging. On this type of meter, the display and the range switch matter as much as the probes, especially when you are diagnosing a battery, fuse, or ground fault.
How to use a Cen-Tech automotive meter
To use a Cen-Tech automotive meter well, think like a diagnostic checklist, not a generic meter tutorial. Start with battery voltage, then charging voltage, then continuity or resistance for the suspect circuit, and move to current only when you have a clear reason and the red lead is in 10ADC. That sequence avoids the usual setup mistakes.
One-page automotive test cheat sheet
This cheat sheet keeps the most common car tests in one place. It is meant for quick setup checks before you probe the car.
| Test | Mode | Probe ports | Dial range | Expected reading | Common mistake |
|---|---|---|---|---|---|
| Battery voltage | DC volts | COM and VΩmA | 20V DC or similar manual range | About 12.6 volts at rest | Checking on AC volts or at a corroded clamp instead of the posts |
| Alternator output | DC volts | COM and VΩmA | 20V DC or similar manual range | Above resting battery voltage with engine running | Expecting a flat 12V reading from a charging system |
| Continuity | Continuity mode | COM and VΩmA | Continuity symbol | Beep or close to zero | Testing a live wire |
| Fuse testing | Continuity or resistance | COM and VΩmA | Lowest ohms or continuity | Good fuse reads near zero or beeps | Assuming a fuse is good because it looks intact |
| Starter parasitic draw check | Current | COM and 10ADC | 10A DC | Low current for a controlled check | Leaving the lead in VΩmA and opening the current path anyway |
Frequently asked questions
How do I set a Cen-Tech meter to test a car battery
Put the black lead in COM and the red lead in VΩmA, then turn the dial to DC volts. Touch black to battery negative and red to battery positive. A fully charged battery should read around 12.6 volts. If the reading is far lower, the battery may be discharged or weak.
Which port do I plug the red lead into on a Cen-Tech multimeter
Use VΩmA for volts, ohms, continuity, and small current checks. Move the red lead to 10ADC only for higher current tests and only when the dial is set for current. The black lead stays in COM for the reference or ground connection on all common automotive checks.
What setting do I use to check continuity with a Cen-Tech meter
Use continuity mode, or the lowest ohms setting if your model lacks a dedicated beep function. The circuit must be de-energized. A good path should beep or show a reading close to zero. If you test a live circuit, the reading can be wrong and the meter can be damaged.
What does OL mean on a Cen-Tech multimeter
OL usually means over-range or open line, depending on the mode. On a manual-ranging meter, it often means the selected range is too low, so move to a higher range. In continuity or resistance tests, OL can also mean the circuit is open or the probes are not making contact.
Products related to this article
Sponsored / affiliate links. As an Amazon Associate I earn from qualifying purchases. I may earn additional commission from eligible campaigns.