Trim Adhesive for Car: Tape vs. Liquid Glue vs. Sealant
3M Super-Strength Molding Tape (03614) is the go-to fix for side moldings and trim strips because its double-sided foam core replaces screws and rivets entirely, but it will not hold a hard plastic emblem or seal a flexible weatherstrip seam.
Those two jobs need a different adhesive type. 3M Plastic and Emblem Adhesive (08061) is a clear liquid glue built to bond rigid plastic badges, taillight lenses, and metal emblems that a foam tape can’t grip evenly. Permatex 81158 black silicone sealant is the one to reach for on weatherstrip, gasket, and trim-edge seams that need to stay flexible and waterproof instead of rigid. Picking the wrong one of the three is the most common reason a trim repair fails within a season, so match the adhesive to the part before you buy.
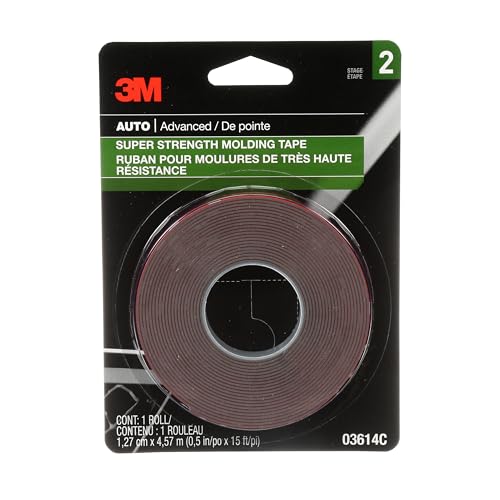
3M Super-Strength Molding Tape
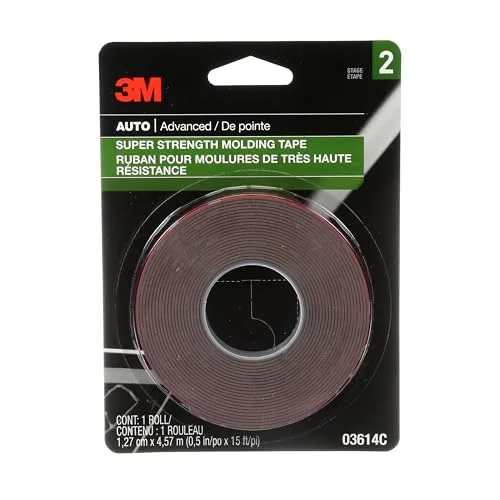
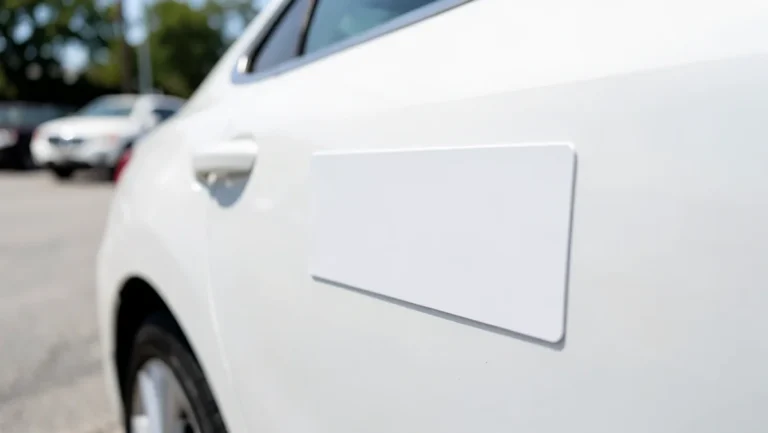
This tape is built for one job: permanently attaching flat or slightly curved trim, side moldings, and emblems without drilling new holes. The foam core compresses to fill small panel gaps, then the acrylic adhesive on both faces grabs the painted body on one side and the trim piece on the other.
Pros
- No drilling, screws, or clips needed for a factory-flush finish
- Foam core compresses to bridge small surface imperfections
- Rated for exterior temperature swings once fully set
- Half-inch width cuts to any length with scissors or a blade
Cons
- Grips almost instantly, so misaligned trim is hard to reposition
- Needs a solid, contact-area backing behind the trim; it won’t bridge a gap wider than the tape
The bond strength comes from surface contact, so the prep matters more than the tape itself. Wipe the panel with isopropyl alcohol first (a normal car-wash soap leaves a wax film that stops the acrylic from grabbing), then press the full length in one continuous pass instead of tacking down a few spots and working outward. Because the tape sets on contact, this is not a product you get a second chance to reposition, unlike a liquid adhesive that stays workable for a few minutes.
Reach for this tape specifically when the part is a flat molding strip, rocker panel trim, or a badge with a smooth flat back — it’s the wrong choice for a trim piece with a curved or uneven backside, which is where the liquid adhesive below does better. Order it directly through this 3M molding tape listing when you’re ready to buy.
3M Plastic and Emblem Adhesive
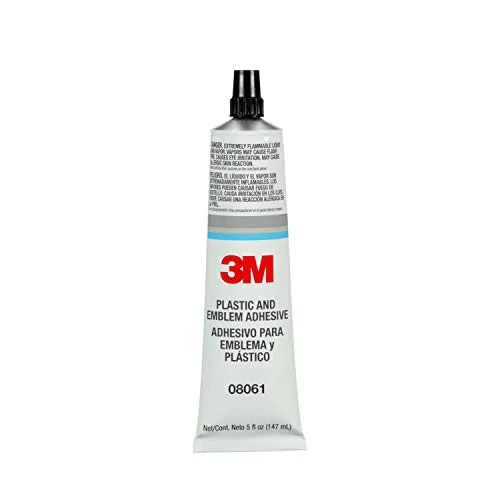
This is a liquid, not a tape, and that’s the point: it’s the fix for a rigid plastic badge, a curved taillight lens trim ring, or any emblem with an uneven backside that a flat foam tape can’t seat against evenly. It’s a single-component adhesive straight from the tube, so there’s no mixing before you apply it.
Pros
- Dries clear, so squeeze-out doesn’t show around badge edges
- Bonds curved or uneven-backed plastic and metal emblems that tape can’t grip
- Ready to use straight from the tube, no mixing required
- Resists water and heat once fully cured
Cons
- Working time is short, roughly 10 to 30 seconds before it starts to grab
- Not the right choice for a flat trim strip that tape can handle faster
Apply a thin bead to the emblem’s back (not the body panel), then set the piece and hold it for the 15-minute set time before letting it sit undisturbed for the full 24-hour cure. Because the open time is so short, dry-fit the emblem’s position on the panel first with painter’s tape as a guide, then remove the tape and apply the adhesive; trying to line up a badge for the first time while the glue is already tacking down almost always leaves it crooked.
Skip this one for weatherstrip, door seals, or anything that needs to stay flexible after it cures — a hardened glue bond on a rubber seal will crack the first time the panel flexes, which is exactly what the silicone sealant below is made to avoid. Check current stock through the 3M 08061 tube listing before you start the job.
Permatex 81158 Black Silicone Adhesive Sealant
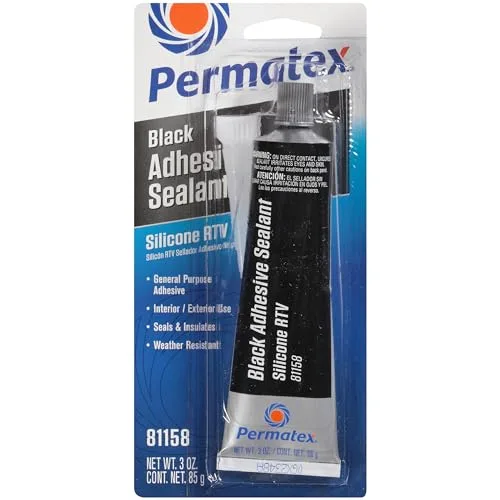
This is the odd one out on this page: it’s a sealant first and an adhesive second. Where the tape and the plastic glue above both cure rigid, this silicone stays flexible after it sets, which is exactly what a weatherstrip channel, a trim-edge seam, or a gasket needs so it doesn’t crack the first time the panel moves or the temperature swings.
Pros
- Stays flexible from -65°F to 500°F instead of hardening rigid
- Seals a seam and bonds it at the same time
- Waterproof once cured, good for weatherstrip and gasket edges
- Smooth, easy tooling straight from the tube
Cons
- Only available in black, so it shows on light-colored trim
- Full 24-hour cure needed before the seam should be flexed or wet
Clean and dry the seam first, run a thin continuous bead instead of a thick one (a thick bead skins over on the outside while the inside stays wet), and leave it undisturbed for the full cure window. Don’t substitute this for the molding tape above on a rigid trim strip — the flexible cure means it won’t hold a heavy panel the way a structural foam tape does. See current pricing on the Permatex 81158 listing when you’re ready.
Tape, Liquid Glue, or Sealant: Which One Does Your Trim Job Need?
All three products on this page hold trim in place, but they aren’t interchangeable — each one is built for a different failure mode. Match the part you’re fixing to the row below before you buy, rather than picking whichever adhesive is cheapest or most familiar.
| Trim Job | Best Adhesive Type | Set / Cure Time | Why |
|---|---|---|---|
| Flat side molding or trim strip | 3M Super-Strength Molding Tape | Grabs on contact | Foam core replaces clips and screws on a flat, even surface |
| Rigid plastic emblem or badge | 3M Plastic and Emblem Adhesive (liquid) | 15 min set / 24 hr cure | Dries clear and fills gaps a flat tape can’t seat against |
| Curved taillight trim ring | 3M Plastic and Emblem Adhesive (liquid) | 15 min set / 24 hr cure | Liquid glue conforms to an uneven backside |
| Weatherstrip, door seal, or gasket seam | Permatex 81158 silicone sealant | 24 hr full cure | Stays flexible instead of hardening, so it won’t crack when the seal flexes |
If you’re not sure which category a part falls into, ask one question: does the part need to flex after it’s installed? If yes, it’s a sealant job. If the part is flat and rigid with a solid backing, it’s a tape job. If it’s rigid but curved, uneven, or you need the bond line to disappear, it’s a liquid-glue job.
Frequently Asked Questions
How Do I Use 3M Super-Strength Molding Tape?
Clean the panel with isopropyl alcohol so no wax film is left behind, then cut the tape to length and peel back the liner. Press the trim piece into place along its full length in one continuous pass rather than tacking down a few spots first, since the foam core grabs almost instantly and repositioning afterward will tear the bond. Hold firm pressure across the whole strip for a few seconds before letting go.
Can Permatex 81158 Sealant Withstand Extreme Temperatures?
Yes. Permatex 81158 stays flexible across a range of -65°F to 500°F once fully cured, which covers everything from a winter freeze to the heat radiating off an engine bay component. That flexibility, not just the temperature rating, is why it holds up on weatherstrip and gasket seams that a rigid adhesive would eventually crack.
Is 3M Plastic and Emblem Adhesive Suitable for Outdoor Use?
Yes. Once it reaches its full 24-hour cure, 3M Plastic and Emblem Adhesive resists water and heat exposure, which is why 3M rates it for exterior emblems, badges, and taillight trim rings and not just interior parts. Give it the full cure window before washing the car or driving in rain, since the bond is still developing strength during that first day.
What Materials Can 3M Super-Strength Tape Bond?
The tape bonds painted metal, most rigid plastics, and fiberglass body panels, which covers the great majority of side moldings, rocker trim, and flat-backed emblems on a modern car. It performs best on a smooth, flat contact area; a heavily textured or deeply curved surface reduces the contact patch and weakens the hold, which is a job better suited to the liquid adhesive above.
How Long Does Permatex Sealant Take to Cure?
Permatex 81158 needs about 24 hours to reach a full cure. Make sure both surfaces are clean and completely dry before you apply it, since trapped moisture slows the cure and can leave a soft spot in the seam. Leave the seam undisturbed, and out of the rain, for that full day before flexing it or driving through standing water.
Should You Use Tape or Liquid Adhesive for Car Trim?
Use tape for a flat molding strip or trim piece with a solid, even backing, since the foam core needs full surface contact to hold. Use the liquid adhesive instead for a curved emblem, a taillight trim ring, or any badge with an uneven back, because the glue conforms to gaps that a flat tape would leave unbonded. When in doubt, run a fingertip along the back of the part: if it sits flush against a flat surface, reach for the tape; if it rocks or has a curve, use the liquid glue.
Conclusion
The fastest way to pick the right trim adhesive is to start from the part, not the product. A flat side molding or trim strip wants 3M Super-Strength Molding Tape’s foam-core hold. A rigid plastic emblem, badge, or curved taillight trim ring wants the clear-drying 3M Plastic and Emblem Adhesive instead, since it conforms to shapes a flat tape can’t grip. A weatherstrip, gasket, or trim-edge seam that needs to keep flexing wants Permatex 81158 silicone sealant, not either of the other two.
All three need the same basic prep to actually hold: a clean, dry, wax-free surface and the full cure time before the part is stressed, washed, or driven in rain. If your job is specifically a body-side molding and you want the full step-by-step application walkthrough, see our companion guide to adhesive for car molding for the prep and pressing technique in more detail.
Products related to this article
Sponsored / affiliate links. As an Amazon Associate I earn from qualifying purchases. I may earn additional commission from eligible campaigns.