360 Camera Installation After Purchase: What To Expect
It’s exciting to get a new gadget, especially a 360 camera. You’ve picked one out. Now you wonder, “What happens next?” This article guides you through what to expect after you purchase your 360 camera.
We’ll cover setting it up. We’ll also talk about common things that pop up. Our goal is to make this smooth for you.
After buying a 360 camera, expect a setup process that involves charging, installing an app, connecting to Wi-Fi or Bluetooth, and basic calibration. You’ll then learn to capture, edit, and share your immersive photos and videos.
Understanding Your New 360 Camera
So, you have your shiny new 360 camera. It’s quite different from a regular camera. It captures everything around you.
This means it has multiple lenses. They work together to create a full sphere of vision. This can feel a bit strange at first.
But it’s what makes the magic happen.
These cameras are great for many things. You can use them for virtual tours. They’re also fun for travel vlogs.
Many people use them for sports action shots. Some even use them for real estate. The experience is like being there.
It’s more engaging than flat photos or videos.
The technology is amazing. It stitches together images from different lenses. This happens very quickly.
It creates one seamless image. Most cameras do this automatically. Some might need a little help from an app.
This guide helps you understand the whole process. From unboxing to sharing your first sphere.
The Unboxing and Initial Setup
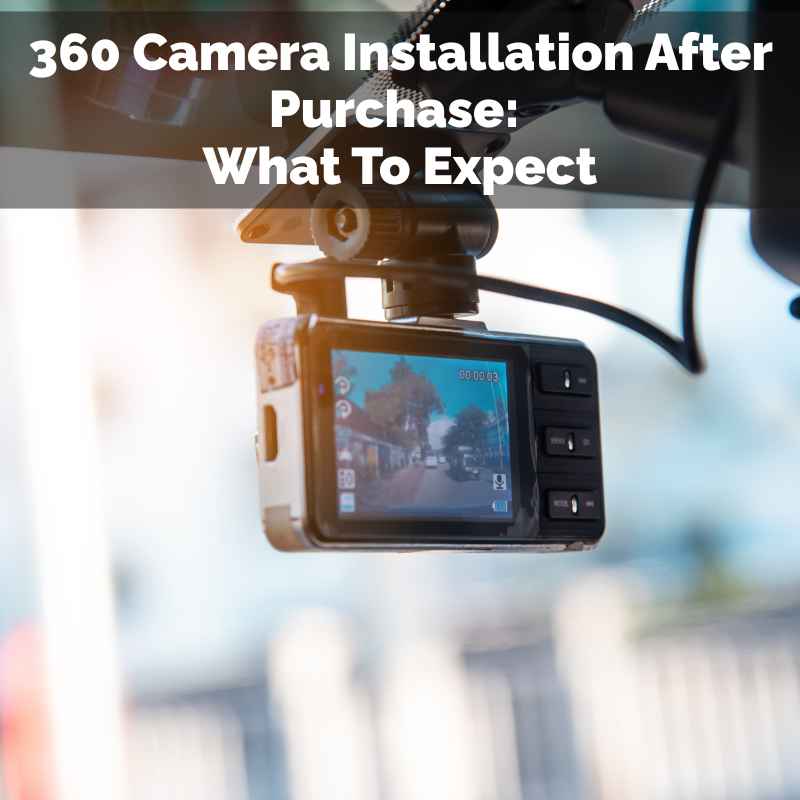
Let’s talk about opening the box. This is always a fun part, right? You’ll find the camera itself.
There will likely be a charging cable. Maybe a small stand or mount. A quick start guide is usually there too.
Read this first. It gives you the basics. It tells you what buttons do.
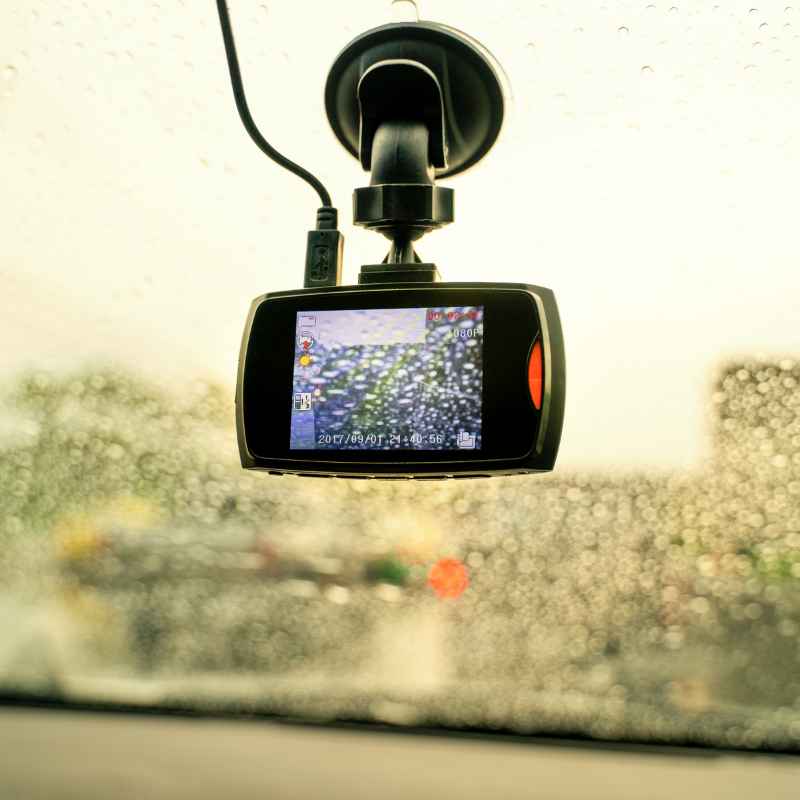
Your camera needs power. Plug it in. The battery might need a full charge.
This can take an hour or two. Check the little lights on the camera. They usually tell you when it’s ready.
While it charges, download the app. You’ll find the app name in the quick start guide. It’s usually on your phone’s app store.
Connect your camera to your phone. This often uses Bluetooth or Wi-Fi. The app will guide you.
It might ask you to pair the devices. Follow the steps on your screen. This connection is key.
It lets you control the camera. It also lets you see what the camera sees. You can also transfer files this way.
Your camera might need a firmware update. This is common for new tech. The app will usually tell you if one is available.
Updates fix bugs. They can also add new features. Make sure your camera is charged.
And make sure your phone has a good internet connection. Then start the update. It’s important for smooth operation.
Getting Your Camera Connected
Step 1: Power Up
Charge your 360 camera fully.
Step 2: Get the App
Download the official app on your smartphone or tablet.
Step 3: Pair Devices
Use Bluetooth or Wi-Fi to connect the camera to your app.
Step 4: Check for Updates
Install any available firmware updates for the camera and app.
First Capture: Your First 360 Shot
Now for the fun part: taking your first 360 photo or video. Open the app on your phone. You should see a live view from the camera.
If not, check your connection. You might need to point your phone at the camera. Or stand closer.
The app is your remote control.
Find the record button. It’s usually a big red circle. Press it to start recording.
Or press it to take a photo. Before you do, think about where to put the camera. You want it to be stable.
A small tripod is best. Or place it on a flat surface. Avoid moving it while it’s recording.
Walk away. Or do something fun. Since it captures everything, you don’t have to be in the frame.
Unless you want to be. Some cameras have a selfie stick mode. This helps hide the stick.
It makes it look like you’re floating. It’s a neat trick.
Stop recording or take your photo. Then, look at the results in the app. You can usually view them right away.
You’ll see the full sphere. Spin your phone around to look. Or drag your finger on the screen.
It feels like you’re back in the moment.
Don’t worry if the first try isn’t perfect. It takes practice. You might notice some weird lines.
Or blurs. This is often stitching errors. It happens when the camera can’t decide where the images meet.
We’ll talk more about fixing these later.
Navigating the Software: Apps and Editing
The software is a big part of using your 360 camera. The mobile app is for control and basic viewing. But you’ll likely use more.
Most cameras come with desktop software too. Or you can use third-party editing tools.
The app lets you transfer files. You can save photos and videos to your phone. Then you can share them.
Many apps have simple editing tools. You can trim videos. You can choose a specific angle.
This is called reframing. It’s like making a regular video from your 360 footage.
For more advanced editing, you’ll need desktop software. This is where you can really play. You can remove the selfie stick.
You can fix stitching errors more precisely. You can add music or text. You can create different views.
Like a tiny planet effect. Or a starry sky effect.
Learning the software takes time. Read the tutorials. Watch videos online.
Many brands have helpful guides. Don’t try to learn everything at once. Start with the basics.
Transferring files. Trimming videos. Reframing shots.
Once you’re comfortable, explore more. You’ll be amazed at what you can do.
Software Essentials
Mobile App: For camera control, live view, basic editing, and file transfer.
Desktop Software: For advanced editing, reframing, stitching correction, and exporting.
Third-Party Tools: Options like Adobe Premiere Pro or Final Cut Pro offer even more creative control.
Online Platforms: YouTube and Facebook support 360 video uploads. Some specialized platforms exist too.
Common Installation and Setup Challenges
Even with clear instructions, things can go wrong. One common issue is connectivity. Your camera might not connect to your phone.
Double-check that Wi-Fi or Bluetooth is on. Try restarting both devices. Sometimes, the app needs to be reinstalled.
Another issue is Wi-Fi interference. If you’re in a busy area with many Wi-Fi signals, it can cause problems. Try moving to a less crowded space.
Or turn off other Wi-Fi devices nearby temporarily. If your camera uses its own Wi-Fi, make sure your phone is connected to that specific network.
Battery life can be a surprise. 360 cameras use a lot of power. Recording video drains the battery fast.
Make sure you always have a full charge before a big shoot. Carry a portable power bank for longer outings. This is a lifesaver.
Storage space is another factor. Those 360 videos are large. A few minutes of footage can take up gigabytes.
Make sure you have enough space on your camera’s memory card. And on your phone or computer where you transfer files. Consider getting a larger memory card if you plan to record a lot.
Calibration can sometimes be tricky. The camera needs to know its orientation. This helps it stitch images correctly.
If the horizon looks tilted, you might need to recalibrate. The app usually has a calibration tool. Follow the on-screen prompts.
This is often done on a flat, level surface.
Understanding Stitching: The Invisible Seams
The core of 360 imaging is “stitching.” This is how the camera blends the footage from its multiple lenses. It creates a seamless, spherical image. Think of it like a puzzle.
The camera has to match the edges of each piece perfectly.
Most of the time, the stitching is automatic and looks great. But it’s not always perfect. Sometimes, there’s a seam.
This can happen if something moves quickly across the stitch line. Or if lighting changes suddenly. You might see a blur.
Or a ghost image.
What causes these issues? It’s usually when the software can’t tell what’s behind the lens seam. If a person walks through it, the camera might get confused.
Especially if they move fast. Or if there are complex textures. Like a brick wall.
Or a pattern that repeats.
Many cameras have settings to help. You can adjust stitch lines. Or choose different stitching algorithms.
The desktop software offers more control. You can manually adjust the seams. This requires patience.
You zoom in very close. You move the line a pixel at a time. Until it looks right.
When you buy your 360 camera, expect some learning curve with stitching. Especially for challenging shots. Try to keep moving objects away from the stitch lines.
Or shoot in consistent lighting. This makes the software’s job much easier. And your final video much cleaner.
Stitching Tips for Better Results
Keep it Simple: Shoot in good, even lighting.
Avoid Fast Movement: Try to keep people or objects from crossing stitch lines quickly.
Use a Tripod: A stable camera is crucial for good stitching.
Learn Your Software: Familiarize yourself with manual stitching tools for tough spots.
Test Shots: Do short test recordings to check for stitching issues before a long shoot.
Sharing Your 360 Content
You’ve captured amazing moments. Now you want to show them off. Sharing 360 content is a bit different.
It needs a platform that supports it. YouTube is the most popular. Facebook also supports 360 videos and photos.
When you upload to YouTube, make sure you mark it as 360 video. There’s usually a setting in the upload options. YouTube then processes it.
It adds the special player. So viewers can look around. They can use their mouse or phone to pan.
On Facebook, you can upload 360 photos and videos. The platform recognizes them. It allows for interactive viewing.
This is great for sharing with friends and family. They can explore your vacation. Or relive a party.
It feels very immersive for them.
What about embedding on your own website? Many 360 players exist. Some are free, some paid.
You can embed them using code. This lets visitors interact with your content directly on your site. It’s perfect for businesses like real estate agents or event planners.
Sharing can be a bit more complex than a regular video. You need to export your files correctly. From your editing software.
Make sure you export in the right format. And with the right metadata. This tells the platform it’s a 360 file.
The software usually handles this for you.
When to Seek Expert Help
Most of the time, your 360 camera will work well. But sometimes, you’ll run into problems. If your camera won’t turn on, check the charging.
If it’s still dead, contact the manufacturer. It might be a faulty battery. Or a hardware issue.
If you have persistent connection issues, the app might be the problem. Try clearing its cache. Or reinstalling it.
If that doesn’t work, search online forums. See if others have the same issue. The camera brand’s support page is also a good resource.
For complex editing problems, like bad stitching, you have options. You can look for advanced tutorials online. Many skilled users share their techniques.
If you’re a business and need perfect results every time, consider hiring a freelance editor. They specialize in 360 content.
Remember to check your warranty. If something breaks or malfunctions early on, you might get a replacement. Keep all your packaging and receipts.
This makes returns or exchanges easier. Most companies want you to be happy. So they will help if they can.
Don’t get discouraged. Learning new tech takes time. What seems hard now will become second nature.
Enjoy the process of discovery. Your 360 camera opens up new ways to capture and share your world.
Real-World Scenarios and Use Cases
I remember my first real attempt at a 360 vlog. I was on a hike in the mountains. The view was breathtaking.
I set up my camera on a small tripod. I started recording, then walked a bit away to admire the scenery. The sun was bright.
The wind was picking up.
When I reviewed the footage, the stitching was a mess. The wind made the leaves on the trees blur. And the bright sun created harsh light.
It looked like a warzone in some spots. I was so disappointed. I thought my camera was broken.
I learned a lot that day. First, consistent lighting is key. Shooting on a cloudy day is often better for 360.
Or shoot during golden hour. The light is softer. Second, wind can be a problem.
Especially with moving foliage. I should have found a more sheltered spot.
Also, I tried to include too much action. I was running around. This made the stitching even harder.
For a first attempt, I should have stayed more still. Or just focused on one beautiful vista. It taught me to plan my shots better.
And to understand the camera’s limits.
Since then, I’ve used my 360 camera for travel. I capture immersive city tours. I record family gatherings.
One of my favorite uses is real estate. I create virtual tours of houses. Buyers can “walk through” the home.
It’s a huge selling point for agents.
Another great use is events. Imagine capturing a wedding. Not just the main stage, but the whole atmosphere.
Your guests can look around. They can see their friends laughing. They can feel the energy of the room.
It’s like being there again.
Popular 360 Camera Uses
Virtual Tours: For real estate, museums, or travel destinations.
Vlogging & Travel: Capture immersive experiences of places and adventures.
Event Coverage: Record parties, concerts, or family events with full atmosphere.
Action Sports: Get unique perspectives for skiing, biking, or skateboarding.
Documentary & Storytelling: Create compelling narratives with a sense of presence.
Maintenance and Care for Your Camera
To ensure your 360 camera lasts and performs well, some basic care is needed. Keep the lenses clean. This is super important.
Fingerprints or dust on the lenses will show up in your footage. Use a microfiber cloth. Gently wipe the lenses.
Avoid abrasive materials.
Store your camera safely. When not in use, keep it in its case or a padded bag. This protects it from bumps and scratches.
Extreme temperatures can also damage electronics. Don’t leave it in a hot car. Or a freezing garage.
Check for physical damage. After a shoot, look for any dents or cracks. Especially around the lenses.
If you notice any issues, address them. Contact support if it’s a serious problem.
Keep the battery healthy. Avoid leaving it fully discharged for long periods. Charge it regularly.
If you won’t be using the camera for months, store it with about half a charge. This helps preserve the battery’s lifespan.
Regularly update your camera’s firmware. As mentioned before, updates fix bugs and improve performance. They can also enhance stitching algorithms.
Always use the official app for updates. And ensure a stable power source.
If your camera gets wet, turn it off immediately. Do not try to turn it on or charge it. Dry it as much as possible.
Then contact the manufacturer. Some cameras are water-resistant, but not all are waterproof. Check your camera’s specifications.
What This Means for You
Having a 360 camera is exciting. It opens up new creative paths. You can capture memories like never before.
Expect the setup to take a little time. Be patient with the software. It’s a learning process.
Your first few shots might not be perfect. That’s totally normal. Most people struggle with stitching at first.
Or with finding the best way to frame their shots. Don’t give up. With practice, you’ll get better.
You’ll learn how to avoid common problems.
Think about what you want to capture. Do you want to vlog your trips? Do you want to create virtual tours?
Planning your shots will help. Knowing what you want to achieve guides your setup and editing.
Consider the file sizes. 360 video takes up a lot of space. Make sure you have enough storage.
On your camera’s card and on your computer. You might need to invest in larger memory cards. Or external hard drives.
The immersive nature of 360 content is its biggest draw. It brings viewers right into the action. This is powerful for storytelling.
It’s also a lot of fun. Enjoy exploring this new way of seeing.
Quick Tips for a Smoother Experience
Always charge your camera fully before a shoot. You don’t want it dying mid-recording.
Keep the lenses spotless. A quick wipe with a microfiber cloth makes a huge difference.
Use a tripod or stable surface. Shaky footage is hard to edit and watch.
Test your setup. Do a short recording first to check connections and stitching.
Explore the app. Get familiar with its features before a big shoot.
Save your footage often. Transfer files to your computer regularly.
Don’t be afraid to experiment. Try different angles and settings.
Watch tutorials online. Many users share great tips and tricks.

Frequently Asked Questions About 360 Camera Installation
How long does it take to set up a 360 camera for the first time?
Setting up a 360 camera for the first time usually takes about 30 minutes to an hour. This includes charging the battery, downloading and installing the app, pairing the camera to your phone or computer, and checking for any firmware updates. The exact time can vary depending on your internet speed and the camera model.
Do I need a special computer to edit 360 videos?
While you can do basic editing on a smartphone app, more advanced editing of 360 videos often requires a fairly powerful computer. You’ll need a good processor, plenty of RAM (16GB or more is recommended), and a dedicated graphics card. This is because 360 footage is very data-intensive.
Can I use any editing software for my 360 camera footage?
Many 360 cameras come with their own free editing software. For more advanced features, software like Adobe Premiere Pro, Final Cut Pro, or DaVinci Resolve can handle 360 footage. You just need to ensure you have the correct plugins or settings enabled for spherical video editing.
What is the best way to share 360 photos and videos online?
The most popular platforms for sharing 360 content are YouTube and Facebook. Both platforms support interactive 360 viewing. You need to upload your footage and make sure you select the “360 video” or “360 photo” option in the upload settings.
This adds the special viewer that allows people to pan around.
How do I fix the “stitching lines” I see in my 360 videos?
Stitching lines occur when the camera’s software blends footage from different lenses. To fix them, you often need to use the camera’s desktop editing software. This allows you to manually adjust the stitch lines, smooth out blurs, or remove unwanted artifacts.
It can be a bit tedious, but results can be very satisfying.
Is it okay to leave my 360 camera plugged in all the time?
It’s generally not recommended to leave any rechargeable battery device plugged in constantly after it’s fully charged. Most modern devices have protection against overcharging, but it can still put stress on the battery over the long term. It’s best to unplug it once it reaches 100% or charge it only when needed.
Conclusion
Getting started with your new 360 camera is an adventure. From unboxing to your first sphere, it’s a journey. Expect a learning curve.
But know that the results are worth it. You’re capturing moments in a whole new dimension. Enjoy exploring and creating!