Adhesive for Car Trim: Choose the Right Adhesive
Use 3M trim adhesive for painted moldings and emblems, urethane for flexible weatherstripping, and plastic repair epoxy for broken tabs. Match the adhesive to the failure, not just the loose part. Wrong glue can stain paint, pop off in heat, or let trim detach at speed. This guide shows how to choose by material, surface prep, bond strength, and repair type.
Best adhesive for car trim: top pick

For common loose exterior trim on fully painted panels, the best all-around pick is 3M Super-Strength Molding Tape 03614. It is a double-sided tape for permanent trim attachment, and its rated temperature range from -40°F to 250°F makes it a practical choice for exterior moldings that see heat, cold, wash water, and vibration.
That said, it is not the right answer for every failure. If the part has a cracked tab, broken clip, or flexible weatherstrip edge, you need a different repair path. Tape works best when the mounting surface is sound, the piece fits closely, and you want a clean, thin bond line rather than a fill-and-build repair.
Quick picks by trim failure
- Loose emblem or badge: 3M Plastic and Emblem Adhesive 08061 on fully painted surfaces.
- Peeling molding or body side trim: 3M Super-Strength Molding Tape 03614.
- Lifted weatherstrip edge: flexible trim adhesive or sealant made for rubber, not rigid tape.
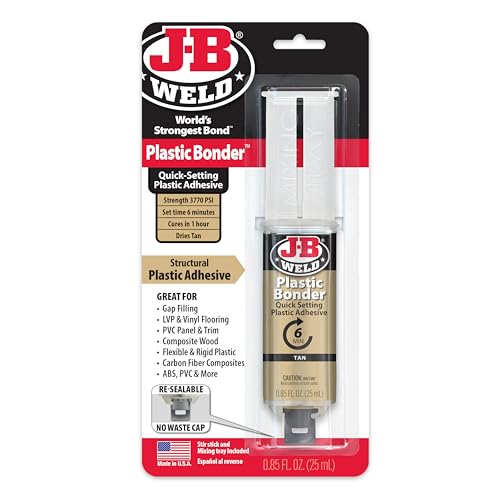
- Cracked plastic tab or bracket: J-B Weld 50139 Plastic Bonder, if the part can be repaired cleanly.
- Low-energy plastic surface: tape plus adhesion promoter wipes.
- Paint-sensitive area: choose the least permanent fix that still holds, and avoid aggressive cleanup methods.
What is the best adhesive for car trim?
The best adhesive depends on how the part failed. For painted moldings and emblems, permanent tape or a clear-drying emblem adhesive is usually the safest fit. For cracked plastic tabs, a two-part plastic bonder is the better structural repair. For rubber weatherstripping, use a flexible product made for that material.
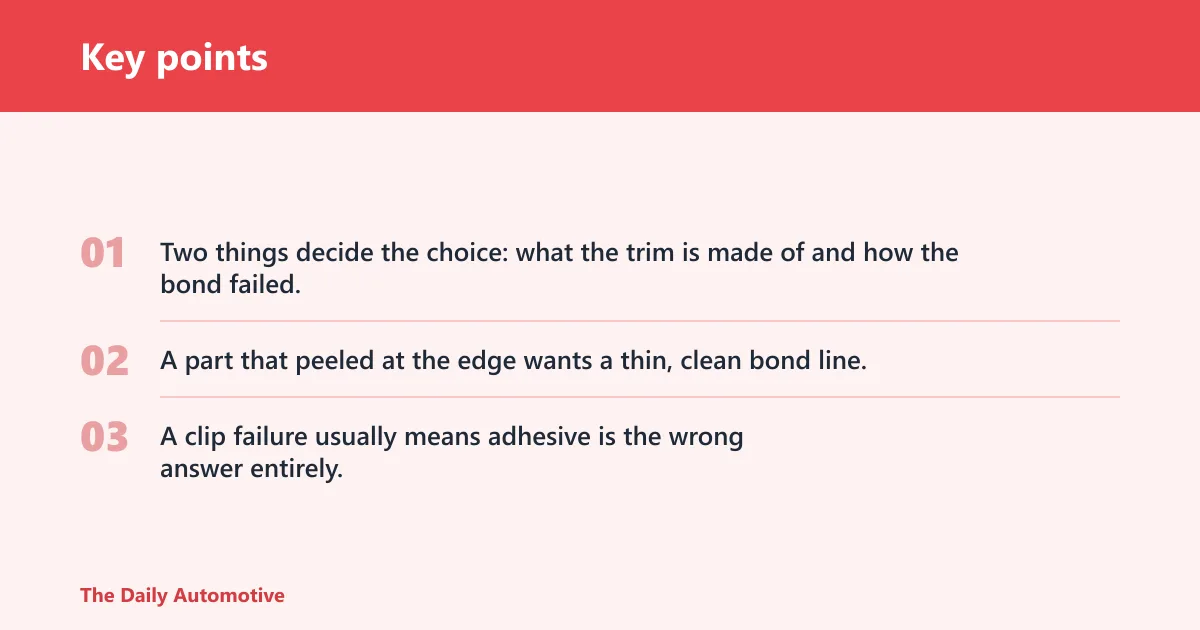
Two things decide the choice: what the trim is made of and how the bond failed. A part that peeled at the edge wants a thin, clean bond line. A broken tab needs gap-filling strength. A clip failure usually means adhesive is the wrong answer entirely.
Quick picks by trim failure
| Trim failure | Recommended fix | Adhesion promoter? | Prep steps | Cure or removal risk | Replace clips instead? |
|---|---|---|---|---|---|
| Loose emblem | 3M Plastic and Emblem Adhesive 08061 | No on fully painted surfaces; yes if the backer is low-energy plastic | Clean, dry, align, then press without shifting | Quick-acting; removal can mar paint if you overapply | Yes, if the mounting pins or studs are damaged |
| Peeling molding | 3M Super-Strength Molding Tape 03614 | Yes on ABS/PP-compatible low-energy surfaces | Remove residue, clean, dry, test-fit, then apply full-length pressure | Permanent attachment; clean removal is limited | Yes, if the molding carrier or clips are broken |
| Weatherstrip lift | Flexible trim adhesive or sealant made for rubber | Usually not for standard tape; follow the product spec | Clean rubber, remove old adhesive, dry fully | Flexible bond resists movement better than rigid glue | Yes, if the seal has torn or shrunk |
| Cracked plastic tab | J-B Weld 50139 Plastic Bonder | Often helpful on low-energy plastics | Clean, roughen lightly if allowed, align precisely before cure | Sets in 15 minutes; can be sanded after 30 minutes | Often yes, if the tab is missing material or the clip seat is crushed |
| Low-energy plastic surface | Tape with adhesion promoter wipes | Yes | Use promoter after cleaning and drying, then bond immediately | Improves hold, but removal may still stress paint or plastic | Yes, if the surface is chalked, warped, or peeling |
| Paint-sensitive area | Least aggressive compatible product | Only if required by the product | Test-fit carefully, avoid excess squeeze-out, clean before cure | Removal risk rises with stronger permanent products | Yes, if the trim can be clipped back on safely |
Should I use tape or glue for car trim?
Use tape when you want a thin, uniform bond line on painted moldings or emblems, especially when the piece used to be tape-mounted from the factory. Use liquid adhesive when the part has small contact points, needs local repositioning, or must bond a badge or emblem to a fully painted surface. If the part is flexible rubber, neither may be the right answer.
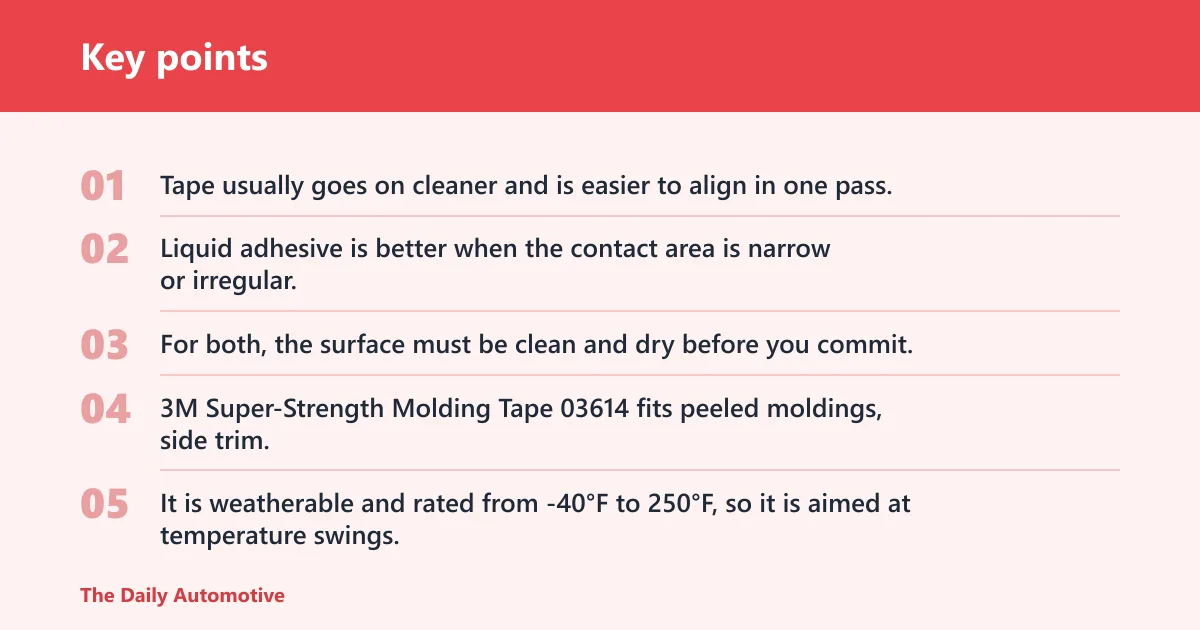
Tape usually goes on cleaner and is easier to align in one pass. Liquid adhesive is better when the contact area is narrow or irregular, but it can squeeze out and leave a visible edge if you overload it. For both, the surface must be clean and dry before you commit.
When you should use trim tape
3M Super-Strength Molding Tape 03614 fits peeled moldings, side trim, and other exterior pieces that need permanent attachment. It is weatherable and rated from -40°F to 250°F, so it is aimed at temperature swings, moisture, UV exposure, and vibration. That makes it a strong choice for exterior trim that sits flush against paint.
Adhesion promoter is commonly recommended on low-energy plastics, especially ABS/PP-compatible surfaces. Adhesion promoter wipes help the tape wet out and grip a surface that would otherwise resist bonding. Use them after cleaning and drying, then apply the tape without delay.
Tape is a poor choice when the trim is cracked, missing its original clip structure, or has a warped edge that cannot sit flat. It is also the wrong tool when you need a flexible seal rather than a permanent attachment.
When liquid adhesive is the better choice
3M Plastic and Emblem Adhesive 08061 is a clear-drying liquid adhesive for plastic and emblems on fully painted surfaces. It fits badges and emblems that need a neat bond without a visible tape edge. It is also useful when the rear of the part has small contact points that tape cannot cover evenly.
Liquid adhesive differs from tape in bond line and cleanup. Tape gives a thicker, more uniform bond and stays flexible. Liquid adhesive creates a thinner bond line and can be more exact, but it also leaves less margin for sloppy alignment. On paint-sensitive areas, keep the bead small and avoid excess squeeze-out.
When you need a plastic bonder
J-B Weld 50139 Plastic Bonder is the better choice for cracked tabs and other structural plastic repairs. It comes in a 25 ml syringe, sets in 15 minutes, and can be sanded after 30 minutes. Those specs matter when the repair needs shape retention before the trim can be reinstalled.
Two-part bonder is for more than holding the part in place. It can bridge a damaged tab or bracket where tape cannot restore structure. But it is still the wrong fix if the mount is missing a clip seat, the substrate is crumbling, or the visible finish would be ruined by sanding and cleanup.
Start with the substrate. Plastic trim, rubber weatherstripping, metal trim, and painted surfaces all behave differently. A product that bonds painted metal may fail on low-energy plastic, and a rigid adhesive may crack on a part that flexes with body movement or door closure.
Next, match the bond type to the failure. Permanent repairs call for molding tape or a plastic bonder. Removable repairs need a more conservative choice, because aggressive adhesive can make future removal hard and can damage paint. Gap-filling repairs need a bonder or sealant, while close-fit repairs usually do better with tape or emblem adhesive.
Temperature and vibration matter too. Exterior trim sees heat soak, cold starts, moisture, road salt, wash chemicals, UV, and constant vibration. If the part peels at the edge after highway driving or a hot soak, the fix needs better surface prep and a stronger bond line, not just more glue.
Surface preparation that actually matters
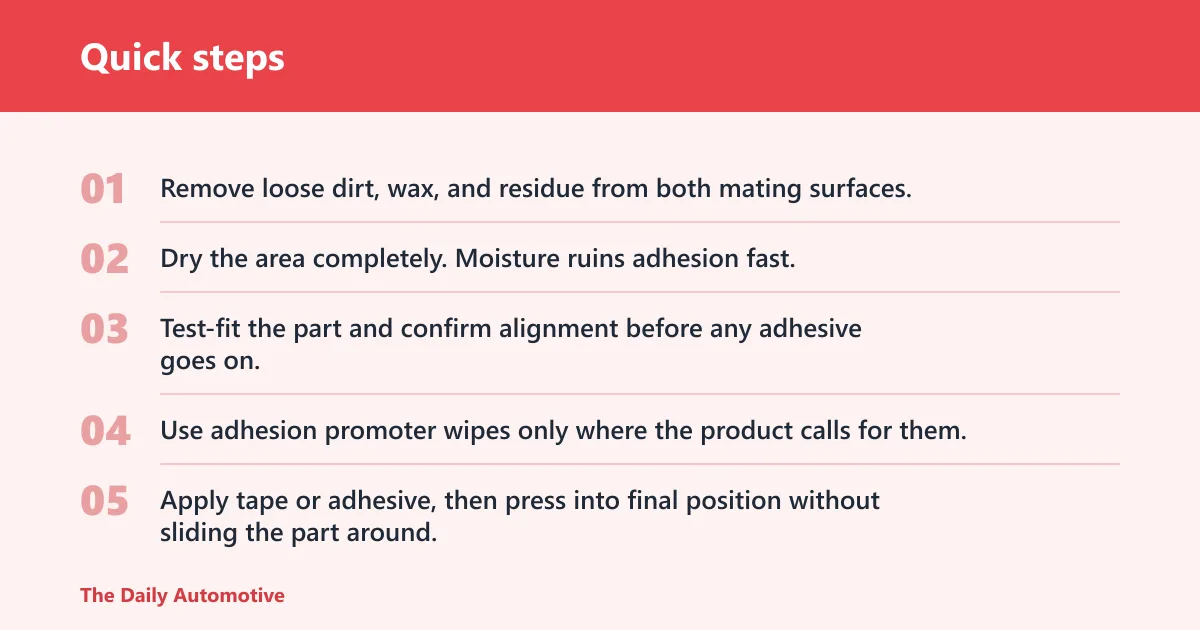
- Remove loose dirt, wax, and residue from both mating surfaces.
- Dry the area completely. Moisture ruins adhesion fast.
- Test-fit the part and confirm alignment before any adhesive goes on.
- Use adhesion promoter wipes only where the product calls for them.
- Apply tape or adhesive, then press into final position without sliding the part around.
- Hold the trim in place long enough for the bond to grab, and avoid loading it early.
A common first-timer mistake is sticking the trim back on after a quick wipe with a damp rag. That can leave cleaner residue, water, or old adhesive behind. The bond may feel fine for a day, then fail after the first wash or the first hot afternoon.
Suppose a body side molding keeps lifting at the same rear corner after a car wash. That usually points to edge peel from poor prep, missing promoter on a low-energy backing, or a carrier clip that no longer holds the piece flat. More glue alone rarely fixes that pattern.
Cost-per-repair logic
Tape usually costs less than replacing a trim piece, but it is not the cheapest path if the clips are broken and the part keeps failing. A tube or syringe of adhesive can cover multiple small repairs, yet the cost rises when you need extra promoter wipes, fresh clips, or replacement emblems.
As a practical comparison, tape plus promoter is usually the better value for a long molding run. Liquid emblem adhesive is better when you only need a small, precise repair. Plastic bonder costs more per repair than simple tape, but it can save a cracked tab that would otherwise force a full part replacement.
Car trim decision table
| Failure mode | Best adhesive type | Promoter needed | Prep focus | Removal risk | Replace clips or part? |
|---|---|---|---|---|---|
| Loose emblem | Clear-drying liquid emblem adhesive | No on fully painted surfaces | Clean paint, dry fully, align precisely | Medium; excess glue can stain or lift finish | Yes, if mounting pins are broken |
| Peeling molding | Double-sided molding tape | Yes on low-energy plastics | Remove old tape, clean, dry, test-fit | High for permanent tape | Yes, if clips or backing are damaged |
| Weatherstrip lift | Flexible rubber-safe adhesive or sealant | Follow product instructions | Clean rubber and mating flange thoroughly | Moderate; wrong product can harden the seal | Yes, if the weatherstrip is torn or shrunken |
| Cracked plastic tab | Two-part plastic bonder | Often helpful on low-energy plastic | Clean, fit, and clamp or hold alignment | Moderate; cured repair may need sanding | Yes, if the tab is missing material |
| Low-energy plastic surface | Tape with adhesion promoter wipes | Yes | Use promoter after cleaning and drying | Moderate to high | Yes, if the substrate is failing |
| Paint-sensitive area | Small-bead liquid adhesive or removable-compatible repair | Only if required | Mask carefully, avoid squeeze-out, align before cure | High if the part must later come off | Yes, if the trim can be clipped on instead |
Picture a badge on a fully painted trunk lid that has one corner lifting after winter. The likely fix is a clear-drying emblem adhesive, not a general-purpose super glue. If the badge studs are snapped, though, adhesive alone will not restore the mount.
Now suppose a door molding hangs loose after a car wash, but the backing is still flat and the clips are intact. That is a tape job, not a bonder job. If the clip pocket is cracked, replacement clips come first.
How long does automotive trim adhesive take to cure?
Cure time depends on the product. Tape products grab quickly, but full bond strength still improves with time and pressure.
Do not load the repair too early; a common rule of thumb is to wait until the bond has had time to settle before hard use. That means no hard driving, no trim washing, and no tugging on the part before the bond has had time to settle. Heat, vibration, and moisture can weaken a fresh repair before it reaches full hold.
Frequently asked questions
How do I reattach loose exterior trim without damaging paint?
Clean and dry both surfaces first, then test-fit the trim before any adhesive goes on. Use the least aggressive compatible product, apply only what the job needs, and avoid sliding the part after contact. If the paint is fragile or the trim must come off later, consider replacement clips or a mechanical fix instead.
What adhesive works best on plastic car trim?
For intact plastic trim on a painted panel, tape with adhesion promoter is often the best choice, especially on ABS or PP-compatible low-energy surfaces. For cracked tabs, J-B Weld 50139 Plastic Bonder is the better structural option. For emblems or badges, a clear-drying emblem adhesive is usually the cleaner fit.
Do I need adhesion promoter for car trim tape?
Use adhesion promoter on low-energy plastics and ABS/PP-compatible surfaces, especially when tape is sticking to a backing that resists bonding. It improves grip and helps the tape wet out. On fully painted surfaces, it may not be necessary, but the surface still must be clean, dry, and free of residue.
Can I use super glue on car trim?
Plain super glue is a poor default for exterior trim. It can be brittle, can leave a white haze, and may fail on flexible parts or low-energy plastics. A product made for automotive trim, emblems, or plastic repair is a safer choice because it matches the material and the load better.
What is the difference between molding tape and trim adhesive?
Molding tape is a double-sided, permanent attachment method that gives a uniform bond line and is good for flush-mounted moldings. Trim adhesive is usually a liquid that can be placed more precisely for emblems or small contact areas. Tape is cleaner for long runs; liquid adhesive is better for exact placement.
Products related to this article
Sponsored / affiliate links. As an Amazon Associate I earn from qualifying purchases. I may earn additional commission from eligible campaigns.