Car Glue for Exterior: What to Use on Trim and Seals
Use car glue on exterior parts only when the adhesive matches the job: trim and emblems usually need automotive trim tape or urethane, while weatherstrip often needs weatherstrip cement. Prep has to be clean, fully dry, and safe for paint. Wrong glue or poor prep can lead to peeling, leaks, wind noise, rust, and lost trim at speed. This guide shows how to choose the right exterior adhesive, prep the surface, and avoid bond failure on trim, emblems, molding, weatherstrip, and small body repairs.
What exterior car glue actually does


Exterior adhesive is a repair tool, not a catch-all fix. It can reattach trim, secure a badge, seal an edge, or bond a small repair area, but each job asks for a different bond line, flexibility level, and resistance to heat, moisture, and vibration.
That distinction matters because exterior parts live a hard life. They see road spray, sunlight, wash chemicals, and temperature swings. Autoglym groups waxes, sprays, liquids, and sealants under exterior protection and says those products create durable, hydrophobic finishes. That helps with appearance care, but it is not the same as choosing a bond that keeps a molding from lifting.
Trim, emblem, weatherstrip, and seam applications
Automotive exterior trim includes common repair targets such as moldings, garnishes, and appliqués. These parts are often plastic and sit in high-vibration areas. Emblems and badges are smaller, so alignment matters more than bulk strength. Weatherstrip needs a flexible bond line that moves with rubber. Seam sealer is different again: it fills and seals joints and edges to help prevent water intrusion.
Why substrate and exposure matter more than brand name
Two products can both say “automotive adhesive” and still be wrong for the job. A badge on painted metal needs paint-safe removal and exact placement. A weatherstrip on PP/EPDM needs flexibility and moisture resistance. A seam along a body edge needs a paintable sealant, not a crisp trim adhesive. Substrate and exposure should lead the decision.
When glue is the wrong fix
Glue is the wrong fix when the mounting tabs are broken, the panel edge is bent, or the body structure itself is damaged. It is also the wrong answer for a part that needs repeated removal, such as a service cover or a clip-on trim piece with missing retainers. In those cases, replace the fastener or repair the mount first.
Which adhesive fits each exterior part?
Match the adhesive family to the part, such as double-sided automotive tape or trim adhesive for trim and molding. Trim and molding often use double-sided automotive tape or trim adhesive. Emblems need small-area precision and paint-safe removal. Weatherstrip needs a flexible rubber-compatible cement. Seams and edges need seam sealer. Small body patch work may call for body panel adhesive, but only when the substrate and load path support it.
Trim and molding
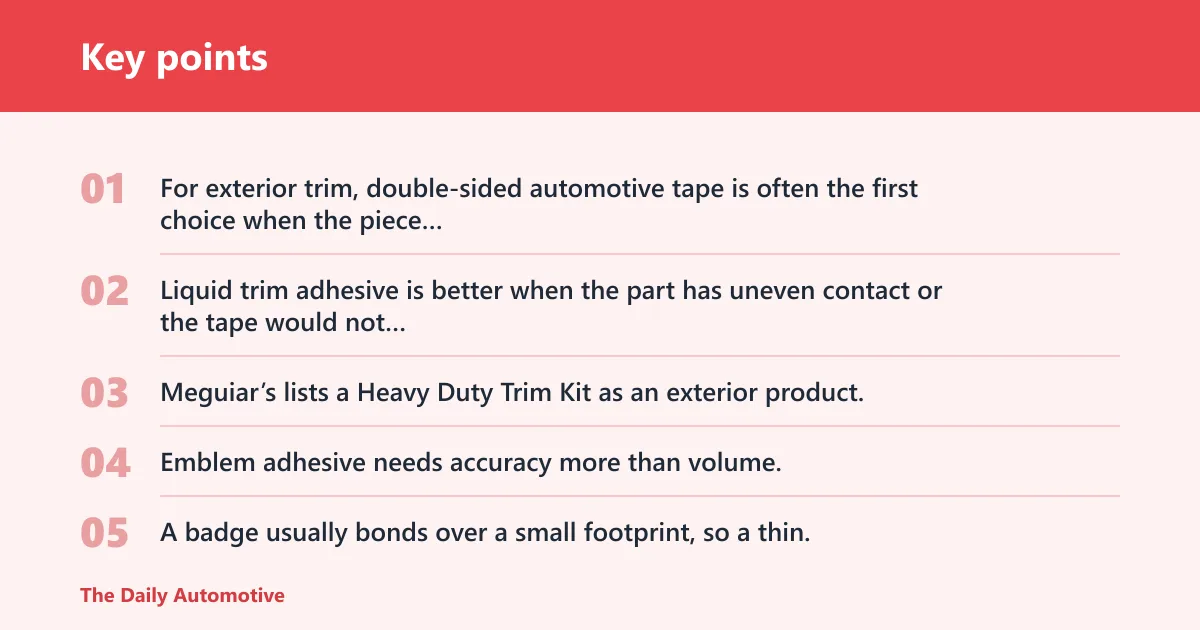
For exterior trim, double-sided automotive tape is often the first choice when the piece has a flat mounting flange and needs even pressure across the length. Liquid trim adhesive is better when the part has uneven contact or the tape would not reach every contact point. Meguiar’s lists a Heavy Duty Trim Kit as an exterior product, and its exterior range also covers multiple surface types, including exterior trim.
Emblems and badges
Emblem adhesive needs accuracy more than volume. A badge usually bonds over a small footprint, so a thin, controlled application is better than a heavy bead. Alignment is sensitive, and paint-safe removal matters because badges often sit on clear coat. If the old badge failed because of aged foam tape, remove all residue before installing the new one.
Weatherstrip and flexible seals
Weatherstrip adhesive should stay flexible after cure and resist moisture. Rubber-compatible weatherstrip cement is the right family for a seal that flexes every time a door opens or closes. If the seal has pulled away from a painted flange, clean both surfaces and use only enough adhesive to wet the contact area without squeezing into the sealing lip.
Seam sealer for edges and joints
Use automotive seam sealer on sealed joints, lap seams, and panel edges where water intrusion is the concern. Seam sealer is not a substitute for trim glue. It should be paintable when the repair will be refinished, and it should be applied only after the metal is clean, dry, and free of loose corrosion.
Small body patch or panel repair
Small body patch repairs are different from trim work. A structural or semi-structural panel adhesive may be appropriate for a small bonded patch when the manufacturer allows it and the mating surfaces are prepared correctly. Do not use trim glue for this job. It lacks the gap control and load handling a patch repair can require.
Exterior adhesive decision table
| Part type | Substrate | Exposure level | Recommended adhesive family | Prep steps | Cure window | Common failure mode |
|---|---|---|---|---|---|---|
| Trim or molding | Painted metal, ABS plastic | High vibration, road spray, sunlight | Double-sided automotive tape or trim adhesive | Wash, degrease, remove wax and silicone, dry fully, align with masking tape | Handle in 30-60 minutes; full bond often 24 hours | Peeling from poor prep or too little contact area |
| Emblem or badge | Painted metal, clear coat, ABS | Moderate vibration, UV, wash chemicals | Emblem tape or spot trim adhesive | Remove old residue, final wipe with lint-free cloth, mark alignment | Initial hold in 15-30 minutes; full cure 24 hours or more | Misalignment or paint damage from prying |
| Weatherstrip | Rubber, PP/EPDM, painted flange | Moisture, flexing, temperature swing | Weatherstrip adhesive | Clean both sides, dry completely, test fit before glue | Tack in 5-15 minutes; service after full cure per label | Hard bond line that cracks or lets water in |
| Seam or edge | Painted metal | Water intrusion risk, underbody splash | Automotive seam sealer | Strip loose material, clean metal, remove rust, prime if required | Skins quickly; paint timing depends on product | Pinhole leaks or paint lifting |
| Small patch area | Painted metal or compatible plastic | Moderate load, vibration, heat | Body panel adhesive | Degrease, abrade if specified, use clamp pressure and alignment marks | Usually requires extended clamp time and full cure before service | Failure from the wrong substrate or movement before cure |
Read the table as a repair map, not a shopping list. If the part flexes, choose flexibility. If the part is small and visible, choose precision. If water can reach the bond line, choose a product meant for moisture exposure. If the panel needs paint later, confirm paintability before you start.
How do you prep the surface before bonding?
Prep decides whether the adhesive bonds to the car or to leftover grime. Wash the area, dry it fully, remove wax and silicone, and use a lint-free wipe with a surface prep cleaner before bonding. If the label calls for promoter or primer, use it exactly where specified. Skipping prep is the fastest way to get a clean-looking failure.
Wash and dry the panel
Start with soap and water to remove loose dirt. Then dry the panel completely, including seams, badge recesses, and panel edges. Moisture trapped at the bond line can block adhesion and later work its way under the part.
Remove wax, silicone, and road film
A surface prep cleaner should do more than wipe off dust. It needs to remove wax, silicone, and greasy film that can keep adhesive from wetting the surface. Use a clean, lint-free wipe and keep changing it as soon as it loads up. Reusing a dirty cloth can spread residue instead of removing it.
Use adhesion promoter or primer when needed
Some plastics and rubber compounds need an adhesion promoter to improve bond strength. Follow the product instructions for open time and coverage. Do not assume a promoter helps every job. It is a support step for specific surfaces, not a fix for dirty paint or a wrong adhesive family.
Mask for alignment and squeeze-out control
Masking tape helps you set the part in place before full contact. It also limits squeeze-out on painted surfaces. A common first-timer mistake is to press the part down before checking fit. Once the adhesive grabs, adjustment becomes much harder, especially on an emblem or thin molding.
Will car glue stick to plastic, metal, and paint?
Yes, but only with the right adhesive family and prep. Painted metal, ABS plastic, PP/EPDM, rubber, and glass all behave differently. Temperature resistance, flexibility, and surface energy matter as much as the label on the tube or tape roll. A product that bonds one substrate well can fail on another.
Painted metal and clear coat
Painted metal is a common substrate for trim, badges, and seam sealing. Adhesives must be compatible with clear coat and should not attack the finish. Use paint-safe products when the bond sits on exterior paint, and avoid aggressive scraping during cleanup.
ABS and other rigid plastics
ABS is common in exterior trim and emblems. It usually bonds better than low-surface-energy plastics, but it still needs degreasing and a clean, dry surface. If the piece sits in direct sun, choose a product with UV resistance and enough temperature resistance to survive heat soak.
PP/EPDM and flexible rubber
PP/EPDM and rubber are harder targets. They need products made for low-surface-energy materials and for movement. Weatherstrip adhesive is built for this kind of flex. A hard, brittle bond can crack or peel as the seal compresses and rebounds.
Glass and chrome-like trim
Glass needs careful product selection because some adhesives are too stiff or too messy for visible edges. For glass-mounted trim or sensors, use only a product approved for that substrate. Chrome-like trim can look durable but still lift if the tape thickness is wrong or the surface was contaminated with polish residue.
How long does exterior car glue take to cure?
Initial grab and full cure are not the same. Many exterior adhesives hold a part in place within minutes, but the bond may need a full day or longer to reach service strength. Heat, humidity, and airflow change that window, so the label matters more than a guess.
Initial grab versus full cure
Trim tape can feel secure quickly, yet the adhesive still needs time to develop final strength. Weatherstrip cement often tacks first, then cures later. Seam sealer can skin over fast while remaining soft underneath. Do not judge readiness by feel alone.
Temperature, humidity, and airflow effects
Warm, dry, moving air usually helps cure. Cold slows it. High humidity can interfere with some products and can also trap moisture at the bond line. If the car is cold-soaked, bring the panel and part to a workable temperature before installation when the product instructions allow it.
When it is safe to wash or drive
Light handling may be possible before full cure, but washing should wait until the label’s full-cure window has passed. High-pressure water can push at the edges of a fresh bond. Likewise, a long drive at highway speed can load a badge or molding before the adhesive has finished setting.
What should you use instead of glue?
Use something else when the part needs repositioning, removable service, or a mechanical hold that adhesive cannot provide. Double-sided automotive tape is often better for trim and badges. Clips and retainers are better when the design already supports them. Seam sealer belongs on joints, not on loose decorative parts.
Double-sided automotive tape for trim and badges
Double-sided automotive tape is a strong option for flat-backed trim and many badges because it gives even coverage and allows some repositioning before full adhesion. It comes in thickness options, which matters when the mounting surface is uneven. For a narrow emblem or molding, tape often gives cleaner results than liquid glue.
Fasteners, clips, and retainers
If the original part used clips, replace the clips first. Adhesive should not replace a broken retainer when the panel was designed around a mechanical mount. If the clip holes are torn out, the correct repair may be a replacement part or a body repair before any adhesive goes on.
Seam sealer for sealed joints
Seam sealer is the right material for panel overlaps and edge sealing where the goal is water intrusion prevention. It is paintable in many applications and belongs in the seam, not under a loose trim strip. Do not use trim adhesive as a seam filler.
Mechanical repair when the mounting points are damaged
If the substrate is cracked, bent, or missing its attachment points, repair the structure first. Adhesive can help only after the mount is sound. Otherwise, the bond will fail for the same reason the original part came loose.
How do you remove old adhesive without harming paint?
Remove old adhesive by softening it, lifting it gently, and cleaning the residue without attacking the clear coat. Use adhesive remover when tape, foam, or failed glue will not lift cleanly. Avoid metal blades on paint unless the product maker specifically approves them and the risk is low.
Softening old tape and residue
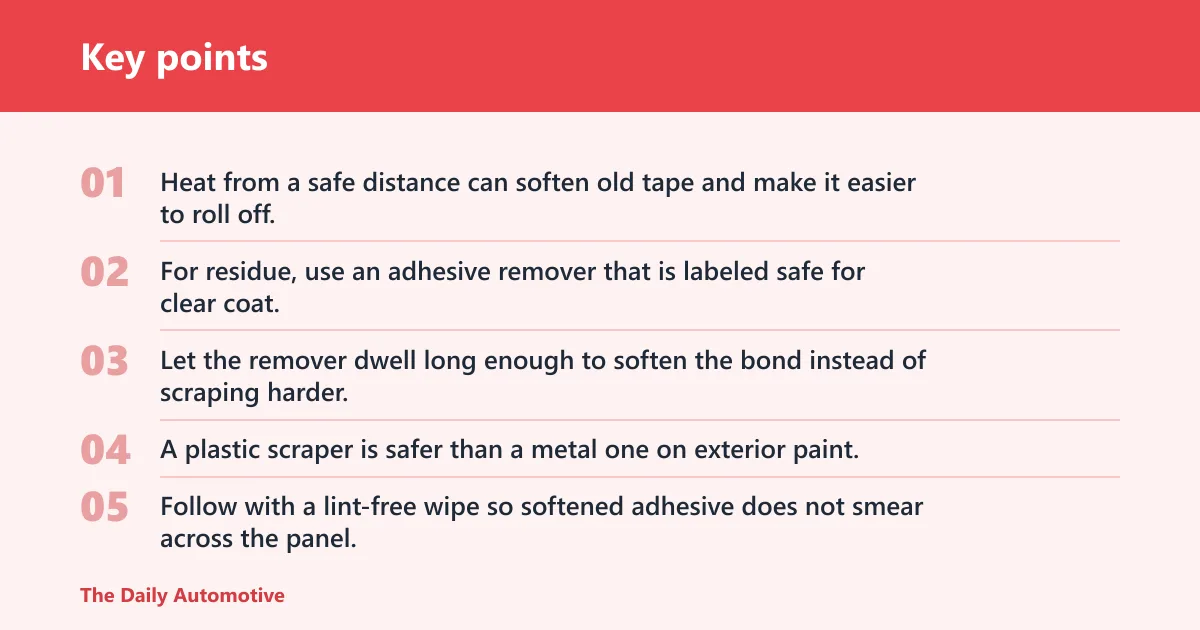
Heat from a safe distance can soften old tape and make it easier to roll off. For residue, use an adhesive remover that is labeled safe for clear coat. Let the remover dwell long enough to soften the bond instead of scraping harder.
Safe scraper and wipe methods
A plastic scraper is safer than a metal one on exterior paint. Work slowly and keep the angle shallow. Follow with a lint-free wipe so softened adhesive does not smear across the panel. If residue keeps smearing, stop and reapply remover rather than pressing harder.
When to stop and use adhesive remover
Stop prying when the part resists or the finish begins to mark. That is the moment to switch from force to chemistry. Adhesive remover is also the better choice after a failed bond, because it can soften old tape and glue without digging into the clear coat.
Say your rear door molding lifts 2 inches at the trailing edge after a winter wash. The likely problem is not the brand name on the tube; it is usually contamination, weak contact area, or the wrong adhesive family for a vibrating trim piece. Clean the panel, choose tape or trim adhesive, and reset the bond line.
Suppose a roof badge on painted metal has yellow foam residue under it. Pulling it off with a screwdriver can scratch the clear coat. A safer path is adhesive remover, a plastic scraper, and a fresh emblem tape pad sized for the badge footprint.
Frequently asked questions
What is the best glue for exterior car trim?
There is no single best glue for all trim. Flat-backed pieces often do best with double-sided automotive tape, while uneven or stressed trim may need trim adhesive. Choose a product that matches the substrate, exposure, and bond thickness the part needs. If the trim sees sun and road spray, prioritize UV and water resistance.
Will car glue hold on plastic, metal, and painted surfaces?
Yes, if the adhesive family matches the substrate. Painted metal and ABS are usually easier than PP/EPDM or soft rubber. The bond also depends on clean, wax-free prep and enough cure time. A product that works on one surface can fail on another if flexibility or surface energy is mismatched.
How do I prep an exterior surface before gluing it?
Wash the part, dry it fully, and remove wax, silicone, and road film with a surface prep cleaner and a lint-free wipe. Test-fit the part first, then mask for alignment if needed. Use promoter or primer only when the adhesive label and substrate call for it.
Is car glue safe for paint and clear coat?
Only some products are. You need paint-safe adhesive and a remover that will not attack clear coat during cleanup. Avoid aggressive solvents unless the label specifically allows them. If the product is meant for rubber or seam sealing, do not assume it is safe for visible painted panels.
What should you use instead of glue for a loose badge or molding?
Use double-sided automotive tape for many badges and trim pieces, especially when the back is flat and alignment matters. If the part was originally clipped on, replace the clips or retainers first. Use seam sealer only for joints and edges, not decorative pieces that need later removal.
How do I remove old adhesive from car exterior panels?
Soften the residue with a clear-coat-safe adhesive remover, then lift it with a plastic scraper and a clean lint-free wipe. Heat can help loosen old tape, but avoid gouging the finish. If residue keeps smearing or the panel starts marking, stop and let the remover do more of the work.
What weather conditions can make exterior glue fail?
High heat, cold, heavy moisture, and rapid temperature swings can all weaken an exterior bond. UV exposure can age the adhesive, and vibration can work on a weak edge. If the surface is damp, dusty, or cold-soaked, wait and prep again instead of forcing the repair.
Products related to this article
Sponsored / affiliate links. As an Amazon Associate I earn from qualifying purchases. I may earn additional commission from eligible campaigns.