Chevy Starter Solenoid Wiring: S/I Terminals + Modern B/S/M Guide
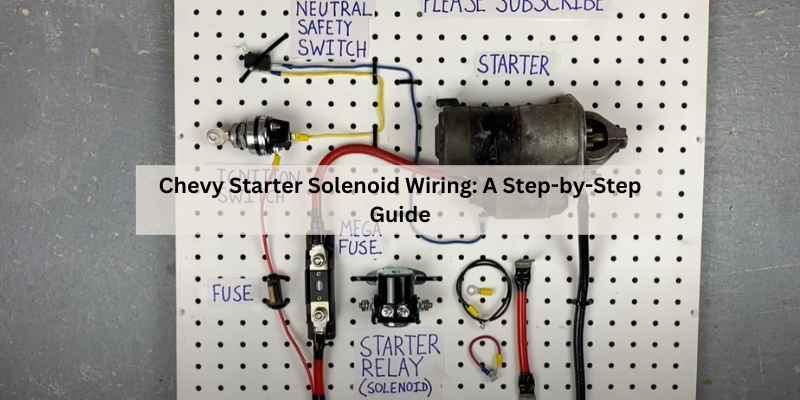
Chevy starter solenoid wiring depends on the type: an external solenoid uses “S” (ignition switch) and “I” (ignition coil boost, points ignition only) terminals, while most Chevys since the mid-1970s use a starter-mounted solenoid with B (battery), S (start), and M (motor) terminals instead. Swapping terminals causes a no-crank or dead short. This guide covers both wiring schemes and how to test a solenoid that won’t engage.
Proper installation helps avoid potential issues like engine cranking failures. This guide will walk you through the necessary steps and provide tips for successful wiring. Follow these instructions carefully to ensure your Chevy starts smoothly every time.
Introduction To Chevy Starter Solenoid Wiring
Correct wiring of the Chevy starter solenoid is crucial for optimal engine performance. Proper connections ensure that the starter engages effectively. Miswiring can lead to starting issues or damage to components.
To achieve a successful installation, several tools and materials are required. Basic tools include a wire stripper, screwdriver, and multimeter. You will also need electrical connectors, appropriate gauge wire, and a wiring diagram specific to your model.
| Tools | Materials |
|---|---|
| Wire Stripper | Electrical Connectors |
| Screwdriver | Appropriate Gauge Wire |
| Multimeter | Wiring Diagram |
Identifying Your Starter Solenoid Components
The starter solenoid has two main terminals: the ‘S’ and ‘I’ terminals. Understanding these terminals helps in proper wiring.
The ‘S’ terminal connects to the ignition switch. It receives a hot signal when starting the vehicle. This terminal is crucial for activating the solenoid.
The ‘I’ terminal connects to the ignition coil. It provides an extra boost of battery voltage during starting. This boost improves the starting process.
| Terminal | Purpose |
|---|---|
| “S” | Activates the solenoid from ignition switch |
| “I” | Boosts voltage to ignition coil (bypasses ballast resistor while cranking) |
Preparation Steps Before Wiring
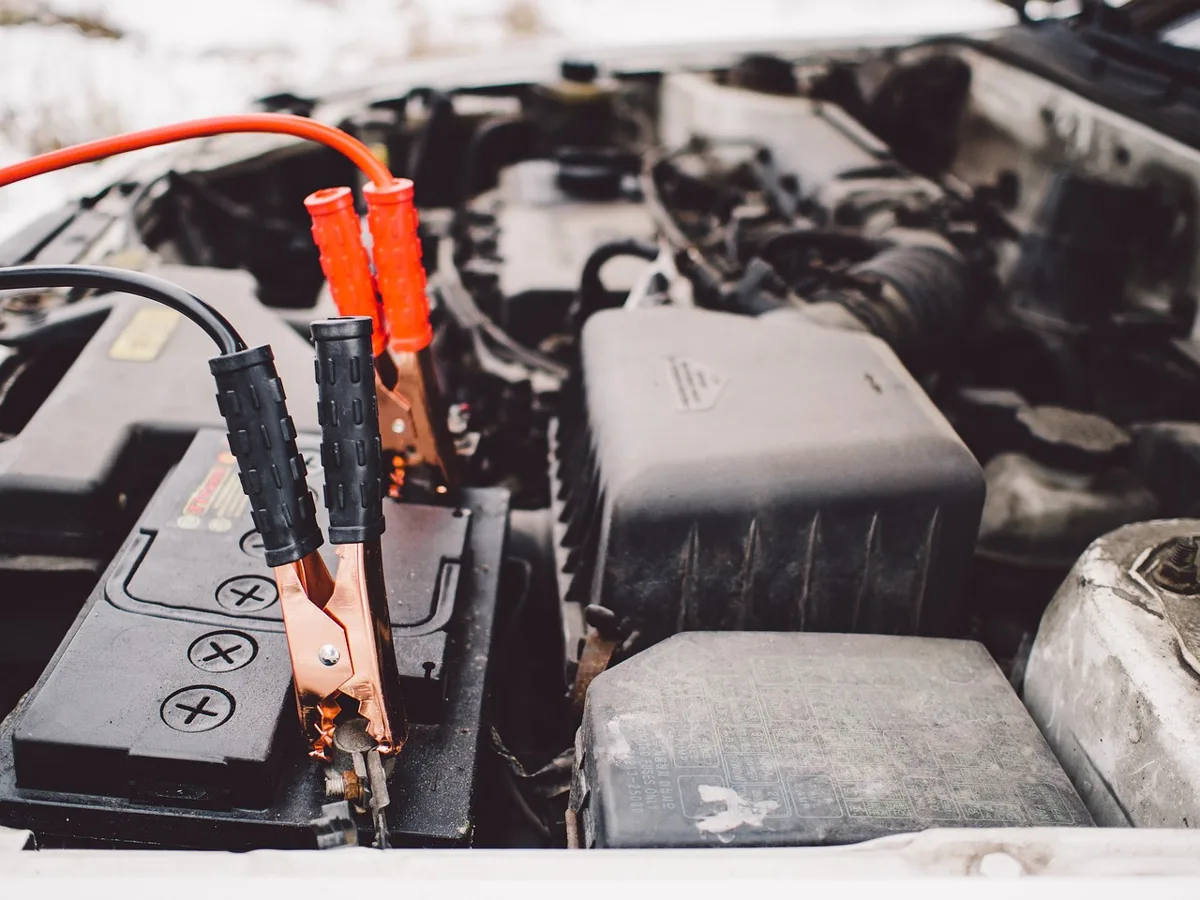
Safety precautions are crucial before starting any wiring project. Always ensure you disconnect the battery to prevent electrical shock — see our battery terminal disconnect order guide if you are unsure which cable to pull first. This step is vital to protect yourself and your vehicle’s electrical system.
Use insulated tools to avoid accidental shorts. Wear safety goggles to shield your eyes from sparks. Avoid working in damp conditions, as moisture increases the risk of shock. Keep flammable materials away from your workspace.
Double-check all connections before reattaching the battery. Take your time and follow the wiring diagram closely. This careful preparation ensures a safe and successful wiring process.
Recommended Tools for Wiring a Chevy Starter Solenoid

A combined straight and angled crimping/stripping tool set built for automotive terminal work — handles the S, I, B, and M terminal connections cleanly without nicking the wire strands.
View Our Pick on Amazon
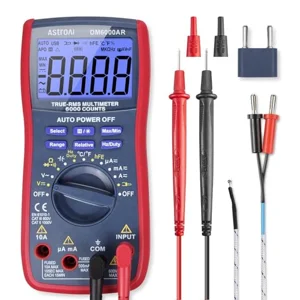 AstroAI Digital Multimeter Best for: Testing S-terminal voltage during the jumper test. |
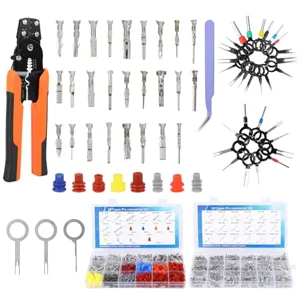 Ioubur Terminal Connector Kit (827 pcs) Best for: Matching connector size to S, B, and M terminal posts. |
 Permatex Dielectric Tune-Up Grease Best for: Sealing finished terminal connections against corrosion. |
Step-by-step Wiring Guide
To connect the ‘S’ terminal, use a purple wire. This wire connects from the ignition switch to the solenoid. Make sure the connection is tight to avoid starting issues.
For the ‘I’ terminal, attach a wire to the positive terminal of the ignition coil. This provides an extra boost of battery voltage. It helps with starting the engine smoothly.
Check the ground connection carefully. A solid ground is essential for proper operation. Look for any rust or corrosion on the ground terminal. Clean it if necessary to ensure a good connection.
Troubleshooting Common Wiring Issues
Common issues with starter solenoid wiring can prevent activation. Incorrect wiring often leads to frustrating symptoms. The solenoid may fail to engage the starter motor. This can result in a no-start condition, which is quite common.
Look for signs such as clicking sounds when turning the key. This indicates that the solenoid is trying to activate but cannot. Check for loose connections or damaged wires, as these can also cause problems. Ensure the purple wire connects to the ‘S’ terminal properly.
Testing the battery voltage at the solenoid can help. A reading below 12 volts may indicate a weak battery. Confirm that the ignition switch sends a signal to the solenoid when turned to start
Testing The Starter Solenoid
Testing the starter solenoid is essential for proper vehicle function. Conducting a bench test can identify issues easily. Start by removing the solenoid from the vehicle. Connect it to a battery and use jumper wires for testing. If it clicks, it works.
Verifying functionality in the vehicle requires a few steps. First, check all wiring connections for looseness or damage. Turn the ignition key to the start position. Listen for a clicking sound. If there’s no click, the solenoid may be faulty.
Check the battery voltage as well. A low battery can prevent the solenoid from activating. Proper maintenance keeps the starter solenoid in good condition.
Advanced Tips For Enhanced Performance
To enhance the lifespan of your starter solenoid, focus on proper maintenance. Regularly check for corrosion on connections. Clean any rust or dirt to ensure a strong electrical flow. Use dielectric grease on terminals to prevent moisture buildup.
Optimizing electrical connections is vital. Ensure all wires are properly secured and free from wear. Using the correct gauge wire helps prevent overheating. Inspect connections frequently for any signs of damage.
Consider using a solenoid relay to improve performance. This can reduce load on the ignition switch. A relay also helps to protect the solenoid from excessive heat.
Which Terminal Scheme Does Your Chevy Use? S/I vs. B/S/M
It is not “polarity” that trips people up on a Chevy starter solenoid — it is terminal assignment. Solenoids do not have a positive/negative polarity choice like a battery; every terminal has one specific job, and swapping them causes a no-crank condition or a direct short, not just a minor wiring inconvenience.
The S/I System: Points-Ignition Chevys Only (Pre-HEI, Roughly Pre-1975)
The S and I terminal setup described above applies specifically to older Chevys running points-style ignition, before GM switched to High Energy Ignition (HEI) starting in the mid-1970s. On these engines, the “I” terminal wire runs from the solenoid to the ignition coil’s positive side, bypassing the ballast resistor so the coil gets a full 12 volts only while cranking — this compensates for voltage drop during startup and gives a hotter spark to get the engine going. Once the key is released to “run,” the ballast resistor drops the coil back down to its normal running voltage.
If your Chevy has HEI or any electronic ignition, there is no ballast resistor to bypass, so the “I” terminal is not used at all — HEI distributors get their run voltage straight from the ignition switch. For a deeper look at the specific ignition-switch-to-solenoid wiring on classic points-era trucks, see our 70s Chevy starter switch wiring guide.
The B/S/M System: Most Chevys Since the Mid-1970s
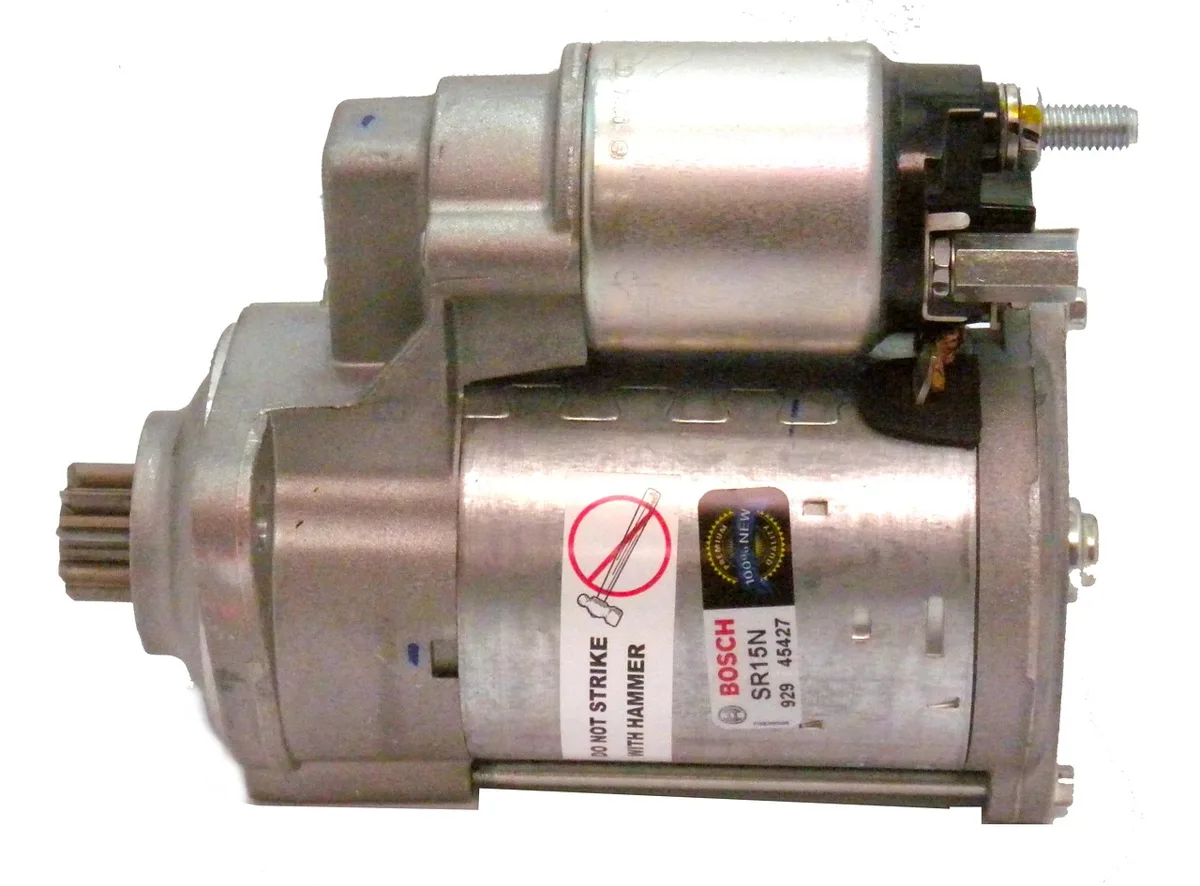
Most Chevy trucks and cars built from the mid-1970s onward — including modern Silverados — use a starter-mounted solenoid with three terminals labeled B, S, and M instead of the S/I scheme above:
- B (Battery): The large terminal connected directly to the battery’s positive cable — always hot, even with the key off.
- S (Start): The small terminal wired to the ignition switch’s start circuit. This is what energizes the solenoid’s pull-in and hold-in windings when you turn the key to crank.
- M (Motor): The terminal that feeds the starter motor itself once the solenoid engages, completing the high-current path from the battery through the solenoid to the motor.
Because the solenoid is bolted directly to the starter on this system, there is no separate ignition-coil boost wire to worry about — the B/S/M layout is simpler to wire but just as easy to get backward if the terminals are not clearly marked on your specific solenoid housing.
Choosing the right gauge wire matters on both systems. A thicker wire handles more current and reduces the chance of overheating — a 10 or 12-gauge wire is typically suitable for the S/start-circuit connection, while the B/battery and M/motor connections use heavier factory-gauge cable rated for full cranking amperage. Always ensure connections are secure and free from corrosion; regular checks can prevent potential starting issues down the line.
Data point: GM phased in High Energy Ignition (HEI) across its V8 lineup starting in the 1974-1975 model years, replacing the older points-style distributor. This is the actual cutoff for the S/I terminal wiring scheme described above — any repair manual showing an “I” terminal wire to the coil is describing a pre-HEI, points-ignition setup, not the electronic ignition used on later Chevys.
Diagnostic technique mechanics actually use: If the solenoid clicks but the engine won’t crank, run the jumper test before replacing anything — touch a jumper wire briefly from the battery positive terminal straight to the S terminal. If the engine cranks now, the solenoid and starter are fine and the fault is upstream, in the ignition switch, neutral safety switch, or the wiring between them. If it still won’t crank, the solenoid or starter motor itself is the problem — our guide to jumping a car starter relay covers this exact scenario step by step.
Frequently Asked Questions
Which Wires Go Where On A Starter Solenoid?
Connect the battery positive cable to the large terminal. Attach the ignition wire to the “S” terminal. If present, connect the “I” terminal to the ignition coil. Ensure all connections are secure for proper operation.
What Are The S And I Terminals On A Starter Solenoid?
The “S” terminal on a starter solenoid connects to the ignition switch, activating the solenoid during starting. The “I” terminal connects to the ignition coil, providing additional voltage to assist with starting. Understanding these terminals is crucial for proper starter functionality.
Does It Matter Which Way A Solenoid Is Wired?
Yes — it is not “positive/negative” polarity that matters on a solenoid, but which wire goes to which labeled terminal. Mixing up the S, I, B, or M terminals (depending on which system your Chevy uses) can cause a no-crank condition or, in some cases, a direct short. Always match wires to the terminal labels on your specific solenoid rather than guessing based on wire color alone.
What Sends Power To The Starter Solenoid?
Power reaches the starter solenoid through the ignition key or button. Turning the key sends a low-voltage signal to the solenoid, activating it. This process engages the starter motor, enabling the engine to start. Proper connections ensure effective power transfer for reliable ignition.
Conclusion
Understanding Chevy starter solenoid wiring comes down to knowing which scheme your vehicle uses — S/I on points-ignition Chevys, or B/S/M on starter-mounted solenoids since the mid-1970s — and matching each wire to its correct terminal rather than worrying about polarity. If you are working on an engine swap and need to confirm compatible starter and wiring setups across model years, our Chevy engine swap compatibility chart is a useful next stop.
Products related to this article
Sponsored / affiliate links. As an Amazon Associate I earn from qualifying purchases. I may earn additional commission from eligible campaigns.