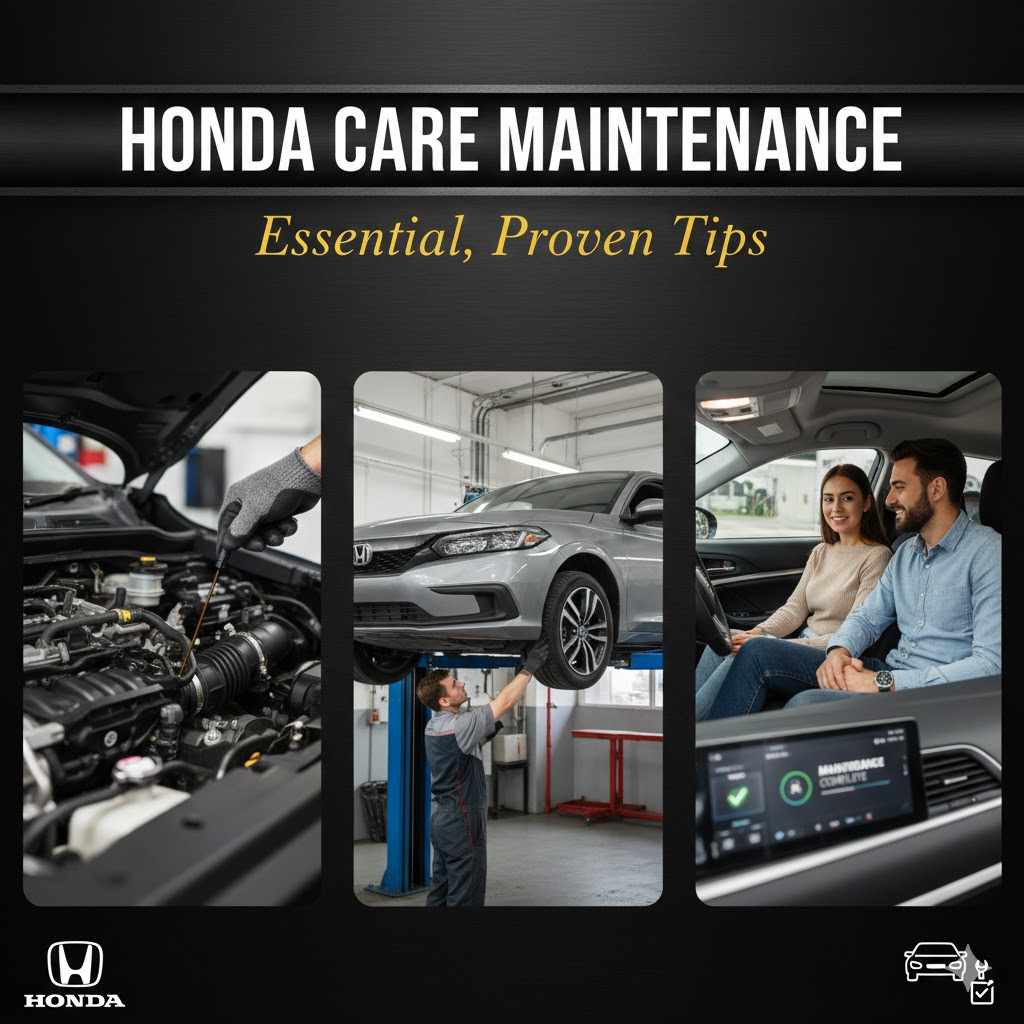
Honda Care Maintenance: Essential, Proven Tips
Honda Care Maintenance: Essential, Proven Tips
Following essential Honda care maintenance keeps your car safe, reliable, and extends its life. This guide provides simple, proven steps—from checking fluids to understanding your manual—to help everyday drivers confidently manage their Honda’s upkeep without needing a mechanic for every little thing.
Owning a Honda means you have a reliable partner on the road. But even the best cars need regular attention to stay that way. Many drivers worry about confusing service schedules or choosing the wrong parts. It feels like a chore, and sometimes the owner’s manual is just too thick! Don’t worry; keeping your Honda in top shape is easier than you think. We are going to break down the most important Honda care maintenance steps into simple, clear actions. Get ready to feel more confident under the hood, save money, and enjoy a safer drive. Let’s look at the proven tips that make a real difference.
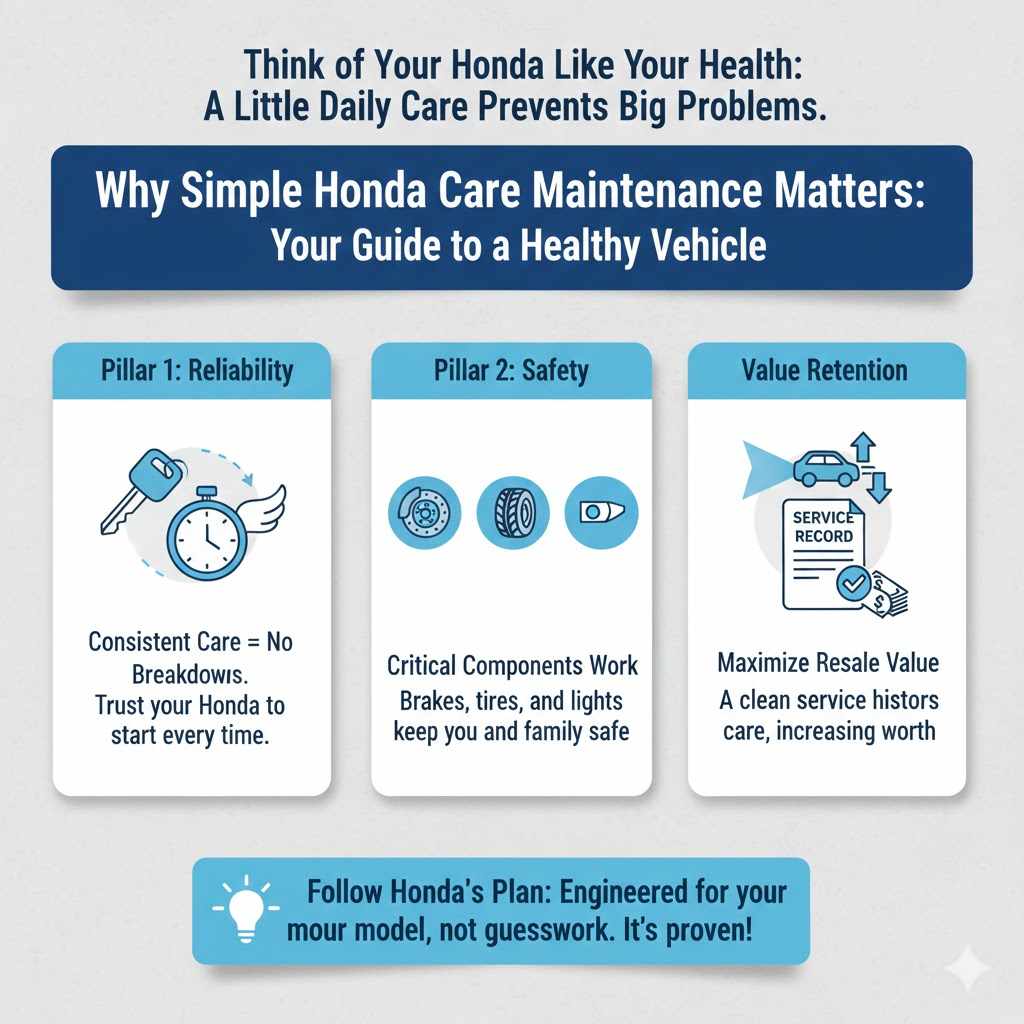
Why Simple Honda Care Maintenance Matters So Much
Think of your Honda like your health. A little bit of care every day prevents big problems later. Consistent, simple maintenance does three main things for your vehicle:
- Reliability: It drastically reduces the chance of unexpected breakdowns. You can trust your car to start when you need it.
- Safety: Well-maintained brakes, tires, and lights keep you and your family safer on the road.
- Value Retention: When it’s time to sell, a clean service record proves your car was well-cared for, increasing its resale value significantly.
The best maintenance follows the plan Honda designed specifically for your model. This isn’t guesswork; it’s proven engineering.
The Core of Honda Care: Understanding Your Maintenance Minder System
Modern Hondas don’t rely on just old-fashioned mileage rules. They use the Maintenance Minder System. This is your car’s brain telling you exactly what it needs and when.
How the Maintenance Minder Works
The system monitors your driving habits (temperature, engine speed, load) and uses that data to calculate the remaining life of various maintenance items. When it’s time for service, a code appears on your dashboard.
You will see either a main code (A or B) or one or more sub-codes (1 through 6).
Main Codes:
- Code A: Usually means just an oil change.
- Code B: Means an oil change plus a thorough vehicle inspection (checking brakes, steering, etc.).
Sub-Codes (What Needs Attention):
These numbers tell you which specific parts need service:
| Code | Service Required |
|---|---|
| 1 | Tire Rotation |
| 2 | Replace Air Cleaner Element and Dust/Pollen Filter |
| 3 | Replace Transmission Fluid |
| 4 | Replace Spark Plugs, Inspect Valve Clearance |
| 5 | Replace Engine Coolant |
| 6 | Replace Rear Differential Fluid (for AWD models) |
Pro Tip: Always consult your specific owner’s manual! The timing for these codes can vary based on your model year and engine type. You can usually find digital copies on the official Honda website.
Essential DIY Checks for Every Honda Owner
While the Maintenance Minder handles the complex scheduling, there are several checks you should perform yourself monthly. These require minimal tools and give you huge peace of mind.
1. Oil Level and Quality Check
Oil is the lifeblood of your engine. Checking it regularly is the easiest thing you can do.
- Park on a level surface and turn off the engine. Wait five minutes for the oil to settle.
- Locate the dipstick (usually has a bright yellow or orange loop handle). Pull it out completely.
- Wipe the dipstick clean with a rag or paper towel.
- Insert the dipstick fully back into the tube, then pull it out again.
- Check the level. It should be between the two hash marks or dots on the end.
- Check the color. Fresh oil is amber/light brown. Dark, thick, gritty oil needs changing soon.
Safety Note: Never let the oil level drop below the bottom mark. If it’s low, add the correct type of oil specified in your manual immediately. Running low risks severe engine damage.
2. Tire Pressure: The Easiest Safety Fix
Proper tire pressure affects gas mileage, braking distance, and tire lifespan. Under-inflated tires wear out quickly and drastically increase fuel consumption. You can learn more about road safety standards from the National Highway Traffic Safety Administration (NHTSA).
Here’s the simple routine:
- Buy an inexpensive, reliable tire pressure gauge.
- Locate the recommended PSI (Pounds per Square Inch) sticker, usually found inside the driver’s side door jamb—NOT the number on the tire sidewall.
- Check the pressure when the tires are “cold” (before driving or after the car has sat for at least three hours).
- Add or release air until you hit the recommended number.
3. Fluid Checks Beyond the Engine Oil
Your Honda relies on several other fluids to work correctly. Make checking these a quarterly habit:
Coolant (Antifreeze)
Coolant keeps your engine from overheating in summer and freezing in winter. Crucial Safety Rule: Never open the radiator cap or coolant reservoir cap when the engine is hot! Wait until it is completely cool. Look at the plastic reservoir tank; the fluid line should be between the “Min” and “Max” lines.
Brake Fluid
Brake fluid is usually in a small, white plastic reservoir under the hood, often near the firewall. If the level seems very low, it usually indicates worn brake pads, not just evaporation. Get this checked by a professional if you notice spongy brakes or a low fluid level.
Windshield Washer Fluid
Simple, but often forgotten! Keep this topped up for clear vision. Use a quality washer fluid designed for your climate.
Choosing the Right Parts: Genuine vs. Aftermarket
When service is due, you will face a choice: Genuine Honda Parts or aftermarket parts? This is a major part of “Honda care maintenance.”
Why Genuine Honda Parts Often Win
Genuine Honda Parts (often called OEM—Original Equipment Manufacturer) are built specifically for your vehicle’s tolerances. For critical components, sticking with OEM ensures perfect fit and performance as designed.
When to Strongly Consider Genuine Honda Parts:
- Brake pads and rotors (for optimal stopping power).
- Filters (oil, air, fuel—ensuring the right filtration level).
- Major engine components (timing belts, water pumps).
When Aftermarket Parts Might Be Okay
For non-critical items, reputable aftermarket brands often provide excellent quality at a lower price. Always research the brand and read reviews before purchasing.
The Takeaway: Don’t cheap out on fluids or safety components. For everything else, balancing quality and cost with trusted brands is a smart financial move.
Following the Major Service Milestones
While the Maintenance Minder is fantastic, it’s helpful to know the manufacturer’s general service schedule for major upkeep items that don’t always trigger a code perfectly.
The 30,000, 60,000, and 90,000 Mile Checkups
These major milestones are where you focus on deeper inspections and replacements.
30,000 Mile Service Focus:
- Thorough inspection of brake system components.
- Cabin air filter replacement (often overlooked).
- Checking steering and suspension linkage.
- Visual inspection of drive belts.
60,000 Mile Service Focus:
This is often a significant service interval.
- Replace spark plugs (if not done already by the Minder).
- Replace engine air filter.
- Transmission fluid flush/replacement (check your manual; some newer Hondas use a drain-and-fill method).
- Inspect all hoses and belts for cracking or wear.
90,000 Mile Service Focus:
This service confirms the longevity of high-wear items and focuses on long-term fluids.
- Engine coolant replacement (crucial for protecting engine materials).
- Comprehensive inspection of all systems covered in the 30k and 60k checks.
- If applicable, inspect or replace the timing belt (for older models, as many newer Hondas use maintenance-free timing chains).
Tire Care: More Than Just Pressure
Tires are the only part of your car that actually touches the road. Excellent tire care is non-negotiable for safety and performance.
Rotation: Keeping Wear Even
Tire rotation moves the tires to different positions on the car so they wear down evenly. This maximizes their lifespan.
Standard Honda Rotation Pattern: Most passenger cars use a “Modified X” or “Forward Cross” pattern. Always rotate every 5,000 to 7,500 miles, usually coinciding with your oil change.
Tread Depth Check (The Penny Test)
Bald tires are dangerous, especially in rain. You can check your tread depth easily at home:
- Take a penny and place Abraham Lincoln’s head upside down into the deepest part of the tread groove.
- If you can see all of Lincoln’s head above the tread, your tires are too worn and need immediate replacement.
- If Lincoln’s head is partially or fully covered, you still have safe tread depth.
The legal minimum tread depth in many regions is 2/32 of an inch, but for rainy safety, most experts recommend replacing tires when they reach 4/32 of an inch.
Simple Steps for Maintaining Your Honda’s Exterior and Interior
Honda care maintenance isn’t just mechanical; appearance plays a role in long-term care, too.
Exterior Washing and Waxing
Washing regularly removes road salt, bird droppings, and grime that can eat away at your clear coat and cause rust. Waxing every 3–4 months creates a protective barrier against UV rays and minor scratches.
Keeping the Cabin Clean
Dirt tracked into the cabin accelerates wear on floor mats and upholstery. Vacuum regularly and wipe down vinyl or plastic surfaces with a mild interior cleaner. Don’t forget to replace the cabin air filter (usually prompted by Maintenance Minder Code 2) to keep the air you breathe clean.
Wiper Blades
Wiper blades typically last 6 to 12 months. If they streak, chatter, or leave behind a dirty film, replace them immediately. Good visibility saves lives.
When to Definitely See a Certified Honda Technician
While DIY checks build confidence, some jobs require specialized tools, lifts, or expertise. Trusting a professional for these tasks ensures safety and warranty compliance.
You should always schedule service with a qualified technician for the following:
- Any warning light that stays illuminated after checking simple issues (like low washer fluid).
- Brake grinding, squealing, or a “spongy” brake pedal feel.
- Any loud noises from the engine, transmission, or suspension.
- When the Maintenance Minder suggests a major component replacement (like timing belt service, if applicable).
- If you suspect a fluid leak. (Note: Honda typically uses specific colored coolants, often green or blue depending on the model year.)
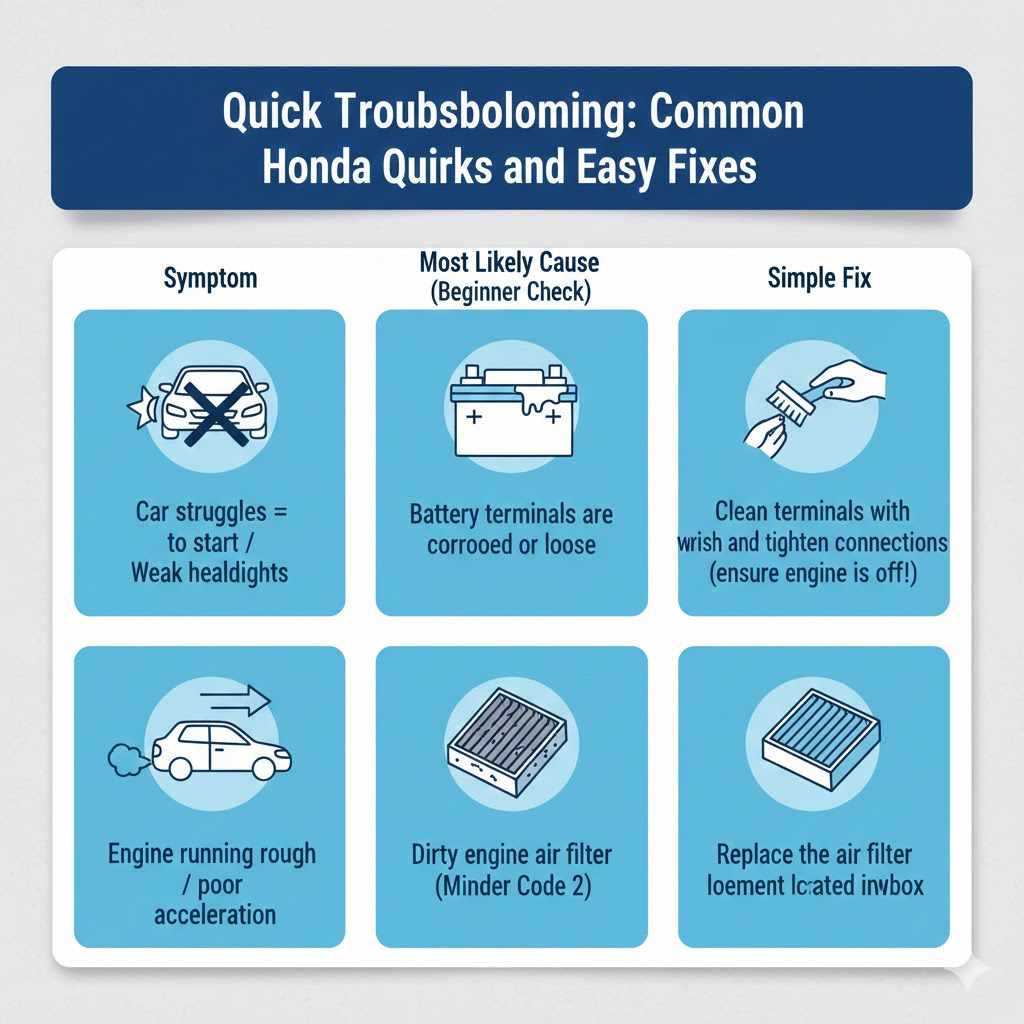
Quick Troubleshooting: Common Honda Quirks and Fixes
Here are a few minor issues that pop up and how easy they are to handle.
| Symptom | Most Likely Cause (Beginner Check) | Simple Fix |
|---|---|---|
| Car struggles to start / Weak headlights | Battery terminals are corroded or loose. | Clean terminals with a wire brush and tighten connections (ensure engine is off!). |
| Engine running rough/poor acceleration | Dirty engine air filter (Minder Code 2). | Replace the air filter element located in the airbox. |
| AC not blowing cold enough | Clogged cabin air filter or low refrigerant (professional check needed for refrigerant). | Replace the cabin air filter first. |
Frequently Asked Questions (FAQ) About Honda Care Maintenance
Q1: How often do I really need an oil change if I use synthetic oil?
A: While synthetic oil lasts longer, always follow your Honda Maintenance Minder system (Code A or B). For many newer Hondas, this means changing oil every 7,500 to 10,000 miles, depending on your driving conditions, rather than the old 3,000-mile rule.
Q2: Can I use any brand of transmission fluid in my Honda?
A: No. Hondas are very specific about their transmission fluid requirements. Always use genuine Honda ATF (Automatic Transmission Fluid) or an equivalent that explicitly meets the Honda specification listed in your owner’s manual to avoid damaging the complex transmission.
Q3: What does it mean when the “Maintenance Due Soon” light comes on but there are no letters or numbers?
A: This usually means the oil life has reached 15% or less, and the system is preparing to display the specific code (A or B). It’s time to schedule your oil change soon.
Q4: How do I reset the Maintenance Minder system after an oil change?
A: The process varies slightly by model, but generally, you turn the ignition to the ON position (engine off), press and hold the SELECT/RESET button on the dashboard until the oil life indicator flashes, and then press and hold it again until it resets to 100%.
Q5: Is it safe to drive if the “Check Engine” light comes on, but the car seems to be driving fine?
A: It depends. If the light is solid, the issue is usually minor (like a loose gas cap). If the light is flashing, stop driving immediately, as this indicates a severe engine misfire that can cause catalytic converter damage. Always get solid lights checked out soon.
Q6: Should I use premium gasoline in my Honda?
A: Only use premium gasoline (higher octane) if your specific Honda engine model requires it (usually noted on the fuel door or fuel cap). Most standard Honda engines are designed perfectly for regular unleaded (87 octane) and gain no benefit from premium fuel.
Conclusion: Building Confidence Through Consistent Honda Care
Taking charge of your Honda care maintenance doesn’t require you to become a professional mechanic overnight. It simply requires consistency and paying attention to the signs your vehicle is giving you. By prioritizing the checks outlined here—regularly monitoring your fluids, maintaining correct tire pressure, and most importantly, respecting the guidance of your onboard Maintenance Minder system—you are actively protecting your investment.
Remember, these proven tips are about prevention, not reaction. A little effort spent checking the oil dipstick today prevents an expensive tow next month. Embrace these simple routines, keep your owner’s manual handy, and enjoy the smooth, reliable performance that your Honda was built to deliver for years to come. You’ve got this!