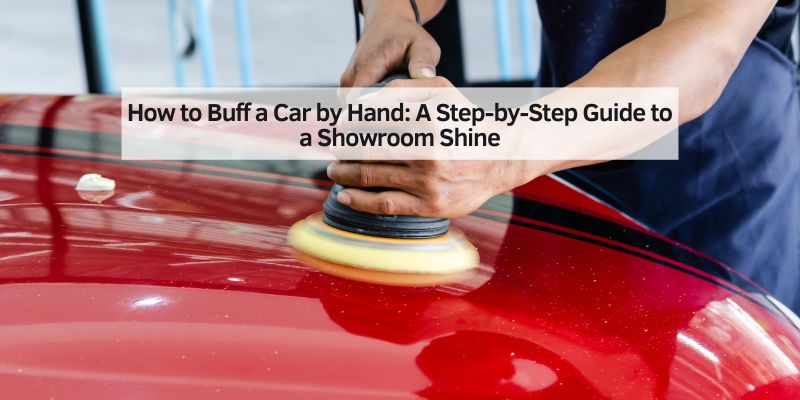
How to Buff a Car by Hand: A Step-by-Step Guide to a Showroom Shine
Hey there, car lovers! I’m thrilled to share my passion for keeping cars looking sharp, and today, I’m diving into something every car owner can master: how to buff a car by hand. There’s something incredibly satisfying about transforming a dull, scratched-up finish into a glossy, head-turning shine, all with your own two hands. I’ve spent countless weekends perfecting this process on my own vehicles, and I’m here to walk you through every step. Buffing a car by hand isn’t just about aesthetics—it’s about protecting your investment and showing your ride some love. Whether you’re a beginner or a seasoned detailer, this guide will help you achieve that showroom-quality finish without fancy machines. Let’s roll up our sleeves and get started!
Why Buffing a Car by Hand Matters
Buffing a car by hand is like giving your vehicle a spa day. It removes surface scratches, swirl marks, and oxidation, leaving the paint smooth and shiny. Unlike machine polishing, which can be intimidating and expensive, hand buffing is accessible to everyone. It’s a budget-friendly way to maintain your car’s appearance, and it gives you full control over the process. I remember the first time I buffed my old sedan—it was scratched and faded, but after a few hours of work, it looked like it just rolled off the lot. Plus, buffing protects your car’s paint from UV rays and environmental damage, which can save you money on costly repairs down the road.
Hand buffing also lets you connect with your car. There’s a certain pride in knowing you’ve restored that shine yourself. It’s not just about looks; it’s about preserving your car’s value. A well-maintained exterior can boost resale value and make your ride stand out. Trust me, once you see the results, you’ll be hooked.
What You’ll Need to Buff a Car by Hand
Before we dive into the process, let’s talk about the tools and materials you’ll need. I’ve learned through trial and error that having the right supplies makes all the difference. Here’s a quick rundown of what I use:
| Item | Purpose |
|---|---|
| Car wash soap | Cleans dirt and grime before buffing. |
| Microfiber wash mitt | Prevents scratches while washing. |
| Two buckets with grit guards | Keeps dirt out of your wash water. |
| Microfiber towels | Dries the car and applies products safely. |
| Clay bar and lubricant | Removes contaminants from the paint surface. |
| Polishing compound | Removes scratches and swirl marks. |
| Wax or sealant | Protects the paint and adds shine. |
| Applicator pads | Applies compound and wax evenly. |
| Soft sponge | Helps work in the polishing compound. |
| Water and hose | For washing and rinsing the car. |
| Shady spot or garage | Prevents products from drying too quickly. |
You don’t need to break the bank—most of these items are affordable and widely available at auto stores or online. I always keep a stash of microfiber towels because they’re gentle on paint and super versatile. If you’re new to this, stick with trusted brands for your polishing compound and wax. They’re easier to work with and give consistent results.
Preparing Your Car for Buffing
Preparation is key to a successful buffing session. I learned this the hard way when I once skipped washing my car properly and ended up grinding dirt into the paint—ouch! Start by parking your car in a shaded area or garage. Direct sunlight can dry out products too quickly, making them hard to work with.
First, give your car a thorough wash. I use the two-bucket method: one bucket with soapy water and another with clean water for rinsing the mitt. This keeps dirt from scratching the paint. Use a microfiber wash mitt and a gentle car wash soap. Work from the top down, rinsing often. Pay extra attention to areas like the hood and bumper, where bugs and tar tend to stick.
After washing, dry the car with microfiber towels to avoid water spots. Now, it’s time for claying. A clay bar removes tiny contaminants that washing can’t, like tree sap or industrial fallout. Spray a lubricant (or soapy water in a pinch) on a small section of the car, then glide the clay bar gently across the surface. It feels weird at first, but you’ll notice the paint becoming smooth as glass. I usually fold the clay to expose a clean side as I go. Rinse and dry the car again if needed.
Choosing the Right Polishing Compound
Picking the right polishing compound can feel overwhelming with so many options out there. I’ve tried a bunch, and here’s what I’ve learned: compounds vary in abrasiveness. For light scratches and swirl marks, a medium-cut polish works well. If your car has deeper scratches, you might need a heavier compound, but be careful—too aggressive, and you could damage the clear coat.
I stick with a trusted all-in-one polish for most jobs. It’s gentle enough for beginners but effective on minor imperfections. Apply a small amount to an applicator pad—less is more here. I once globbed on too much and ended up with a sticky mess. Spread the polish evenly over a small section, about 2×2 feet, to keep things manageable.
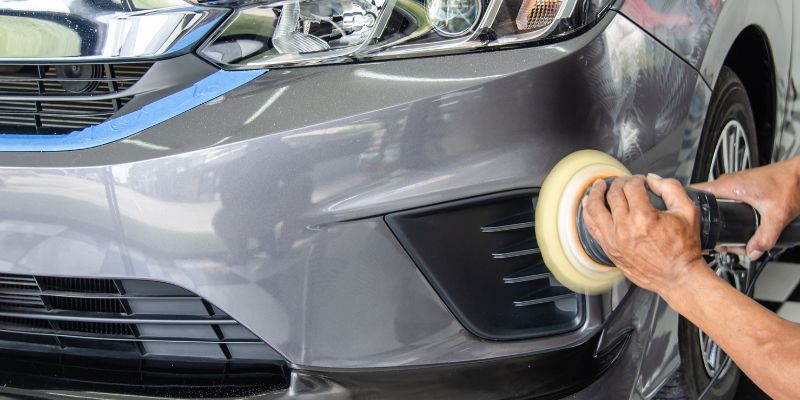
The Buffing Process: Step by Step
Now, let’s get to the fun part—buffing! This is where the magic happens. Here’s how I do it:
- Apply the Compound: Dab a small amount of polishing compound onto a clean applicator pad or soft sponge. I usually start with the hood since it’s a flat, visible surface. Spread the compound over a small section before rubbing.
- Work in Small Sections: Using light to medium pressure, rub the compound in circular motions. I like to overlap my circles to ensure even coverage. You’ll feel the pad glide smoothly as the compound breaks down scratches. If it starts to dry, add a tiny bit more.
- Check Your Progress: After a minute or two, wipe the area with a microfiber towel and inspect the paint. You should see scratches fading and the surface looking glossier. If not, apply a bit more compound and keep working. Patience is key—I’ve spent extra time on stubborn spots, and it’s always worth it.
- Wipe Clean: Once you’re happy with the section, wipe away excess compound with a clean microfiber towel. Don’t let it sit too long, or it’ll be harder to remove.
- Repeat Across the Car: Move on to the next section, working methodically around the car. I usually do the hood, roof, sides, and then the bumpers. Take breaks if your arms get tired—buffing by hand is a workout!
One tip: keep your applicator pad clean. If it gets gunky, switch to a fresh one. I learned this after smearing old compound across my car, which created more work.
Applying Wax or Sealant for Protection
Buffing alone won’t protect your car’s paint—it needs a layer of defense. That’s where wax or sealant comes in. Wax gives a warm, deep shine, while sealants offer longer-lasting protection. I prefer a synthetic sealant for durability, but a good carnauba wax is great for that classic glow.
Apply a thin layer of wax or sealant with a clean applicator pad, working in small sections like you did with the polish. Use straight lines or gentle circular motions. Let it haze over (usually 5-10 minutes), then buff it off with a microfiber towel. The first time I waxed my car, I was amazed at how the paint popped—it’s like adding a glossy topcoat to a painting.
Tips for Getting the Best Results
Over the years, I’ve picked up some tricks to make hand buffing easier and more effective:
- Work in the Shade: Sunlight can bake products onto the paint, making them tough to remove. A garage or shaded driveway is perfect.
- Use Light Pressure: Pressing too hard can damage the paint. Let the compound do the work.
- Keep Tools Clean: Dirty pads or towels can scratch the surface. I rinse my microfiber towels frequently and have plenty on hand.
- Test First: If you’re trying a new product, test it on a small, hidden area like the door jamb.
- Stay Patient: Buffing by hand takes time, but the results are worth it. I usually set aside a full afternoon for a thorough job.
Common Mistakes to Avoid
I’ve made my share of mistakes, and I want to save you the trouble. Here are some pitfalls to watch out for:
- Skipping the Wash or Clay Bar: Dirt or contaminants can scratch the paint during buffing. Always start with a clean surface.
- Using Too Much Product: A little compound or wax goes a long way. Too much creates a mess and wastes product.
- Buffing in Direct Sun: Heat can make products dry too fast, leaving streaks or residue.
- Not Checking Your Work: Always wipe and inspect each section before moving on. It’s easier to fix a spot immediately than to go back later.
Maintaining Your Car’s Shine
Once your car is buffed and waxed, you’ll want to keep that shine looking fresh. I wash my car every couple of weeks with a gentle soap to avoid stripping the wax. A quick-detailer spray between washes can boost the gloss and remove light dust. Reapply wax or sealant every 2-3 months, depending on your climate and driving habits. Here in the USA, harsh winters or coastal air can wear down protection faster, so adjust as needed.
I also park in a garage whenever possible to shield my car from UV rays and bird droppings. If you can’t, a car cover is a great investment. Regular maintenance makes future buffing sessions easier since you’re not starting from scratch.
Why I Love Buffing by Hand
There’s something meditative about buffing a car by hand. It’s just you, your car, and the satisfaction of watching the paint come to life. I’ve spent hours in my driveway, music playing, turning a tired-looking vehicle into a stunner. It’s not just about the end result—it’s about the process. You’ll notice every curve and detail of your car, and that connection makes the effort worthwhile.
Plus, hand buffing is a skill you can take anywhere. No need for expensive tools or electricity—just your hands and a few supplies. Whether you’re sprucing up a daily driver or prepping a classic for a car show, this technique delivers.

Conclusion
Buffing a car by hand is more than just a chore—it’s a labor of love that pays off every time you catch your reflection in the paint. I’ve shared my tried-and-true methods, from picking the right products to avoiding common mistakes, so you can achieve that showroom shine at home. It’s a process that anyone can learn with a bit of patience and elbow grease. The first time you step back and see your car gleaming, you’ll feel like a pro. So grab your supplies, pick a shady spot, and give your car the TLC it deserves. Here’s to turning heads wherever you drive!
Frequently Asked Questions
Can I buff my car without a clay bar?
You can, but I don’t recommend it. A clay bar removes tiny contaminants that washing misses. Without it, you risk grinding those particles into the paint while buffing, which can cause scratches. It’s a quick step that makes a big difference.
How long does it take to buff a car by hand?
It depends on the car’s size and condition, but I usually spend 4-6 hours on a full buff and wax. If you’re just touching up a small area, it might take an hour or two. Take your time for the best results.
Will buffing remove deep scratches?
Hand buffing can reduce light scratches and swirl marks, but deep scratches often need professional attention or a machine polisher. I’ve had luck with medium-cut compounds on minor scratches, but don’t expect miracles on gouges.
How often should I buff my car?
I buff my car once or twice a year, depending on its exposure to sun, rain, or road grime. Over-buffing can wear down the clear coat, so stick to waxing every 2-3 months for regular maintenance.
Is hand buffing safe for all car paints?
Yes, as long as you use the right products and techniques. I always test a small area first, especially on older or custom paint jobs. Avoid aggressive compounds on delicate finishes, and never skip the wash and clay steps.