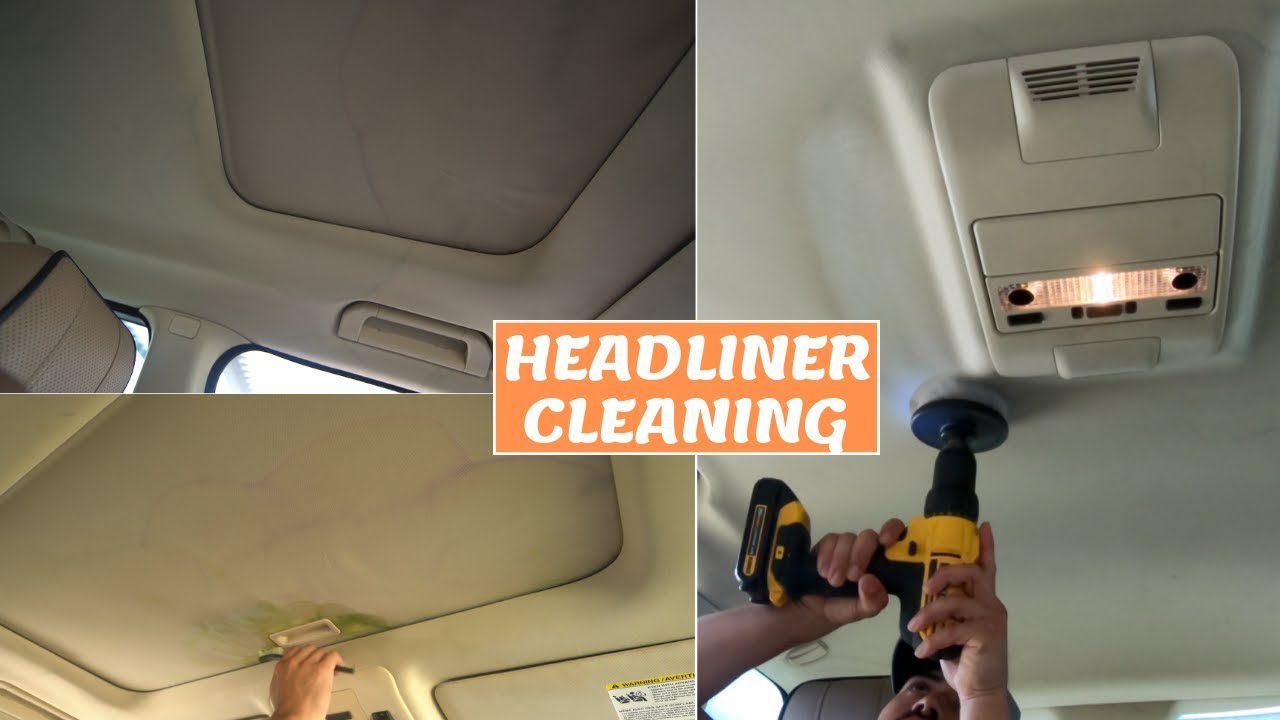
How to Clean a Car Headliner (Roof Lining) Without Damage
A dirty car headliner (roof lining) cleans up with a vacuum pass, a barely damp microfiber cloth, and a mild upholstery cleaner — never a full soak or steam, since heat and moisture dissolve the glue bonding fabric to its foam backing.
Oversoaking is the top cause of the sagging-headliner repairs mechanics see every day. This guide covers the safe supply list, spot-cleaning steps, deep-cleaning without steam, and how to dry the roof lining properly so it doesn’t come loose.
Quick Answer
Clean a car roof lining (headliner) by vacuuming loose dust first, then wiping with a barely damp microfiber cloth and a mild fabric or upholstery cleaner in small, one-direction strokes. Blot — don’t soak — and skip steam cleaners, since heat and moisture can loosen the glue holding the fabric to its foam backing and cause sagging.
Vacuum the Headliner First (the Step Most Guides Skip)
Before any liquid touches the fabric, vacuum the entire roof lining with a soft-bristle brush attachment on the lowest suction setting. This lifts loose dust, pet hair, and dry grit off the surface so you’re not grinding it deeper into the fabric once you add a cleaner — the single most common step every professional detailing guide includes and most DIY articles leave out.
While you’re vacuuming, inspect the headliner in good light. Note any areas that are already sagging, bubbling, or separating from the backing board — those spots need a repair fix, not a cleaning fix. If that describes your car, see our guide on fixing a sagging car headliner before you clean it, since wetting a headliner that’s already coming loose can make the sag worse.
Gather Necessary Supplies
Use a mild fabric cleaner or dedicated headliner cleaner — avoid strong solvents and heavily concentrated all-purpose cleaners, since they can strip color or weaken the fabric backing. Keep a bottle of white vinegar mixed 50/50 with water on hand for tough spots the fabric cleaner doesn’t fully lift.
You’ll also want a soft-bristle brush for gentle agitation, several microfiber cloths for spraying and blotting, and a spray bottle so you can mist a cleaner onto the cloth instead of directly onto the fabric.
Best Headliner Cleaning Kit Pick
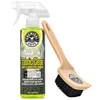
Chemical Guys Citrus Fabric & Carpet Cleaner Spray with Brush Kit, 16 oz
A low-moisture foaming fabric cleaner paired with a soft agitation brush — the exact combo this guide recommends for spot- and deep-cleaning a headliner without oversoaking it.
- Best for: spot and deep cleaning stained or dingy headliner fabric
- Why we picked it: low-moisture foam lifts dirt without soaking the glue underneath, and the included brush agitates fabric without damaging it
- Main drawback: foam needs to be wiped up promptly with a microfiber towel or it can dry with a faint residue
Compare more headliner-cleaning options
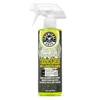 Option 1 Chemical Guys Citrus Fabric & Carpet Cleaner Ready-to-Use Spray, 16 oz
|
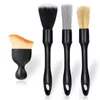 Option 2 4-Pack Boar’s Bristle Car Detailing Brush Set
|
 Option 3 Amazon Basics Microfiber Cleaning Cloths, 24-Pack
|
As an Amazon Associate we earn from qualifying purchases.
Understanding Your Headliner: Why Gentle Cleaning Matters
A car headliner is the fabric-covered ceiling panel inside a vehicle’s cabin — not a single sheet of cloth, but three bonded layers: a decorative fabric or vinyl face, a foam padding layer underneath it, and a rigid backing board shaped to the roof. Heat-sensitive adhesive holds all three layers together, which is why aggressive scrubbing, soaking, or steam can separate the layers instead of just lifting a stain.
📊 Heat and age — not just moisture — are the main reason headliners eventually fail: extreme heat softens the glue bonding the fabric to its foam backing, which is why a car that sits in full sun for years is at greater long-term risk than one that gets washed often. Source: AutoZone DIY, “What Is a Headliner?”
According to AutoZone’s own headliner cleaning guide, the biggest mistake isn’t which cleaner you pick — it’s using too much moisture or too much pressure, since either one can damage the adhesive underneath in a way that can’t be undone with more cleaning.
Preparation Steps
Cover the seats with plastic sheeting or old bedsheets and tape them in place so drips don’t stain the upholstery below. Remove personal items from the car and store them away from the cleaning area.
Open all the windows before you start. Fresh air clears cleaning-product fumes, keeps you safe while you work overhead, and speeds up drying once you’re done. Test any cleaner on a small, hidden section of the headliner first — near a sun visor mount works well — and wait a few minutes to confirm it doesn’t discolor the fabric before treating the rest of the roof.
Spot Cleaning Techniques
Spray a mild fabric cleaner onto a microfiber cloth — never directly onto the headliner — so the cloth is damp, not wet. Press the cloth against the stain and lift, working in one direction over roughly a 12-inch section at a time. Avoid circular or back-and-forth scrubbing, which can distort the fabric’s texture and push moisture into the foam backing underneath.
For a tougher spot, mix a few drops of dish soap into water and dab it on with a soft brush using light pressure. Rinse the brush often so you’re not reapplying dirt, then blot the area dry immediately with a clean, dry microfiber cloth.
Deep Cleaning Methods
Upholstery shampoo is the safer default for a full headliner clean, not steam. Mix a mild car upholstery shampoo with water per the label instructions, dip a soft brush into the solution, and work in small sections, rinsing the brush often. Wipe away excess shampoo with a clean, barely damp cloth as you go, then let each section air dry before moving to the next.
Be cautious with steam cleaners on a headliner. Steam combines high heat and moisture at the same time — exactly the combination that softens the adhesive holding the fabric to the foam backing. If you do use a steam cleaner, hold the nozzle at least 6 inches from the fabric, keep it moving constantly, never linger on one spot, and dry the area with a fan immediately afterward. On an older headliner, or one that already shows any sagging, skip steam entirely and use the shampoo method above instead.
Drying The Roof Lining
Keep the windows open and, if possible, park in a sunny spot away from trees so falling leaves and debris don’t land on the wet fabric. Blot excess moisture with a dry towel — don’t scrub — and check the fabric periodically to make sure it’s not still saturated. Natural drying takes time; rushing it with a hairdryer or space heater risks softening the adhesive with concentrated heat.
Point a small portable fan at the roof with the windows slightly open, and add a dehumidifier inside the car if humidity is high. Move the fan around periodically so all areas dry at roughly the same rate, and avoid closing the car up until the headliner feels completely dry to the touch.
Maintenance Tips
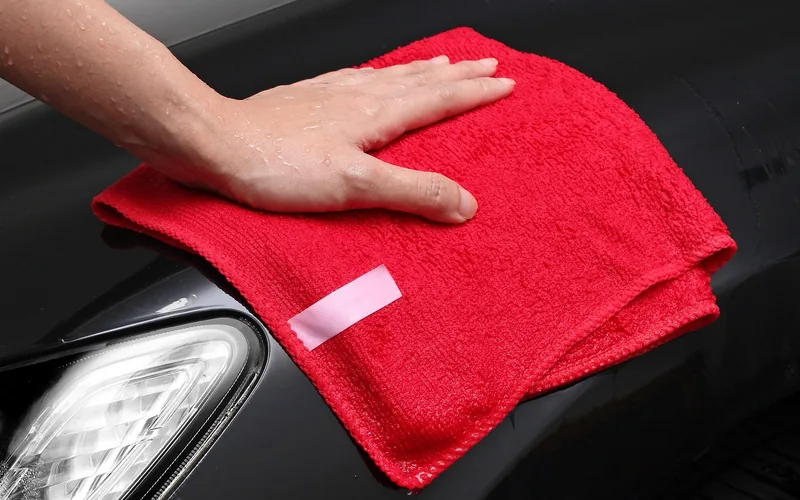
Vacuum the headliner every month to keep dust from building into ground-in grime, and avoid harsh chemicals — a gentle cleaner tested on a small spot first works best. Wipe with a damp cloth, then dry with a clean towel; regular light maintenance prevents the kind of set-in staining that eventually needs a full deep clean.
Avoid eating or smoking in the car, since food spills and smoke residue are two of the most common headliner stains. Keep windows closed on dusty roads, use a sunshade, and park in the shade when you can — UV exposure is one of the main things that ages both the fabric color and the adhesive underneath it over time.
Troubleshooting
Persistent stains on a car’s roof lining can be tough to clean. Start with a mild cleaner: spray it onto a soft cloth, gently rub the stained area, and avoid soaking the fabric — too much liquid can cause damage well beyond the original stain.
If the stain remains, try a slightly stronger fabric cleaner, testing it on a small hidden area first to confirm it won’t discolor the fabric. If it still won’t budge, it’s time to consider a professional.
When To Seek Professional Help
If stains don’t come out after a couple of careful attempts, a professional detailer has tools and products made specifically for tough headliner stains, and can also repair any damage caused by over-wetting or harsh cleaners. Calling a professional sooner rather than later can save you time and effort, and it helps ensure the roof lining stays in good condition instead of getting worse from repeated DIY attempts.
If your headliner is actually sagging or peeling away from the backing board rather than just dirty, that’s a repair job, not a cleaning one — see our guides on reglueing car ceiling material or why your car roof upholstery is falling down.
Frequently Asked Questions
How Often Should You Clean Car Roof Lining?
You should clean your car roof lining every 3 to 6 months for routine maintenance, plus a quick vacuum pass monthly. Regular cleaning prevents dirt from building into set-in stains and maintains the interior’s appearance.
What Is The Best Method To Clean Car Roof Lining?
The best method is vacuuming first, then using a gentle upholstery cleaner misted onto a microfiber cloth and a soft brush for agitation. Blot rather than soak, and dry the area promptly afterward.
Can You Use Homemade Solutions On Car Roof Lining?
Yes, a mixture of mild dish detergent and water works for light dirt, and a 50/50 white vinegar and water solution helps with tougher spots. Test any homemade solution on a small hidden area first to make sure it doesn’t discolor the fabric.
How Do You Remove Stains From Car Roof Lining?
Use a dedicated upholstery or headliner cleaner, or a mild detergent solution, applied to a cloth rather than the fabric directly. Gently blot the stain in one direction and dry it promptly with a clean towel.
Should You Steam Clean a Car Headliner?
Steam cleaning isn’t the safest default choice, because it combines high heat and moisture at once — the exact combination that can soften the adhesive holding the fabric to its foam backing. A low-moisture upholstery shampoo and soft brush get similar results with far less risk of causing the headliner to sag.
Why Is My Headliner Sagging After I Cleaned It?
Sagging after cleaning usually means too much moisture or heat reached the adhesive layer underneath the fabric, softening the bond between the fabric, foam, and backing board. This is more common with steam cleaners or soaked, heavily scrubbed sections than with a light, blot-only cleaning method.
Can You Use a Hairdryer to Dry a Car Headliner?
It’s better to avoid a hairdryer on the highest heat setting, since concentrated heat can weaken the same adhesive that steam damages. A fan on a low or cool setting, combined with open windows and time, dries a headliner just as effectively without the heat risk.
Conclusion
A clean headliner makes the whole car feel newer, and the process itself is simple: vacuum first, clean with minimal moisture, and dry it thoroughly. The one habit worth dropping is reaching for a steam cleaner or a heavy soak — both of them risk the exact sagging problem that turns a quick cleaning job into a repair job.
Test any cleaner on a hidden spot first, work in small sections, and call a professional if a stain won’t budge after a couple of careful attempts. For more on keeping the rest of the cabin looking its best, see our guide on what’s included in a full car detailing.
Products related to this article
Sponsored / affiliate links. As an Amazon Associate I earn from qualifying purchases. I may earn additional commission from eligible campaigns.