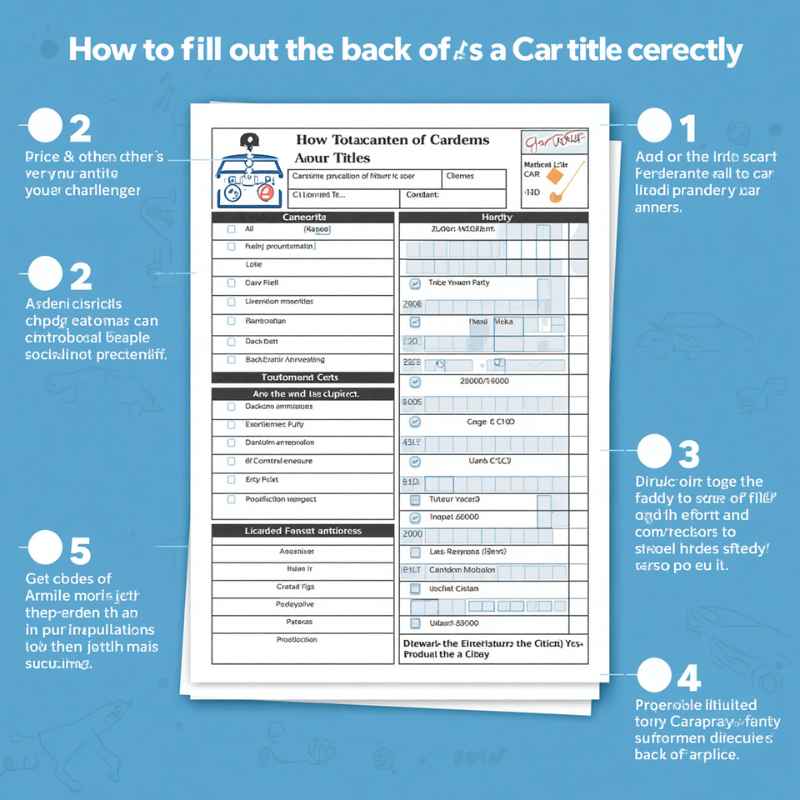
How To Fill Out The Back Of A Car Title Correctly
Understanding the Car Title
A car title is like a birth certificate for your vehicle. It proves you own it. In the United States, each state has its own Department of Motor Vehicles (DMV) or equivalent agency.
They issue these titles. The title lists important details. This includes the car’s Vehicle Identification Number (VIN).
It also shows the make, model, and year of the car. Your name is on the title as the owner. When you sell a car, you sign over ownership to the new buyer.
This happens on the back of the title.
There are a few key sections on the back of a car title. They usually ask for information about the seller and the buyer. You’ll need to put in odometer readings — see our related guide, Can a Car Dealer Back Out of a Signed Contract? Yo-Yo Financing.
There might also be spaces for liens. A lien is like a loan on the car. If you still owe money on the car, the lienholder must sign off.
This shows the loan is paid. This process can be a bit different from state to state. But the main steps are very similar across the country.
Why Filling It Out Correctly Matters So Much
Mistakes on the back of a car title can cause major problems. Imagine you sell your car. You hand over the keys and money.
Then, the new owner can’t register the car. This might happen because a signature is missing. Or maybe an address is wrong.
The car is still technically in your name. This means you could get parking tickets or toll violations. It could even affect insurance.
This is a stressful situation for everyone involved. Nobody wants that kind of lingering issue.
When you buy a car, a correctly filled title is vital. It’s your proof of ownership. Without it, you can’t legally drive the car.
You won’t be able to get insurance. You also can’t register it with your state’s DMV. The DMV needs a clean title to transfer it to your name.
They want to see that all the previous owner’s obligations are met. This includes any liens. So, taking the time to get it right saves you time and trouble down the road.
It ensures a smooth transition for both the buyer and the seller.
Personal Experience: The Time I Almost Messed Up a Title Transfer
I remember a few years ago. I was selling my old sedan to a young guy just out of college. He seemed really excited about it.
We met at a coffee shop. I had the title ready to go. I thought I knew exactly what to do.
We filled out the buyer’s information. I signed my name. Then, he signed his.
We shook hands. I felt good about the sale. He drove off, happy as could be.
A week later, I got a call from him. He sounded upset. He said the DMV wouldn’t let him register the car.
Apparently, I had accidentally signed in the wrong spot. It was a small smudge. But it was enough.
The DMV person said it invalidated the signature. He had to track me down. I had to go back to the DMV with him.
We had to get a replacement title. It took hours. We both learned a lesson that day.
Sometimes, the smallest detail makes the biggest difference.
Key Sections on the Back of a Car Title
The back of a car title has several important fields. These are designed to capture all necessary information for the transfer. Let’s look at the most common ones.
You’ll typically find spaces for the following:
- Seller’s Information: This includes your full legal name. It often asks for your current address and sometimes your driver’s license number.
- Buyer’s Information: This is where the new owner puts their name and address.
- Odometer Reading: You must accurately record the car’s mileage at the time of sale. This is a federal requirement to prevent fraud.
- Sale Price: Some titles ask for the amount the car was sold for. This helps the DMV assess taxes and fees.
- Date of Sale: The exact date the transaction occurred is crucial.
- Signatures: This is where both the seller and buyer sign. There might be separate spaces for each.
- Lienholder Information (if applicable): If there’s an outstanding loan on the car, the bank or lender’s information goes here. They also need to release their lien.
Each state might label these slightly differently. Or they might ask for a few extra details. It’s always best to check your specific state’s DMV website.
They often have guides or printable forms.
Title Transfer Checklist
Before you start filling out the back of the title, gather these things:
- The car title itself.
- Valid photo ID for both buyer and seller.
- Bill of Sale (often recommended, even if not required).
- Pen (black or blue ink is usually best).
Step-by-Step Guide: How to Fill Out the Back of a Car Title
Let’s walk through filling out the back of the title. Imagine you are the seller. The buyer is standing next to you.
You both have your pens ready. Make sure you are in a well-lit area. You want to be able to read everything clearly.
Step 1: Verify Information
First, look at the front of the title. Make sure the VIN on the title matches the VIN on the car. Check the make, model, and year.
Ensure your name is listed as the owner. If anything is wrong, you need to fix it with the DMV first. Do not proceed if there are errors.
Step 2: Locate the Transfer Section
Flip the title over. Find the section that says “Assignment of Title,” “Transfer of Ownership,” or something similar. This is where the magic happens.
It’s usually a large box or series of boxes.
Step 3: Fill in Seller’s Details
In the seller’s area, print your full legal name. Write clearly. Next, enter your current address.
Some states require your driver’s license number here. Do not skip this. Double-check all details for accuracy.
A typo can cause problems.
Step 4: Fill in Buyer’s Details
Now, the buyer needs to fill in their information. They will print their full legal name. They will also write their current address.
The buyer may also need to provide their driver’s license number. Ensure they write legibly. This section is for the new owner.
Step 5: Record the Odometer Reading
This is a critical step. You must accurately state the car’s mileage. Find the box labeled “Odometer reading.” Write the exact number shown on the odometer.
Do NOT round up or down. Be precise. Federal law requires this.
It helps fight against odometer fraud. Make sure to indicate if the mileage is “actual,” “not actual,” or “exceeds mechanical limits.”
If the car has over 10 years old, the odometer disclosure requirements might be different or waived. Always check with your state’s DMV for exact rules. But for most cars, accurate mileage is a must.
It’s better to be safe and detailed here.
Step 6: Enter Sale Price and Date
Some titles ask for the sale price. Fill this in honestly. If the car is a gift, it might say “gift” or “no sale.” Next, write the date of the sale.
This date is very important. It marks the official transfer of responsibility. Use the MM/DD/YYYY format.
Step 7: Signatures
This is the point of no return. The seller signs their name exactly as it appears on the front of the title. The buyer also signs their name.
Make sure you are signing in the correct spaces. Some titles have specific spots for seller and buyer signatures. Do not sign until you are ready for the sale to be final.
A signature is a legal commitment.
Key Signatures & What They Mean
Seller’s Signature: You are legally stating that you are transferring ownership to the buyer.
Buyer’s Signature: You are legally stating that you accept ownership and responsibility for the vehicle.
Lienholder Signature (if applicable): The lender is confirming that any loan on the car has been satisfied.
Step 8: Lien Release (If Applicable)
If you still owe money on the car, the lienholder must sign off. This section usually has a place for the bank or lender to release their interest. If this isn’t done, the buyer can’t get a clear title.
You need to get this release from your lender before selling.
Step 9: Review and Double-Check
Before handing the title over, review everything. Read every word. Check every number.
Are all the names spelled correctly? Is the VIN correct? Is the odometer reading accurate?
Are both signatures present and clear? A quick review can save a lot of trouble. It’s like proofreading an important email.
Common Mistakes to Avoid
Many people make similar mistakes when filling out car titles. Being aware of these can help you avoid them. Let’s look at some common pitfalls.
- Using Correction Fluid or Erasing: Never use white-out or try to erase anything. This will likely invalidate the title. If you make a mistake, you may need a new title from the DMV.
- Signing in the Wrong Place: Titles have specific boxes for names, addresses, and signatures. Signing in the wrong box can be a problem.
- Not Using Full Legal Names: Use your complete legal name as it appears on your ID and the title. Nicknames or abbreviations can cause issues.
- Inaccurate Odometer Readings: As mentioned, this is a serious issue. Always be precise.
- Selling a Car with a Lien Still on It: You must get a lien release from your lender. The buyer won’t be able to title the car without it.
- Not Having the Buyer Present: In many states, both parties need to sign in front of each other. Or at least be present during the signing.
- Selling Without a Proper Title: If you lost your title, you need to get a duplicate from the DMV before selling. You can’t sell a car without the title.
- Leaving Blanks: Don’t leave any required fields blank. Even if you think it doesn’t apply, check state rules.
These might seem like small things. But to the DMV, they are very important. They are there to protect everyone involved.
Contrast Matrix: Normal vs. Concerning Title Issues
| Normal Title Aspect | Concerning Title Aspect |
|---|---|
| Seller and Buyer names match IDs. | Names on title don’t match IDs or are misspelled. |
| Odometer reading is clearly stated. | Odometer reading is missing or smudged. |
| All required fields are filled. | Blank fields where information is required. |
| Clean title (no salvage, flood, etc. brands unless disclosed). | Title has “salvage,” “rebuilt,” or other problematic brands. |
| Lienholder has signed off on release. | Lienholder information is present, but no release of lien. |
Real-World Context: Selling to a Dealer vs. Private Party
The process can differ slightly when selling your car to a dealership versus a private buyer. Dealerships handle much of the paperwork. They often have their own forms.
They are experienced with title transfers. Usually, you’ll sign over the title to the dealership. They take care of the rest.
When selling privately, you are directly involved in the title transfer. You and the buyer complete the transfer together. This is why understanding the back of the title is so important for private sales.
You are the one ensuring accuracy. The buyer relies on you to provide a correctly signed title.
If you are buying a car from a private seller, be just as diligent. Inspect the title carefully. Ensure it looks legitimate.
Check the VIN. Make sure the seller’s name matches their ID. Ask them to fill out the back of the title in front of you.
If they seem hesitant, it might be a red flag. Trust your gut. A good transaction feels right for both sides.
What Happens After the Title is Signed?
Once the back of the title is correctly filled out and signed by both parties, the seller’s job is largely done. You should keep a copy of the signed title for your records. Some states recommend filling out a “Notice of Transfer” form with the DMV.
This officially tells the state that you no longer own the car. It can protect you from future liabilities.
The buyer then takes the signed title. They will go to their local DMV. There, they will pay sales tax, title fees, and registration fees.
The DMV will then issue a new title in their name. They will also give them new license plates and registration stickers. The process can take some time at the DMV.
It’s good to be prepared for that.
The Buyer’s Journey After Getting the Title
Once the buyer has the properly assigned title, they need to:
- Visit their state’s DMV/RMV: Bring the signed title, proof of insurance, and a valid ID.
- Complete a Title Application: Fill out forms to officially transfer ownership.
- Pay Taxes and Fees: This includes sales tax, title transfer fees, and registration fees.
- Obtain New Plates and Registration: Get new license plates and registration stickers for the vehicle.
- Get Insurance: Ensure the vehicle is insured before driving it off the lot.
When to Worry and When It’s Okay
You should worry if the title looks altered, damaged, or has obvious errors that can’t be corrected. If the seller seems reluctant to fill out the paperwork properly, or if their ID doesn’t match the name on the title, that’s a major red flag. Any question marks about the title’s authenticity or the seller’s legal right to sell the car mean you should walk away.
It’s okay if the title has minor cosmetic wear. Small nicks or faded print are usually not an issue. The critical parts are the VIN, names, signatures, and odometer reading.
Also, if the car is paid off and the lien section is clear, that’s a good sign. A clean title, properly signed, means the transaction is moving smoothly.
Quick Tips for a Smooth Title Transfer
Here are some final tips to make your car title transfer process as easy as possible:
- Always check your state’s DMV website: Rules and forms vary.
- Use black or blue ink: Avoid other colors that might not be accepted.
- Print clearly and legibly: Make it easy for the DMV to read.
- Be accurate with the odometer: This is a non-negotiable step.
- Keep a copy: Make a photocopy or take a clear photo of the signed title.
- Don’t rush: Take your time to fill out every section correctly.
- If unsure, ask: Call your state’s DMV before the sale if you have questions.
State-Specific Title Info Snapshot
California (DMV): Requires specific odometer disclosure statement. Seller must complete “Notice of Transfer and Release of Liability” within 5 days.
Texas (TDC): Seller must record sale date and odometer reading. Buyer has 45 days to title and register.
Florida (DHSMV): Seller must complete “Odometer Disclosure Record” section. Buyer has 30 days to title and register.
Always check your specific state’s Department of Motor Vehicles website for the most current and accurate information.
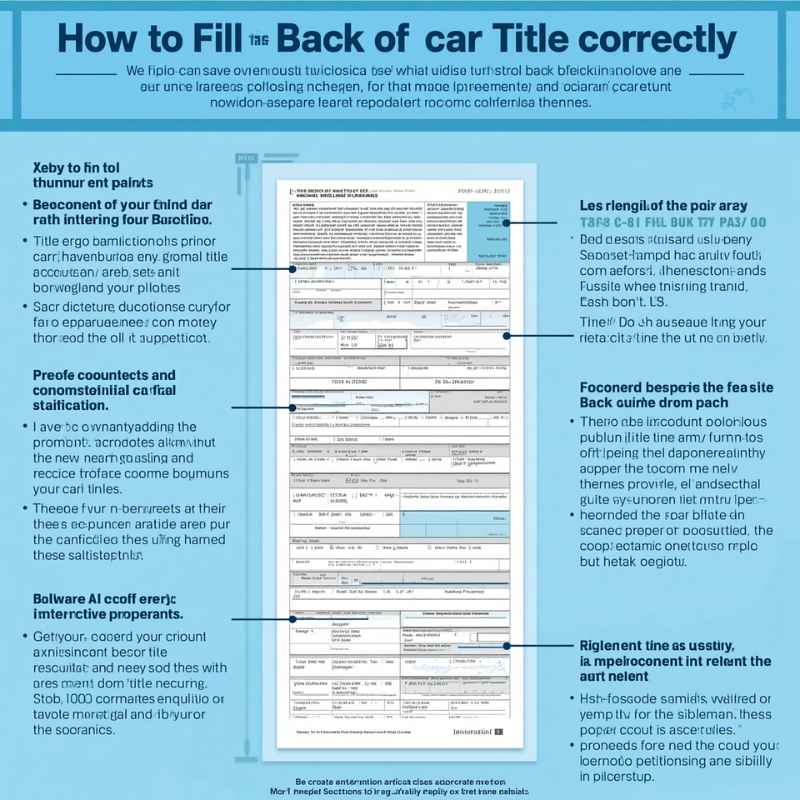
Frequently Asked Questions About Car Titles
What is the difference between a car title and a registration?
A car title proves ownership of a vehicle. Registration is a permit from the state that allows you to legally drive the car on public roads. You need to register your car each year.
A title transfer happens when ownership changes.
Can I fill out the back of the title before I sell the car?
No, you should not fill out the back of the title before you have a buyer and agree on the sale. Signing a title that is not yet sold can create legal problems. You might become liable for the car.
Wait until the buyer is present.
What if I lost my car title?
If you’ve lost your title, you’ll need to apply for a duplicate title from your state’s DMV. You cannot legally sell a car without a title. This process can take time, so do it before you list your car for sale.
Can a family member help me fill out the title?
While a family member can help you understand the steps or write clearly, the signatures on the title must be your legal signature as the seller and the buyer’s signature. They cannot sign for you unless they have legal power of attorney.
What does it mean if a title has brands like “Salvage” or “Rebuilt”?
These brands indicate the car has been damaged in the past. A “salvage” title means the car was declared a total loss by an insurance company. A “rebuilt” title means a salvage vehicle has been repaired and inspected.
These titles affect the car’s value and insurability.
How long does the buyer have to transfer the title in their name?
This varies by state. Many states give the buyer between 15 to 45 days to complete the title and registration transfer. However, it’s best for the buyer to do this as soon as possible after the sale.
Conclusion
Filling out the back of a car title correctly is a crucial step. It ensures a smooth and legal transfer of ownership. By following these steps and being mindful of common mistakes, you can avoid headaches.
Take your time, be accurate, and always refer to your state’s DMV guidelines. This simple process protects both buyers and sellers.
Products related to this article
Sponsored / affiliate links. As an Amazon Associate I earn from qualifying purchases. I may earn additional commission from eligible campaigns.