How to Make a 3D Model of a Car: Step-by-Step Guide (Plus 3D Scanning)
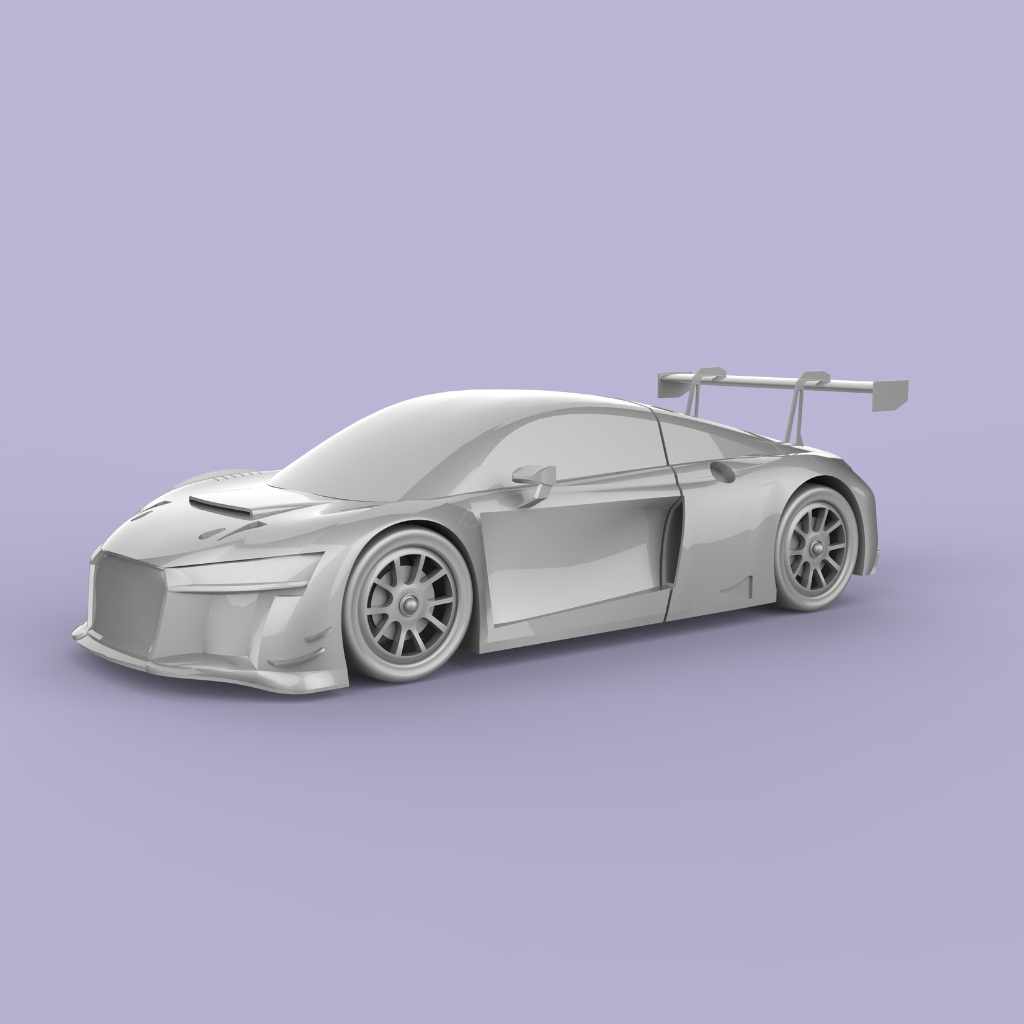
You can make a 3D model of a car in one of two ways: build it from scratch in software like Blender, Maya, or Autodesk Alias using blueprints as a guide, or scan a real car into 3D with a photogrammetry app on your phone. Both paths end with a textured, exportable file you can render, 3D print, or upload to a site like Sketchfab.
This guide walks through the traditional from-scratch modeling workflow step by step — choosing software, gathering references, blocking out the body, adding wheels and interior detail, texturing, and exporting — plus a faster phone-scanning alternative if you already have a real car you want turned into a digital model.
Quick Answer
To make a 3D model of a car, gather front/side/top blueprints, block out the body in free software like Blender, refine the curves, add wheels and interior detail, apply textures and materials, light and render the scene, then export as OBJ, STL, or FBX. If you want to model a real car you already own, skip the manual build and scan it with a phone app like Polycam or Scaniverse instead.
Choosing The Right Software
Choosing the right software is a key step in making a 3D model of a car. The software shapes your work process and final result. It affects how easily you create shapes, add details, and apply textures. The right tool matches your skill level and project needs. Understanding popular tools, costs, and system needs guides you to the best choice.
Popular 3d Modeling Tools
Several 3D modeling tools fit car design. Blender is widely used for its strong features and no cost. Autodesk Maya offers advanced tools for professionals. SketchUp focuses on ease and quick learning. 3ds Max is popular for detailed and realistic models. Each tool has unique strengths and learning curves.
These four are the best starting points for hobbyists, but they are not what real automakers use in production. Professional car designers work in Autodesk Alias AutoStudio, the industry-standard software for Class-A surfacing — the ultra-smooth, mathematically continuous surfaces seen on production vehicle bodies. It is overkill (and expensive) for a first hobby project, but worth knowing about if you want to see which software professional car designers actually use or compare the full lineup of Autodesk car design tools.
Free Vs Paid Options
Free software suits beginners and hobbyists. Blender remains completely free and open-source with no paid tier at all, and it is capable enough for professional-quality car models. Paid software costs real money: as of 2026, Autodesk Maya subscriptions start around $168/month (roughly $1,700-$1,900 billed annually), and 3ds Max runs a similar $180-$235/month depending on term length. Autodesk Alias, the software real OEMs use for Class-A surfacing, costs more still and is licensed for studios rather than hobbyists. Start free in Blender — you can always move to paid software later if this turns into more than a hobby.
Software Requirements
Check your computer before choosing software. Some tools need high RAM and strong graphics cards. Blender runs on many systems, from basic to advanced. Maya demands more powerful hardware. Ensure your system meets the software requirements for smooth work.
Turn a Real Car Into a 3D Model With Your Phone (Photogrammetry)
If you want to 3D model a specific real car — your own car, a classic you photographed at a show, or a vehicle you need for 3D printing — you do not have to build it from scratch. Photogrammetry apps turn a series of overlapping phone photos, or a LiDAR scan, into a 3D mesh automatically. As of 2026, the strongest options are Polycam and Scaniverse on iPhone, and KIRI Engine on Android.
How Phone Scanning Works
Walk slowly around the car, taking overlapping photos (or a continuous video) from multiple heights and angles: front, sides, rear, and roofline. The app stitches the photos into a point cloud, then builds a textured mesh from it. A full walk-around scan typically takes 5-10 minutes.
Limitations You Should Know Before You Start
Phone-based scanning is built for object- and room-scale capture, not full-size vehicles at high detail. Reflective paint, chrome trim, and glass can confuse the algorithm and leave gaps or distortion in the mesh. For a cleaner result, scan in even, overcast light — direct sun creates hot spots the software can misread as geometry — and expect to do some manual cleanup in Blender afterward. For large-scale or highly detailed vehicle documentation, professionals often use drone-based videogrammetry instead of a handheld phone scan.
2026 Pricing
Scaniverse’s on-device scanning is free; its newer Plus and Pro cloud tiers add roughly $20-$50/month for higher-resolution processing. Polycam’s free tier limits exports, while Polycam Pro runs about $27/month (or roughly $150-$200/year on an annual plan) for unlimited high-fidelity scans and mesh cleanup tools.
Once you have a scanned mesh, you can clean it up, retopologize it, and texture it using the same Blender workflow covered in the rest of this guide, or export it straight to STL for 3D printing.
Gathering Reference Materials
Gathering good reference materials is the first step in making a 3D model of a car. These materials guide you through the modeling process. They help you see details and keep the model accurate.
Collecting clear and detailed images or blueprints helps avoid mistakes. It also saves time by giving you a clear plan to follow.
Finding Blueprints And Images
Start by searching for car blueprints online. Blueprints show the car’s shape from different views. Front, side, top, and back views are most helpful.
Look for high-quality images of the car too. Photos show colors, lights, and other small details. Use pictures from various angles for a full view.
Analyzing Car Dimensions
Check the car’s real-world dimensions. Length, width, height, and wheelbase are important numbers. These measurements help keep your model to scale.
Use official specs from car makers or trusted websites. Compare these numbers with your blueprints to confirm accuracy.
Organizing References
Keep your reference materials in one place. Create folders on your computer or print the images and blueprints.
Label each file or print clearly. This saves time and helps you find the right reference fast during modeling.
Our Top Pick
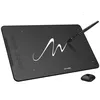
XPPen Deco 01 V3 Drawing Tablet
Best for: Beginners tracing blueprints and sketching reference lines before modeling in Blender or Maya.
Why we picked it: A 16,384-level pressure-sensitive pen and 10×6-inch surface make it easy to trace car blueprints and rough out proportions by hand before you touch the mesh, at a beginner-friendly price.
Main drawback: No built-in screen, so you draw on the tablet while looking at your monitor, which takes a short adjustment period.
View Our Pick on Amazon
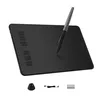 HUION Inspiroy H640P Best for: Tight budgets and small desks. Why we picked it: A compact 6×4-inch tablet with 8,192 pressure levels — enough precision for reference sketching without the higher cost of a full-size pad. Main drawback: Smaller active area means less room for detailed full-body car sketches in one pass. Check on Amazon |
 XPPen Artist 13.3 Pro Best for: Drawing directly on screen instead of looking up at a monitor. Why we picked it: A pen display lets you trace reference images and rough out car silhouettes right on the glass, which many artists find more intuitive than a separate tablet. Main drawback: Costs noticeably more than a standard tablet and needs a stand or mount to angle comfortably. Check on Amazon |
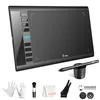 UGEE M708 Best for: A larger drawing surface for full-vehicle side-profile sketches. Why we picked it: A 10×6-inch active area with 16,384 pressure levels gives more room to trace a full car blueprint at once without repositioning. Main drawback: Bulkier than the compact options, so it needs more desk space to use comfortably. Check on Amazon |
Setting Up Your Workspace
Creating a 3D model of a car starts with a well-organized workspace. A clean, efficient setup helps you work faster. It also reduces mistakes. Before modeling, take time to prepare your software and files. This step makes the process smoother.
Proper preparation helps you focus on design. It also keeps your project neat and easy to manage. Let’s explore how to set up your workspace for 3D car modeling.
Configuring Software Settings
Open your 3D modeling software and adjust the settings. Set the units to match car dimensions, like meters or centimeters. Choose a simple background color to reduce eye strain. Enable grid snapping to help with precise placement.
Customize keyboard shortcuts for common tools. This saves time while modeling. Save these settings as a preset for future projects. A well-tuned software setup speeds up your workflow.
Importing Reference Images
Gather clear images of the car from different angles. Front, side, and top views work best. Import these images into your software as background layers. Align them carefully to match scale and position.
Reference images guide you during modeling. They help keep proportions correct. Use transparency settings to see both the image and your model. This makes shaping the car easier and more accurate.
Creating Project Files
Create a new folder for your car model project. Save your file with a clear, descriptive name. Organize subfolders for textures, references, and exports. This keeps everything tidy and easy to find.
Save your work frequently to avoid losing progress. Use version numbers to track changes. Well-organized project files protect your work and improve efficiency.
Modeling The Car Body
Modeling the car body is the key step in creating a 3D car model. This stage shapes the overall look and feel of the car. It starts with simple forms and grows into a detailed model. Focus on capturing the car’s style and proportions accurately.
Take your time to build a solid foundation. This makes adding details easier later. Precise modeling helps the car look realistic and appealing. Each step refines the shape, improving the model’s quality.
Blocking Out Basic Shapes
Start by creating simple shapes to form the car’s main parts. Use cubes, cylinders, or planes to block out the body. Keep the shapes rough and large. This helps to set the car’s size and proportions. Don’t worry about details yet. Focus on the overall silhouette.
Check the reference images often. Match the main shapes to the car’s design. This step saves time and prevents mistakes later. A clear base structure makes refining easier.
Refining Body Curves
Next, smooth and shape the rough forms into curves. Use modeling tools to push, pull, and adjust the mesh. Follow the car’s lines closely to get a natural flow. Pay attention to edges like fenders, roof, and doors.
Keep the surface clean and smooth. Avoid bumps or strange angles. Use symmetry tools to keep both sides even. This step brings life and realism to the model.
Adding Details And Features
Add smaller parts to complete the car body. Model headlights, grills, mirrors, and door handles. These details make the car look finished and real. Use simple shapes and then refine them.
Don’t overdo details in this stage. Focus on the main features first. Later, add textures and colors for extra realism. Each detail helps tell the car’s story visually.
Creating Wheels And Tires
Creating wheels and tires is a key part of making a 3D car model. Wheels give the car a realistic look. Tires add detail and texture. This section explains how to model tire treads, design rims, and position wheels properly.
Modeling Tire Treads
Tire treads add texture and depth to the wheel. Start by creating a basic tire shape using a cylinder. Use simple patterns like grooves or blocks to make the tread. Apply these patterns around the tire surface evenly. Keep the tread design clear but not too complex. This helps the tire look real without slowing your computer.
Designing Rims
Rims are the inner part of the wheel. Begin with a circle shape and add spokes or holes. Use symmetry tools to keep the design balanced. Choose a style that fits your car model, like sporty or classic. Add small details like bolts or grooves for realism. Keep the rim size proportional to the tire.
Positioning Wheels
Place wheels carefully on the car body. Align them with the wheel arches to avoid floating or sinking. Check the distance between front and back wheels. Adjust height to match the car’s suspension. Rotate wheels if needed to show movement or stance. Proper positioning makes the car model look natural and balanced.
Modeling Car Interior
Modeling the car interior brings life to your 3D car model. It makes the car feel real and complete. Focus on key parts inside the car to build a detailed and believable interior. Use simple shapes first, then add details. Keep the scale correct to match the car’s exterior.
Dashboard And Controls
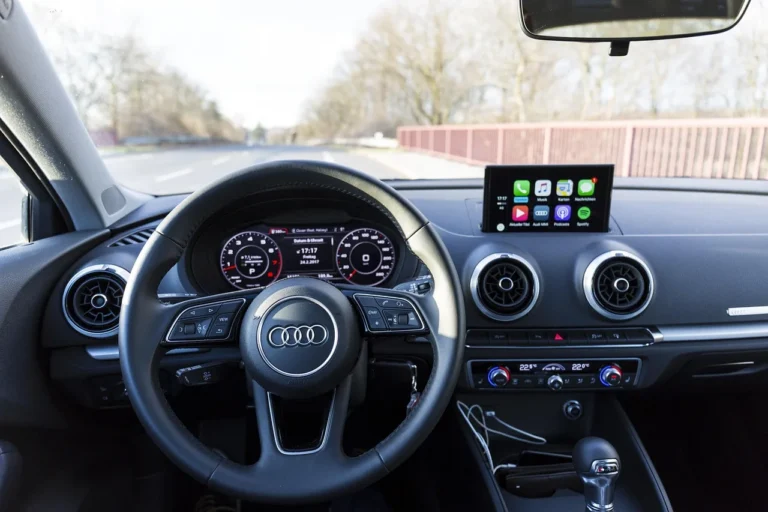
Start with the dashboard shape. It holds important controls and displays. Model the steering wheel, speedometer, and buttons clearly. Use smooth curves for a natural look. Add small details like air vents and knobs. These details make the interior more realistic.
Seats And Upholstery
Seats need smooth surfaces and soft shapes. Use simple blocks to form seat backs and cushions. Add curves for comfort and style. Texture the upholstery to show fabric or leather. Include seat belts and stitching for extra realism. Don’t forget the headrests and side supports.
Windows And Mirrors
Windows let light into the car and show the outside view. Model clear glass with some reflections. Add window frames and seals for accuracy. Side mirrors need smooth, rounded shapes. Place mirrors at correct angles. These small touches improve the overall look.
Texturing And Materials
Texturing and materials give life to your 3D car model. They make the car look real and attractive. Without textures, the model feels flat and plain. Materials control how light interacts with the car’s surface.
Focus on three key steps: applying base colors, adding surface details, and using reflection and gloss. Each step adds depth and realism to your car model.
Applying Base Colors
Start by choosing the main color of the car. This base color covers the entire body. Use simple, solid colors first. It helps to see the car’s shape clearly. Avoid complicated patterns at this stage. Keep the color even and smooth. This step sets the foundation for all other textures.
Adding Surface Details
Surface details make the car more realistic. Add scratches, dirt, or decals using texture maps. Use bump or normal maps to create small surface bumps. These details catch light differently. They add depth without changing the model shape. Focus on areas like tires, windows, and metal parts. Details bring character and wear to the car.
Using Reflection And Gloss
Reflection and gloss control shine and light effects. Gloss makes the car look polished or matte. Adjust glossiness on different parts, like shiny paint or dull tires. Reflections show the environment on the car’s surface. Use reflection maps or ray tracing for realistic effects. This step makes the car look like it’s in the real world.
Lighting And Rendering
Lighting and rendering play a crucial role in making your 3D car model look real. Good lighting shows the car’s shape and details clearly. Rendering turns your 3D model into a beautiful image. This step brings your work to life and makes it ready to share.
Setting Up Lights
Start by placing lights around the car model. Use three-point lighting to highlight the car’s features. This setup includes a key light, fill light, and backlight. The key light is the main source, bright and direct. The fill light softens shadows, making details visible. The backlight separates the car from the background. Adjust light brightness and color for a natural look.
Choosing Camera Angles
Pick camera angles that show the car’s best sides. Try low angles to make the car look strong. Use close-ups to show texture and details. Wide angles capture the whole car in one shot. Move the camera to find interesting views. Save several angles to give variety in your final images.
Rendering Final Images
Choose the right render settings for quality and speed. Higher resolution makes the image clear but takes longer. Use anti-aliasing to smooth edges and reduce noise. Check the lighting and shadows before rendering. Render test images to see how changes look. Save your final images in common formats like PNG or JPEG.
Exporting And Sharing Your Model
Exporting and sharing your 3D car model is the final step in your creation process. This step lets you save your work in a usable format. It also helps you show your model to others or use it in other projects. Knowing the right file formats and platforms is key. Presenting your model well can attract attention and feedback.
File Formats For Export
Choose a file format that fits your needs. Common formats include OBJ, STL, and FBX. OBJ works well for general use and is widely supported. STL is popular for 3D printing. FBX keeps animations and textures intact. Export your model in multiple formats if possible. This ensures compatibility across different software and platforms.
Uploading To 3d Platforms
Upload your model to popular 3D platforms like Sketchfab or Thingiverse. These sites let others view and download your work. Create an account and follow the upload steps. Add a clear title and description to help viewers understand your model. Tag your file with relevant keywords. This helps people find your work easily.
Tips For Showcasing Your Work
Use good lighting and angles in your renders. Show details and different views of your car. Write a short story about your design process. Share your model on social media and 3D communities. Invite feedback to improve your skills. Keep updating your portfolio with new models often.
Frequently Asked Questions
What Software Is Best For 3d Car Modeling?
Popular software for 3D car modeling includes Blender, Autodesk Maya, and 3ds Max. They offer powerful tools and realistic rendering options. Beginners can start with Blender due to its free access and user-friendly interface. Choose software based on your skill level and project needs.
How Do I Start Designing A 3d Car Model?
Begin by gathering reference images and sketches of the car — if you’re starting from a pencil sketch, see our guide on how to draw realistic cars for proportions and perspective basics. Create a basic shape using simple geometry. Focus on proportions before adding details. Use layers or separate objects for different car parts to keep the model organized and easier to edit.
What Are Key Steps In 3d Car Modeling?
Key steps include blocking out the shape, refining details, applying textures, and rendering. Start with a low-poly model, then increase detail gradually. Use proper edge loops and topology for smooth surfaces. Finish with lighting and materials for realistic effects.
How Long Does It Take To Model A 3d Car?
Modeling time varies by experience and detail level. Beginners might take several days or weeks. Professionals can complete simple models in hours. Complex, highly detailed models require more time for accuracy and refinement.
Can I Turn A Photo Of My Own Car Into A 3D Model?
Not from a single photo, but yes from a series of them. Photogrammetry apps like Polycam and Scaniverse build a 3D model from many overlapping photos, or a short video, taken while walking around the car. A single photo only gives you a 2D reference image to model from manually in software like Blender.
What Software Do Professional Car Designers Actually Use?
Most OEM design studios use Autodesk Alias AutoStudio for Class-A surfacing, the industry standard for production vehicle bodies. Concept and student work is often done in Blender or Maya first, then refined in Alias once a design moves toward production.
Conclusion
Creating a 3D model of a car takes practice and patience. Start with basic shapes and add details step by step. Use the right software tools and keep your design simple at first. Check your model often to fix any mistakes early.
Keep learning and trying new techniques to improve. Soon, your 3D car models will look better and more realistic. Enjoy the process and have fun designing your own cars.
Products related to this article
Sponsored / affiliate links. As an Amazon Associate I earn from qualifying purchases. I may earn additional commission from eligible campaigns.