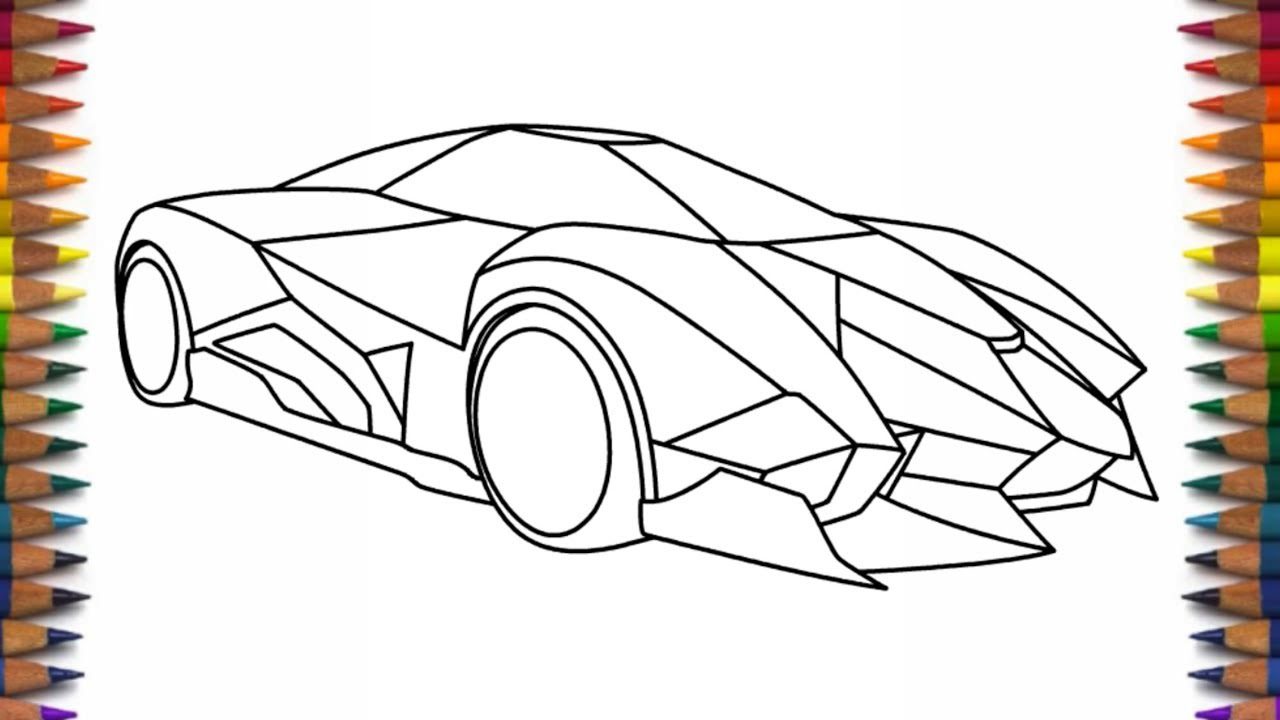
How to Draw a Cool Car: Step-by-Step for Beginners
Drawing a cool car starts with basic shapes, not fine details — block in the body, wheels, and cabin first, then layer on the specifics that make it look sharp.
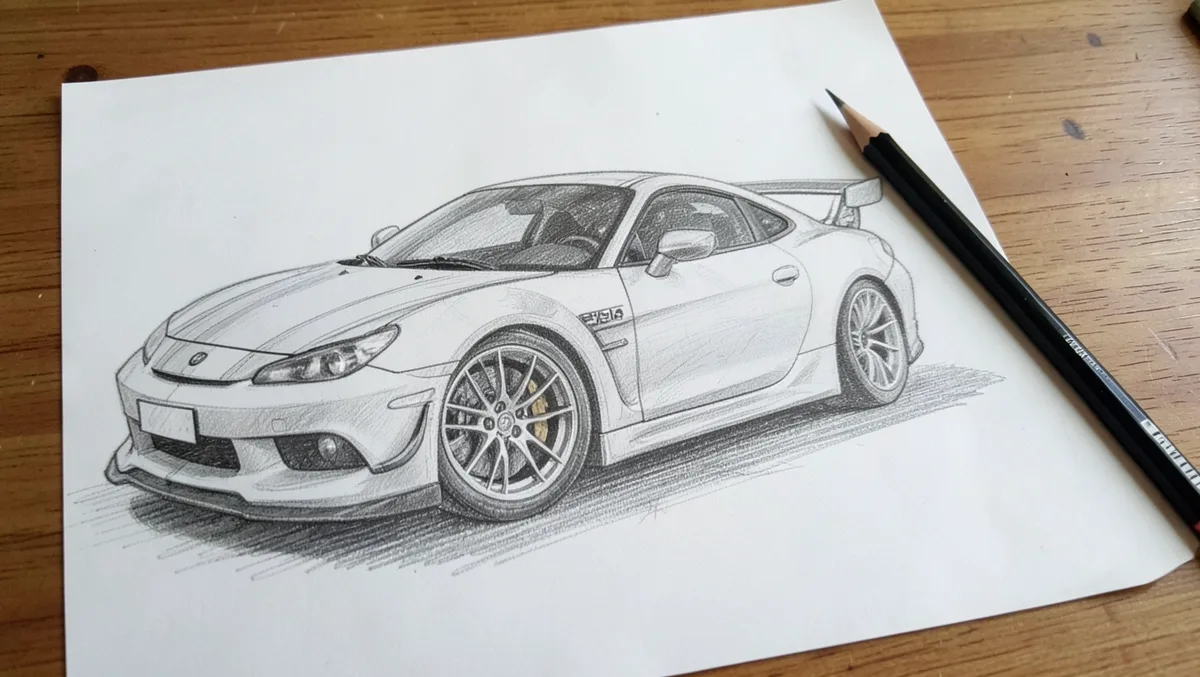
This guide walks through drawing a car from a blank sheet of paper to a shaded, finished sketch, covering the tools worth having, how a car’s parts fit together proportionally, and the shading and perspective tricks that turn a flat outline into something that looks like it could roll off the page. Whether you’re sketching a low-slung sports car or a boxy classic, the same basic process applies — only the proportions and details change.
You don’t need an expensive kit to get started — a pencil, an eraser, and a sheet of drawing paper are enough for your first few attempts. What actually moves the needle is understanding proportions and vanishing points, which is exactly what the sections below focus on. Work through them in order and your cars will start looking noticeably more convincing within a few sketches.
Choosing The Right Tools
The right supplies won’t make you a better artist on their own, but they remove friction — a smooth sketchbook and a pencil you actually like holding make it easier to focus on shapes and proportions instead of fighting your materials. Reserve markers and colored pencils for the detail pass, once the basic structure is down.
Basic Drawing Supplies
A good pencil and eraser matter more than anything else on this list, since most of your early sketches will involve erasing and redrawing lines until the proportions look right. A 2B or HB pencil is a solid all-around choice — try both a mechanical pencil for consistent line width and a traditional wooden one for line variation, and stick with whichever feels more natural in your hand.
Paper matters too, even though it’s easy to overlook. A smooth-surfaced drawing paper or a dedicated sketchbook holds a line cleanly, while thin printer paper tends to tear or bunch up under repeated erasing.
Once the pencil sketch is solid, colored pencils are where the car actually starts to look finished. Bright, saturated colors read best from a distance, and layering two or three shades of the same color — lighter on the highlights, darker in the shadows — is what gives a flat drawing a sense of depth.
Digital Vs. Traditional
Digital drawing has become the default for a lot of car sketching, and it’s easy to see why — a tablet and stylus let you undo a bad line instantly instead of erasing it, and apps like Procreate or Sketchbook include layers, symmetry guides, and perspective grids that would take real effort to set up on paper.
Traditional pencil and paper won’t undo your mistakes for you, but that constraint is part of the value — it forces you to commit to a line and think through proportions before you draw, which builds hand-eye coordination that carries over even if you eventually switch to digital. Neither approach is objectively better; pick whichever keeps you drawing more often.
Understanding Car Anatomy
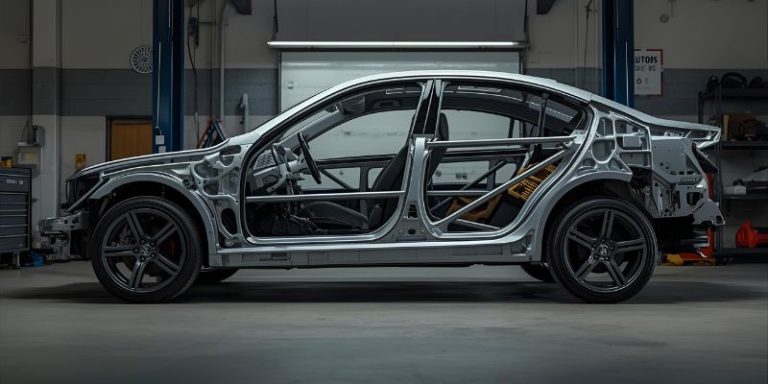
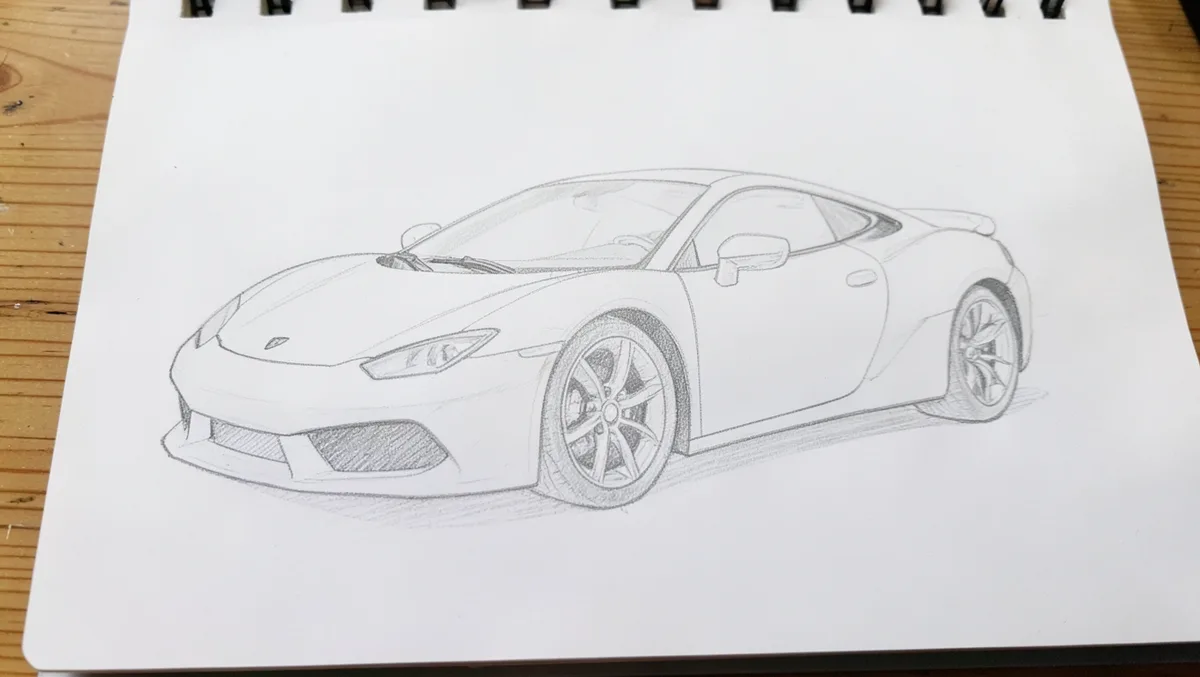
Before you can draw a car convincingly, it helps to know where its major parts actually sit relative to each other. On most cars, the engine bay sits at the front, the trunk at the back, with doors running along the sides and a roof spanning the cabin in between. Smaller elements — mirrors, headlights, door handles — read as details once that larger structure is in place, which is why it’s worth blocking in the big shapes (body, wheels, windows) before worrying about anything smaller.
Proportion is what separates a convincing car sketch from one that looks off without anyone being able to say why. On a real car, the wheels are roughly a quarter to a third of the total body length in diameter, the roof narrows in from the body’s widest point, and the windows sit smaller than the door panels beneath them. Sports cars exaggerate this further — a longer hood, a lower roofline, wider wheel arches — while sedans and trucks keep things closer to a straight rectangle. Getting these dimensions roughly right is what makes a drawing read as “a car” instead of “a car-shaped blob.”
Sketching Basic Shapes
Block in the car’s main body as a simple rectangle first, then add two circles for the wheels — one near each end, sized so they touch the bottom edge of the rectangle. On top of that base, sketch a smaller rectangle or square for the cabin, and rough in the window openings as loose trapezoid shapes rather than sharp triangles, since most windshields and rear windows angle inward. Keep every shape light and simple at this stage — you’ll refine the outlines once the overall layout looks balanced.
Once the rough shapes are in place, connect them with curved lines instead of straight ones — replacing the rectangle’s sharp corners with a gentle sweep along the hood and roofline is what gives a car its smooth, aerodynamic silhouette rather than a boxy toy-car look. Firm up the wheel circles and use clean lines to define the car’s edges — the wheel arches, the door seams, the bumper line — then step back and check that the proportions still look balanced before moving on to details.
Adding Details
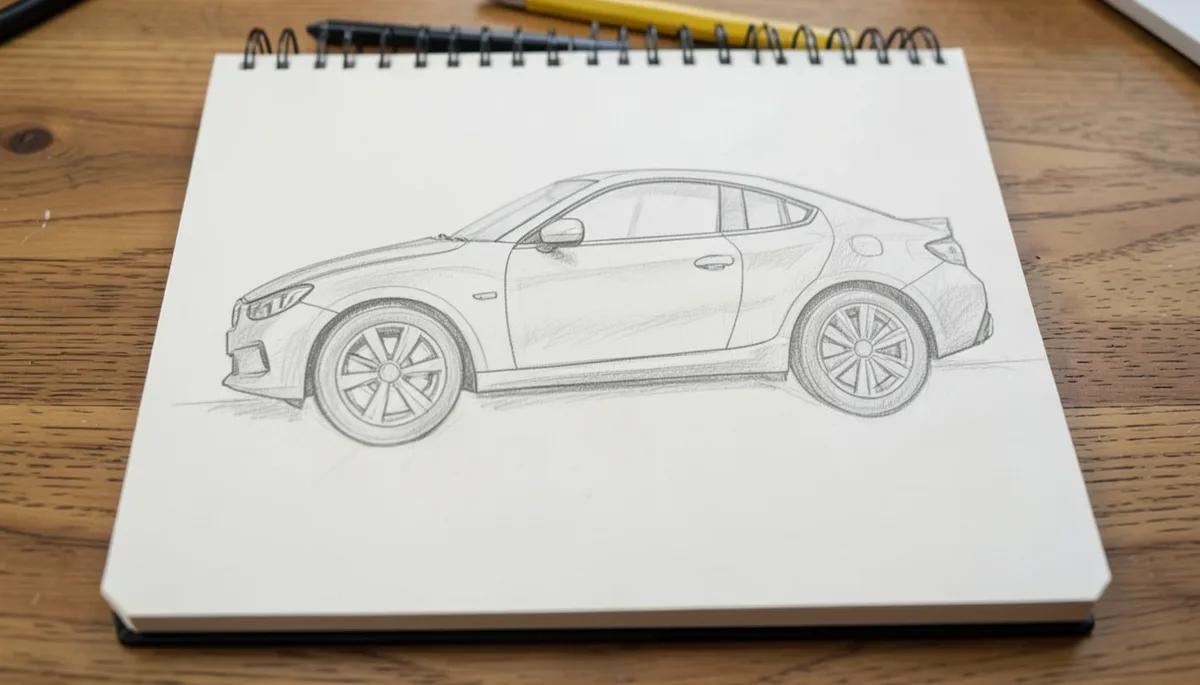
With the basic shape locked in, the details are what make a sketch look like a specific car rather than a generic outline. Headlights, window trim, and wheel rims each carry a lot of visual weight for how small they are, and even light shading around them — a hint of a reflection on the glass, a shadow under the wheel arch — does more for realism than adding more lines.
Drawing Windows And Doors
Windows do a lot of work in making a car sketch look believable. Draw the glass as a rectangle or trapezoid with a thin border a few millimeters in — that border represents the window frame, and skipping it is one of the easiest ways a drawing ends up looking flat. Doors follow the same logic: whether you draw them as clean rectangles or with a curved bottom edge, a small oval door handle placed at a consistent height on each one sells the detail. The single biggest thing to watch for is symmetry — if the front and rear windows or door handles sit at slightly different heights, the whole car reads as “off” even when every individual shape looks fine.
Incorporating Lights And Grilles
Headlights and the front grille are where a lot of a car’s personality lives — compare how different a round headlight looks from an angular one, and you’ll see why. Draw the headlight housing as a circle or rectangle depending on the style you’re going for, then add a smaller circle or two inside to suggest the lens and bulb. For the grille, a tight row of even vertical or horizontal lines reads as a mesh or slat pattern from even a short distance away, and keeping those lines straight and evenly spaced is what makes the front end look sharp rather than sloppy.
Creating Depth With Shading
Deciding on a light source before you start shading saves you from having to redo half the drawing later. Pick one direction — say, light coming from the upper left — and keep every shadow consistent with it: cast shadows fall on the side of the car opposite the light, and the shadow the car casts on the ground anchors it visually so it doesn’t look like it’s floating. A softer pencil (4B or 6B) builds up dark shadows quickly, while a harder pencil (2B or HB) works better for lighter transitional tones, and blending the two with a tissue or blending stump smooths out any harsh lines between them.
Highlights are the counterpart to shadows, and they’re what make a car’s paint and glass look shiny instead of flat. A kneaded eraser is the easiest tool for this — press and lift it over an already-shaded area to pull graphite back off the page rather than trying to draw “white” with a pencil. The roof, the top of the hood, and the upper edge of the windows are where direct light typically catches hardest, so those are the spots worth erasing back to a crisp highlight.
Mastering Perspective
One-point perspective uses a single vanishing point placed on the horizon line, with every receding line — the roofline, the side panels, the bottom edge of the doors — angling toward that one spot. It’s the easiest perspective to draw and works well for a car viewed head-on or from directly behind, since it creates the illusion of the car extending back into the distance. Start with a rectangle for the front face, then draw guide lines from its corners to the vanishing point before adding wheels and windows on top of that framework.
Two-point perspective is what most three-quarter-view car drawings actually use — two vanishing points sit on the horizon line, one off to each side, and every line on the car angles toward whichever point is on its side. Start with a single vertical line for the car’s nearest corner, then draw guide lines from its top and bottom out to both vanishing points; this sets up the two visible sides of the car at once. From there, block in doors, wheels, and windows the same way you would in a simpler view, just following the converging guide lines instead of drawing straight across.
Exploring Different Styles
Realistic-style car drawings stick closely to real proportions and details — accurate window shapes, correctly sized wheels, believable panel lines — which takes more patience but pays off in a drawing that could pass for an actual model. Cartoon-style cars throw a lot of that accuracy out on purpose: exaggerated features like oversized wheels, a tiny cabin, or an impossibly long hood read as playful rather than wrong, and bright, flat colors reinforce the fun tone. Neither style is more “correct” than the other — they’re just aiming at different things.
Once the fundamentals are working, personal touches are what turn a generic car sketch into something recognizably yours — a racing stripe, a two-tone paint split, or a pattern you wouldn’t find on a factory car all work here. Small functional-looking features like a rear spoiler, aftermarket rims, or a hood scoop add character without requiring much extra skill, since they’re built from the same basic shapes you’ve already been practicing.
Final Touches And Refinements
Before you commit to final lines, step back and check the drawing as a whole. Compare the front and back — do they feel like they belong to the same car, or does one end look stretched? Check that both wheels read as the same size and sit level with each other; a ruler or a straightedge is a perfectly reasonable tool to lean on here, not a shortcut to be embarrassed about. Catching proportion problems now is far easier than fixing them after the lines are inked or shaded.
With the proportions confirmed, go back in and add the small details you may have skipped earlier — side mirrors, door handles, maybe a license plate outline. Clean up stray construction lines with an eraser, then darken the final outline so the car’s silhouette reads clearly against the page. A final light pass of shading along the panels and wheel wells is what pushes the drawing from a flat outline to something that looks genuinely three-dimensional.
Frequently Asked Questions
How To Draw A Very Good Car?
Begin by sketching basic shapes like rectangles and circles for the car’s body and wheels. Add details like windows, doors, and headlights. Use reference images for accuracy. Shade to create depth and highlight key areas. Practice regularly to improve your car drawing skills.
How To Draw Easy Lamborghini?
Start by sketching the basic outline using simple shapes. Add details like headlights, wheels, and windows. Focus on capturing the sleek design. Use a reference image for accuracy. Finally, refine the lines and add shading for depth. Practice regularly to improve your skills.
How Do You Draw A Rainbow 🌈?
To draw a rainbow, start with a large arc. Use vibrant colors like red, orange, yellow, green, blue, indigo, and violet. Keep the colors in order. Use smooth, curved lines for a natural look. Add light shading for depth. Enjoy your colorful creation!
How Do You Draw A 3d Car Step By Step?
Start by sketching the car’s basic shape. Add wheels and outline details. Refine the car’s body, adding depth and dimension. Sketch windows, doors, and other details. Add shading for a 3D effect. Finish with highlights and shadows.
Conclusion
Drawing a car you’re genuinely happy with rarely happens on the first attempt, and that’s normal — the process outlined above (basic shapes, proportions, perspective, then details and shading) is meant to be repeated, not rushed through once. Start each new sketch with simple shapes, add details gradually, and don’t be afraid to show your work to friends or post it for feedback; a second set of eyes often catches proportion issues you’ve stopped noticing yourself.
Keep experimenting with different styles — realistic, cartoon, or something in between — and revisit cars you drew a few weeks back to see how much your eye for proportion and shading has sharpened. Happy drawing!
Products related to this article
Sponsored / affiliate links. As an Amazon Associate I earn from qualifying purchases. I may earn additional commission from eligible campaigns.