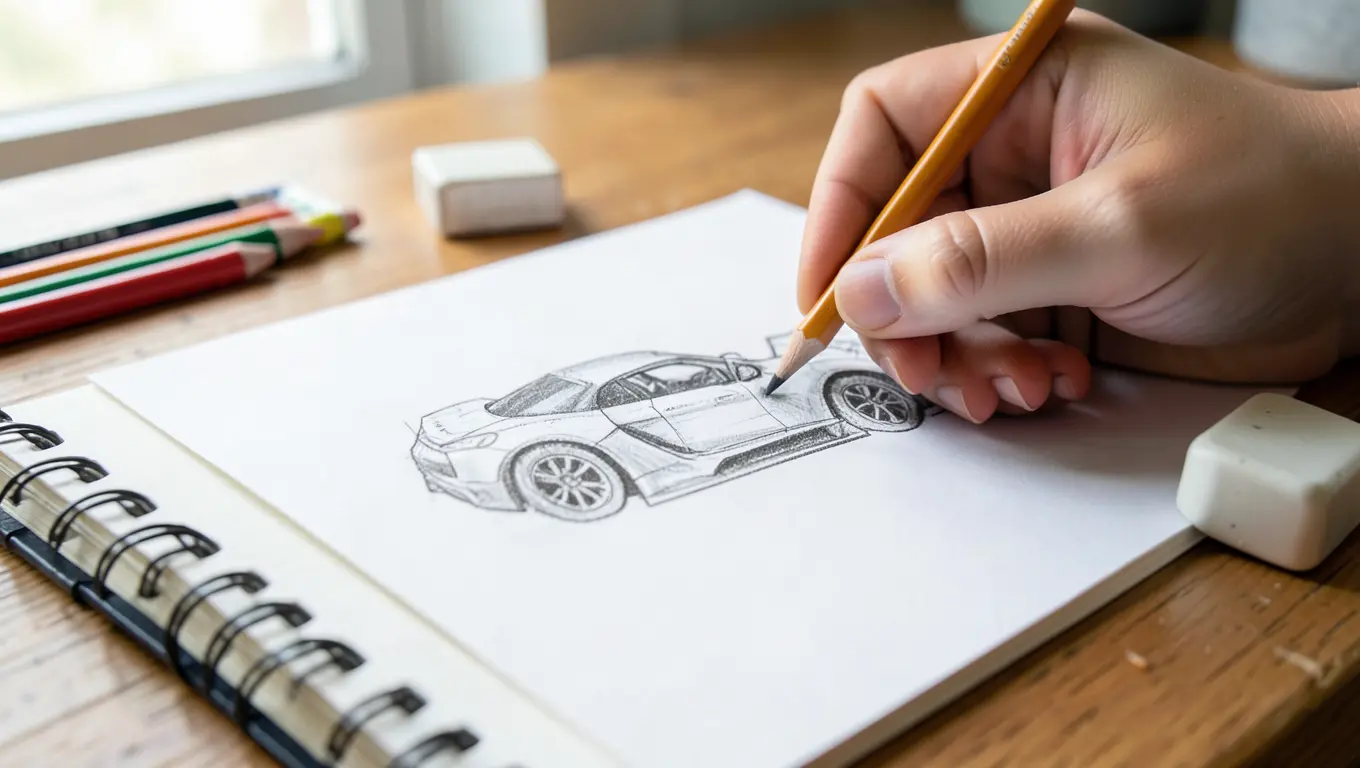
How to Draw a Race Car Step by Step (Easy Beginner Tutorial)
You draw a race car step by step by blocking in the body and wheels as simple shapes first, then building up the cabin, spoilers, and details before shading and adding color at the end.
Most beginners try to draw the whole outline in one pass and give up when it looks lopsided. Working in six short stages instead of one long one is the single biggest fix for that, and it works whether you are drawing with a kid, sketching for fun, or roughing out a design before painting a model kit.
Below you will find the tools to gather first, a full six-step walkthrough from basic shapes to a finished colored drawing, the mistakes that trip up most beginners, and answers to the questions people ask most often about drawing a race car.
What You Need to Draw a Race Car
You do not need much to get a good result. A short, sharp supply list keeps you drawing instead of hunting for the right pen halfway through.
- Pencil: an HB pencil for the light guide shapes, plus a softer 2B for darker outlines and shading.
- Eraser: a kneaded eraser works best for lifting light guide lines without smudging the paper.
- Ruler: optional, but it helps keep the ground line straight and the two wheels level with each other.
- Paper or a sketchbook: plain drawing paper is fine; a spiral sketchbook keeps every attempt in one place so you can compare your progress.
- Fine-tip black marker: for going over your final pencil lines once the shapes are right.
- Colored pencils or markers: for the finishing color pass, plus a black marker or pencil for the tires.
BEGINNER SKETCH SET
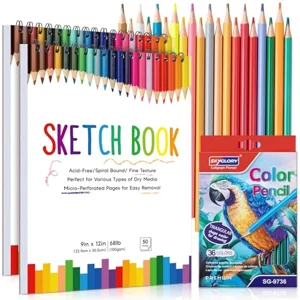 |
2-Pack Sketch Books with 36 Pencils – $16.99 Covers everything on the supply list above in one box, so you can start blocking in shapes on the same page you finish coloring on.
|
Step 1: Block In the Body and Wheel Circles
Using light pencil pressure, draw a long, stretched oval for the car’s body. Race cars sit low and wide, so keep the oval flatter and longer than you would for a family sedan. Draw a straight horizontal ground line beneath it.
Add two circles that sit on the ground line, one under the front third of the oval and one under the back third. On a real race car, the distance between the wheels, called the wheelbase, is usually a little more than half the car’s total length, so leave a visible gap of body between the two circles rather than crowding them together.
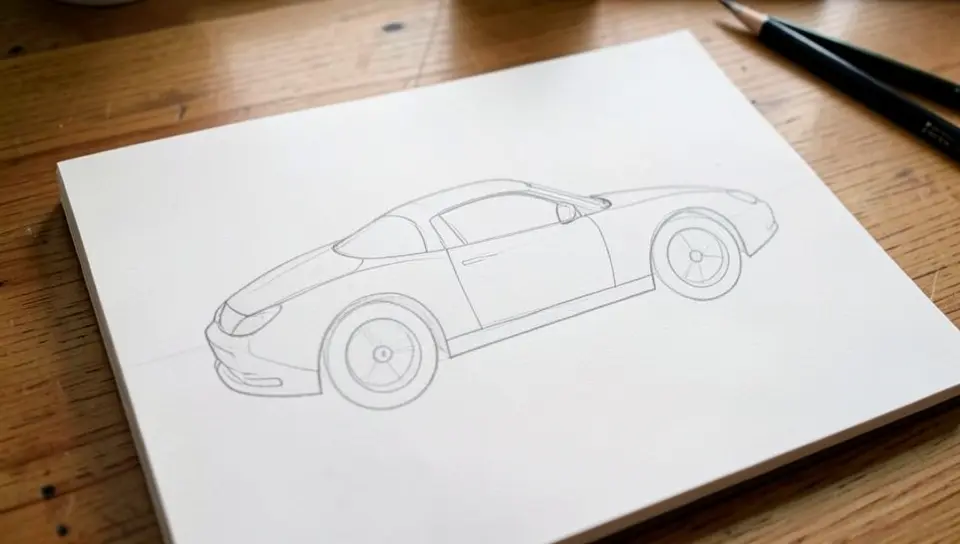
Step 2: Add the Cabin and Roofline
Sketch a smaller, low dome shape on top of the body oval, positioned closer to the rear wheel than the front. This dome is the cabin, where the driver sits. Keep it short and close to the body; a tall cabin will make the car read as a family car instead of a race car.
Draw one long curved line connecting the front of the body oval to the front of the cabin, and another connecting the back of the cabin to the rear of the oval. These two curves will become the finished roofline and hood line once you erase the underlying circle and oval guides.
Step 3: Turn the Guide Shapes Into a Finished Outline
Go over your light guide lines with a single, confident outline that follows the curves you already planned. Pull the outline in tight around the wheel circles so the wheel wells look snug instead of loose, which is what makes a drawn car look fast rather than boxy.
Add a low front splitter, a flat lip that extends forward from the bottom of the front bumper, and widen the body slightly at the rear fenders. Once the outline looks right, erase the leftover guide lines from Steps 1 and 2.
Step 4: Add Windows, Doors, Side Skirts, and a Spoiler
Inside the cabin shape, draw a front window as a rounded rectangle, then a smaller side window behind it, angled to match the roofline. Add a thin curved line beneath the windows to mark the door.
Draw a long, thin rectangle along the bottom edge of the body between the wheels for the side skirt. At the rear, add a spoiler: two short vertical supports rising from the trunk area, topped with a wide, slightly curved wing. Keep the wing a little wider than the car’s body so it reads clearly against the outline.
Step 5: Detail the Wheels, Headlights, and Vents
Inside each wheel circle, draw a smaller circle for the hubcap, then add five or six short lines radiating out from its center like spokes. Add a ring of short tick marks around the outer edge of each tire to suggest tread.
At the front of the car, draw two small ovals side by side for the headlights, level with each other. Add a short rectangle inside each oval for the bulb. Along the hood or front fenders, add two or three short slashes to represent air vents, a detail that instantly reads as “performance car” once it’s colored in.
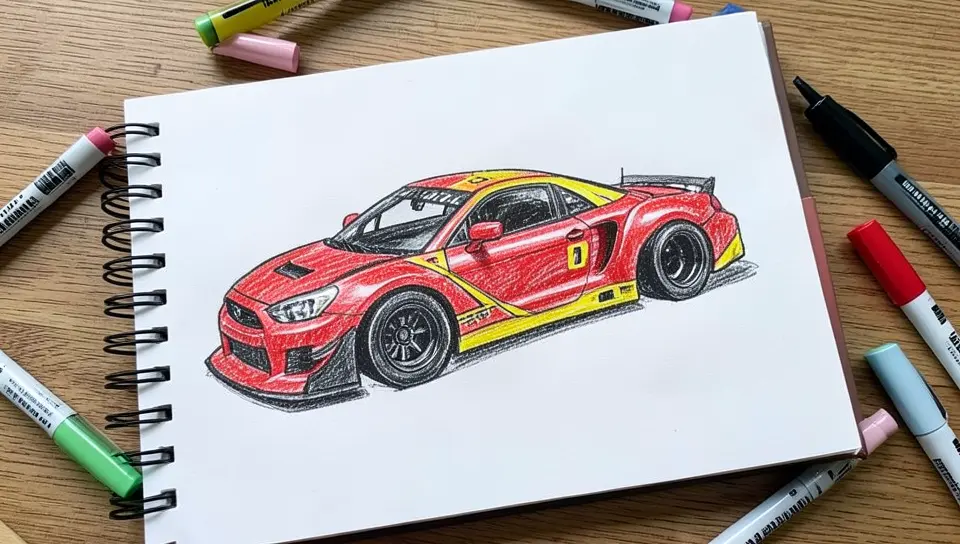
Step 6: Shade, Add Racing Decals, and Color
Pick one light source, usually the top left of the drawing, and decide which side of the car faces away from it. Use your 2B pencil to add darker shading along the lower body panels and the side away from the light. Leave a thin unshaded strip along the top of the hood and roof; that bright highlight is what makes painted metal look shiny on paper.
Add a number inside a circle on the door and a diagonal stripe running from the hood to the rear fender for a racing decal look. Go over your final lines with the fine-tip marker, let it dry, then erase any pencil that shows through. Finish with colored pencils or markers, using black or dark gray for the tires and a bold color for the body so it stands out against the highlight strip you left blank.
Common Mistakes When Drawing a Race Car
A few small habits are behind most drawings that don’t turn out the way people hoped. Here’s what to watch for at each stage.
| Mistake | Why It Happens | Quick Fix |
|---|---|---|
| Wheels are two different sizes | Drawing each circle freehand without a reference | Trace around a coin or bottle cap for both wheels so they match exactly |
| Car looks tall and boxy instead of fast | Skipping the light guide-shape stage and drawing the outline directly | Always block in the oval and circles first, in Step 1, before outlining anything |
| One side of the car doesn’t match the other | Drawing straight through without checking symmetry | Hold the paper up to a light or a window partway through; uneven sides show up immediately |
| The drawing looks flat with no depth | Coloring in flat, even tone with no shading | Add darker shading on the side away from your light source, as in Step 6 |
| Car looks like it’s floating above the ground line | Wheels drawn too small or placed above the ground line instead of on it | Make sure both wheel circles touch the ground line you drew in Step 1 |
Where to Go Next
Once the six-step shape method feels comfortable, the next step is drawing in proper perspective instead of a flat side view. Our guide on how to draw realistic cars covers pencil grades, one-point and two-point perspective, and shading techniques for a more advanced, photo-style result.
If you want a real vehicle to use as inspiration for your own racing decal design, it’s worth knowing that even animated race cars borrow their shapes from real ones. We break down the real car that inspired Pixar’s fastest character in what car Jackson Storm is based on.
Frequently Asked Questions
How Do You Draw a Simple Racing Car?
Start with a long rectangle or oval for the body and two circles for the wheels, then add a smaller shape on top for the cabin. From there, round off the outline, add a spoiler, headlights, and a racing stripe or number decal, and go over the final lines with a marker before coloring it in. Keeping the first pass to simple shapes is what makes this version quick enough to finish in one sitting.
How Do You Draw a Car Step by Step for Beginners?
For any car, not just a race car, start with the same basic-shapes method: block in the body and wheel circles first, add the cabin, then refine that rough sketch into one clean outline. From there, add windows, mirrors, and headlights, then finish with shading and color. The exact proportions change from car to car, but the order of steps stays the same.
How Do You Draw an Easy Sports Car?
A sports car uses the same six-step method as a race car, but with a taller, more rounded cabin and without the oversized rear spoiler and number decal. Outline the body with smooth, sweeping curves rather than the flat, low lines of a race car, add wheels, windows, and headlights, and shade to add depth.
What Car Is the Easiest Car to Draw?
A rounded, simple-bodied car like a classic Volkswagen Beetle is usually the easiest for beginners because its shape is close to a single oval with almost no sharp angles or complicated panel lines. A race car is a bit harder because of the spoiler, low splitter, and wide wheel arches, but the same shape-first method still applies.
How Do You Make a Race Car Drawing Look Fast?
Keep the body low and stretched rather than tall, pull the outline in tight around the wheels so there’s no gap in the wheel wells, and add motion cues like a rear spoiler, angled side vents, and a slightly forward-leaning stance. Shading with a clear highlight strip along the roof also helps, since a flat, evenly colored car tends to look parked rather than moving.
Do You Need to Sketch Lightly Before Outlining?
Yes. Sketching the guide shapes in Steps 1 and 2 with light pencil pressure means you can erase and adjust proportions before committing to a final outline. Pressing hard from the start makes mistakes harder to fix and tends to leave visible eraser marks on the finished drawing.
Conclusion
Drawing a race car comes down to working in order: block in simple shapes, refine them into one outline, add the details, then shade and color last. Skipping ahead to details before the shapes are right is the main reason a drawing ends up lopsided.
Work through the six steps once, compare the result to the mistakes table above, and try a second drawing right away while the proportions are still fresh in your mind. Most people see the biggest jump in quality between their first attempt and their second.
Products related to this article
Sponsored / affiliate links. As an Amazon Associate I earn from qualifying purchases. I may earn additional commission from eligible campaigns.