How to Remove Clear Coat from Car: Easy Steps for a Flawless Finish
Is your car’s clear coat starting to peel, bubble, or look dull? You’re not alone.
When the clear coat gets damaged, it can make your car look old and worn out—no matter how much you wash it. But don’t worry, removing that old clear coat is easier than you think. You’ll learn simple, step-by-step methods to safely strip away the clear coat and get your car’s paint ready for a fresh finish.
Keep reading, and you’ll be one step closer to making your car shine like new again.
Signs Of Clear Coat Damage
Clear coat protects your car’s paint and keeps it shiny. Over time, this protective layer can wear out. Recognizing the signs of clear coat damage helps you decide when to take action. Early detection can save your car’s look and value.
Peeling And Flaking
Peeling clear coat looks like small patches lifting off the paint. Flaking means pieces of clear coat break away. These issues show the clear coat is failing. Exposed paint under the clear coat can get damaged quickly.
Fading And Discoloration
Clear coat damage often causes color to fade. The paint looks dull or washed out. Sometimes, the surface turns yellow or cloudy. This happens because the clear coat no longer protects the paint from sunlight and chemicals.
Surface Roughness
The clear coat should be smooth and glossy. Rough or bumpy areas mean damage is present. These spots may feel gritty to the touch. Surface roughness can trap dirt and make cleaning harder.
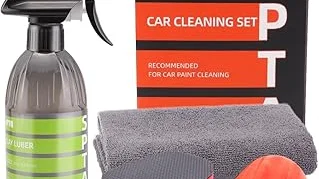
Tools And Materials Needed
Removing the clear coat from a car needs specific tools and materials. These items help you do the job safely and effectively. Preparing all tools before starting saves time and avoids mistakes.
Use the right materials to protect your car’s paint underneath. Choose items that fit your skill level and the size of the area to be stripped.
Protective Gear
Wear gloves to protect your hands from chemicals and sharp edges. Safety glasses keep dust and debris out of your eyes. A mask or respirator prevents inhaling harmful dust and fumes. Long sleeves protect your skin from irritation.
Abrasive Materials
Sandpaper with different grits is essential for clear coat removal. Start with coarse grit to remove the top layer. Use finer grit to smooth the surface afterward. A sanding block or orbital sander helps keep even pressure. Avoid using too rough abrasives to prevent damaging the paint.
Cleaning Supplies
Use a clean cloth or microfiber towel to wipe off dust. A bucket with water helps rinse the area. Automotive soap cleans the surface before and after sanding. Wax and grease remover removes oils and residues for better results. Keep cleaning supplies handy for quick touch-ups.
Preparing The Car Surface
Preparing the car surface is a crucial step before removing the clear coat. A clean and well-protected surface helps achieve better results. It also prevents damage to other parts of your car during the process. Follow these steps carefully to prepare your car properly.
Washing And Drying
Start by washing the car thoroughly. Use car soap and water to remove dirt and grease. Clean the surface where you will work. Dirt can scratch the paint when you remove the clear coat. Rinse the car well to remove all soap. Dry the car with a clean microfiber cloth. Make sure the surface is completely dry before moving on.
Masking Sensitive Areas
Protect parts that should not be touched by the clear coat remover. Use painter’s tape to cover edges, trim, and rubber seals. Mask off windows, lights, and badges. This prevents accidental damage or stains. Cover large areas with plastic sheets or paper. Secure the coverings firmly to avoid slipping. Proper masking saves time and prevents costly mistakes.
Methods To Remove Clear Coat
Removing the clear coat from a car requires careful methods to avoid damage. Choosing the right way depends on the tools and skills you have. Some methods are better for small areas, while others work for larger surfaces. Below are common techniques to remove clear coat safely and effectively.
Sanding Techniques
Sanding is a hands-on method to remove clear coat. Start with fine-grit sandpaper, like 1500 or 2000 grit. Sand gently to avoid going through the paint layer. Use a sanding block to keep the surface even. Wet sanding helps reduce dust and heat. Check progress often to prevent over-sanding. This method works well for small spots or areas with peeling clear coat.
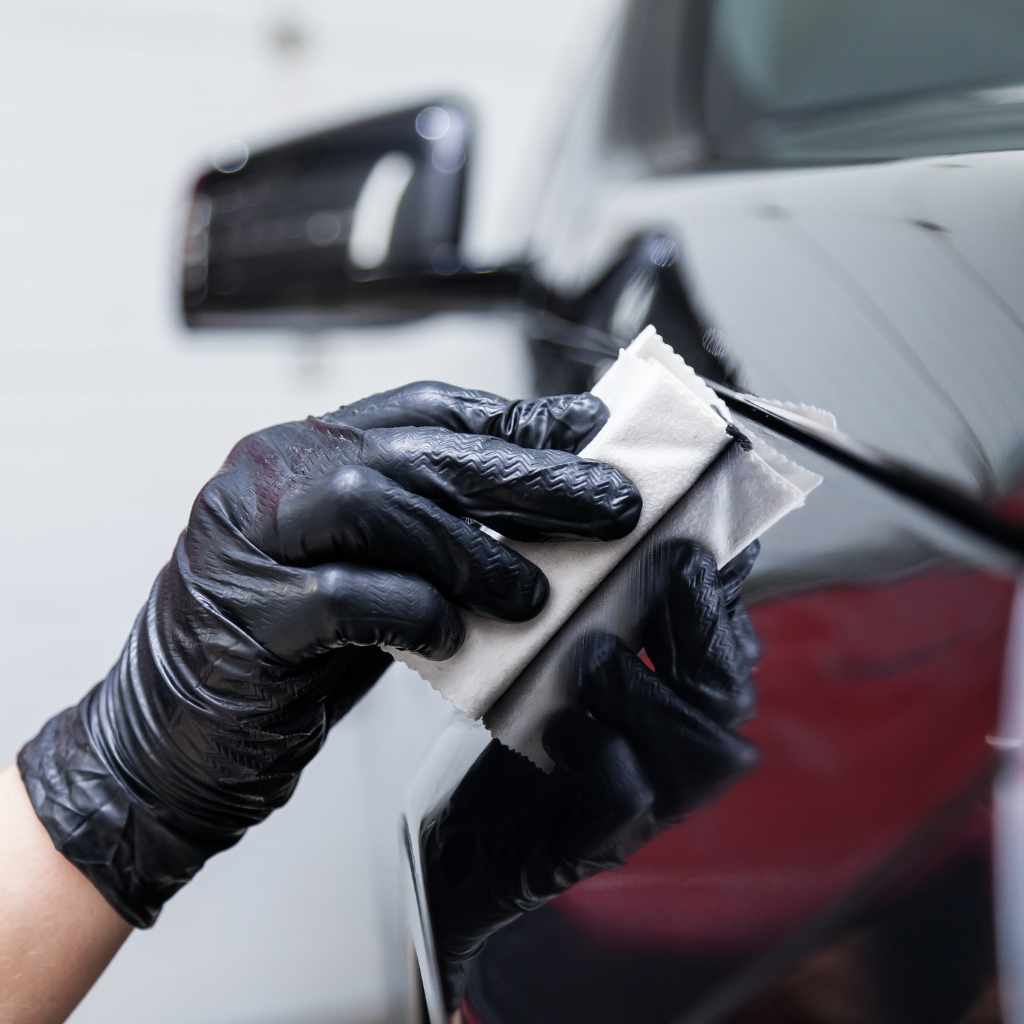
Using Chemical Strippers
Chemical strippers dissolve the clear coat quickly. Choose a stripper made for automotive use. Apply it with a brush or cloth, following product instructions. Wait the recommended time, then wipe or scrape off the clear coat. Use gloves and work in a well-ventilated area for safety. Clean the surface thoroughly after stripping. This method suits larger areas or tough clear coat layers.
Buffing And Polishing
Buffing removes thin or damaged clear coat layers. Use a machine buffer with a cutting compound. Work in small sections and keep the buffer moving. Polishing afterward restores shine and smoothness. This method is less aggressive but needs careful control. Buffing suits mildly damaged clear coat or minor scratches.
Step-by-step Removal Process
Removing clear coat from a car takes patience and careful steps. Follow this process to get the best results without harming the paint underneath.
Each step prepares the surface for the next. Work slowly and check your progress often. Proper tools and safety gear help keep the job clean and safe.
Initial Sanding
Start by sanding the clear coat with fine-grit sandpaper. Use 400 to 600 grit for this task. Sand gently in circular motions. This breaks the clear coat and smooths the surface. Avoid pressing too hard to protect the paint.
Wear a mask to avoid breathing dust. Clean the area with a damp cloth after sanding.
Applying Stripper
Choose a clear coat stripper made for cars. Apply a thin, even layer with a brush. Let it sit for 10 to 15 minutes. The stripper softens the clear coat for easy removal.
Use a plastic scraper to remove the lifted clear coat. Work carefully to avoid damaging the paint. Repeat applying stripper if needed for stubborn spots.
Final Sanding And Cleaning
Sand again with a finer grit, like 800 to 1000. This removes any leftover clear coat and smooths the surface. Rinse the area with water and dry it with a clean cloth.
Check the surface for any missed spots. Repeat sanding or stripping if necessary. Clean the car well before applying any new paint or clear coat.

Post-removal Surface Preparation
After removing the clear coat from your car, the surface needs careful preparation. This step is crucial for a smooth finish. Proper preparation helps the new paint or clear coat stick well. It also prevents imperfections and uneven textures.
Smoothing The Surface
Use fine-grit sandpaper to smooth the bare surface. Sand gently to remove any rough spots or scratches. Keep the sanding even to avoid creating low spots. Check the surface by touch; it should feel smooth and consistent. Avoid heavy sanding that can damage the metal or plastic underneath.
Cleaning Residue
After sanding, clean the surface thoroughly. Use a clean cloth and a good surface cleaner. Remove all dust, grease, and leftover particles. Any dirt left will affect paint adhesion and final appearance. Let the surface dry completely before starting the next step.
Tips For A Flawless Finish
Removing clear coat from a car requires care and attention. A flawless finish is possible by following some simple tips. These help protect the paint and give your car a smooth look. Patience and the right steps make the job easier and safer.
Avoiding Damage To Base Paint
Clear coat removal must not harm the base paint. Use gentle tools like fine sandpaper or a plastic scraper. Test on a small area first to check for damage. Avoid harsh chemicals that can eat through the paint. Work slowly and carefully for the best results.
Working In A Well-ventilated Area
Many products used to remove clear coat release strong fumes. Work outside or in a garage with open doors and windows. Use a fan to help air flow. This keeps you safe and prevents breathing problems. Always wear a mask to protect your lungs.
Patience And Precision
Rushing leads to mistakes and uneven surfaces. Take your time and work in small sections. Use smooth, even strokes to remove the clear coat. Check your progress often under good light. Patience ensures a neat and smooth finish without damage.

Frequently Asked Questions
What Is The Best Method To Remove Clear Coat From A Car?
The best method is wet sanding with fine-grit sandpaper. It gently removes the clear coat without damaging the paint underneath. Use 1500-2000 grit sandpaper and keep the surface wet to avoid scratches. Always finish with polishing to restore smoothness.
Can I Remove Clear Coat Without Sanding?
Yes, chemical clear coat removers can strip clear coat without sanding. These products dissolve the clear coat for easier removal. Follow instructions carefully and wear protective gear. Test on a small area first to avoid damage to the paint.
How Long Does It Take To Remove Clear Coat?
Removing clear coat usually takes 1 to 3 hours, depending on the method and surface size. Wet sanding is slower but safer. Chemical removers act faster but need careful application. Proper prep and finishing also add to total time.
Will Removing Clear Coat Damage My Car’s Paint?
If done properly, removing clear coat won’t damage the paint. Use gentle sanding or proper chemical removers. Avoid aggressive tools or harsh chemicals that can harm the base paint. Always follow instructions and work carefully to protect the underlying layer.
Conclusion
Removing clear coat from your car takes patience and care. Use the right tools and gentle methods to avoid damage. Test small areas first to see how your car reacts. Clean the surface well before applying any product. Work slowly and check progress often.
After removal, polish and protect the paint to keep it looking good. Taking these steps helps your car stay smooth and shiny. Keep safety in mind and follow instructions closely. Your effort will pay off with a fresh, clean finish.