How to Repair Scratches on a Plastic Bumper (Flex Primer Guide)
Light scratches on a plastic bumper buff out with plastic polish or a heat gun, but deep scratches need filler, sanding, and flexible primer — regular auto primer cracks once the bumper flexes. Skipping the flex-primer step is the #1 reason DIY bumper repairs peel within months. This guide covers grading scratch depth, the tools for each severity level, and the exact primer-and-paint system that flexes with the bumper instead of against it.
Assessing the Damage
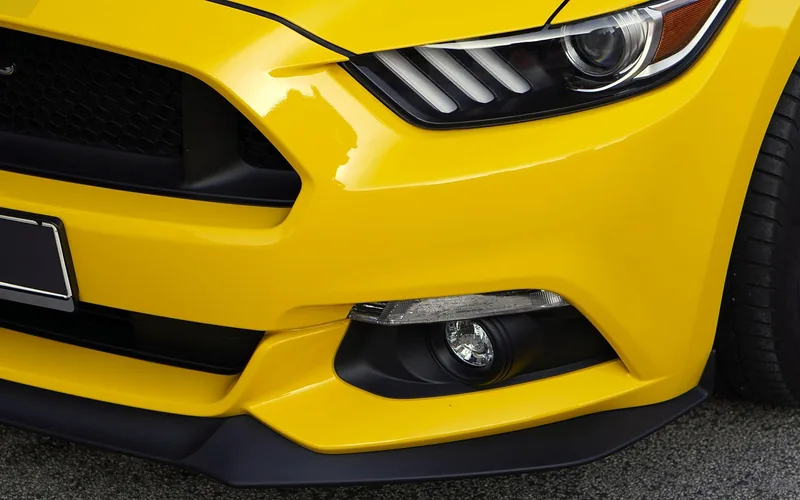
Scratches on car bumpers vary. Some are light and only affect the top layer or clear coat; others are deep and cut into the plastic itself. Light ones are quick to fix with polish or heat. Deep ones need sanding, filler, and a repaint. Knowing which type you have decides which method below actually works.
| Scratch Type | What It Looks Like | Best Fix |
|---|---|---|
| Light scuff | Surface haze or scuffing, paint intact, no white/gray showing through | Plastic polish or a heat gun |
| Moderate scratch | Paint is scratched through in places, but plastic isn’t gouged | Sand, scratch remover, then polish |
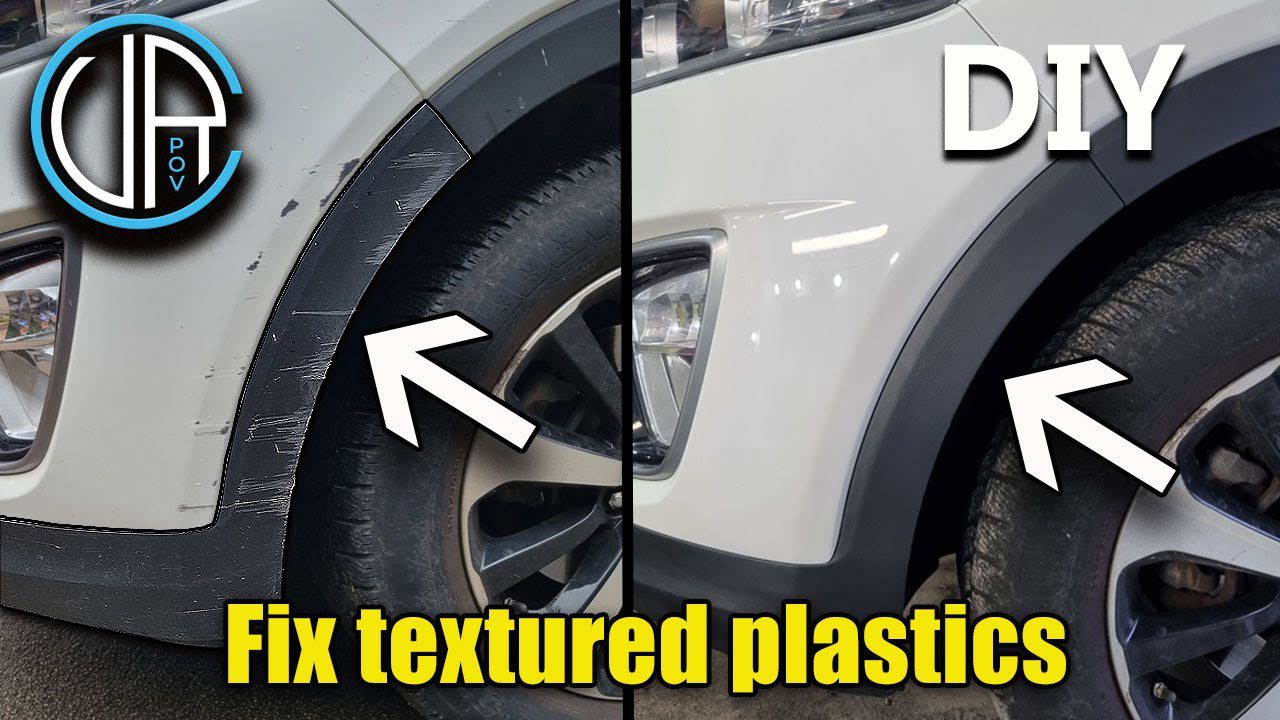
| Deep scratch/gouge | Plastic itself is cut or grey/white plastic is visible | Flex filler, sand, adhesion promoter, flex primer, paint |
Not all scratches are the same severity even within one of these categories — minor scratches are barely visible, while severe ones are deep and wide. Check the scratch closely under good light and decide its level before choosing a repair method.
Gathering Materials
To fix a bumper scratch, you need a few tools. Fine-grit sandpaper (start around 180-220 grit) is a must for anything past a light scuff. A clean microfiber cloth helps wipe the area down. You’ll also need a plastic cleaner to strip dirt and grease, a putty knife for applying filler, and a primer spray to seal and protect the repair. For deep scratches, add a flexible filler, a plastic adhesion promoter, and a primer with flex additive — regular rigid primer will crack on a flexing bumper, which the section further down covers in detail. Lastly, have matching touch-up paint ready to blend the repair in.
For quality results, pick proven products: 3M sandpaper for smooth, even sanding; Meguiar’s cleaner for degreasing; a two-part flex filler (not standard rigid body filler) on plastic; Krylon or a dedicated flex-additive primer; and Dupli-Color for color-matched touch-up paint. Always follow the instructions on the label — cure times between coats matter more on flexible plastic than on steel panels.
Best Flex Bumper Repair Pick
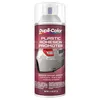
Dupli-Color Plastic Adhesion Promoter, Clear, 11 oz
Sprays on before primer so paint actually bonds to flexible bumper plastic instead of flaking off in a season.
- Best for: any repaired area that will be primed and painted
- Why we picked it: this is the step most DIY bumper repairs skip, and it’s the #1 reason patched scratches crack or peel within months
- Main drawback: needs a dry, dust-free 10-15 minutes before primer goes on
Compare more flex-repair options
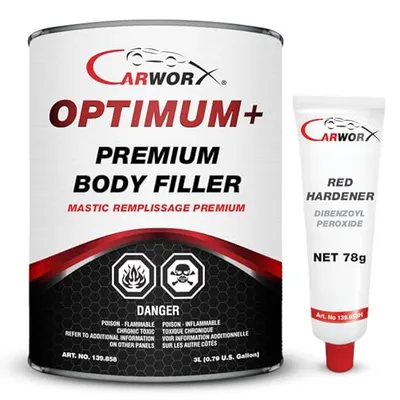 Option 1 Carworx Optimum+ Premium Body Filler with BPO Hardener – Large Area Plastic Body Filler, All-in-One
|
 Option 2 Polyvance Bumper & Cladding Coat Primer
|
 Option 3 FLY5D Heat Gun Repair Kit
|
As an Amazon Associate we earn from qualifying purchases.
Preparing the Surface
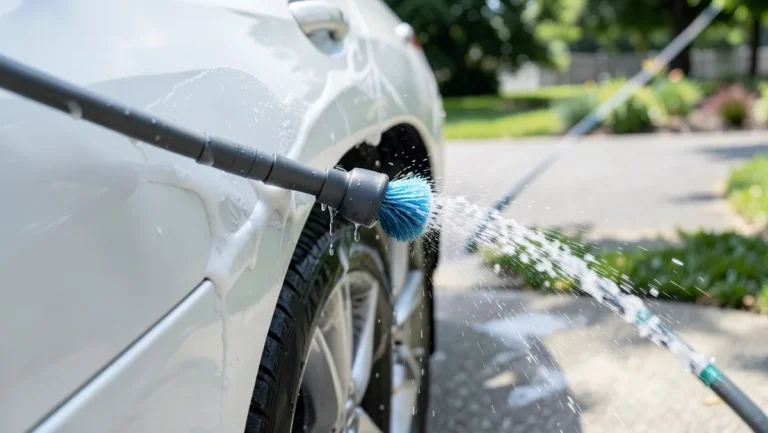
First, wash the bumper with soapy water and a soft cloth, making sure all dirt and road grime is gone. Rinse with clean water and dry with a towel — a clean surface is essential, since any leftover grease or wax will stop filler and primer from bonding properly.
Take masking tape and cover the areas near the scratch to protect the rest of the bumper and body panels from overspray. Be careful placing the tape, covering enough space around the scratch, and use paper for larger areas. Once masked, the bumper is ready for repair.
Repair Techniques
Which technique you use depends on the depth you identified earlier. Light and moderate scratches respond well to sanding and scratch remover alone; deep scratches need filler and a full flex-primer system, covered step-by-step below.
Sandpaper can help fix car bumper scratches. Start with fine grit sandpaper (180-220 grit), wet it, and gently rub over the scratch in a circular motion. This smooths the surface. Be careful not to rub too hard. After sanding, the area may look dull — that’s normal. Finish with a polishing compound to make it shine again.
Scratch remover is easy to use for light marks. First, clean the scratch area. Apply a small amount of remover on a soft cloth and rub it into the scratch in a circular motion. This helps fill the scratch. Wipe off any extra remover, and repeat if needed. Scratch removers work best on light scratches — they may not fix deep ones. Always read the product instructions before use.
Deep Scratch Repair: Step-by-Step With Flex Filler and Primer
For a scratch that’s cut into the plastic itself, sanding and polish alone won’t close the gap. This is the process that actually holds up on a bumper that flexes every time you hit a pothole:
- Assess the scratch: Confirm the damage has cut through the paint into the plastic — if you can feel a groove with a fingernail, treat it as deep.
- Clean and mask the bumper: Wash with soapy water, dry fully, and mask off the surrounding panels with tape.
- Sand the scratch: Sand with 180-grit sandpaper to open up the gouge, then smooth the edges with 400-grit before filling.
- Apply flexible filler: Mix a two-part flex filler with hardener and press it into the scratch with a putty knife. Let it cure, then sand it level.
- Apply adhesion promoter, then flex primer: Spray a light coat of plastic adhesion promoter and let it flash off, then apply 2-3 light coats of primer with flex additive, letting each coat dry.
- Paint and clear coat: Apply matching touch-up paint in thin coats, then clear coat. Let the repair cure at least 24 hours before washing or driving through rain.
📊 A plastic bumper is built to absorb impact by flexing. Standard rigid automotive paint and primer don’t move with it — they crack, peel, or flake off within weeks. An adhesion promoter plus a primer with flex additive is what lets the repaired area flex with the rest of the bumper instead of against it. — Source: Touch Up Zone, plastic bumper repair guide
Shallow scuffs are a different story — heat can often relax the plastic’s surface back into shape without any sanding or paint at all. A heat gun held about 8 inches from the bumper (roughly 650°F, kept moving in a sweeping motion) can soften a light scuff enough for it to self-level, then a quick wipe with a damp cloth sets the plastic again. This only works on shallow marks that haven’t cut through the paint — it won’t close an actual gouge.
Polishing and Finishing
Use a clean, soft cloth to buff the bumper surface in small, circular motions. This smooths out rough edges — press lightly to avoid further damage, and check your progress often. The scratches should start to fade. Don’t rush this step; patience is key.
Choose a sealant rated for plastic bumpers and apply it carefully with a brush or sponge, covering the entire area evenly. Let the sealant dry completely — this protects the repair and adds shine. Follow the instructions on the sealant product.
Preventing Future Damage
Scratches on a plastic car bumper are far easier to prevent than repair. Start by cleaning the area thoroughly and inspecting it regularly — catching a light scuff early means polish or a heat gun, not filler and paint.
Regular Maintenance Tips
Clean the bumper every week with a soft cloth and mild soap — dirt left on the surface can cause scratches over time. Inspect the bumper often, and fix small damage quickly before it gets worse. Apply a wax coating for extra protection; it makes the bumper shine and repels water, which can also cause damage.
Protective Measures
Park your car safely and avoid tight spots that can scrape the bumper. Use bumper guards — they’re easy to attach and protect against bumps. Consider a car cover, which shields against dust and debris that can scratch the surface. If possible, park in a garage, safe from harsh weather and falling objects.
If your bumper only has light surface scuffing rather than a scratch that’s gone through the paint, our guide on getting scratches out of a plastic bumper the easy way walks through a lighter-touch approach without any filler or sanding. If you just want to bring the shine back and aren’t dealing with any gouges, see our step-by-step polishing guide instead. This guide focuses specifically on scratches deep enough to need filler, adhesion promoter, and flexible primer.
Frequently Asked Questions
Can Plastic Bumper Scratches Be Repaired?
Yes, plastic bumper scratches can be repaired. Light scratches are often buffed out using polishing compounds. For deeper scratches, sanding, flexible filler, and repainting with flex primer may be required. DIY kits are available, but professional repair ensures the best results. Regular maintenance helps prevent future damage.
How Do You Remove Scratch Marks From a Plastic Bumper?
Clean the bumper with soap and water. Use fine sandpaper to smooth scratches gently, or a heat gun on shallow scuffs. Apply a plastic polish or scratch remover for light marks. Buff the area with a microfiber cloth until shiny. Repeat if necessary for deeper scratches, and confirm any product is rated safe for plastic surfaces.
Can I Use T-Cut on a Plastic Bumper?
Yes, you can use T-Cut on a plastic bumper for light surface scratches. It effectively removes shallow marks and restores shine. Test a small, hidden area first to check compatibility with your bumper’s finish. Avoid excessive pressure, and don’t expect it to fix scratches that have gouged into the plastic.
Does WD-40 Remove Scratches From Plastic?
WD-40 can help reduce the appearance of light scratches on plastic by temporarily filling in fine surface marks. Apply it gently with a soft cloth. For deep scratches, it won’t do anything, you’ll need filler and paint instead. Always test on a small area first to confirm it’s safe for your specific plastic.
Do You Need Flexible Primer for a Plastic Bumper?
Yes. A plastic bumper is designed to flex on impact, and a standard rigid automotive primer or paint will crack, peel, or flake off within weeks once the bumper flexes. Use an adhesion promoter first, then a primer with flex additive built in, so the repaired layer moves with the plastic instead of against it.
Can a Heat Gun Fix Scratches on a Plastic Bumper?
A heat gun can fix shallow scuffs and light scratches that haven’t broken through the paint or gouged the plastic. Warming the area to roughly 650 F from about 8 inches away can help the plastic’s surface relax back into shape. It won’t fix a scratch that has already cut through paint or plastic, those need filler and paint.
Conclusion
Repairing scratches on your plastic car bumper is manageable once you know the depth you’re dealing with. Light scuffs buff out with polish or a heat gun; deep scratches need filler, sanding, adhesion promoter, and a primer with flex additive so the repair moves with the bumper instead of cracking off it. Let each layer cure properly, then buff for shine. Regular maintenance keeps future scratches from becoming a bigger repair.
Products related to this article
Sponsored / affiliate links. As an Amazon Associate I earn from qualifying purchases. I may earn additional commission from eligible campaigns.