What Cable Goes on a Car Battery First: Essential Guide
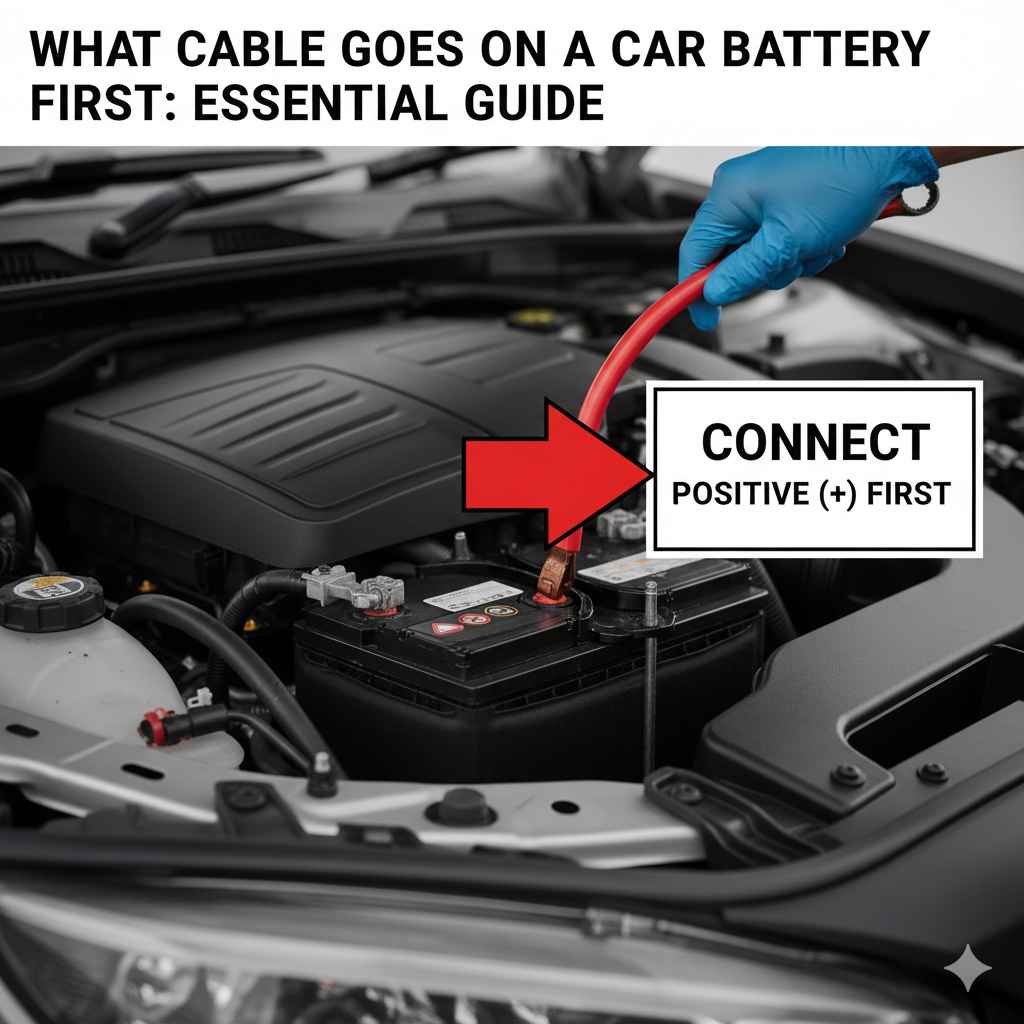
When reconnecting a car battery, the positive (red) cable should always be connected first, followed by the negative (black) cable. This order prevents accidental short circuits and sparks, ensuring your safety and protecting your vehicle’s electrical system.
Ever stared at a car battery, two cables in hand, and wondered which one goes where first? You’re not alone! It’s a common question, and getting it wrong can lead to a little zap or, worse, damage to your car’s sensitive electronics. Don’t worry, though. As your trusted automotive guide, I’m here to break it down simply and safely. We’ll go through exactly what cable goes on a car battery first, why it matters, and how to do it with confidence. Knowing this small but crucial detail can save you hassle and potential repair costs. Ready to tackle battery connections like a pro?
Understanding Car Battery Terminals and Cables
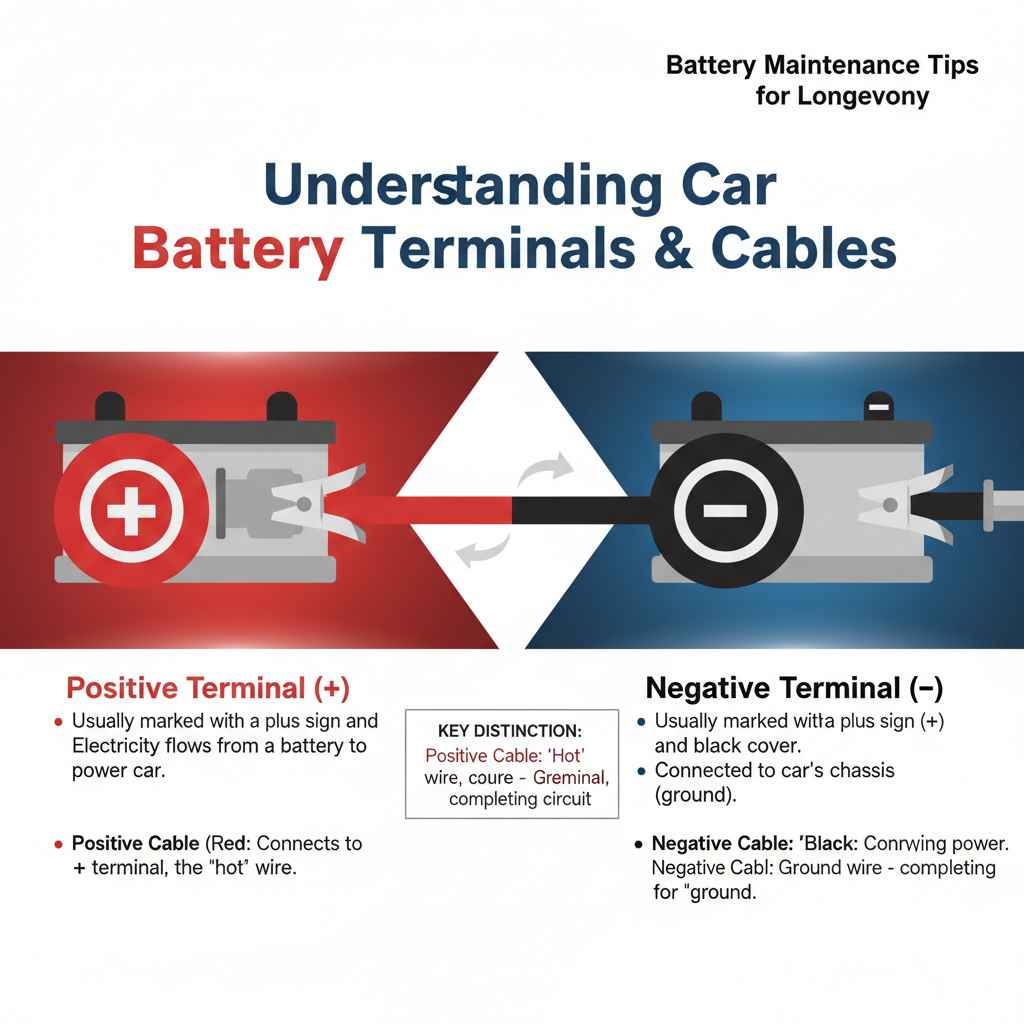
Before we connect anything, let’s get a clear picture of what we’re dealing with. A car battery has two terminals, the connection points for the electrical cables. These are:
- Positive Terminal (+): Usually marked with a plus sign (+) and often has a red cover or marking. This is where the electricity flows from the battery to power your car.
- Negative Terminal (-): Usually marked with a minus sign (-) and often has a black cover or marking. This terminal is connected to the car’s chassis (body) and acts as the ground, completing the electrical circuit.
The cables themselves are designed to match these terminals:
- Positive Cable: This cable is typically red and is connected to the positive (+) terminal of the battery.
- Negative Cable: This cable is usually black and is connected to the negative (-) terminal of the battery.
Think of the positive cable as the “hot” wire carrying the power, and the negative cable as the ground. This distinction is key to understanding why the connection order is so important.
Why the Order Matters: Safety First!
You might be asking, “Can’t I just connect them any old way?” The answer is a resounding no! The order of connecting battery cables is a critical safety step designed to prevent accidental short circuits. A short circuit happens when electricity takes an unintended, low-resistance path, often causing sparks, damage to electrical components, or even fires.
Here’s why connecting the positive terminal first is the rule:
- Preventing Sparks: When you connect a cable to a terminal, there’s a small chance of creating a spark, especially if there’s any residual charge or a loose connection.
- Grounding the Wrench: Most tools, like wrenches, are made of metal. If you are working with the negative terminal while the positive terminal is already connected, and your wrench accidentally touches the car’s metal body (which is grounded), you create an instant short circuit.
- Safety with the Positive Terminal: By connecting the positive cable first, you’re connecting the live power source. However, the negative terminal is still disconnected, meaning the circuit isn’t complete. This significantly reduces the risk of sparks or shorts if your tool slips.
- Completing the Circuit Safely: Once the positive terminal is secure, you can then connect the negative cable. This completes the electrical circuit, allowing power to flow. If a spark occurs during this final connection, it’s less likely to cause significant damage because the connection itself is the final step.
In essence, connecting the positive first and disconnecting the negative first (when removing) makes it much harder to accidentally complete a dangerous circuit with your tools.
What Cable Goes on a Car Battery First: The Step-by-Step Guide
Let’s get down to the practical steps. Whether you’re jump-starting a car or replacing a battery, the principle is the same. Always remember the golden rule: Positive (+) first, Negative (-) last.
Step 1: Preparation is Key
Before you touch anything, gather your supplies and ensure safety:
- A clean, well-lit workspace.
- Safety glasses to protect your eyes from potential sparks or battery acid.
- Gloves to keep your hands clean and protected.
- A wire brush or battery terminal cleaner to ensure clean, solid connections.
- The correct size wrench or socket for the battery terminal nuts.
- The battery cables you need to connect.
If you’re jump-starting, make sure the dead and donor vehicles are parked close enough, but not touching, with their engines off.
Step 2: Identify Terminals and Cables
Locate the battery. You’ll see two terminals, usually marked with ‘+’ (positive, often red) and ‘-‘ (negative, often black). Ensure you know which cable belongs to which terminal. The positive cable is typically red, and the negative cable is black.
Step 3: Clean the Terminals and Cable Clamps
Corrosion (a fuzzy white or greenish buildup) on the battery terminals or cable clamps can prevent a good electrical connection. Use a wire brush or a dedicated battery terminal cleaner to scrub both the battery posts and the inside of the cable clamps until they are shiny metal. A clean connection is crucial for proper power flow.
Step 4: Connect the Positive Cable First
This is the most important step! Take the red positive cable and firmly attach its clamp onto the positive (+) terminal of the battery. Make sure it’s seated snugly. If your battery has a red plastic cover over the positive terminal, lift it up to access the post.
Use your wrench to tighten the nut on the cable clamp. It should be tight enough so that the clamp doesn’t wiggle or spin on the terminal post. Be careful not to overtighten, which could damage the terminal.
Step 5: Connect the Negative Cable Last
Now, take the black negative cable. Attach its clamp firmly onto the negative (-) terminal of the battery. Again, ensure it’s seated snugly.
Tighten the nut on the negative cable clamp with your wrench. Just like the positive cable, it needs to be secure but not so tight that it damages the terminal.
Step 6: Secure and Double-Check
Once both cables are connected and tightened, ensure they are routed properly and not touching any moving engine parts or sharp edges. Give both cables a gentle wiggle to confirm they are secure on their respective terminals. If you had red covers for the terminals, put them back in place if possible.
Step 7: Start Your Engine (If Applicable)
If you were jump-starting or just reconnected a battery, now is the time to start your car’s engine. If it starts normally, congratulations! You’ve successfully connected your battery cables.
What About Removing Battery Cables?
The rule for disconnecting is the opposite, and it’s for the same safety reasons. When removing battery cables, you always want to disconnect the negative (-) cable first, followed by the positive (+) cable.
Here’s why:
- Safety During Disconnection: When you disconnect the negative cable first, you are breaking the ground connection. This means the entire car’s electrical system is no longer connected to the battery’s negative potential.
- Preventing Shorts While Working: If your wrench touches the car’s chassis while you are disconnecting the negative terminal, no short circuit occurs because the circuit isn’t complete.
- Positive Terminal is Last: The positive terminal is the last to be disconnected. Any accidental spark during this final step is far less risky because the circuit is almost entirely broken.
Tools You Might Need
Having the right tools makes the job much easier and safer. For most standard car batteries, you’ll likely need:
| Tool | Purpose | Notes |
|---|---|---|
| Safety Glasses | Eye protection from sparks, acid, or debris. | Essential for any electrical work on a car. |
| Gloves | Protect hands from dirt, grease, and mild acid. | Work gloves or latex/nitrile gloves are suitable. |
| Wrench Set or Socket Set | To loosen and tighten the battery terminal nuts. | Common sizes are 10mm, 13mm, or 1/2 inch. Check your vehicle. |
| Wire Brush or Battery Terminal Cleaner Tool | To clean corrosion from battery posts and cable clamps. | A clean connection is vital for good conductivity. |
| Battery Terminal Pliers | Optional, but can help loosen stubborn clamps. | Specialized tool for battery terminals. |
Common Mistakes to Avoid
Even with clear instructions, beginners can sometimes run into snags. Here are common mistakes to watch out for:
- Connecting Wrong Cables: Reversing the order (negative first, then positive) when connecting is dangerous. Always positive first!
- Not Cleaning Terminals: A corroded connection can lead to a car that won’t start or runs poorly. Take the extra minute to clean.
- Loose Connections: If the clamps aren’t tight, the car might not start, or it could cause intermittent electrical issues.
- Overtightening: Forcing the nuts too tight can strip the threads or damage the battery terminals. Snug is good; wrench-breaking tightness is bad.
- Letting Tools Touch Both Terminals: Never let a metal tool bridge the gap between the positive and negative terminals while connected to the battery. This is a huge spark risk.
- Working on a Dirty Battery: A battery covered in dirt and grime can make it hard to see terminals clearly and increase the risk of contamination.
When Do You Need to Connect/Disconnect Battery Cables?
You’ll typically encounter the need to connect or disconnect battery cables in a few common scenarios:
- Replacing a Dead Battery: When an old battery can no longer hold a charge, you’ll disconnect the old one and connect the new one.
- Jump-Starting a Car: Connecting jumper cables to start a car with a dead battery. (Note: The process for connecting jumper cables has specific steps, but the principle of positive-to-positive applies).
- Servicing Electrical Components: Some maintenance or repair tasks require disconnecting the battery to prevent accidental power surges that could damage sensitive electronics. For example, when working on the alternator or starter motor, disconnecting the battery is a standard safety procedure.
- Long-Term Storage: If a vehicle will be stored for an extended period, disconnecting the battery can prevent it from slowly draining.
It’s important to note that some modern vehicles have specific procedures for battery disconnection and reconnection due to onboard computers and memory systems. Always consult your vehicle’s owner’s manual for any specific instructions, especially for newer or more complex vehicles. For instance, some cars might require a special tool or sequence to reset things like window indexing or radio presets after the battery is disconnected, and professional mechanics often use a memory saver device that plugs into the OBD-II port to maintain power to these systems. For more on vehicle electrical systems, resources like The U.S. Department of Energy’s Vehicle Technologies Program offer valuable insights into automotive engineering and power sources.
Understanding Alternator and Charging Systems
Once your battery is correctly connected, your car’s charging system takes over to keep it powered. The alternator is the heart of this system. When your engine runs, the alternator generates electrical energy, which:
- Powers your car’s electrical components (lights, radio, ignition system).
- Recharges the battery, ensuring it has enough power to start the car the next time.
A healthy charging system is why you don’t need to constantly replace your car battery. If you notice your battery dying frequently or warning lights on your dashboard, it could indicate an issue with the alternator or other parts of the charging system, rather than the battery itself. You can learn more about how alternators work from reputable automotive engineering sources like SAE International, a global association of mobility professionals.
Battery Maintenance Tips for Longevity
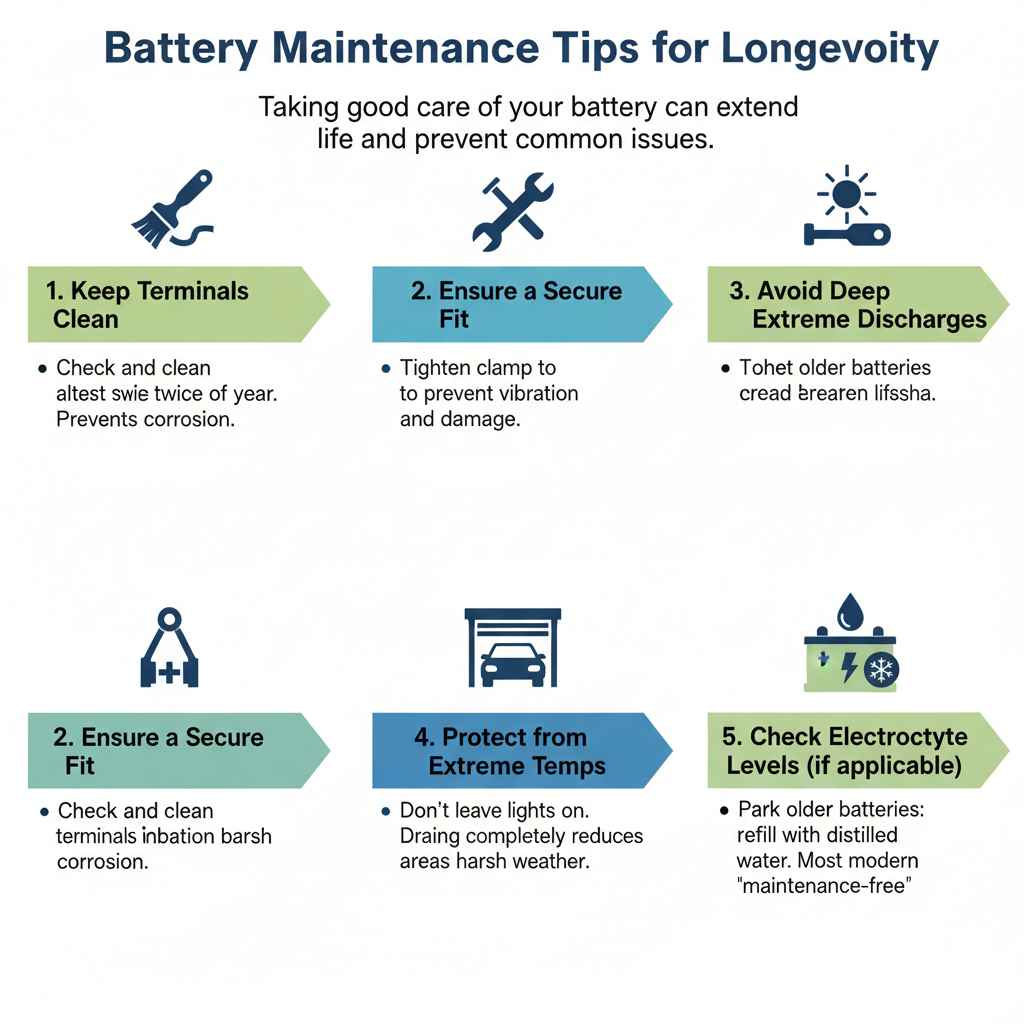
Taking good care of your battery can extend its life and prevent common issues. Here are some simple tips:
- Keep Terminals Clean: As we’ve discussed, corrosion is a battery killer. Check and clean your terminals at least twice a year.
- Ensure a Secure Fit: A loose battery can vibrate, damaging its internal structure and connections. Check that the battery hold-down clamp is snug.
- Avoid Deep Discharges: Regularly draining your battery completely (like leaving lights on) can reduce its lifespan.
- Protect from Extreme Temperatures: Extreme heat and cold can both reduce battery performance and longevity. If possible, park in a garage or shaded area during harsh weather.
- Check Electrolyte Levels (if applicable): Some older battery types have removable caps to check and refill electrolyte levels with distilled water. Most modern batteries are “maintenance-free” and sealed.
Frequently Asked Questions (FAQ)
Q1: What happens if I connect the negative cable first?
If you connect the negative cable first and then touch the positive terminal with a metal tool that also touches the car’s body, you’ll create a short circuit. This can cause sparks, damage the tool, battery, or vehicle’s electrical system, and is a safety hazard.
Q2: Can I connect the battery cables in any order if the car is off?
No. While the risk might seem lower with the car off, you can still cause sparks or damage if your tool slips and bridges the gap between terminals or touches a grounded part of the car. Always follow the correct procedure: positive first when connecting, negative first when disconnecting.
Q3: My car battery terminals look dirty. What should I do?
Corrosion on battery terminals is common. You should clean them before connecting any cables. Use a wire brush or a battery terminal cleaner tool to remove the corrosion until the metal is bright and shiny. A baking soda and water paste can also help neutralize acid and clean away residue.
Q4: What if I can’t tell which terminal is positive or negative?
Battery terminals are almost always marked with a ‘+’ for positive and a ‘-‘ for negative. The positive terminal is also usually slightly larger than the negative one. The positive cable is typically red, and the negative cable is black, which serves as another visual cue.
Q5: How tight should the battery cable clamps be?
The clamps should be snug enough that they don’t wiggle or rotate on the battery posts. Tighten the nut until firm, but avoid overtightening, which can strip the threads or damage the battery terminal. A good rule of thumb is to tighten until you feel firm resistance, then a slight additional turn.
Q6: Do I need to disconnect the battery for basic maintenance like changing an air filter?
For simple tasks like changing an air filter or checking fluid levels, disconnecting the battery is usually not necessary. However, if you’re working on any electrical components, near the alternator, starter, or any part of the fuel system, it’s always a good safety practice to disconnect the negative terminal (and both if you feel it’s necessary and safe to do so).
Q7: What are the symptoms of a bad battery connection?
Symptoms can include a car not starting at all, a clicking sound when you try to start, intermittent power issues (lights flickering, radio cutting out), or a battery warning light on the dashboard. A loose connection can also cause the battery to not charge properly.
Conclusion
Understanding the simple rule of connecting the positive cable first, then the negative, is a fundamental skill for any car owner. It’s not just about getting your car running; it’s about doing it safely and protecting your vehicle’s electrical system. By following these steps, cleaning your terminals, and using the right tools, you can confidently handle battery connections whenever needed. Remember, a little knowledge goes a long way in keeping your car reliable and saving you money on minor automotive tasks. Don’t hesitate to get your hands a little dirty; with clear guidance, car care can be empowering!