What Is the Wire on the Bottom of a Carburetor? (Fuel Solenoid)
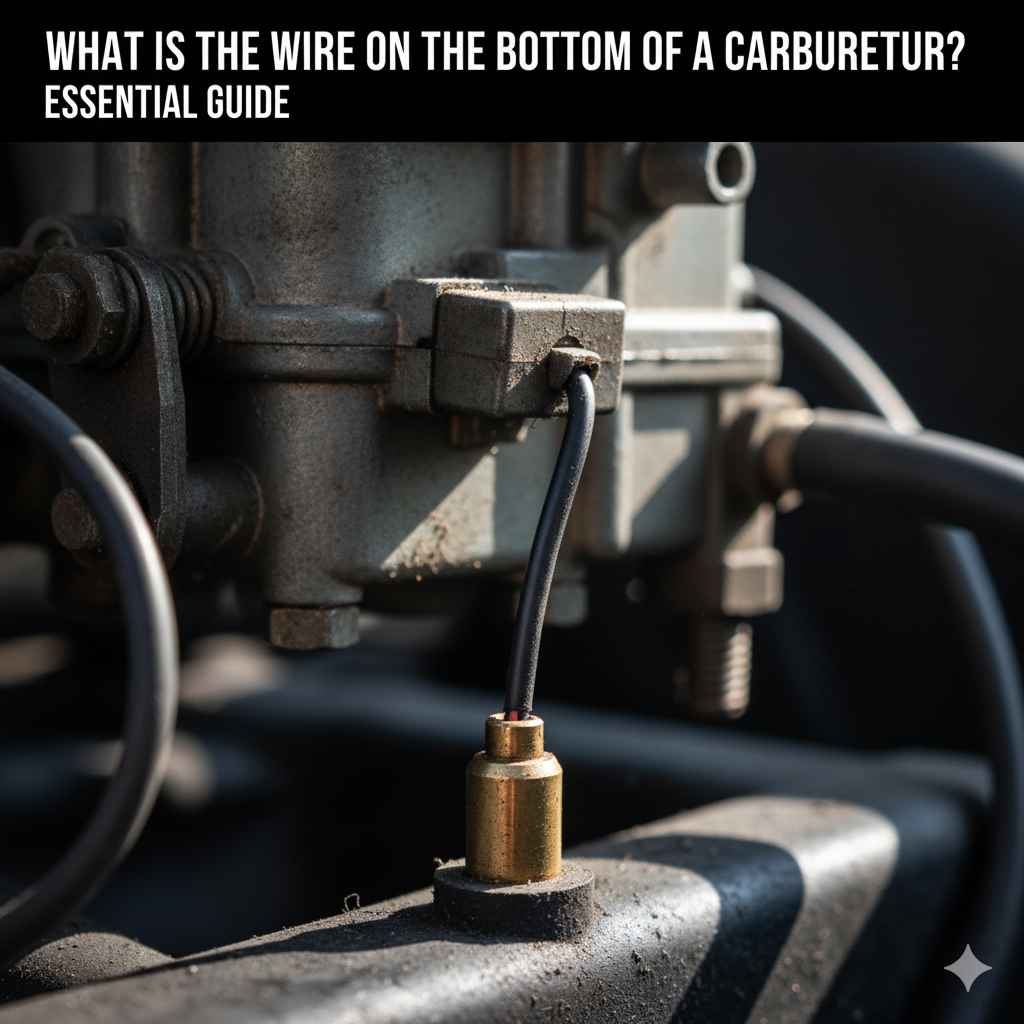
The wire on the bottom of a carburetor is almost always the fuel shut-off (anti-afterfire) solenoid, not a fuel line — a single-wire valve threaded into the float bowl that blocks fuel the instant the key turns off. Disconnect or short it and the engine won’t start, or keeps sputtering after shutdown. This guide covers what it does, how to test it with a multimeter, and how it differs from a real fuel line, choke heater, or automotive idle-stop solenoid.
Quick Answer
The wire on the bottom of most carburetors — cars, mowers, generators, and tractors alike — connects to the fuel shut-off (anti-afterfire) solenoid: a single-wire valve in the float bowl that blocks fuel when the key is off. It is not the fuel line, which is a hose. Test it with a multimeter before replacing it.
Understanding the Carburetor and Its Components
Before we zero in on the “wire” at the bottom, let’s briefly talk about the carburetor itself. Think of a carburetor as the engine’s chef. Its main job is to mix air and fuel in the right proportions so your engine can run smoothly and efficiently. It takes gasoline from the fuel tank and atomizes it, creating a fine mist that mixes with incoming air. This air-fuel mixture is then sent into the engine’s cylinders to be ignited by the spark plugs.
The carburetor has several parts, each with a specific function. These include:
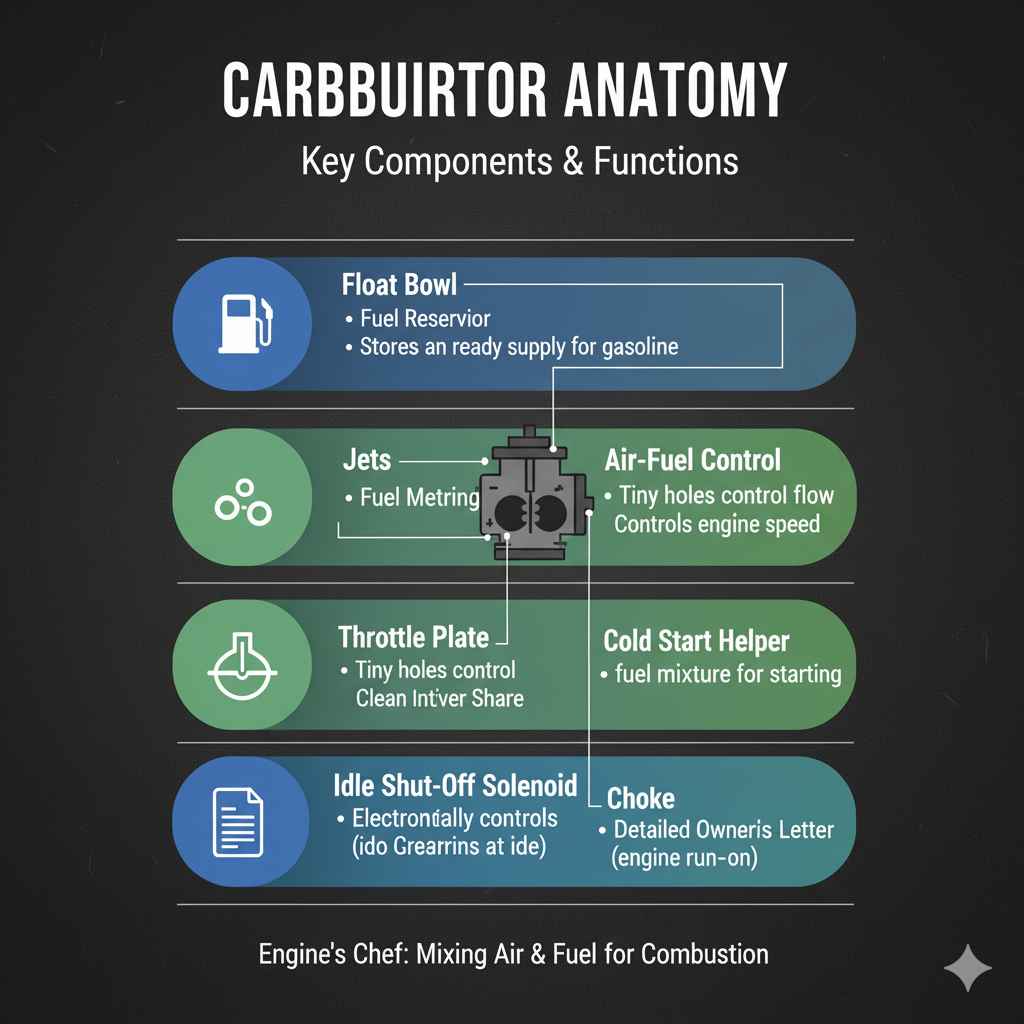
The float bowl: This small reservoir stores a ready supply of fuel.
The jets: These are tiny holes that control the amount of fuel entering the carburetor.
The throttle plate: This acts like a valve, controlling how much air-fuel mixture enters the engine, which in turn controls your engine’s speed.
The choke: This helps enrich the fuel mixture for easier starting in cold weather.
And, of course, the “wire” we’re interested in — which, despite its name, is not a fuel-carrying part at all. It’s an electrical connector for a small valve.
So, What Exactly Is the “Wire” on the Bottom of a Carburetor?
In the vast majority of real-world cases — especially on lawn mowers, generators, pressure washers, and garden tractors — that single wire is the fuel shut-off solenoid, sometimes called the anti-afterfire solenoid. It’s a small electromagnetic valve threaded directly into the bottom of the float bowl, and it has nothing to do with carrying fuel itself. A genuine fuel line is a hose or rigid tube; this is an electrical component with a single insulated wire and a spade or bullet connector.
The solenoid’s job is simple: it blocks the fuel passage to the main jet the instant the ignition is switched off, so no residual fuel can dribble into a hot cylinder and cause the engine to backfire, sputter, or keep running after you’ve turned the key. Before these solenoids became standard on modern four-stroke small engines, that “run-on” or “dieseling” behavior was a common nuisance — and occasionally a safety issue.
📊 A genuine OEM Briggs & Stratton fuel solenoid (part 846639) lists for $71.83 directly from the manufacturer — small-engine fuel shut-off solenoids commonly range $15–$70 depending on brand and engine family. Source: Briggs & Stratton Official Store, 2026
“Genuine replacement solenoids are specially designed to exact OEM standards, helping engines comply with applicable emission regulations — a small detail that explains why a cheap generic solenoid can seat differently than the original and cause the exact no-start or run-on symptoms you’re trying to fix.”
How the Fuel Shut-Off Solenoid Works
The solenoid contains a small coil of wire wrapped around a spring-loaded plunger. When you turn the ignition on, current flows through the coil and creates a magnetic field that pulls the plunger up off its seat, opening the fuel passage into the float bowl’s main jet circuit. Fuel can then reach the engine normally. The moment power is cut — you turn the key off, or the wire is disconnected — the magnetic field collapses and the spring pushes the plunger back down, physically sealing the passage.
Because the valve blocks fuel to the main jet rather than the float bowl itself, the bowl can stay full of gasoline even while the solenoid is doing its job — which is exactly why a bad solenoid can look, at a glance, like a completely unrelated fuel-delivery problem.
Wire on the Bottom vs. Other Carburetor Wires (Comparison)
Carburetors on cars, motorcycles, and small engines can carry a handful of different wires and hoses that all get lumped together as “the wire.” Here’s how to tell them apart before you start troubleshooting the wrong part:
| Component | Typical Location | What It Controls | Found On |
|---|---|---|---|
| Fuel shut-off (anti-afterfire) solenoid | Threaded into the bottom of the float bowl | Blocks fuel to the main jet when de-energized | Mowers, generators, pressure washers, tractors |
| Automotive idle-stop (anti-dieseling) solenoid | Side of the carb, at the throttle linkage | Holds the throttle plate open slightly, then lets it snap fully shut | Older carbureted cars and trucks (1970s–80s) |
| Electric choke heater | Top or side, inside the choke housing | Warms a bimetal spring so the choke opens faster as the engine warms | Many GM, Ford, and Chrysler carbureted engines |
| GM Quadrajet mixture control (M/C) solenoid | Middle of the float bowl, top-entry | Pulses fuel metering rods based on the O2 sensor signal | 1981+ GM Computer Command Control (CCC) Quadrajets |
| Fuel inlet line (not electrical at all) | Side or bottom fitting into the float bowl | Physically carries gasoline from the tank or pump into the bowl | Every carbureted engine, cars and small engines alike |
Notice that only the last row is a hose rather than a wire. If what you’re looking at is rubber or metal tubing rather than a thin insulated wire with a spade connector, skip ahead to the fuel line materials section below — you’re likely dealing with the actual fuel inlet line, not an electrical component.
Best Fuel Solenoid Diagnostic Pick

AstroAI True RMS Digital Multimeter
Reads the solenoid’s coil resistance directly so you know it’s actually bad before buying a replacement.
- Best for: Confirming whether the wire is actually bad before buying a replacement part
- Why we picked it: True-RMS accuracy reads the 20–100 ohm coil resistance range cleanly and doubles as a general automotive tool
- Main drawback: Auto-ranging settles slightly slower than a manual-range meter for a quick continuity click test
Compare more solenoid and fuel-line fix options
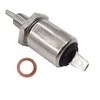 Option 1 Carburetor Fuel Shut-Off Solenoid
|
 Option 2 Gumout Carb & Choke Cleaner
|
 Option 3 Fuel Line Hose Kit
|
As an Amazon Associate we earn from qualifying purchases.
Why the Fuel Shut-Off Solenoid Matters
This small component protects your engine in ways that are easy to overlook until it fails:
Prevents dieseling: Without it, hot carbon deposits in the cylinder can ignite leftover fuel after you’ve shut the key off, causing the engine to sputter or run on.
Protects against fuel siphoning: Some engines can siphon fuel into the cylinder after shutdown if the passage isn’t sealed, risking a hydrolocked engine on the next start.
Enables a clean, immediate shutdown: Turning the key off should stop the engine right away — a healthy solenoid is what makes that possible on carbureted engines.
Prevents lean or rich conditions: A stuck-open or stuck-closed plunger disrupts the same air-fuel balance a damaged fuel line would, even though the two problems look identical from the driver’s seat.
Common Problems: Solenoid Issues vs. Fuel Line Issues
Because the solenoid and the true fuel line fail in very different ways, it helps to know which symptoms point to which part.
1. Solenoid Won’t Click / No Power at the Connector
What it looks like: With the key on, you don’t hear or feel the solenoid click, and the engine cranks but won’t start or fire.
Why it happens: A blown fuse, a corroded ground, a broken wire inside the harness, or a bad ignition switch can all cut power before it reaches the solenoid.
What to do: Check for 12 volts at the connector with the key on before assuming the solenoid itself is bad — this is often a wiring problem, not a solenoid problem.
2. Solenoid Plunger Stuck With Varnish or Debris
What it looks like: The solenoid clicks fine, but the engine still won’t start, or it keeps running briefly after shutdown.
Why it happens: Stale fuel leaves gum and varnish behind, which can glue the plunger to its seat in either the open or closed position.
What to do: Remove the solenoid and clean the plunger and seat with carburetor cleaner; replace it outright if it still won’t move freely.
3. Corroded or Broken Wire Connector
What it looks like: Intermittent starting, or the engine dies randomly while running.
Why it happens: The connector sits low on the engine, exposed to moisture, grass clippings, road salt, and vibration — all of which corrode or fatigue the spade terminal over time.
What to do: Clean the connector with electrical contact cleaner and check for a snug, secure fit; replace the connector or splice in a new wire end if it’s damaged.
4. If It’s Actually a Fuel Line: Leaks, Blockages, and Kinks
Leaks: Rubber hoses harden and crack with age and heat; metal lines corrode. Any gasoline smell or visible puddle is a fire hazard and needs immediate attention.
Blockages: Dirt, rust, or dried fuel residue restricts flow, causing hesitation, stalling, or a no-start condition — a clogged inline filter is the most common culprit.
Kinks or crushes: A sharply bent or flattened hose starves the carburetor the same way a blockage does; straighten minor kinks or replace the line if it’s flattened.
If you’re not sure which of these two very different components you’re actually dealing with, a quick carburetor cleaning pass often reveals the answer — a cleaned solenoid connector and jet area make it obvious whether fuel is reaching the bowl at all.
Signs the Solenoid or Fuel Line Needs Attention
Watch for these clues:
Engine cranks but won’t start: Classic sign of a solenoid stuck closed or not getting power.
Engine keeps running briefly after key-off: Points to a solenoid stuck open, or a missing/bypassed solenoid.
Strong smell of gasoline: Almost always a true fuel-line or gasket leak, not a solenoid issue.
Engine sputtering or hesitating under load: Can be either a partially blocked fuel line or a solenoid plunger not fully opening.
Intermittent no-start: Suspect a corroded connector or a loose wire before replacing any parts.
Visual inspection: Cracks, dryness, or bulges on a rubber hose; corrosion or a loose spade terminal on the solenoid wire.
How to Test the Wire on the Bottom of Your Carburetor
This is the safest, most direct way to find out whether the solenoid — or the wiring feeding it — is actually the problem before you buy a replacement part.
- Disconnect the battery or spark plug wire: Prevent an accidental start before you touch any connector near the fuel bowl.
- Unplug the solenoid’s wire connector: Locate the single spade or bullet connector at the bottom of the float bowl and pull it free.
- Set a multimeter to ohms and test the coil: Touch the probes to the solenoid’s terminal and its metal body; a healthy coil typically reads 20 to 100 ohms.
- Reconnect power and listen for a click: With the key on and the connector plugged back in, you should hear or feel a distinct click as the plunger moves.
- Inspect the plunger and seat for varnish or debris: If it clicks but the engine still won’t start, remove the solenoid and check for a gummed-up plunger that isn’t seating fully.
- Replace the solenoid if resistance reads zero or infinite: An open or shorted coil means the part has failed and needs a direct OEM or cross-reference replacement.
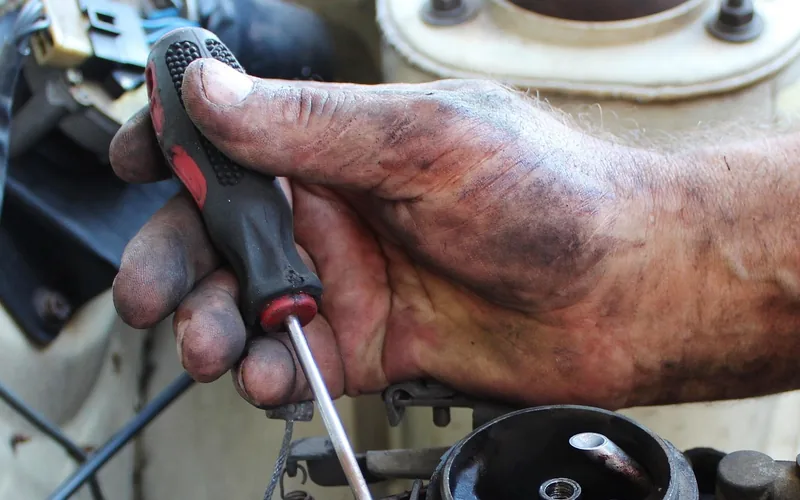
No multimeter handy? A rougher field test works too: with the connector unplugged and the key on, briefly touch the two wire ends together (or the wire to a 12-volt source, per your engine’s wiring diagram). A distinct click confirms the coil itself is functional — you’re then looking at wiring or a stuck plunger instead.
Tools You Might Need for Inspection and Simple Fixes
If you decide to inspect or perform some basic maintenance on the solenoid or fuel line, having the right tools makes the job easier and safer.
Digital Multimeter: Essential for testing the solenoid’s coil resistance (20–100 ohms) and confirming power at the connector.
Safety Glasses: Always protect your eyes, especially when working with fuel.
Gloves: Nitrile gloves are best as they resist gasoline.
Shop Rags or Paper Towels: For cleaning up spills and wiping away fuel.
Wrench Set or Socket Set: To loosen or tighten fittings and clamps.
Pliers (various types): To grip hoses or work with clamps.
Carburetor Cleaner Spray: For cleaning the plunger, seat, and external parts once fuel is safely handled.
Replacement Fuel Hose and Clamps: If you need to replace a section of hose. Ensure you get fuel-grade hose rated for the type of fuel your vehicle uses.
Fire Extinguisher (rated for Class B fires): Crucially important whenever you’re working with flammable liquids like gasoline. Keep it nearby but out of the immediate work area.
When to Seek Professional Help
While testing the solenoid or inspecting a fuel line is manageable for most beginners, some situations warrant calling a mechanic or small-engine technician.
You smell fuel but can’t locate the leak.
The solenoid tests fine but the engine still won’t start.
You’re not comfortable working with fuel systems or wiring.
You’ve replaced a part, and the problem persists.
The engine runs very poorly or not at all, and you’ve done basic checks.
Mechanics and small-engine technicians have specialized tools and extensive experience to diagnose and repair fuel system issues safely and effectively. Don’t hesitate to ask for help if you’re unsure.
Carburetor Fuel Line Materials and Durability
If what you’re actually looking at turns out to be the real fuel inlet line rather than the solenoid wire, the material it’s made from plays a significant role in its lifespan and reliability.
Here’s a look at common materials:
| Material Type | Description | Pros | Cons |
|---|---|---|---|
| Reinforced Rubber Hose | Standard fuel hose made of synthetic rubber, often with internal textile braiding for strength and resistance to fuel permeation. | Flexible, easy to route, relatively inexpensive, readily available. | Prone to hardening, cracking, and degradation from fuel and heat over time. Requires secure clamps. |
| Braided Stainless Steel Hose | A flexible hose with a PTFE (Teflon) or similar inner liner, covered by a woven stainless steel braid. | Very durable, resistant to high temperatures and abrasion, visually appealing, less prone to leaks at connections with proper fittings. | Less flexible than rubber, more expensive, can be harder to route around sharp bends. |
| Metal/Hard Lines (Steel or Aluminum) | Rigid tubing, often used for longer runs from near the fuel tank or pump to the carburetor. May have flexible rubber sections near the carburetor. | Very long lifespan, resistant to fuel degradation, excellent structural integrity. | Can’t be easily bent or flexed, susceptible to rust (steel) or fatigue/cracking at bends if stressed. Requires precise bending and flaring for connections. |
When replacing a fuel line, it’s crucial to use materials specifically designed for automotive or small-engine fuel systems. This ensures they can withstand the corrosive nature of gasoline and the varying temperatures they’ll encounter. For example, always use fuel-injection-rated hose if your application requires it, as it’s designed for higher pressures and fuel types than older carbureted systems might have used.
Maintaining Your Carburetor Fuel System for Longevity
Preventative maintenance is key to avoiding issues with your carburetor’s solenoid, fuel line, and the entire fuel system.
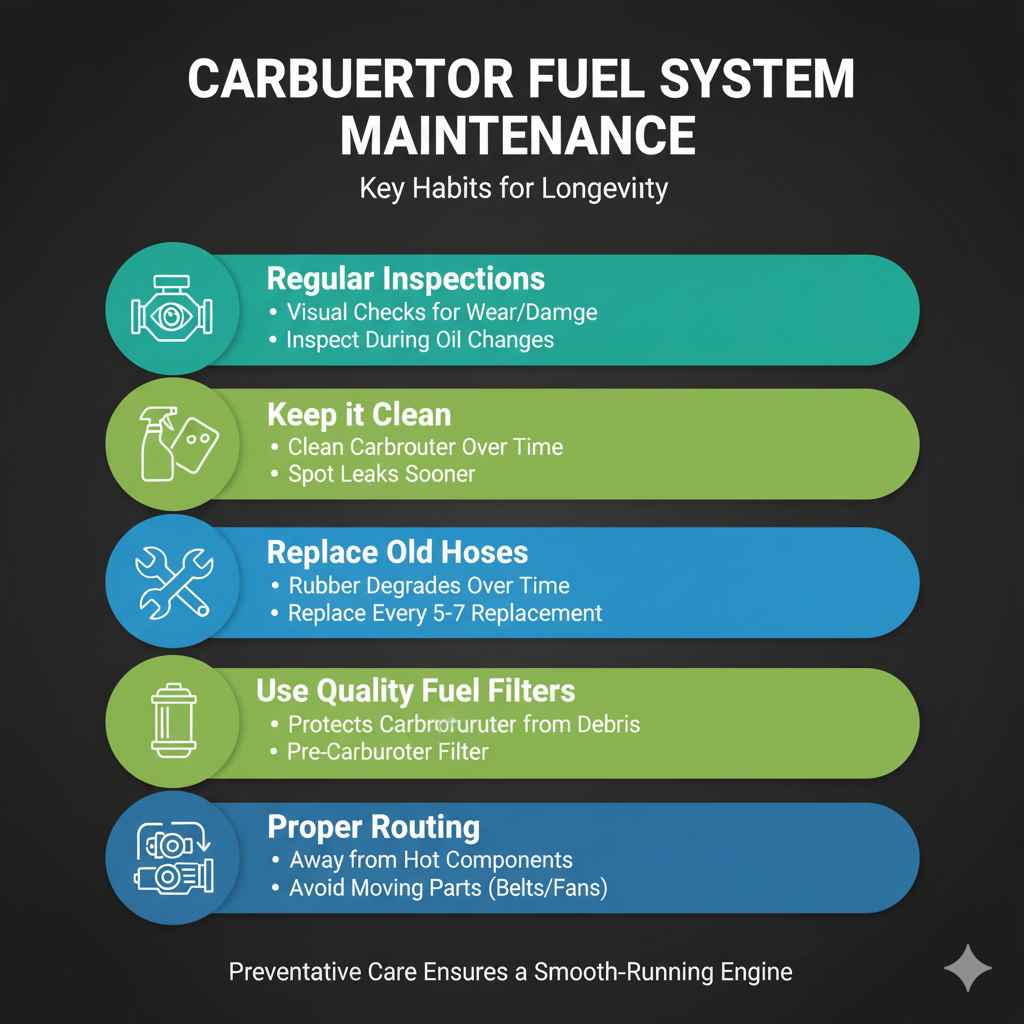
Regular Inspections: Make it a habit to visually inspect the solenoid connector and fuel line during routine maintenance like oil changes. Look for any of the signs of wear or damage mentioned earlier.
Keep it Clean: Keeping the area around the carburetor clean helps you spot leaks and corroded connectors sooner.
Replace Old Hoses: If your equipment is older and still has original rubber fuel hoses, consider proactively replacing them. Rubber degrades over time and can fail unexpectedly. A good rule of thumb is to consider replacement every 5-7 years, or sooner if they show any signs of aging.
Use Quality Fuel Filters: Many carbureted engines have a small fuel filter located just before the carburetor or inline. Ensure this filter is replaced according to your equipment’s maintenance schedule. A clean filter protects your carburetor from debris. You can find more information on maintaining your fuel system for efficiency from the U.S. Department of Energy.
Proper Routing: Ensure fuel lines and the solenoid’s wire are routed away from hot engine components and moving parts like belts or fans. This prevents premature wear and potential damage.
Frequently Asked Questions (FAQ)
Here are some common questions people have about the wire on the bottom of a carburetor:
Is the “wire” on the bottom of my carburetor an electrical wire?
Yes, in most cases. It’s the fuel shut-off (anti-afterfire) solenoid — a single insulated wire connecting to a small electromagnetic valve threaded into the float bowl. It is not a fuel line, which is a rubber or metal hose, not a wire. On some older automotive carburetors it can instead be an idle-stop solenoid or choke heater wire, both mounted to the side rather than the bottom.
What happens if I disconnect the wire on the bottom of a carburetor?
On most small-engine carburetors, disconnecting the solenoid’s wire cuts power to the coil, so the spring-loaded plunger seats and blocks fuel — the engine simply won’t start. This is a fail-safe design, not a malfunction. On rarer setups where the solenoid instead prevents run-on, a disconnected wire can let the engine diesel briefly after shutdown instead.
Can I bypass or permanently ground the fuel shut-off solenoid?
It’s possible mechanically, but not recommended. Bypassing removes the anti-afterfire protection the solenoid exists for, and on some engines it can let fuel siphon into the cylinder after shutdown, risking a hydrolock or hard-start condition. Replacing a $15–$70 OEM solenoid is safer and usually faster than rewiring around it.
Can I just ignore a small fuel leak from the bottom of my carburetor?
No. Any fuel leak — from the true fuel line, a bowl gasket, or a solenoid seal — is a fire hazard. Gasoline is highly flammable, and even a small drip near a hot engine or exhaust can ignite. Address any leak immediately and don’t run the engine until it’s fixed.
How often should I replace my carburetor fuel line?
Rubber fuel lines typically last 5 to 7 years depending on heat exposure, ethanol content in the fuel, and climate. Inspect them at every oil change and replace proactively at the first sign of cracking, hardening, or brittleness. Braided stainless or metal lines last much longer but should still be checked for rust or fatigue.
What happens if the fuel line to my carburetor is blocked?
A blocked fuel line starves the carburetor of gasoline. The engine may hesitate, bog down under load, stall at idle, or refuse to start at all. A clogged inline fuel filter is the most common cause and is usually the first thing worth checking before assuming the line itself has failed.
Can I use just any hose as a replacement for my carburetor fuel line?
No. Regular rubber hose isn’t rated for gasoline and will swell, crack, or dissolve from the inside within weeks. Always use fuel-injection-rated or SAE 30R-series fuel hose sized to your fitting, secured with proper fuel-hose clamps, not generic worm-drive clamps that can cut into the hose.
Knowing the difference between the fuel shut-off solenoid and a true fuel line saves you from replacing the wrong part — and from missing a genuine safety issue like a fuel leak. Test the wire with a multimeter first, and you’ll know exactly which repair you’re actually dealing with.
Products related to this article
Sponsored / affiliate links. As an Amazon Associate I earn from qualifying purchases. I may earn additional commission from eligible campaigns.