Why Is My Car Radio Static: Essential Fixes
Is your car radio filled with static instead of your favorite tunes? Don’t worry! This common issue often stems from simple problems like antenna issues, electrical interference, or loose connections, and most fixes are easy enough for beginners to tackle. This guide will help you pinpoint the cause and get your clear audio back quickly and affordably.
Hearing static on your car radio can be incredibly frustrating. You’re trying to enjoy your commute, a road trip, or just listen to the news, and all you get is a crackling, fuzzy mess. It’s a problem many drivers face, and it can make your driving experience anything but enjoyable. But before you think about expensive repairs, take a deep breath. Most of the time, a staticky radio is caused by something straightforward, and you can often fix it yourself with a few simple steps.
This guide is here to help you understand why your car radio is giving you static and walk you through the most common and effective fixes. We’ll break down everything in an easy-to-understand way, so you can get back to enjoying crystal-clear sound, no matter where the road takes you.
Understanding Car Radio Static: What’s Happening?
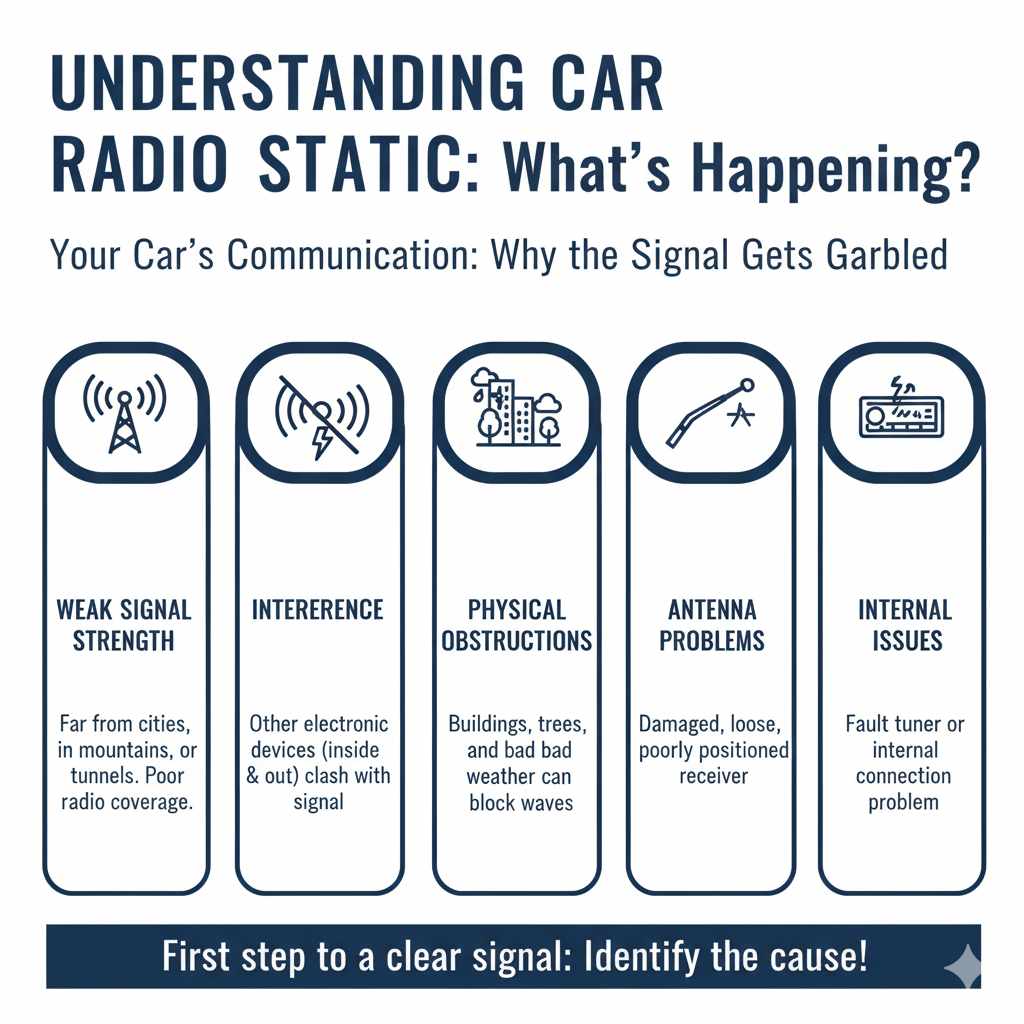
So, why does your car radio suddenly sound like it’s broadcasting from the moon? Radio waves are how your stereo receives signals from broadcasting towers. Static occurs when these signals are weak, blocked, or interfered with. Think of it like trying to have a conversation across a noisy room – the message gets garbled. Several factors can interrupt this signal reception:
- Weak Signal Strength: You might be in an area with poor radio coverage. This is common when driving far from cities, in mountainous regions, or through tunnels.
- Interference: Other electronic devices, both inside and outside your car, can emit radio waves that clash with your radio’s signal, causing static.
- Physical Obstructions: Things like buildings, trees, and even bad weather can physically block or weaken the radio waves.
- Antenna Problems: The antenna is your car’s receiver. If it’s damaged, loose, or poorly positioned, it can’t pick up signals effectively.
- Internal Radio Issues: Less commonly, the radio unit itself might have a problem, like a faulty tuner or internal connection.
Knowing these causes is the first step to solving the problem. Let’s dive into how you can diagnose and fix each one!
Common Causes and Beginner-Friendly Fixes for Car Radio Static
Let’s walk through the most frequent culprits behind that annoying static and how you can easily remedy them. We’ll start with the simplest solutions first.
1. Check Your Location and Signal Strength
Sometimes, the problem isn’t with your car at all – it’s simply where you are. Radio signals can be weaker in rural areas, valleys, or places with lots of tall buildings. What can you do?
- Scan to Different Frequencies: Try tuning to different radio stations. If all stations sound staticky, it’s more likely a signal or antenna issue. If only one station is staticky, it’s probably a problem with that specific broadcast tower or frequency.
- Try a Different Time: For some FM stations, especially smaller local ones, signal strength can vary throughout the day.
- Consider AM vs. FM: AM signals travel farther and are more prone to static and interference, especially from electrical sources. FM signals are clearer but have a more limited range. If AM is staticky, that’s pretty normal. If FM is, it’s more likely a problem we need to troubleshoot.
2. Inspect Your Car’s Antenna
Your car’s antenna is crucial for picking up radio signals. If it’s not working right, static will be your constant companion. Here’s how to check it:
- Visual Inspection: Walk around your car and look at the antenna. Is it bent, broken, or detached? Many antennas screw into a base. Make sure it’s securely tightened.
- Clean the Antenna Base: Sometimes, corrosion or dirt can build up where the antenna connects to the car. Gently clean the base with a soft cloth and some electrical contact cleaner if needed. You can find electrical contact cleaner at most auto parts stores.
- Check the Antenna Cable: The antenna cable runs from the antenna base into the car, usually to the back of the radio. It’s usually an F-type connector (like on a TV). Ensure this connection is tight and free from damage. Sometimes, this cable can become loose behind the dashboard over time.
What to do if the antenna is damaged: If your antenna is physically broken, you’ll likely need to replace it. Most standard car antennas are relatively inexpensive and can be screwed on by hand or with basic tools. You can usually find replacements at auto parts stores or online. For a quick fix on a slightly damaged antenna, sometimes wrapping a bit of electrical tape around a bend can help temporarily, but replacement is the best long-term solution.
3. Investigate Electrical Interference
Modern cars are packed with electronics, and sometimes these systems can interfere with your radio signal. This is often called Electromagnetic Interference (EMI).
- Turn Off Accessories: Try turning off non-essential electronic accessories one by one when the static occurs. This includes things like phone chargers, dashcams, aftermarket LED lights, or even other USB devices plugged into your car. If the static disappears when a specific accessory is off, you’ve found your culprit!
- Check Aftermarket Electronics: Poorly installed or low-quality aftermarket accessories are common sources of EMI. If you recently installed something new, try unplugging it to see if the static stops.
- Engine RPM Interference: Sometimes, static can change pitch or intensity with your engine speed. This often points to interference from the ignition system or alternator. While a DIY fix for this can be more complex, noting it can help a mechanic diagnose the problem if needed. One simple check is to ensure the battery terminals are clean and tight, as a poor battery connection can sometimes exacerbate electrical issues. Learn more about how to properly clean your car battery terminals at AutoZone’s guide.
4. Examine Connections Behind the Radio
This might sound a bit intimidating, but for many cars, accessing the back of the radio isn’t too difficult. Loose or corroded connections here are another frequent cause of static.
Tools you might need:
- Plastic trim removal tools (to avoid scratching your dashboard)
- Phillips head screwdriver
- Socket wrench set (for some dashboard screws)
- A small mirror or flashlight
Steps to check connections:
- Consult Your Car’s Manual or Online Resources: Find out how to safely remove the trim panels around your radio. Many online forums or YouTube videos specifically for your car model can show you exactly how to do this. The NHTSA’s DIY Car Care guide also offers general safety tips for working on your vehicle.
- Carefully Remove Trim: Use your plastic trim tools to gently pry away the panels surrounding the radio. Work slowly and patiently to avoid breaking the plastic clips.
- Unscrew the Radio: Once the trim is off, you’ll usually find screws holding the radio in place. Remove these screws.
- Gently Pull Out the Radio: With the screws removed, carefully pull the radio unit out from the dashboard. It will still be connected by wires.
- Inspect the Antenna Connection: The antenna cable (usually a black or blue wire with a distinct connector) should be firmly plugged into the back of the radio. Unplug it and re-plug it to ensure it’s making a good connection.
- Check Other Wiring Harnesses: There are usually one or more wiring harnesses plugged into the back of the radio. Ensure all of these are securely seated. Look for any signs of corrosion or damage on the connectors.
- Reassemble: Once you’ve checked everything, carefully reinsert the radio, screw it back in, and reattach the trim panels.
Important Safety Note: Before you start pulling at your dashboard, it’s a good idea to disconnect your car’s battery. This prevents accidental shorts and protects your car’s electrical system. Remember to reconnect it once you’re finished reassembling. Consult your owner’s manual for the proper procedure for your specific vehicle.
5. Radio Grounding Issues
A properly grounded radio is essential for clear reception. The ground connection diverts excess electrical current safely away, and if it’s loose or corroded, it can lead to static and other audio problems. This is often part of the wiring harness you checked in the previous step.
How to check:
- Look for a wire that’s typically black and often attached to a screw or mounting point on the radio chassis or the car’s metal frame.
- Ensure this wire is securely connected and that the connection point is clean and free of rust or corrosion.
- If the connection point is dirty, you might need to remove the screw, clean the area with a wire brush or sandpaper, and then reattach the ground wire snugly.
A faulty ground can also cause other electrical gremlins, so if you notice other strange electronic behavior, a grounding issue might be worth investigating further.
6. Consider Damaged Wiring or Connectors
Beyond just being loose, wires connected to the radio or antenna can become damaged over time due to wear and tear, moisture, or vibration. This is more common in older vehicles or those that have had previous work done on the infotainment system.
- Look for frayed wires or damaged insulation on the antenna cable and the main wiring harness going into the back of your radio.
- Inspect harness connectors for bent pins or signs of corrosion (a greenish or whitish powder).
- If you find minor damage, some wire repair can be done with electrical tape or butt connectors, but for significant damage, it might be best to seek professional help to ensure proper connections and prevent further issues.
7. Water Damage or Corrosion
Moisture is the enemy of car electronics. A leak in your car, perhaps from a faulty sunroof seal, a clogged drain tube, or a poorly sealed windshield, can allow water to reach the antenna base, the radio unit, or its wiring harnesses. This moisture can cause corrosion on connectors and internal radio components, leading to static and signal loss.
- Check for damp carpets or visible water stains around the dashboard or near the antenna mounting point.
- Inspect the antenna base and the area where the wiring enters the car for any signs of rust or green/white corrosion.
- If you suspect water damage, it’s crucial to address the source of the leak first. Then, you may need to clean up any corrosion and potentially replace damaged components. For significant corrosion, professional cleaning or replacement of the head unit might be necessary.
8. Faulty Radio Tuner or Internal Issues
If you’ve checked everything else and your radio is still staticky, the problem might be with the radio unit itself. The tuner, which is responsible for selecting and processing radio frequencies, could be failing. This is less common for static specifically, but it’s a possibility if all other troubleshooting steps have failed.
When this might be the case:
- You’ve tried multiple antennas and checked all wiring connections.
- The static persists across all stations and in various locations.
- Other radio functions (like CD player, Bluetooth, or auxiliary inputs) also seem to be malfunctioning.
Fixes:
- Contact a professional: Repairing an internal radio fault is usually beyond a beginner’s DIY scope. You might need to take it to an car audio specialist for diagnosis and repair or replacement.
- Consider replacement: Often, replacing an old or faulty car radio with a new aftermarket unit or a used one from a similar vehicle is more cost-effective than attempting to repair the internal components. A new head unit can also be a great opportunity to upgrade your car’s audio system! You can find excellent guides on installing aftermarket radios at resources like Crutchfield’s extensive installation guides.
Troubleshooting Table: Quick Reference
Here’s a table to quickly help you match a symptom to a likely cause and solution:
| Symptom | Likely Cause | Beginner Fix | Advanced/Professional Fix |
|---|---|---|---|
| Static on all stations, varies by location. | Weak signal strength, geographic location. | Scan for stronger stations, move location. | N/A |
| Static, especially on AM, or when accessories are on. | Electrical interference (EMI). | Turn off accessories, check aftermarket devices. | Install EMI filters, professional diagnosis. |
| Constant static, even with strong signal areas. | Loose, damaged, or corroded antenna connection. | Tighten antenna, clean base, check cable connection to radio. | Replace antenna, repair/replace antenna cable. |
| Static only on specific stations. | Problem with that particular radio station’s broadcast or frequency. | Listen to other stations. | N/A |
| Static that changes with engine RPM. | Engine system interference (alternator, ignition). | Check battery terminals for cleanliness and tightness. | Professional diagnosis of engine electrical system. |
| Static suddenly appeared, or other electrical issues. | Loose wiring harness, grounding issue, or water damage. | Check connections behind the radio, ensure ground is secure. | Repair wiring, professional water damage assessment. |
| Static persists after all external checks. | Internal radio fault (tuner issue). | N/A (beyond basic checks) | Replace radio, professional repair of head unit. |
When to Call a Professional
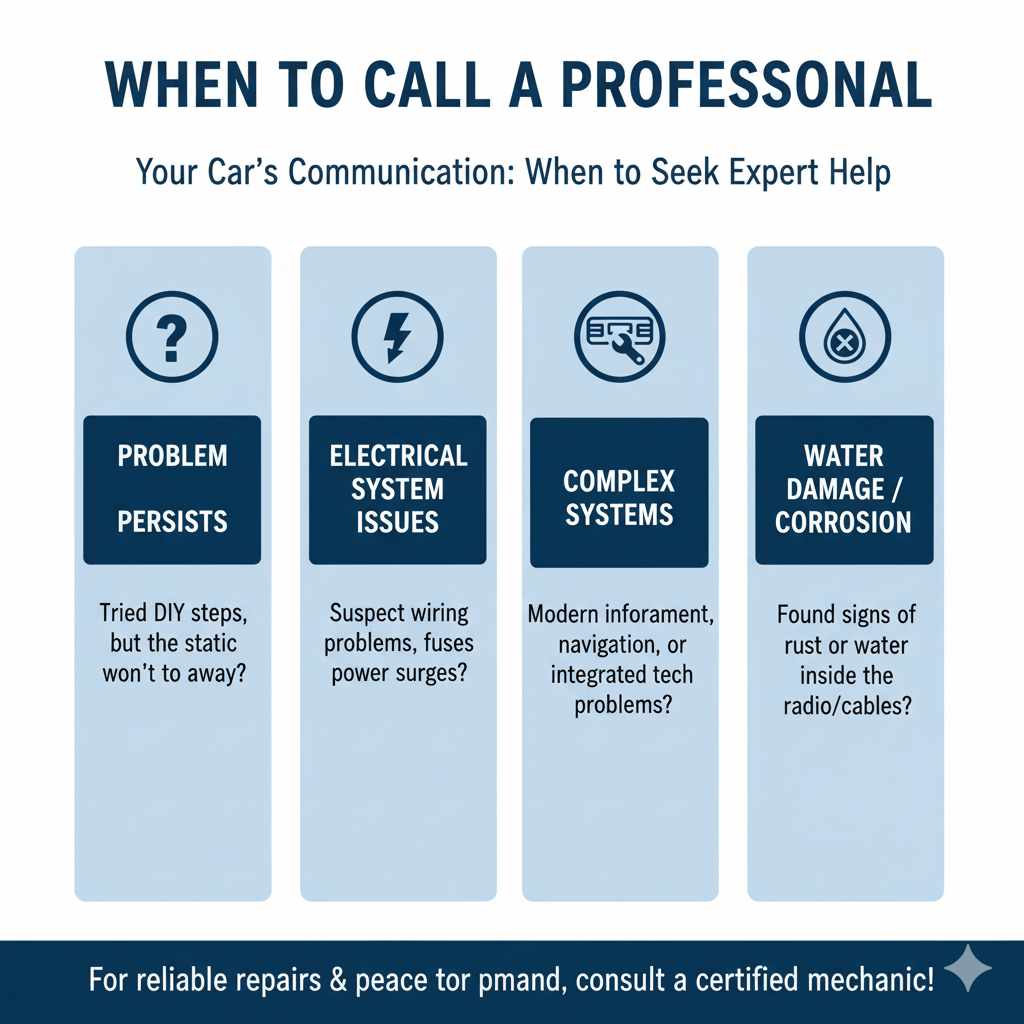
While many radio static issues are DIY-friendly, there are times when it’s best to seek expert help. You should consider calling a professional mechanic or car audio specialist if:
- You’ve gone through all the beginner-friendly steps and the problem persists.
- You suspect significant electrical system issues beyond simple interference.
- You’re uncomfortable with disassembling parts of your car’s dashboard or interior.
- You find signs of extensive water damage or corrosion that you can’t address yourself.
- The problem is with a modern, complex infotainment system where proprietary diagnostics might be needed.
A professional can use specialized tools to diagnose electrical problems and ensure repairs are done correctly, saving you potential headaches and further damage.
Frequently Asked Questions (FAQs)
Q1: Can a phone charger cause my car radio to be staticky?
A1: Yes, some lower-quality phone chargers, especially those that plug into your car’s 12V outlet, can emit electrical interference that disrupts your radio signal. Try unplugging the charger to see if the static stops.
Q2: My car radio only gets static when it rains. What’s wrong?
A2: This often indicates a water leak issue. Water could be getting into the antenna base, its wiring, or even the radio itself. Address the leak first, and then check for corrosion or damage to electrical components.
Q3: Is it safe to drive with a staticky radio?
A3: Generally, yes. A staticky radio is an annoyance, not typically a safety hazard itself. However, if the static is a symptom of a larger electrical issue (like a failing alternator), that could impact your car’s drivability. It’s good to address it promptly.
Q4: Should I replace my antenna if it’s slightly bent?
A4: If the antenna is only slightly bent and still screws in securely, it might still function well enough. However, if the bend is severe or affects its connection, replacement is usually the best solution for optimal reception. You can test it first to see if reception improves after tightening or cleaning it.
Q5: How do I know if my car radio is broken internally?
A5: If you’ve checked the antenna, all connections behind the radio, and ruled out external interference, and the static remains on all bands and in all locations, the radio unit itself might be faulty. Also, if other functions of the radio (like CD or Bluetooth) stop working, it points towards an internal issue.
Q6: Can static damage my car’s speakers?
A6: While static itself is unlikely to damage your speakers directly, a malfunctioning radio unit that is producing excessive noise or distorted signals could potentially damage them over time if played at high volumes. It’s best to resolve the static issue to protect your audio system.
Conclusion
Dealing with a staticky car radio doesn’t have to be a head-scratcher. As we’ve explored, the cause is often much simpler than you might think, ranging from minor antenna adjustments to checking for electronic interference. By following these step-by-step fixes, you’ve gained the knowledge to troubleshoot many common radio static problems yourself.
Remember to start with the easiest checks, like your location and a visual inspection of the antenna, and work your way through the list. Taking care of these basic maintenance checks not only resolves the static but also builds your confidence in understanding and maintaining your vehicle. So, next time static invades your drive, you’ll know exactly what to do to get your favorite music or important news back loud and clear!