Cool Decals for Cars: Patriotic, Funny and Stylish Design Ideas
Pick decal style by the job, not by impulse: patriotic for flags and stars, funny for short text jokes, stylish for clean graphics. Keep most car decals around 12 to 24 inches wide, and place them on flat panels. Poor sizing or placement can hide body lines, lift edges, or draw a ticket if the graphic blocks lights, windows, or registration marks. This guide compares cool decals for cars by style, then covers placement, size, finish, legality, and installation basics.
Which decal style fits your car?


The best decal style follows the car’s color, shape, and job. Patriotic graphics suit drivers who want a clear flag cue without a loud full wrap. Funny decals work best when the message is short and readable from behind. Stylish decals fit people who want a clean look that blends with the body.
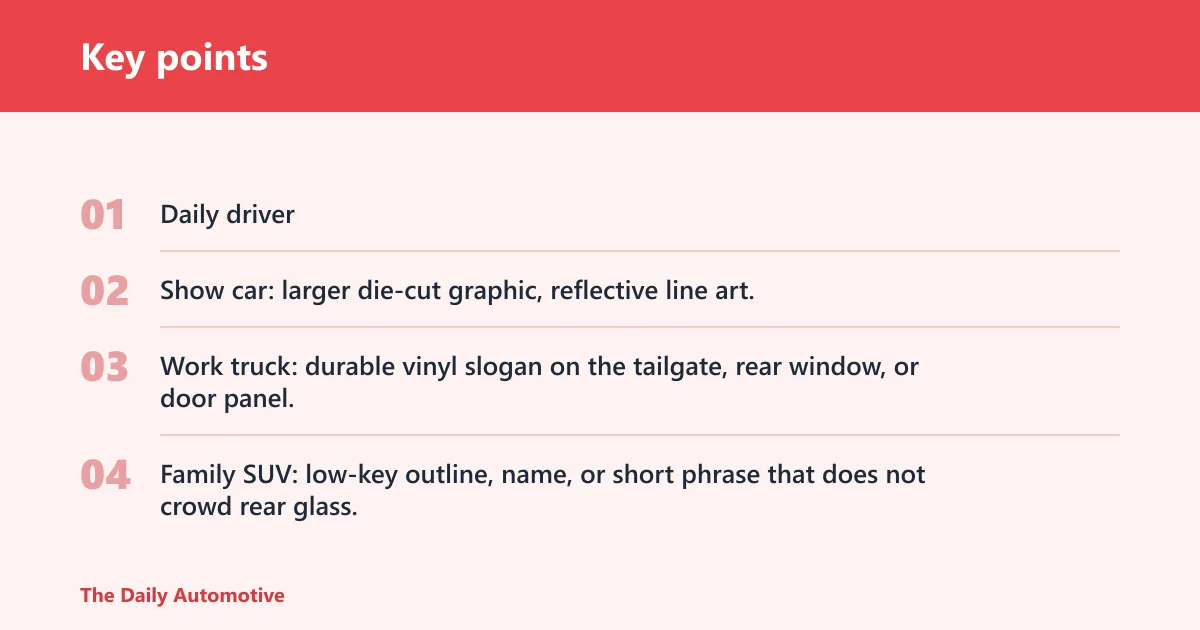
Daily drivers usually need low-contrast designs and simple placement. Show cars can carry larger graphics or reflective details, while work trucks and family SUVs tend to look better with restrained text or a single symbol on a rear window, tailgate, or door skin.
Match the decal to the use case
- Daily driver: small rear-window decal, side-panel script, or a tiny badge on the tailgate.
- Show car: larger die-cut graphic, reflective line art, or chrome lettering on a smooth panel.
- Work truck: durable vinyl slogan on the tailgate, rear window, or door panel.
- Family SUV: low-key outline, name, or short phrase that does not crowd rear glass.
Use contrast without going loud
Black paint can handle white, silver, matte gray, or small red accents. White and silver vehicles usually need darker graphics so the design does not disappear in daylight. Dark blue often works with white, brushed-silver, or reflective elements because they stay visible without turning flashy.
For example, a black hatchback might use a roughly 10-inch matte white script on the rear window. It reads cleanly from behind and does not fight the body lines. If the same design grows to cover the whole glass, the rear view can suffer and the car can look cluttered.
Patriotic decals that stay tasteful
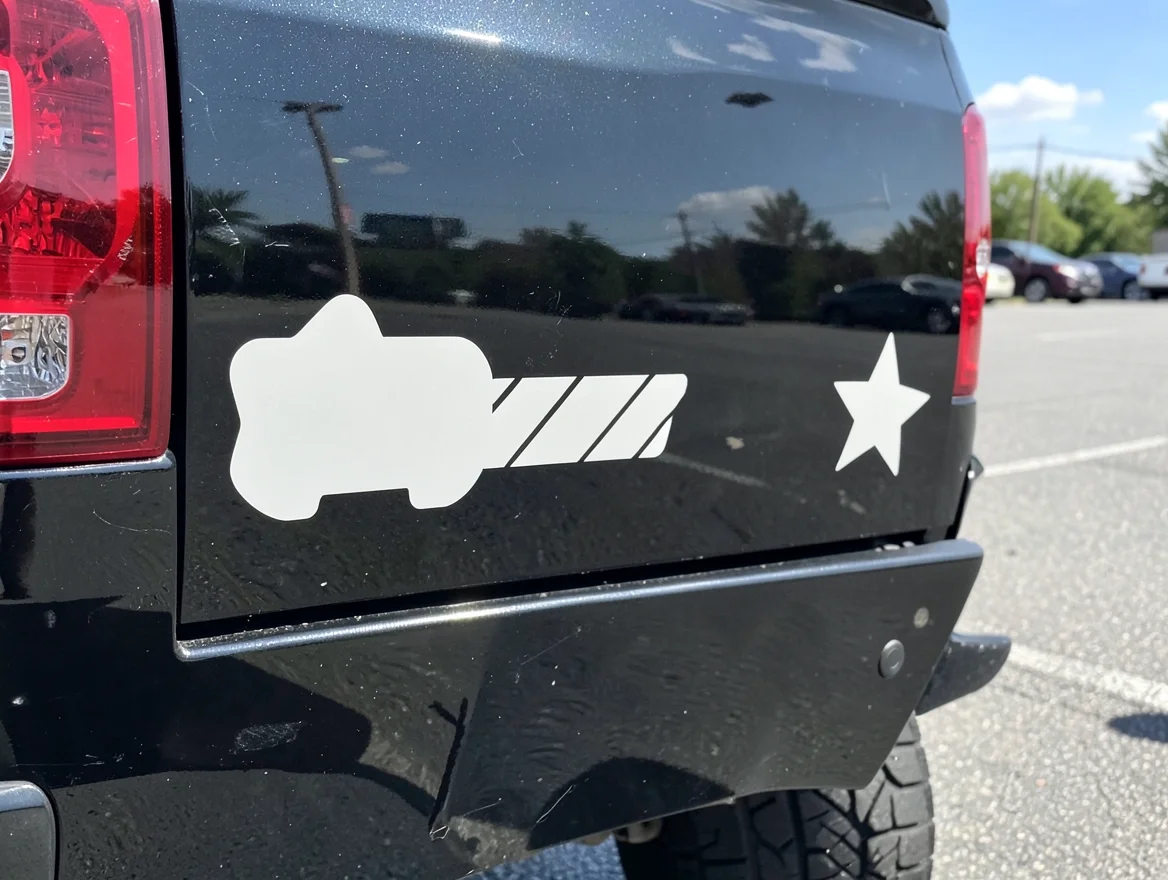
Patriotic decals work best when they suggest the theme instead of flooding the vehicle with stars, stripes, and oversized text. Small flag-inspired badges, a single stripe motif, or a muted emblem on the tailgate or rear window often looks sharper than a full-panel graphic.

For a cleaner result, keep the shape simple and let the vehicle color do some of the work. Black, white, silver, and dark blue usually accept patriotic designs well because the contrast is easy to manage without using extra color.
Flag-inspired graphics for rear windows, tailgates, and side panels
Rear windows suit narrow flag bars or a small corner decal. Tailgates can carry a wider emblem because the panel is broad and usually flat enough for a stable bond. Side panels work best with a modest graphic near the rear quarter, not a giant decal that stops at a body crease.
Car window decals are common on rear glass because they are easy to spot from behind. Side-window use needs more care, since visibility matters and the design should not interfere with driver sight lines or rear-seat glass that needs a clear view.
Color choices that work on black, white, silver, and dark blue vehicles
- Black vehicles: white, silver, red, or reflective patriotic graphics.
- White vehicles: navy, black, or muted red for stronger contrast.
- Silver vehicles: dark blue, black, or chrome accents, though chrome reads more showy.
- Dark blue vehicles: white, silver, or small reflective striping.
When to use small badges instead of full-panel graphics
Use small badges when the vehicle already has strong character lines, when the panel is short, or when the car doubles as a commuter vehicle. A small patriotic emblem on a rear door or bumper often looks better than a long quote squeezed across a curved window.
Funny decals that stay clean
Funny decals work best when the joke is short, easy to read, and clean in tone. The safest choices are quick one-line slogans, small puns, or simple icons that read in a second from behind. Longer jokes usually look cluttered and lose impact at traffic speed.
Bumper stickers are the natural home for this style because they are small-format messaging and easy to spot from behind. If the line is sharp and brief, the rear bumper or lower tailgate can carry it without taking over the whole vehicle.
Short slogans that read fast from behind
- Keep the wording brief.
- Use one joke, not three.
- Pick bold lettering that can be read at a glance.
- Avoid dense paragraphs, tiny fonts, and stacked punch lines.
Placement ideas that avoid clutter on modern body lines
Place funny decals on flat areas where the text will not break across a crease. The lower rear window, bumper center, or the lower half of a tailgate usually works better than the middle of a sculpted door. That keeps the line intact and avoids a messy look.
A common first-timer mistake is stretching a busy patriotic graphic over a rear fender where the body lines distort the design. The letters can distort, the edges can lift sooner, and the joke becomes harder to read from a distance.
How to keep humor sharp without making the car look messy
Stick with one visual theme. A plain text sticker, a tiny icon, or a single line of humor looks cleaner than mixing fonts, shadows, and clip art. If the vehicle is already busy in color or trim, use a smaller decal rather than pushing for size.
Stylish decals for a low-key look
Stylish decals aim for a clean read, not a loud one. Minimal lines, thin outlines, script lettering, and small geometric graphics are the strongest choices when the goal is tasteful rather than attention-seeking.
This category also has the widest finish range. Matte softens the look. Gloss adds contrast. Reflective and chrome draw more attention at night or in direct light, so they suit some builds better than others.
Minimal lines, outlines, and script designs
Thin contour lines work well on sedans and hatchbacks because they echo the shape of the car. Script names or a short wordmark can fit on a door, quarter panel, or rear glass without crowding the body. Pick one element and let it breathe.
Matte, gloss, reflective, chrome, and die-cut finish choices
- Matte: least flashy, best for understated builds and darker paint.
- Gloss: sharper edge, strong on smooth painted panels.
- Reflective: easy to spot in low light, but more visible from a distance.
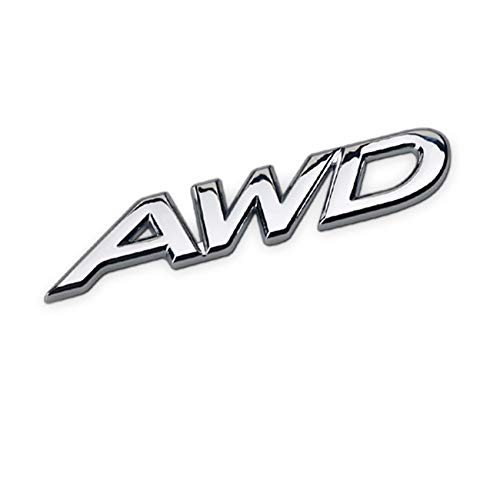
- Chrome: brightest finish, better for showy accents than subtle styling.
- Die-cut: the background is removed, so the shape reads cleanly on glass or paint.
Which styles suit sedans, hatchbacks, SUVs, and pickups?
Sedans usually favor narrow scripts and small rear-window graphics. Hatchbacks can take compact side-panel decals or a centered rear-glass line. SUVs work well with medium-size graphics on the rear quarter or tailgate. Pickups can handle larger decals on the tailgate and door panels because those surfaces are often broader and easier to see.
Decal selection matrix
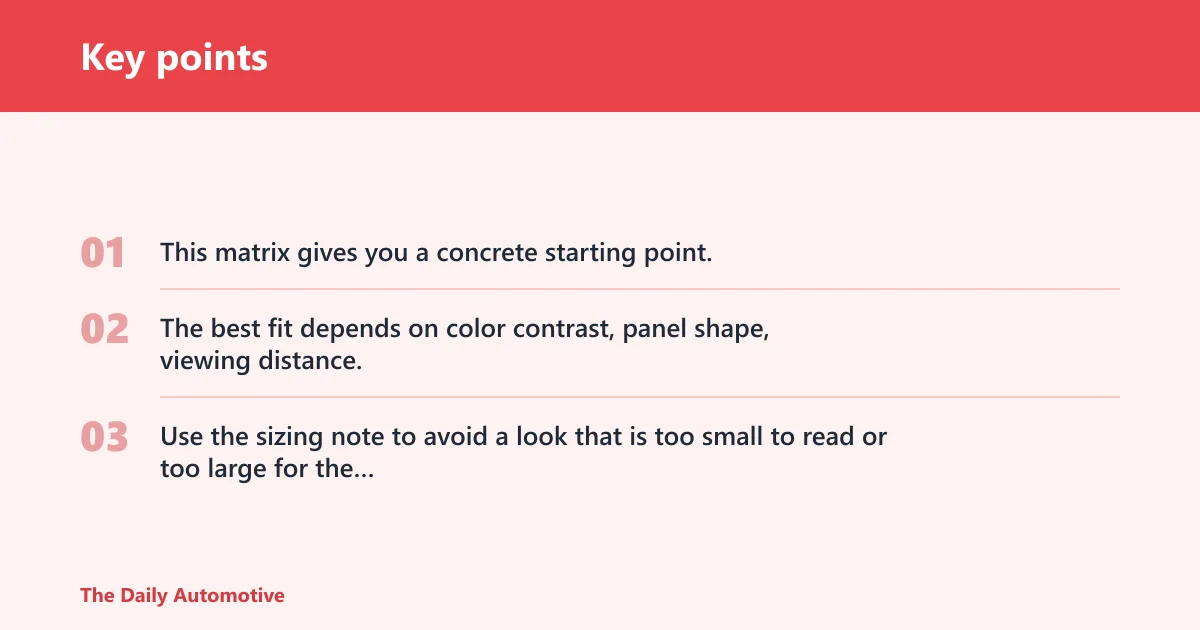
This matrix gives you a concrete starting point. The best fit depends on color contrast, panel shape, viewing distance, and how much glass or paint the decal must cover. Use the sizing note to avoid a look that is too small to read or too large for the surface.
| Scenario | Style, best placement, and recommended finish | Sizing note and caution |
|---|---|---|
| Compact car rear window | Stylish; upper rear glass; matte or die-cut | Keep it narrow enough that the rear view stays clear. Avoid a full-width strip that blocks sight lines. |
| Pickup tailgate | Patriotic; center tailgate; gloss or chrome | Medium to large sizing works here. Watch for handle recesses and ridges that can lift edges. |
| SUV side panel | Stylish; rear quarter panel; matte | Fit the graphic to the flat section. A long decal that crosses a curve may wrinkle or peel. |
| Family van rear window | Funny; low rear glass; die-cut | Choose a short slogan. Keep clear space around the text so it reads fast and does not crowd the glass. |
| Sedan door skin | Stylish; lower door; gloss | Use a slim design. Door handles and trim can interrupt a large graphic. |
| Truck rear window | Patriotic; top or lower corner; reflective | Large enough to be seen from behind, but not so large that it interferes with visibility. |
| Hatchback bumper | Funny; center bumper; matte | Small format works best. Stay away from areas that scrape during loading or parking contact. |
| Crossover liftgate | Stylish; central liftgate panel; die-cut | Pick a width that respects the liftgate seam. A panel-spanning design can look awkward. |
| Coupe rear quarter glass | Stylish; rear quarter glass; matte or reflective | Small decal only. The glass area is limited, so oversized art can feel crowded. |
| Work van side panel | Patriotic or stylish; mid-panel; gloss | Large enough for distance viewing. Check for sliding-door seams and body ribs before ordering. |
| Motorhome side window | Funny; upper corner; die-cut | Keep it modest and readable. Do not place anything where it blocks the driver’s view. |
| Small commuter car bumper | Funny; centered bumper; matte or gloss | Use a short line only. Bigger graphics can overpower the car and collect more road grime. |
What size decal should you buy?
Size should match the panel, not the shopping cart. Small decals work for badges, names, and short lines. Large decals suit tailgates, van sides, and broad rear glass. A decal around 150 x 50 mm is close to a compact badge or slogan strip, while a design near 1142 x 665 mm is in full-graphic territory and needs a large, flat surface.
Signomatic lists decal sizes from 15 x 15 mm up to 1200 x 1000 mm, which shows how wide the size range can be. That is useful, but the car still decides the final fit. A big number on paper can still be too tall for a curved hatch or too wide for a narrow window.
Small decals versus large decals
Small decals are often suited to rear glass corners, bumpers, and door badges. Larger decals are often a good fit for tailgates, van sides, or broad rear panels. On smaller cars, oversized graphics can wrap around curves and create edge lift. On larger vehicles, tiny decals can disappear from a normal following distance.
Why oversized graphics fail on curved panels
Curves pull vinyl in different directions. That can cause wrinkling, a stretched image, or edges that do not sit flat. The more severe the curve, the more likely the decal will need trimming into a smaller shape or a different placement.
How to match width and height to the vehicle
Measure the usable area, then leave margin around seams, handles, wipers, and trim. For glass, keep clear space for sight lines and defroster lines. For painted panels, avoid placing the decal over sharp creases or body breaks that can interrupt the adhesive bond.
How do you apply vinyl decals without bubbles?
Clean the surface, work on a dry panel, and apply from the center outward with a plastic card or squeegee. That method helps the adhesive settle evenly and pushes trapped air toward the edges before it can become a bubble.
Vinyl decals are made for outdoor use, and many are weather-resistant, UV-protected or UV-resistant, and offered in multiple sizes and shapes. Good material matters, but the install still decides whether the decal stays flat and clean.
Prep the surface with a clean cloth and a dry panel
Alpha Print says to clean the surface before installation. Use a clean cloth to remove dust, wax, road film, and moisture. A dry panel gives the adhesive a better chance to bond. If the surface is damp or oily, edge lift becomes more likely.
- Wash or wipe the area.
- Dry it fully with a clean cloth.
- Position the decal before removing the backing.
- Apply the center first.
- Press outward with a squeegee or plastic card.
- Check the edges again after the decal sits.
Use a squeegee or plastic card and work from the center out
Alpha Print advises pressing from the center outward to remove air bubbles. Keep the pressure steady and short. Long passes help move trapped air out, while quick, random strokes can leave small pockets behind.
Wait before washing, and check edges after the first day
Do not rush into a wash right away. Water pressure at the edge can lift a fresh decal before the adhesive settles. After the first day, inspect corners and edges for lift, especially if the panel has a curve or sits in full sun.
What materials last longest in rain and sun?
For long-term use, durable vinyl is the baseline. The same source says car decals are made from durable vinyl, and Signomatic says its decals are UV-protected, weather-resistant, and durable. That combination points to the features that matter most: rain resistance, sunlight resistance, temperature tolerance, and durability over time.
Material choice should match climate and exposure. A decal that sits under strong sun needs better UV resistance than one that lives on a shaded rear window. A bumper sticker takes more splash and grime than a door decal, so the finish and adhesive should suit that duty.
Compare finishes by weather and visibility
- Matte: less glare, but can mute color in low light.
- Gloss: brighter color pop, though glare can be stronger in direct sun.
- Reflective: stands out at night, which helps visibility but may look busy in daylight.
- Chrome: very visible and more decorative than subtle.
- Die-cut: clean edges, with fewer background borders to trap dirt.
Failure cases to plan
Peeling edges often come from poor cleaning, sharp curves, or frequent wash pressure. Sun fade is more likely on dark graphics in hot climates. Residue can remain after removal if the adhesive has baked onto the paint or glass for a long time. These issues are less likely when the decal is sized correctly and installed on a clean, dry surface.
Can car decals be removed without damaging paint?
Most vinyl decals can be removed later without damaging paint if the surface underneath is in good condition and the adhesive has not been abused by heat, age, or rough removal. Alpha Print specifically says decals can be removed later without damaging the paint.
Still, removal is easier on factory paint than on old, chipped, or repainted panels. On glass, residue is usually the bigger issue. On paint, slow peeling and gentle heat are the safer approach if the decal has been in place for a long time.
How much do custom car decals usually cost?
Custom pricing depends on size, finish, and complexity. Simple bumper stickers are usually the lowest-cost option, while larger die-cut or reflective pieces cost more. Some retailers keep entry prices low; RASE Tire and Auto shows a product priced from $3.00 USD, and ChromeAutoDecals lists free shipping on orders over $55 USD, with orders shipping the next business day.
Custom sticker design tools usually let you upload an image or logo, add text, choose font and size, and select a transparent background option. That matters because a cleaner layout often costs less than a more complex multi-layer look, and it is easier to place on a car without clutter.
Frequently asked questions
What are the coolest decals for cars that look stylish without being too flashy?
The cleanest choices are thin script lettering, narrow outlines, small geometric marks, and subtle die-cut graphics. Matte and gloss finishes tend to look more restrained than chrome or reflective styles. Black, white, silver, and dark blue vehicles usually carry these designs well because the contrast stays readable without becoming loud.
Are patriotic car decals legal on windows or bumpers?
Patriotic decals are generally fine when they do not block driver visibility, lights, mirrors, plates, or required markings. Window decals should stay out of critical sight lines, especially on the rear and side glass. Bumper stickers are often safer because they are small and easy to place without affecting visibility.
What size decal works best on a rear window or side panel?
Rear windows usually suit smaller decals or narrow bands that leave the driver’s view open. Side panels can handle larger graphics if the area is flat and uninterrupted. A useful guide is to size the decal to the panel’s clear space, not the full panel including seams, trim, or curves.
How do I apply a vinyl car decal without bubbles?
Clean and dry the panel first, then place the decal carefully and press from the center outward with a squeegee or plastic card. Work slowly so air moves toward the edges. After installation, leave the decal alone for a short period before washing or rubbing at the edges.
Products related to this article
Sponsored / affiliate links. As an Amazon Associate I earn from qualifying purchases. I may earn additional commission from eligible campaigns.